
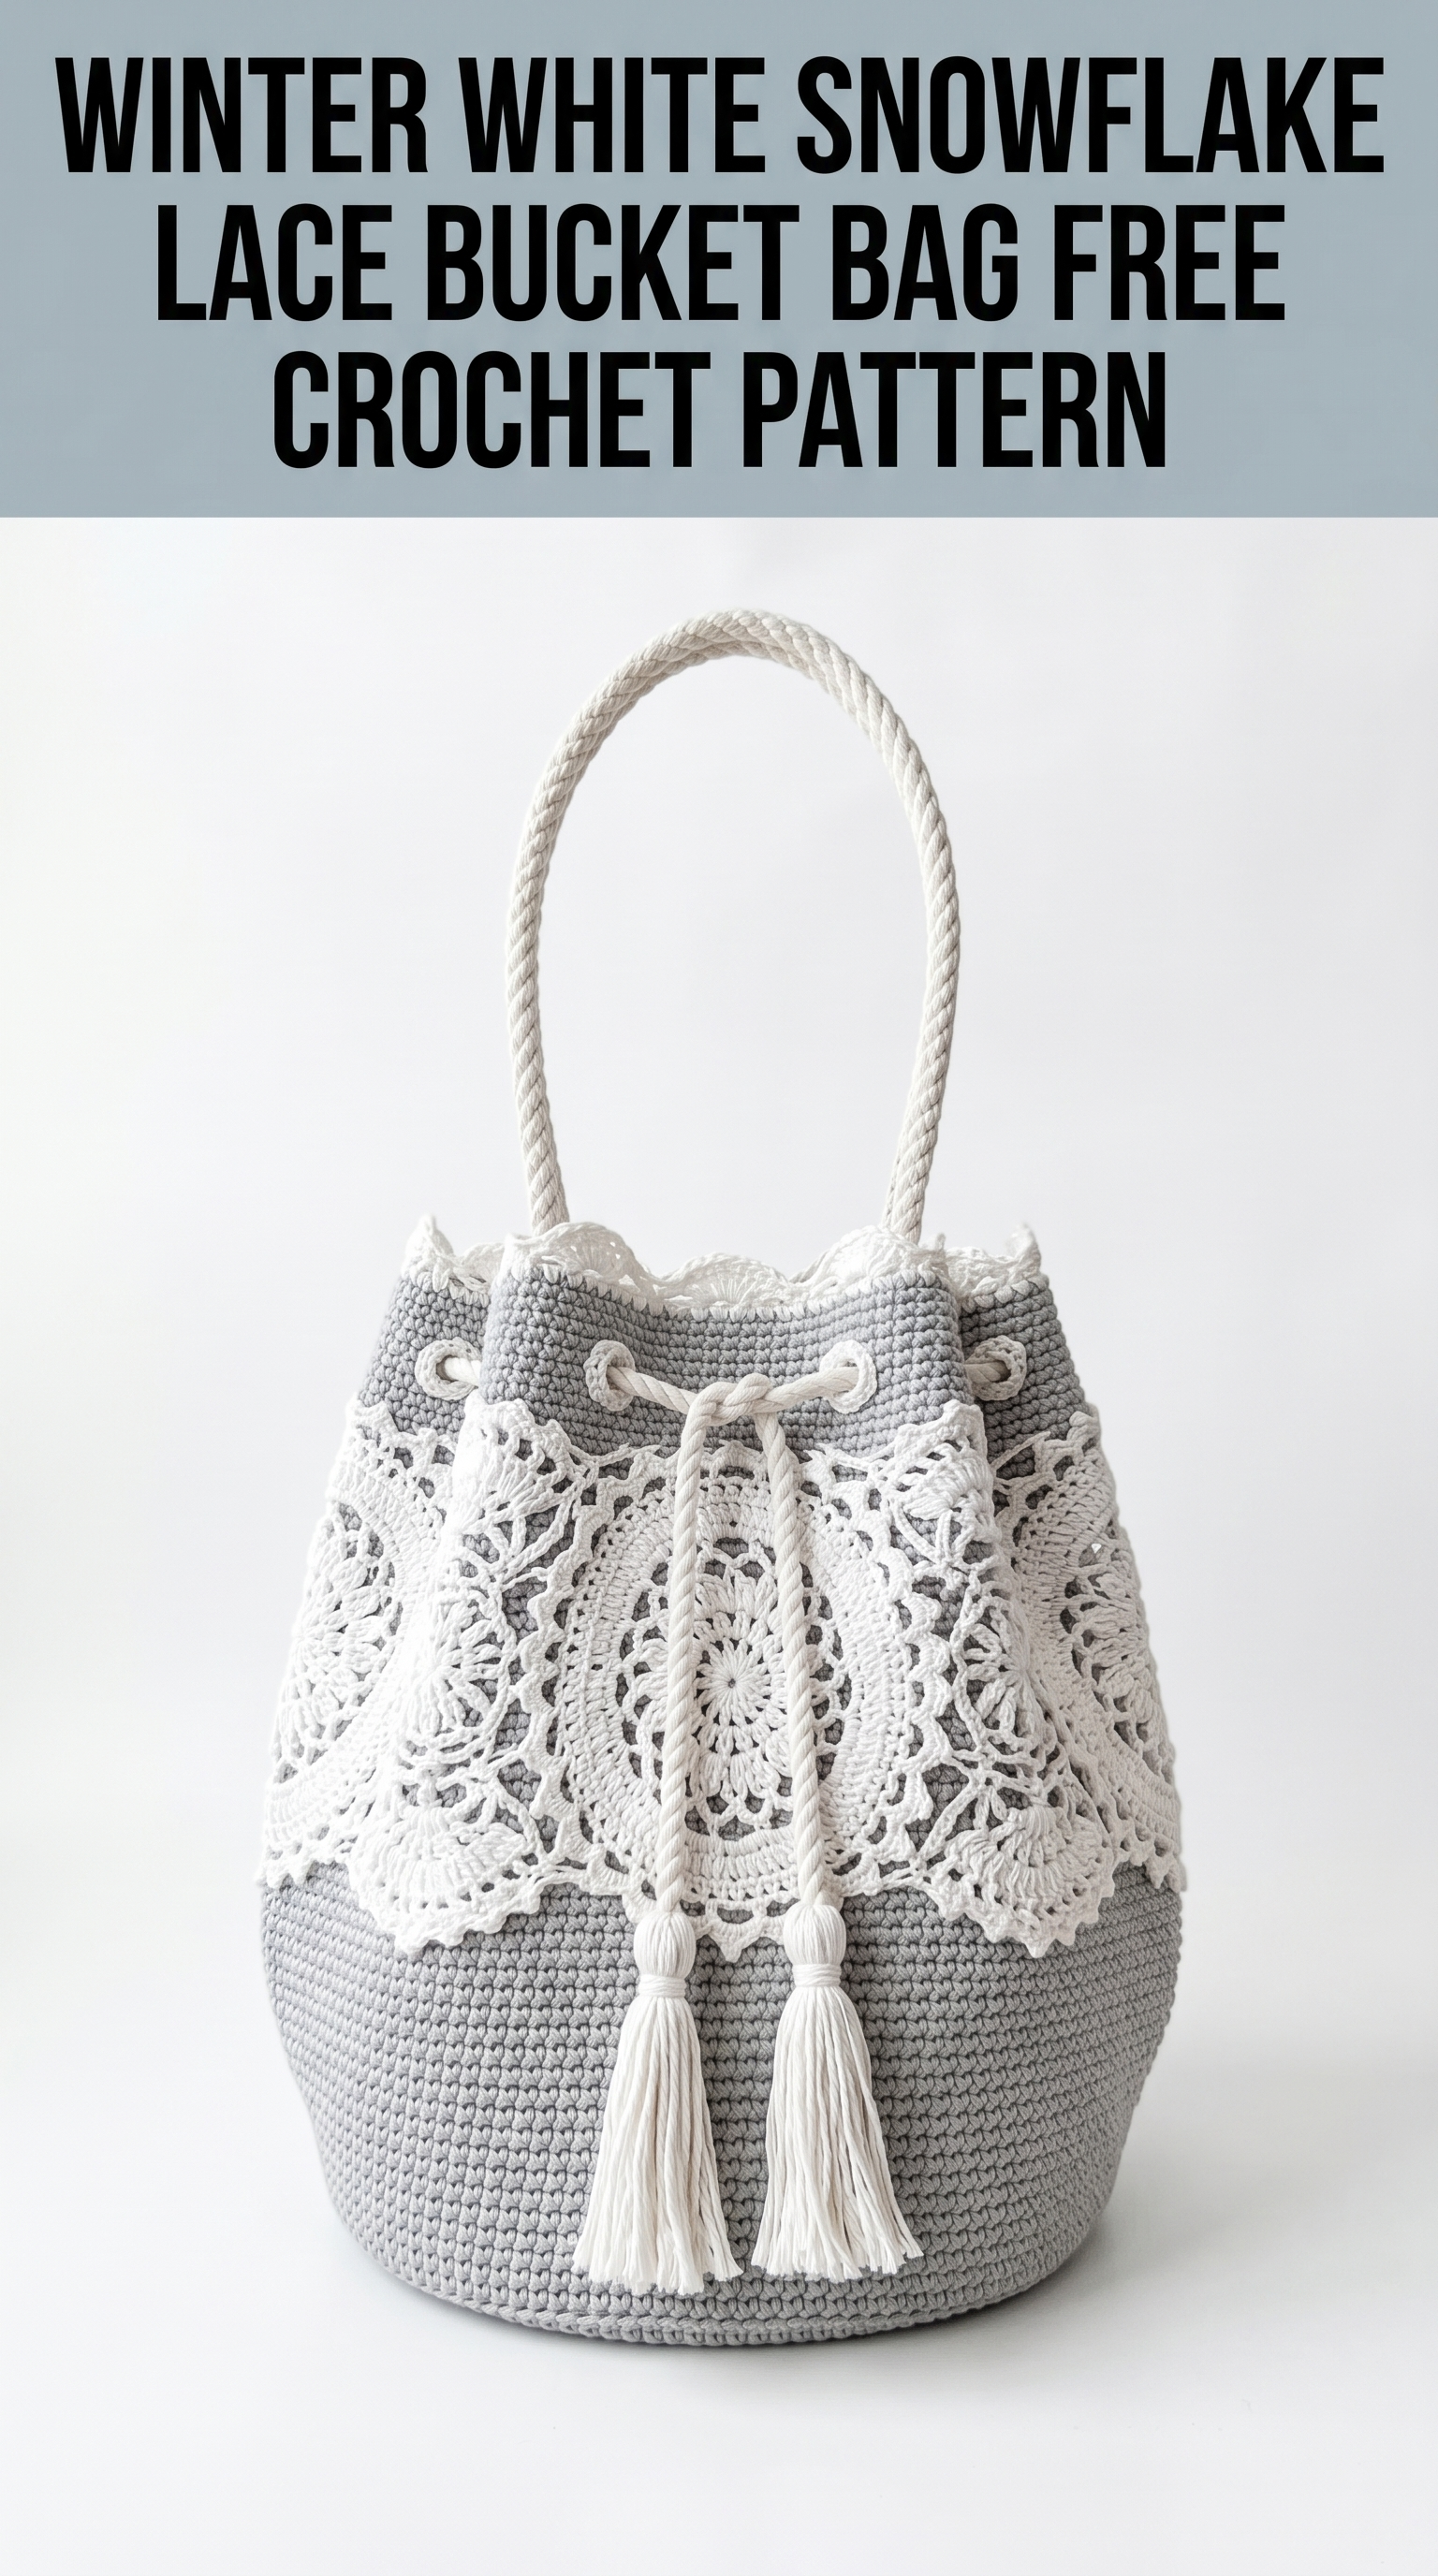
This stunning bucket bag combines a sturdy gray base with delicate white lace overlay for a look that is equal parts practical and elegant. If you have been searching for a crochet pattern that feels special without being impossibly complicated, you found it. The lace portion looks intricate, but I promise it breaks down into manageable motifs that you join as you go. Intermediate crocheters will feel confident here, and ambitious beginners can absolutely tackle this with patience.
Let me walk you through every step of creating this Winter White Snowflake Lace Bucket Bag. By the end, you will have a gorgeous handmade accessory perfect for farmers markets, beach days, or just running errands in style.
Why This Crochet Bucket Bag Pattern Works So Well
The magic of this design comes from layering two distinct textures. The base is worked in tight single crochet (sc) using a sturdy cotton yarn in soft gray. This creates structure and durability. Your belongings stay secure because the stitches are dense enough to prevent stretching.
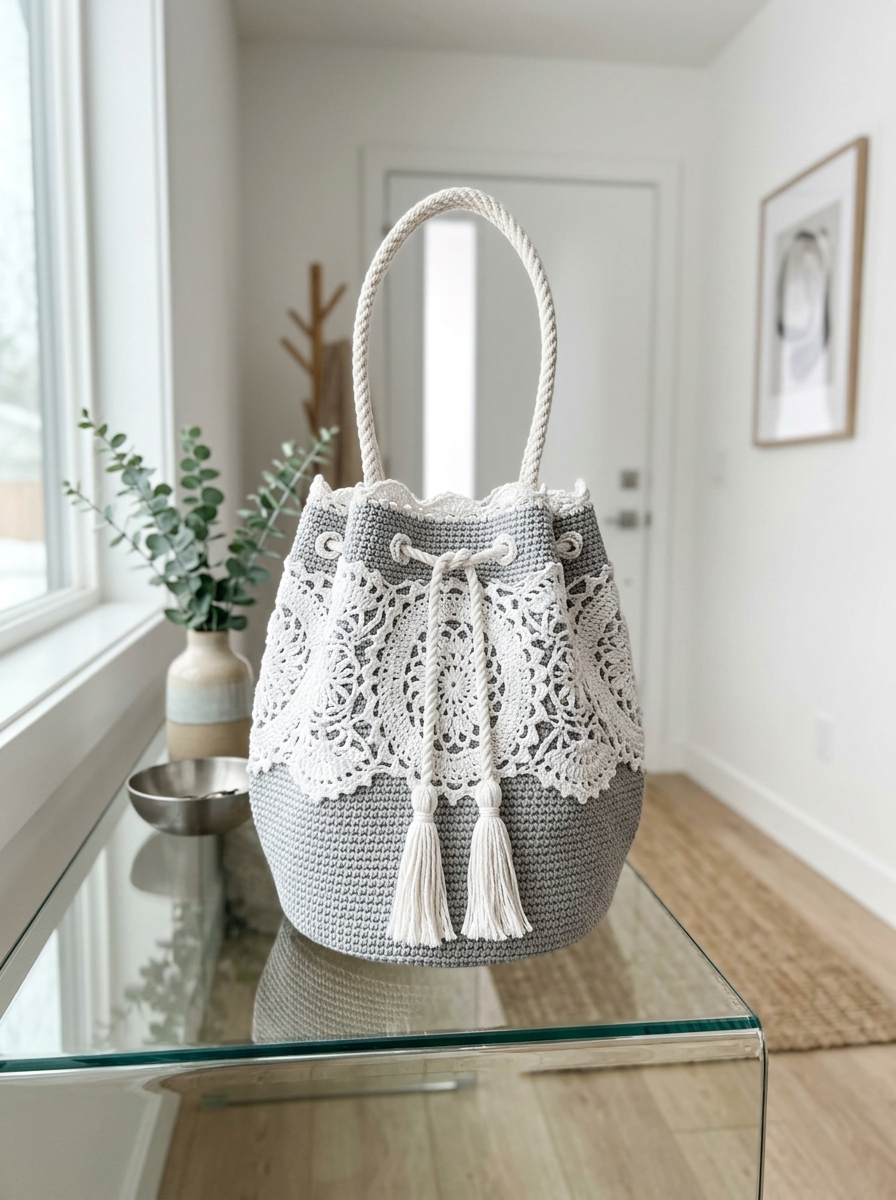
The overlay is where things get interesting. Those white lace panels are actually joined doily-style motifs featuring classic pineapple and fan elements. They drape beautifully over the gray body and create that romantic vintage feel. The scalloped edge along the top adds the perfect finishing touch.
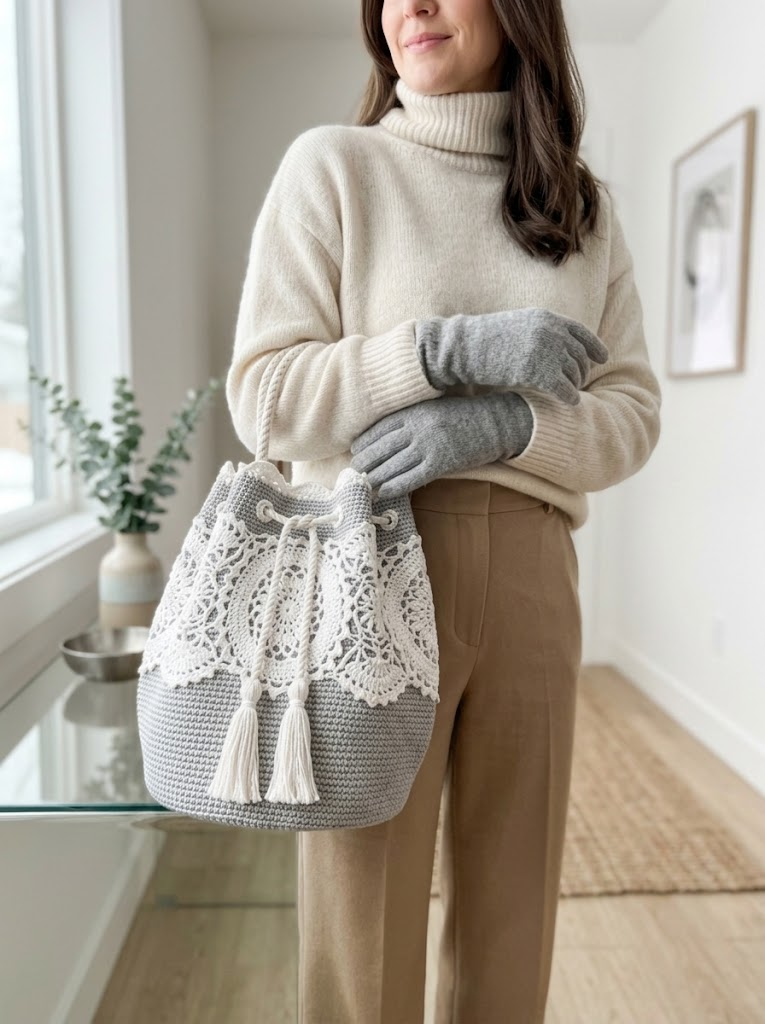
A braided rope handle and coordinating tassels on the drawstring closure complete the look. Everything comes together in a cohesive neutral palette that matches practically anything.
Skill Level and What You Need to Know
I would call this an intermediate crochet pattern. Here is what you should be comfortable with before starting:
If you are newer to crochet but feeling ambitious, go for it. Just work slowly through the lace sections and count your stitches carefully. I will explain everything as we go.
Materials Needed for Your Bucket Bag
Yarn:
I recommend 100% cotton or a cotton blend for this project. Cotton holds structure beautifully for bags and the lace motifs will block crisply. Avoid anything too soft or stretchy.
Hook:
Using a slightly smaller hook for the lace keeps those motifs delicate and airy.
Notions:
Gauge
Bag body: 16 sc and 18 rows = 4 inches in single crochet
Lace motif: Each completed snowflake motif measures approximately 4.5 inches across
Gauge matters here because you want your lace overlay to fit nicely over the bag body. If your motifs come out much larger or smaller, adjust your hook size.
Finished Dimensions
Abbreviations and Stitch Definitions
Let me define every stitch before we begin. Refer back to this section anytime you need a refresher.
ch – Chain: Yarn over, pull through loop on hook. The most basic crochet stitch used to create foundation rows and spaces.
sl st – Slip stitch: Insert hook, yarn over, pull through both the stitch and the loop on your hook in one motion. Used for joining and moving across stitches invisibly.
sc – Single crochet: Insert hook into stitch, yarn over and pull up a loop (2 loops on hook), yarn over and pull through both loops. A short, dense stitch.
hdc – Half double crochet: Yarn over, insert hook into stitch, yarn over and pull up a loop (3 loops on hook), yarn over and pull through all 3 loops. Slightly taller than single crochet.
dc – Double crochet: Yarn over, insert hook into stitch, yarn over and pull up a loop (3 loops on hook), yarn over and pull through 2 loops, yarn over and pull through remaining 2 loops. A medium height stitch commonly used in lace.
tr – Treble crochet: Yarn over twice, insert hook into stitch, yarn over and pull up a loop (4 loops on hook), [yarn over and pull through 2 loops] 3 times. A tall stitch that creates open, airy fabric.
inc – Increase: Work 2 stitches into the same stitch. This adds one stitch to your count.
dec – Decrease: Work 2 stitches together as one. For sc, insert hook into first stitch, pull up loop, insert hook into next stitch, pull up loop (3 loops on hook), yarn over and pull through all 3.
sk – Skip: Pass over the indicated stitch without working into it.
sp – Space: The gap created by chain stitches in lace patterns.
Step by Step Crochet Pattern Instructions
Part One: The Bag Base
We start from the bottom and work up in continuous spiral rounds. Place a stitch marker at the beginning of each round and move it up as you go.
With MC and 4.0mm hook:
Round 1: Magic ring, 6 sc into ring, pull tight. (6 sts)
Round 2: Inc in each st around. (12 sts)
Round 3: *Sc 1, inc* repeat around. (18 sts)
Round 4: *Sc 2, inc* repeat around. (24 sts)
Round 5: *Sc 3, inc* repeat around. (30 sts)
Round 6: *Sc 4, inc* repeat around. (36 sts)
Round 7: *Sc 5, inc* repeat around. (42 sts)
Round 8: *Sc 6, inc* repeat around. (48 sts)
Round 9: *Sc 7, inc* repeat around. (54 sts)
Round 10: *Sc 8, inc* repeat around. (60 sts)
Round 11: *Sc 9, inc* repeat around. (66 sts)
Round 12: *Sc 10, inc* repeat around. (72 sts)
Your base should now measure approximately 7 inches across. If it seems too small, add another increase round following the pattern.
Part Two: The Bag Body
Now we build the sides by working even rounds without increases. This is where the bag takes shape.
Round 13: Working in back loops only (BLO), sc in each st around. (72 sts)
This back loop round creates a crisp edge at the base of your bag. From here, work through both loops as normal.
Rounds 14 through 50: Sc in each st around. (72 sts)
That is 37 rounds of even single crochet. Your bag body should measure approximately 8 inches tall at this point.
Part Three: Shaping the Top
We gently decrease to create that tapered bucket shape near the opening.
Round 51: *Sc 10, dec* repeat around. (66 sts)
Rounds 52 through 54: Sc in each st around. (66 sts)
Round 55: *Sc 9, dec* repeat around. (60 sts)
Rounds 56 through 58: Sc in each st around. (60 sts)
Round 59: *Sc 8, dec* repeat around. (54 sts)
Rounds 60 through 62: Sc in each st around. (54 sts)
Part Four: Creating the Drawstring Channel
Round 63: *Sc 3, ch 2, sk 2* repeat around. (54 sts total including chains)
This round creates small openings evenly spaced around the bag. Your drawstring will weave through these holes.
Round 64: Sc in each sc and 2 sc in each ch-2 space around. (54 sts)
Rounds 65 through 67: Sc in each st around. (54 sts)
Fasten off and weave in ends.
Part Five: Snowflake Lace Motifs (Make 5)
Now for the beautiful overlay. Each motif is worked separately, then joined.
With CC and 3.5mm hook:
Round 1: Magic ring, ch 3 (counts as first dc), 11 dc into ring, sl st to top of ch-3 to join. (12 dc)
Round 2: Ch 3, dc in same st, 2 dc in each st around, sl st to join. (24 dc)
Round 3: Ch 4 (counts as dc plus ch-1), *dc in next st, ch 1* repeat around, sl st to 3rd ch of beginning ch-4. (24 dc, 24 ch-1 spaces)
Round 4: Sl st into ch-1 sp, ch 3, 2 dc in same sp, ch 2, *3 dc in next ch-1 sp, ch 2* repeat around, sl st to join. (24 shell clusters)
Round 5: Sl st to center dc of shell, ch 5 (counts as dc plus ch-2), dc in same st, ch 3, sk next shell, *(dc, ch 2, dc) in center dc of next shell, ch 3, sk next shell* repeat around, sl st to join. (12 V-stitches)
Round 6: Sl st into ch-2 sp, ch 3, 4 dc in same sp, ch 2, sc in ch-3 sp, ch 2, *5 dc in next ch-2 sp, ch 2, sc in ch-3 sp, ch 2* repeat around, sl st to join. (12 fan shells)
Round 7: Ch 1, sc in first dc, *ch 3, sk 1 dc, sc in next dc, ch 5, sc in next dc, ch 3, sk 1 dc, sc in next dc, ch 4, sc in first dc of next shell* repeat around, adjusting final join. Sl st to first sc.
Fasten off, leaving a long tail for joining.
Part Six: Joining the Lace Overlay
Arrange your 5 completed motifs in a ring, overlapping edges slightly. Using your tapestry needle and CC yarn, whip stitch the motifs together at their touching points. Work carefully to maintain the lace pattern visibility.
Once joined, position the lace ring over your gray bag body. The bottom edge of the lace should sit approximately 3 inches up from the base. Pin in place.
Using CC and your tapestry needle, tack the lace to the bag body at several points along the bottom scalloped edge. Secure at the top edge as well, stitching invisibly into the gray stitches.
Part Seven: Scalloped Top Edging
With CC and 3.5mm hook:
Join yarn at any point along the top edge of the bag.
Round 1: Sc evenly around the entire top opening, working through both the lace and the gray body where they overlap. Aim for approximately 54 sc. Sl st to join.
Round 2: Ch 1, sc in first st, *sk 2 sts, 5 dc in next st, sk 2 sts, sc in next st* repeat around. Sl st to join.
Fasten off and weave in ends. This creates the pretty scalloped edge visible at the top of the bag.
Part Eight: Rope Handle
Cut your cotton rope to approximately 30 inches. Thread each end through the sides of the bag, approximately 2 inches below the top edge, on opposite sides.
If using grommets, install them first to protect the crochet fabric and create a clean look.
Knot each rope end securely on the inside of the bag. For extra security, wrap the knot area with matching yarn and stitch closed.
Part Nine: Drawstring and Tassels
Making the Drawstring:
Chain approximately 100 with CC yarn, or cut a length of cotton rope approximately 36 inches long. Weave through the ch-2 spaces created in Round 63.
Making the Tassels (Make 2):
Wrap CC yarn around a 4 inch piece of cardboard approximately 30 times. Slide off carefully. Tie tightly about half inch from the top to create the tassel head. Cut the loops at the bottom. Trim evenly.
Attach one tassel to each end of the drawstring.
Finishing Your Bucket Bag
Weave in all remaining yarn tails. Block the lace portion if desired by misting with water and pinning flat to dry. This really opens up the lace pattern and makes it shine.
Give the whole bag a light steam pressing to set the stitches, being careful not to crush the lace.
Tips for Success with This Crochet Pattern
Tension matters. Keep your single crochet stitches tight and consistent for the bag body. This prevents sagging and stretching when the bag holds weight.
Count every round. Especially during increases and decreases, losing track of your stitch count throws everything off. Those stitch markers are your best friend.
Block your motifs before joining. Taking five minutes to block each lace piece makes joining so much easier and gives a professional finish.
Reinforce stress points. Where the handle attaches sees the most wear. Consider adding a few extra stitches or even a fabric lining for heavy use.
Make It Your Own
This bucket bag pattern adapts beautifully to different color combinations. Try navy with gold lace for an elegant evening look. Or use bright coral with white for a summery vibe. The structure works regardless of your palette choices.
You could also adjust the size by adding or removing increase rounds at the base and body rounds for height. Just remember to recalculate your lace motif placement.
Thank You for Making This With Me
I genuinely appreciate you choosing this pattern for your next project. Creating something beautiful with your own hands never gets old, and I hope this bucket bag brings you as much joy to make as it did for me to design.
When you finish yours, I would absolutely love to see it. Tag me on Instagram or share in my Facebook group. Seeing your finished projects is honestly the best part of this whole crochet blogging journey.
Happy crocheting, friend. You have got this.