
This gorgeous natural raffia summer tote is exactly the kind of project that makes you feel like a crochet rockstar. That satisfying woven texture, those stunning coral tassels, and a bag sturdy enough to haul your beach essentials? Yes please. If you can single crochet in the round, you can absolutely make this. I promise.
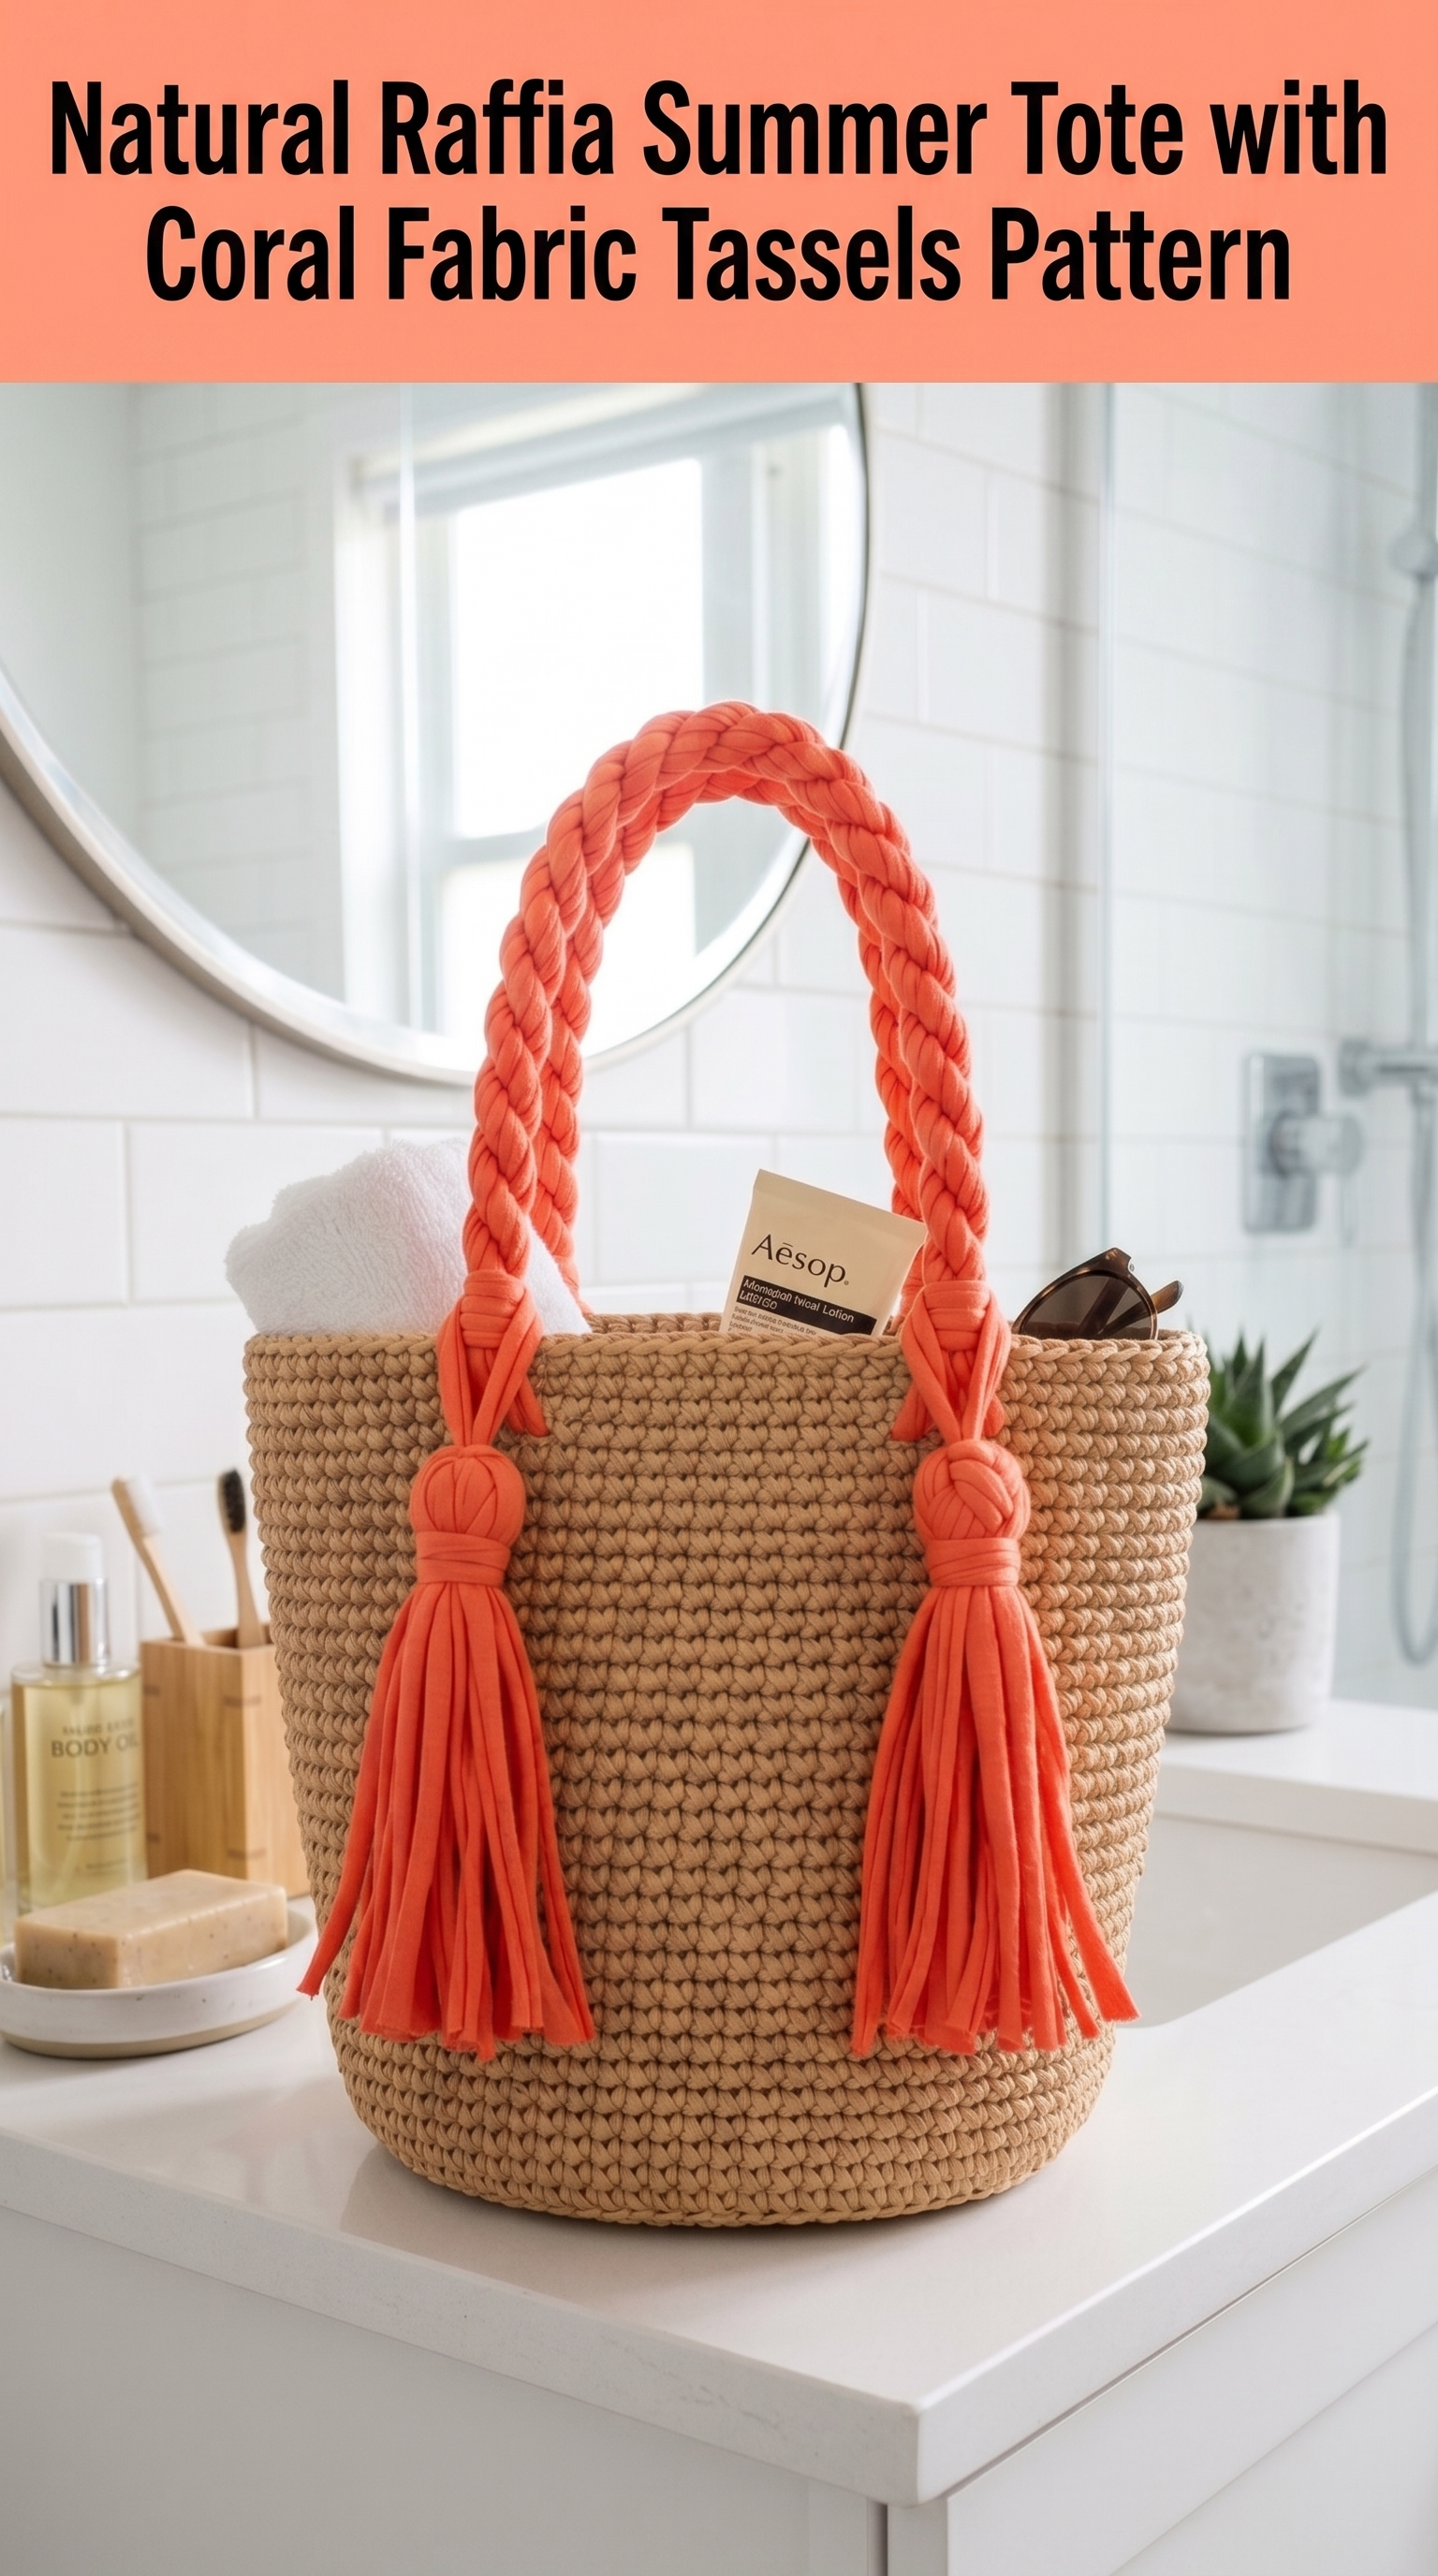
I designed this crochet pattern to capture that effortless summer vibe we all crave. The natural tan color gives it a classic straw bag look, but the crochet construction means you control the size, shape, and durability. And those braided handles with chunky tassels? Total showstoppers.
Let me walk you through everything you need to recreate this summer tote crochet pattern from scratch.
Why This Raffia Tote Bag Pattern Works So Well
The magic here is in the materials and construction. This bag uses raffia yarn or paper yarn, which creates that gorgeous woven basket texture you see in high-end summer accessories. The fabric yarn handles in contrasting coral add the pop of color that elevates the whole design.
The body is worked entirely in the round using basic stitches. No seaming the bottom. No complicated shaping. Just steady, meditative rounds that build up into a functional, beautiful tote.
This is an intermediate crochet pattern, but confident beginners who have made amigurumi or baskets before will do just fine. The trickiest part is attaching the handles, and I will walk you through that step by step.
Finished Dimensions
- Height: Approximately 10 inches (25 cm) not including handles
- Width at top opening: Approximately 12 inches (30 cm)
- Base diameter: Approximately 7 inches (18 cm)
- Handle drop: Approximately 8 inches (20 cm)
Your finished size may vary slightly depending on your tension and the specific yarn you choose. That is completely normal with this type of project.
Materials Needed
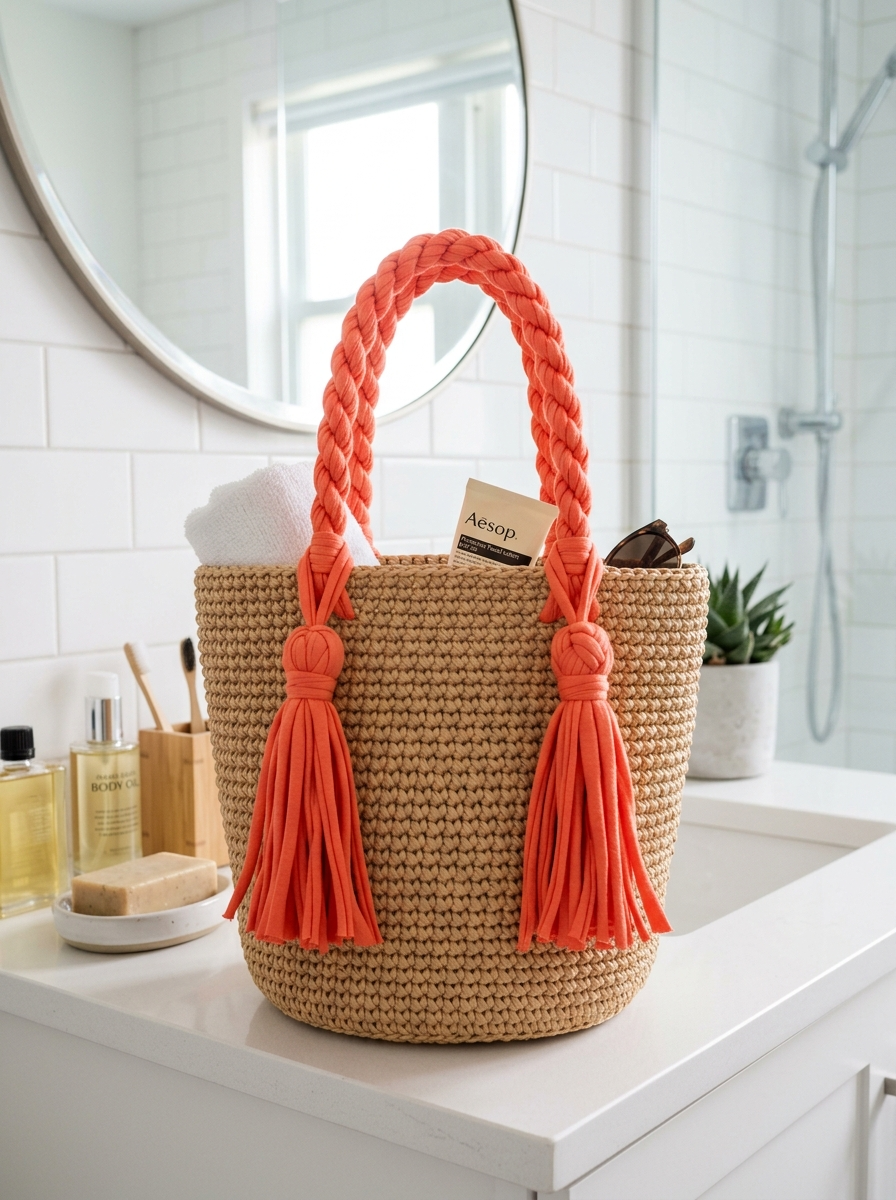
Yarn
For the Bag Body:
- Raffia yarn or paper yarn in natural tan color
- Approximately 250 to 300 yards needed
- Look for brands like Raphia by Wool and the Gang, DMC Natura XL, or similar paper-based yarns
- Weight equivalent to bulky or super bulky depending on brand
For the Handles and Tassels:
- T-shirt yarn or fabric yarn in coral or bright orange
- Approximately 150 yards needed
- Look for brands like Hoooked Zpagetti, Lily Sugar n Cream Scrub Off, or any jersey-based tube yarn
- This creates the thick braided handles and chunky tassels
Hook
- 8.0 mm (L/11) crochet hook for the bag body
- You may need to adjust based on your yarn and tension
- The goal is a tight, sturdy fabric that holds its shape
Notions
- Stitch marker (locking style works best)
- Tapestry needle with large eye
- Scissors
- Measuring tape
- Optional: cardboard rectangle for making tassels (about 8 inches tall)
Gauge
Working in single crochet in the round with raffia yarn and 8.0 mm hook:
10 stitches and 11 rounds = 4 inches (10 cm)
Gauge matters here because it affects your bag size and sturdiness. If your stitches are too loose, the bag will be floppy. Too tight and you will struggle to work the yarn. Aim for a dense fabric that still allows your hook to pass through easily.
Abbreviations and Stitch Definitions
Let me define every stitch before we begin. Even if you know these, a quick refresher never hurts.
ch = chain: Yarn over, pull through the loop on your hook. This creates the foundation and is used for turning.
sl st = slip stitch: Insert hook, yarn over, pull through both the stitch and the loop on your hook in one motion. Used for joining rounds.
sc = single crochet: Insert hook into stitch, yarn over and pull up a loop (two loops on hook), yarn over and pull through both loops. This is your main stitch for the entire bag.
inc = increase: Work 2 single crochet stitches into the same stitch. This adds one stitch to your count.
BLO = back loop only: Instead of inserting your hook under both loops of the V on top of a stitch, insert it under only the back loop (the one farther from you). This creates a ridge and helps shape the base to body transition.
Pattern Notes Before You Begin
A few things that will make your life easier:
1. Work in continuous spiral rounds for the body of the bag. Do not join with a slip stitch at the end of each round unless the pattern specifically says to. Use a stitch marker to track the beginning of each round, moving it up as you go.
2. Raffia yarn can be stiff. That is actually what you want. It softens slightly with handling but maintains the structured shape. If your hands get tired, take breaks.
3. Tension consistency matters more than tightness. Keep your stitches even throughout. This creates that beautiful uniform texture you see in the photos.
4. The handles are made separately and attached after completing the bag body. Do not worry about them until you finish crocheting.
Step by Step Crochet Pattern
Part 1: The Circular Base
You will start at the center bottom and work outward in increasing rounds.
Magic Ring: Create a magic ring (also called magic circle or adjustable ring). This is how you start crocheting in the round with no hole in the center.
Round 1: Work 6 sc into the magic ring. Pull the tail to close the ring tightly. Place stitch marker in first stitch. (6 sts)
Round 2: Inc in each stitch around. (12 sts)
Round 3: *Sc 1, inc* repeat around. (18 sts)
Round 4: *Sc 2, inc* repeat around. (24 sts)
Round 5: *Sc 3, inc* repeat around. (30 sts)
Round 6: *Sc 4, inc* repeat around. (36 sts)
Round 7: *Sc 5, inc* repeat around. (42 sts)
Round 8: *Sc 6, inc* repeat around. (48 sts)
Round 9: *Sc 7, inc* repeat around. (54 sts)
Round 10: *Sc 8, inc* repeat around. (60 sts)
Round 11: *Sc 9, inc* repeat around. (66 sts)
Round 12: *Sc 10, inc* repeat around. (72 sts)
Your base should measure approximately 7 inches across at this point. If it is significantly smaller, you may need a larger hook or looser tension. If it is larger, try going down a hook size.
Check your work: The base should lie flat without cupping or ruffling. If it cups, you are crocheting too tightly. If it ruffles, you may have too many stitches or too loose tension.
Part 2: Transition Round
This round creates the sharp angle between the flat base and the upright sides. It is what gives the bag that structured bucket shape.
Round 13: Working in BLO (back loop only), sc in each stitch around. (72 sts)
You should see a distinct ridge forming on the outside of your work. This is correct. This ridge becomes the crisp edge where the base meets the sides.
Part 3: The Bag Body
Now you will work straight up without any increases. This builds the walls of your tote.
Rounds 14 through 40: Sc in each stitch around. (72 sts per round)
That is 27 rounds of straight single crochet. Yes, it is repetitive. Put on a podcast, watch a show, enjoy the rhythm. This is the meditative part of crochet.
Important: Continue working in both loops (normal single crochet) for all these rounds. Only Round 13 was in back loop only.
Height check: After completing Round 40, your bag body should measure approximately 9 to 10 inches from the base transition ridge to the top edge.
Part 4: Top Edge Finishing
Round 41: Sc in each stitch around. Sl st to first sc to join. (72 sts)
Round 42: Ch 1 (does not count as a stitch), sc in each stitch around. Sl st to first sc to join. (72 sts)
Fasten off and weave in your end securely. The bag body is now complete.
Part 5: Creating the Braided Handles
The handles are made from fabric yarn using a simple three-strand braid. This is not crochet, just basic braiding, but the thick yarn creates that gorgeous rope-like effect.
For each handle, you need:
- 3 strands of fabric yarn, each approximately 45 inches long
To make one handle:
1. Cut three 45-inch lengths of coral fabric yarn.
2. Align the ends and tie them together in an overhand knot, leaving about 4 inches of tail below the knot.
3. Braid the three strands together. Keep consistent tension so the braid looks even and full. The fabric yarn is thick, so your braid will be chunky and substantial.
4. When you have braided to about 4 inches from the ends, tie another overhand knot to secure.
5. Repeat to create a second identical handle.
Each finished braided section should be approximately 22 to 24 inches long between the knots.
Part 6: Creating the Tassels
Each handle has two tassels, one at each attachment point. You need 4 tassels total.
For each tassel:
1. Cut approximately 16 to 20 strands of fabric yarn, each about 16 inches long.
2. Gather all strands and fold them in half.
3. Take a separate short piece of fabric yarn (about 12 inches). Wrap it tightly around the folded bundle about 1.5 inches down from the fold. Wrap several times and tie securely. This creates the tassel head.
4. Trim the ends so they are even, approximately 6 to 7 inches long below the wrapped section.
5. Repeat three more times for a total of 4 tassels.
Part 7: Attaching Handles and Tassels
This is the assembly step. Take your time here because placement affects both looks and function.
Positioning:
- Each handle attaches at two points on opposite sides of the bag
- Position the attachment points about 3 to 4 inches from center on each side
- Both handles should be symmetrical
Attachment method:
1. Thread the tail ends of one handle knot through the top edge of the bag from outside to inside. Position about 3.5 inches left of center on one side of the bag.
2. On the inside, separate the tail strands and weave them back out through different stitches, creating a secure anchor.
3. Take one tassel and position it so the folded loop is at the handle attachment point. Thread the handle tails through the tassel loop and pull tight, securing the tassel to the handle base.
4. Wrap any remaining tail ends around the connection point several times, then tuck and secure. You want a neat wrapped look that hides the attachment.
5. Repeat for the other end of the same handle, positioning it 3.5 inches right of center on the opposite side of the bag.
6. Repeat entire process for the second handle on the remaining two sides.
Final check: Both handles should have equal drop height and the tassels should hang evenly.
Finishing Touches
Weave in any remaining ends on the inside of the bag. For raffia yarn, I recommend weaving through at least 2 inches of stitches and splitting the yarn slightly so it locks in place.
Gently shape your bag by pressing the base flat and evening out the sides. The structured nature of raffia means it will hold whatever shape you give it.
Customization Ideas
Size adjustments: Add more increase rounds to the base for a wider bag. Add more straight rounds to the body for a taller bag.
Color variations: Try navy or black raffia for a more sophisticated look. Swap coral for mustard yellow, sage green, or classic cream.
Lining optional: If you want to carry small items without them poking through, consider sewing in a simple fabric lining. Cotton canvas works beautifully.
Different handles: Leather straps, wooden rings, or even crocheted handles would all work with this bag body.
Care Instructions
Raffia yarn: Spot clean only. Do not machine wash or submerge in water. Paper-based yarns can weaken or lose shape when wet. Store stuffed with tissue paper to maintain shape.
Fabric yarn handles: Can be gently hand washed if needed. Air dry completely before reattaching or using.
You Made It!
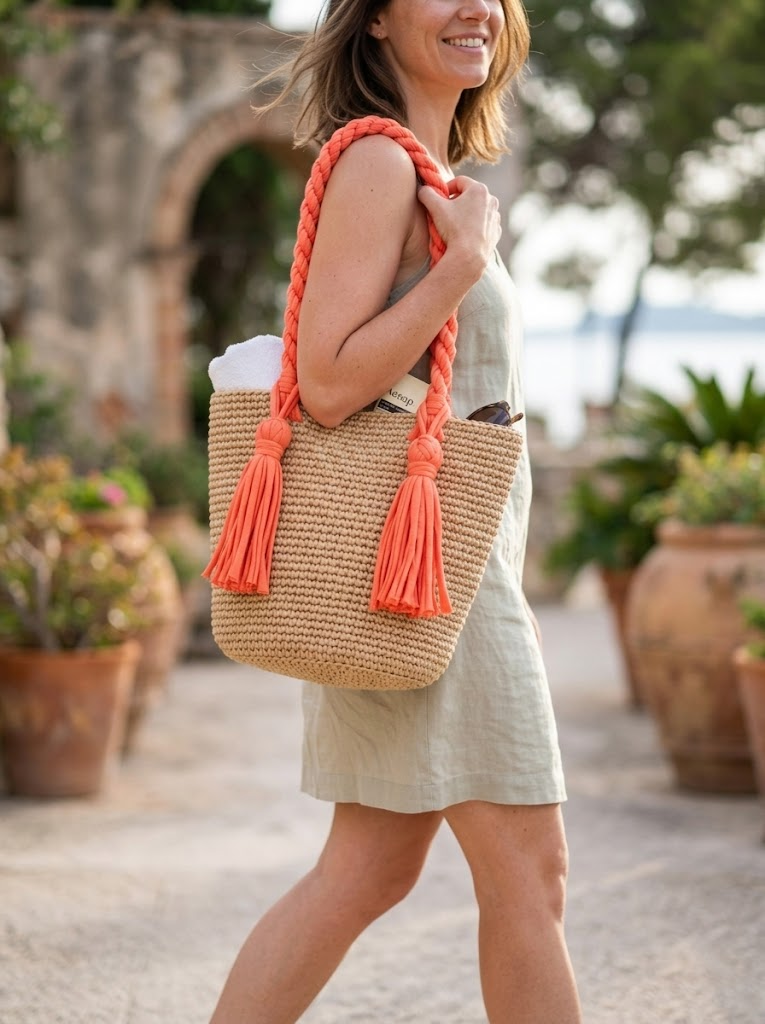
Look at you with your stunning natural raffia summer tote! This bag is going to get so many compliments. Take it to the beach, the farmers market, or just use it as the most beautiful bathroom storage ever.
I genuinely love seeing your finished projects. Tag me on Instagram or share in my Facebook group so I can celebrate with you. Seeing your versions of this summer tote crochet pattern absolutely makes my day.
Thank you for trusting me with your time and yarn stash. That means the world. Now go show off that gorgeous bag!
Happy crocheting,