
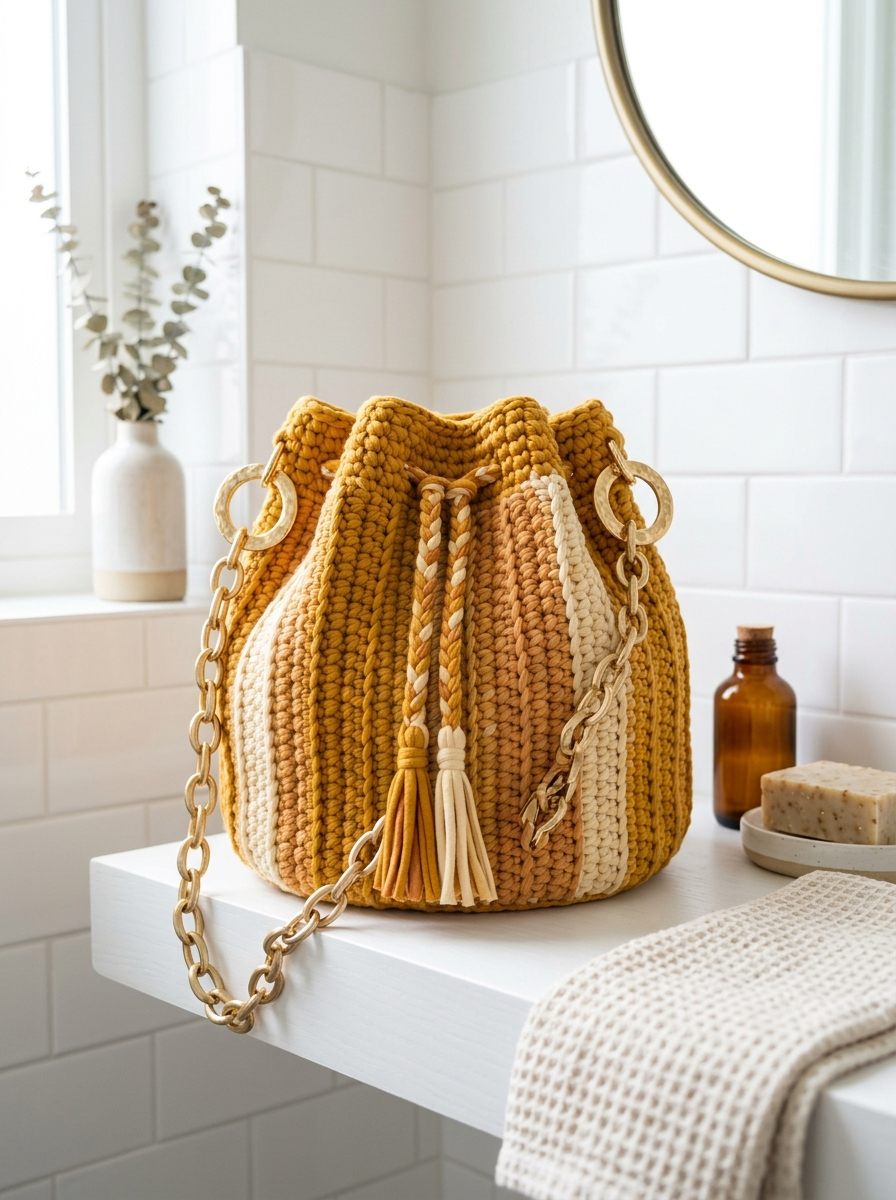
This gorgeous drawstring bucket bag has been living in my head rent-free since I finished it. The warm mustard yellow paired with soft cream and caramel stripes gives it that trendy boho vibe everyone is loving right now. And honestly? It looks way more complicated than it actually is.
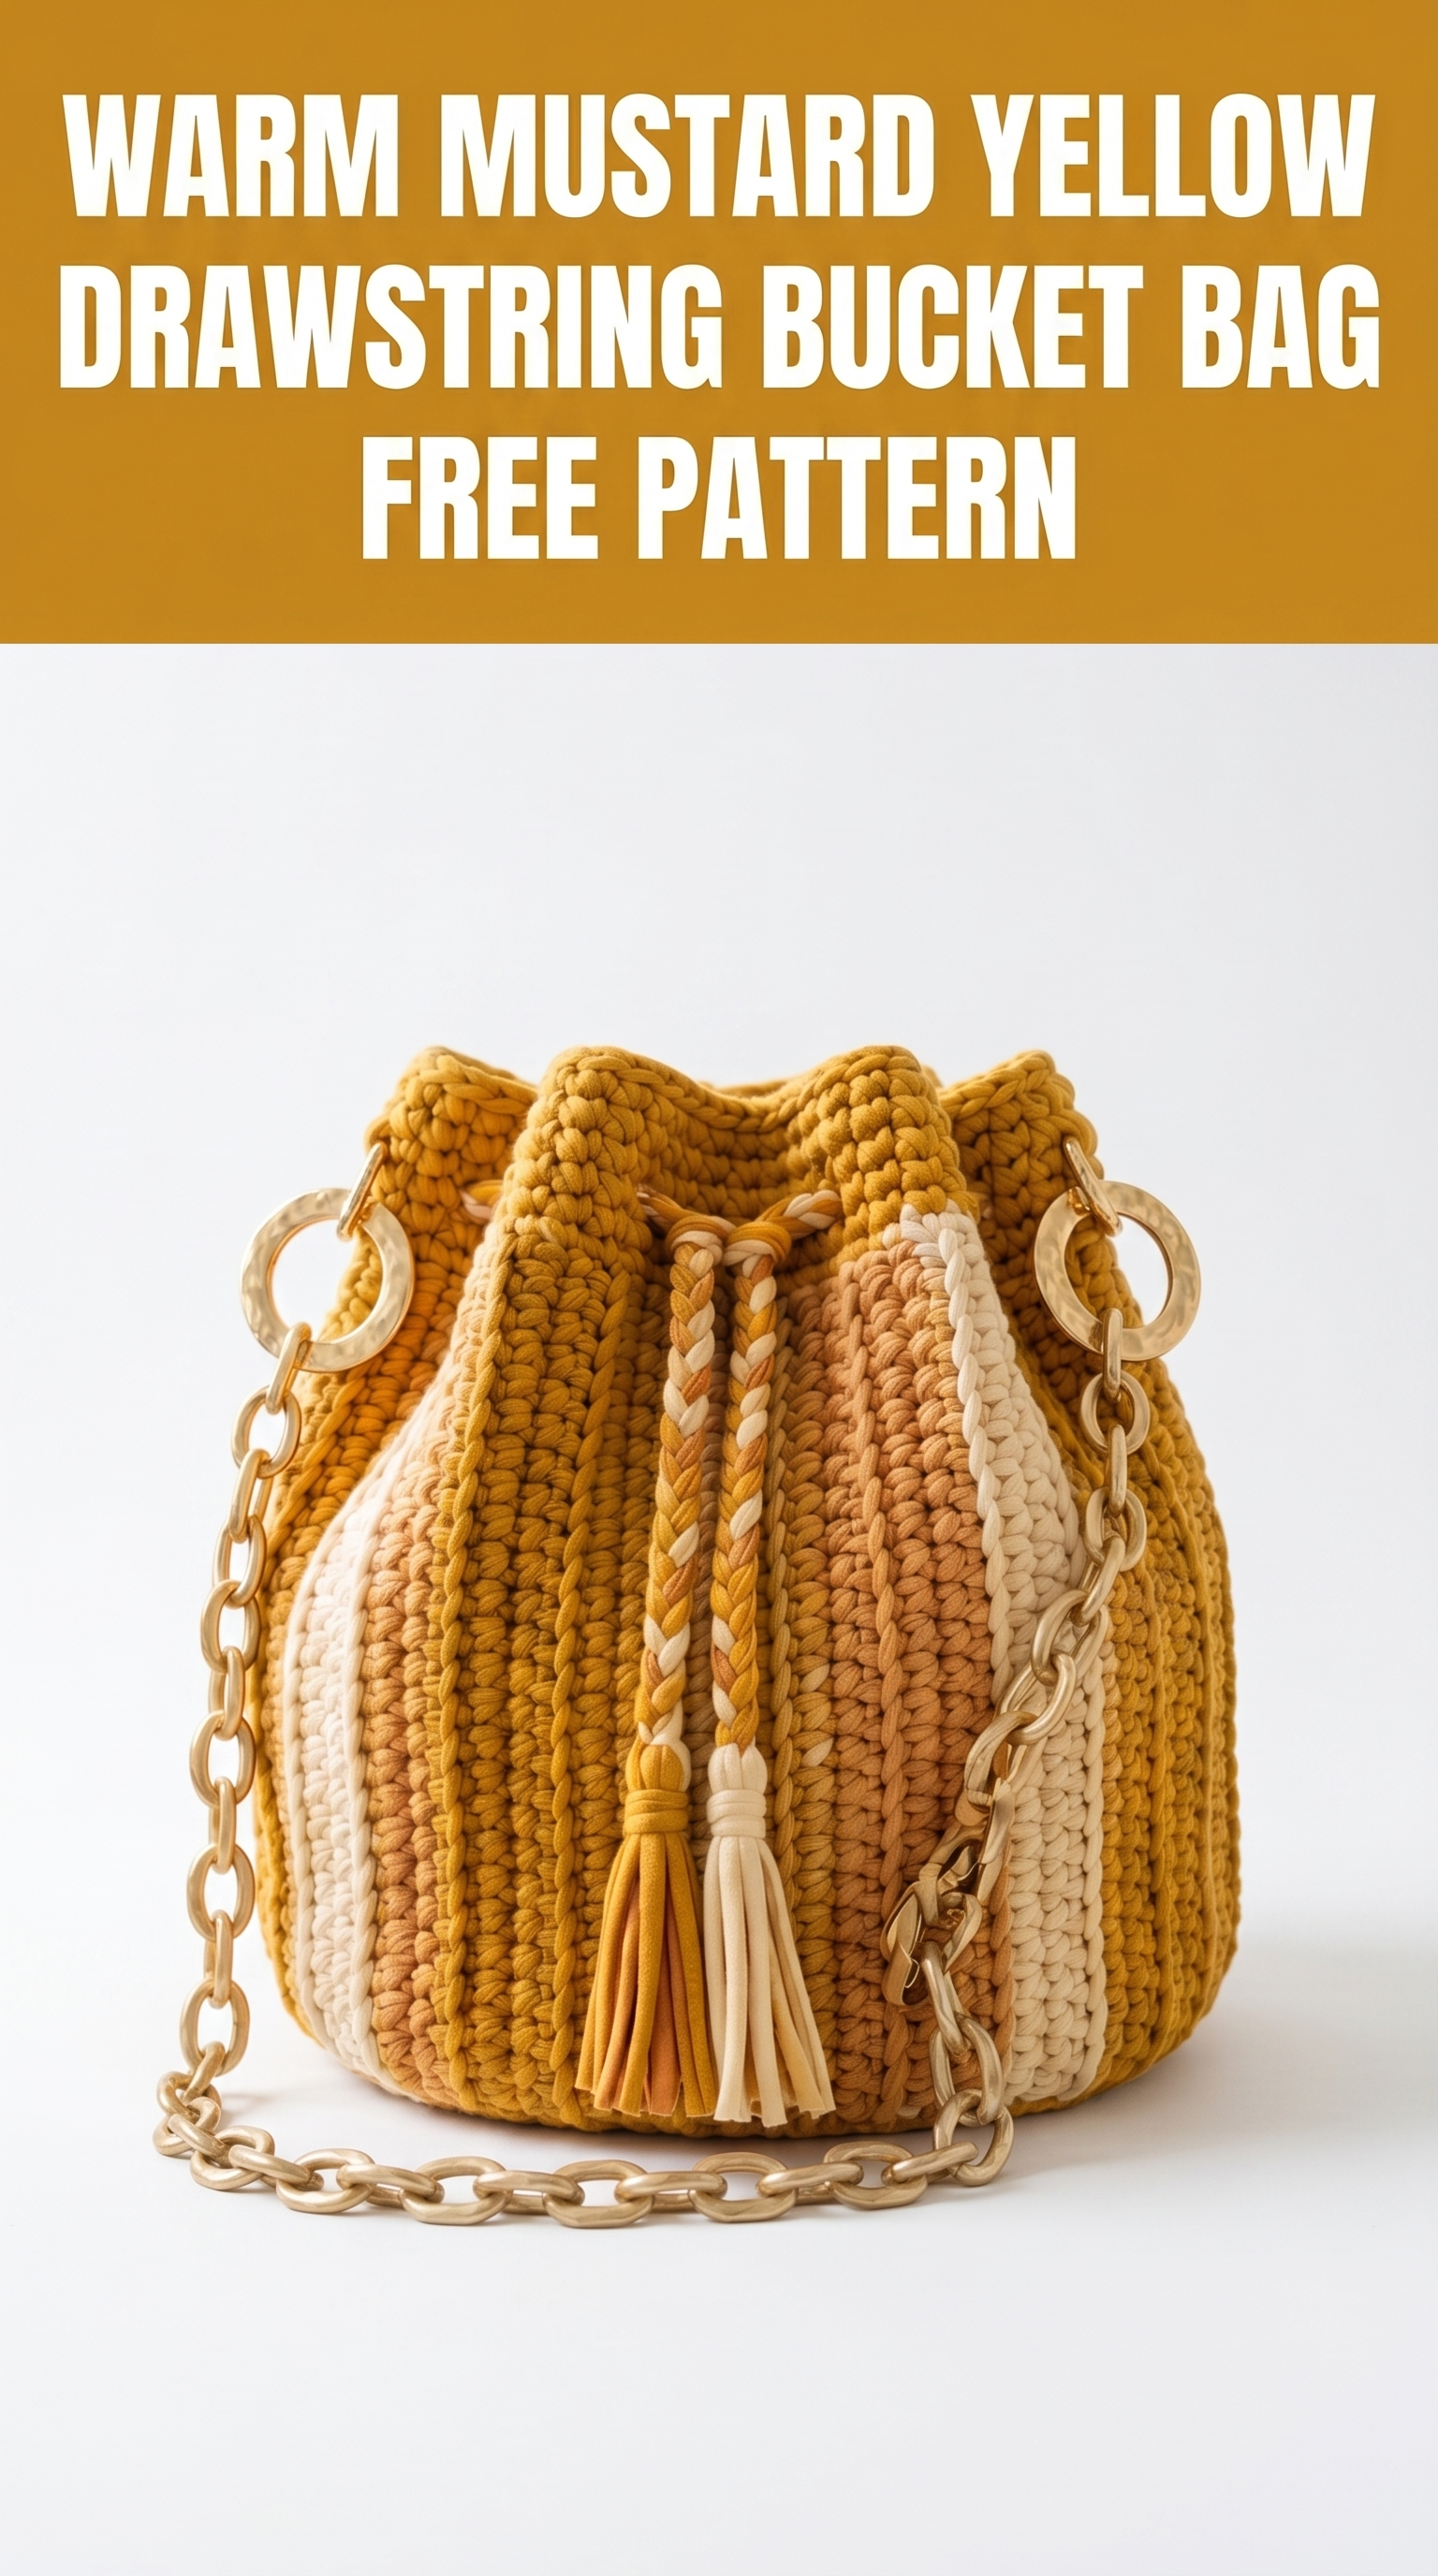
If you can crochet in the round and know your basic stitches, you can absolutely make this bag. I promise. The vertical stripe technique might seem intimidating at first glance, but I will walk you through every single step.
This crochet bucket bag pattern creates a sturdy, structured bag perfect for everyday use. The chunky yarn and tight stitches mean your essentials stay secure. Add that gorgeous gold chain strap and you have got yourself a designer-looking accessory for a fraction of the cost.
Let me show you exactly how to make it.
Why You Will Love This Crochet Bucket Bag Pattern
Before we dive into the step by step instructions, let me tell you what makes this bag special.
It holds its shape beautifully. The single crochet stitches worked tightly create a fabric that does not sag or stretch out of shape. No lining required unless you want one.
The stripes are worked vertically. This means no complicated color changes mid-row. You simply work each stripe section separately as you go around. So satisfying.
Hardware elevates everything. Those gold acrylic rings and chain strap take this from cute craft project to actual fashion accessory. Trust me on this.
It is beginner friendly. If you have never made a bag before, this is a fantastic first project. The construction is straightforward and the thick yarn works up quickly.
Materials You Will Need
Gathering your supplies before starting makes the whole process smoother. Here is everything you need for this crochet drawstring bag tutorial.
Yarn
T-shirt yarn or cotton tube yarn works beautifully for this project. It creates that chunky, textured look you see in the photos. Regular super bulky acrylic will work too, though the finished look will be slightly different.
Hook
Yes, that is a big hook. It matches the chunky yarn and creates that lovely dense fabric.
Hardware and Notions
Finished Dimensions
Gauge
Working in single crochet (sc) with super bulky yarn and 10mm hook:
8 stitches and 9 rows = 4 inches
Gauge matters for bags. Too loose and your stuff falls through the holes. Too tight and you will fight the yarn every row. Take five minutes to check. Your hands will thank you later.
Abbreviations and Stitch Definitions
Let me break down every stitch we will use. Even if you know these, a quick refresher never hurts.
ch = chain: Yarn over, pull through loop on hook. This is your foundation.
sl st = slip stitch: Insert hook, yarn over, pull through stitch AND loop on hook in one motion. Used for joining rounds.
sc = single crochet: Insert hook into stitch, yarn over and pull up a loop (2 loops on hook), yarn over and pull through both loops. This is the main stitch for our entire bag.
inc = increase: Work 2 single crochet stitches into the same stitch. This makes your circle grow.
sc2tog = single crochet two together (decrease): Insert hook into first stitch and pull up loop, insert hook into next stitch and pull up loop (3 loops on hook), yarn over and pull through all 3 loops. This cinches things in.
Skill Level
Confident Beginner to Intermediate
You should be comfortable with:
Never made a bag before? You can still do this. Just take it one round at a time.
Pattern Notes Before You Begin
This bag is worked from the bottom up. You start with a flat circle for the base, then work straight up for the body.
The body uses vertical stripes. Each round, you will work sections in different colors following a specific color sequence.
We work in continuous rounds for the base. Use a stitch marker to track where your rounds begin. Move it up each round.
The body uses joined rounds. This helps keep the stripes aligned perfectly.
Do not turn your work. You are always working with the right side facing you.
Step by Step Crochet Pattern
Part 1: The Base
We start with a magic ring. If magic rings stress you out, you can chain 4 and slip stitch to form a ring instead. Both work fine.
Round 1: Using Mustard Yellow, create a magic ring. Ch 1, work 6 sc into the ring. Pull ring closed. Place stitch marker. (6 sts)
Round 2: Work 2 sc in each stitch around. (12 sts)
Round 3: *Sc in first stitch, 2 sc in next stitch.* Repeat from * around. (18 sts)
Round 4: *Sc in next 2 stitches, 2 sc in next stitch.* Repeat from * around. (24 sts)
Round 5: *Sc in next 3 stitches, 2 sc in next stitch.* Repeat from * around. (30 sts)
Round 6: *Sc in next 4 stitches, 2 sc in next stitch.* Repeat from * around. (36 sts)
Round 7: *Sc in next 5 stitches, 2 sc in next stitch.* Repeat from * around. (42 sts)
Round 8: *Sc in next 6 stitches, 2 sc in next stitch.* Repeat from * around. (48 sts)
Your base should measure approximately 6 inches across. If it is significantly smaller or larger, check your gauge and adjust your hook size.
Lay your circle flat. Is it ruffling? Your stitches are too loose. Is it cupping like a bowl? Your stitches are too tight. A flat circle means perfect tension.
Part 2: Body of the Bag
Now comes the fun part. We stop increasing and work straight up. The first round creates that nice edge between base and body.
Round 9 (Transition Round): Working in back loops only, sc in each stitch around. Sl st to first sc to join. (48 sts)
This back loop only round creates a crisp edge at the base. It is subtle but makes the bag look more polished.
From here, we work in joined rounds with vertical color stripes.
Color Sequence for Each Round:
Rounds 10-25: Following the color sequence above, sc in each stitch around. Sl st to first sc to join. Change colors as indicated by carrying yarn behind work or using separate bobbins. (48 sts each round)
Color Change Tips:
When switching colors, complete the last stitch of the old color up until the final yarn over. Then yarn over with the new color and pull through. This keeps your color changes clean.
You can carry the unused colors behind your work if you prefer. Just be careful not to pull too tightly or your bag will pucker.
After completing Round 25, your bag body should measure approximately 7 inches tall.
Part 3: Upper Edge and Drawstring Holes
We need to create openings for the drawstring to pass through.
Round 26: Sc in each stitch around using Mustard Yellow only. Sl st to join. (48 sts)
Round 27 (Eyelet Round): *Sc in next 3 stitches, ch 2, skip 2 stitches.* Repeat from * around. Sl st to join.
This creates 8 evenly spaced holes for your drawstring to weave through.
Round 28: Sc in each sc and work 2 sc in each ch-2 space around. Sl st to join. (48 sts)
Round 29: Sc in each stitch around. Sl st to join. (48 sts)
Round 30 (Scallop Edge): *Sl st in first stitch, sc in next stitch, 3 dc in next stitch, sc in next stitch.* Repeat from * around. Sl st to join. Fasten off.
That scalloped edge gives the bag such a pretty, feminine finish. If scallops are not your thing, simply work one more round of single crochet and call it done.
Part 4: Drawstring Cord
The twisted drawstring adds that beautiful boho detail.
Option 1: Braided Drawstring (as shown)
Cut 9 strands of yarn, each approximately 60 inches long. Use 3 strands each of Mustard, Cream, and Caramel.
Divide into 3 groups of 3 strands each (mixing colors). Knot all strands together at one end. Braid tightly until the cord measures approximately 36 inches. Knot the other end.
Option 2: Crocheted Chain
Using Mustard Yellow, chain approximately 100 stitches or until cord measures 36 inches. Fasten off.
Weave the drawstring through the eyelet holes, entering and exiting at the front center of the bag.
Part 5: Tassels
Those adorable tassels complete the look.
Make 2 tassels (one Mustard, one multi-colored):
1. Cut approximately 20 strands of yarn, each 8 inches long
2. Fold strands in half
3. Use a small piece of yarn to tie tightly around the fold, about half an inch from the top
4. Trim bottom ends evenly
Attach tassels to each end of the drawstring cord.
Part 6: Hardware Assembly
Attaching the Rings:
Using a 12 inch strand of Mustard yarn, secure each acrylic ring to the bag approximately 2 inches below the top edge, positioned on either side of the bag (at the halfway point of the back section).
Weave yarn through several stitches and around the ring multiple times. Secure firmly and weave in ends.
Attaching the Chain:
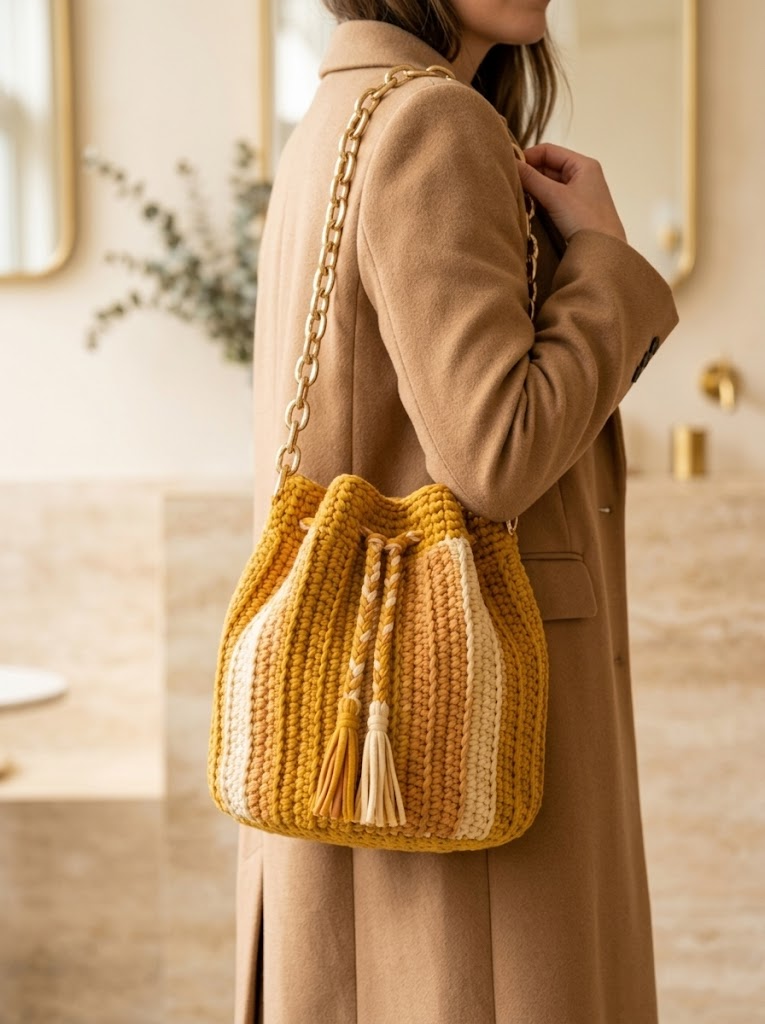
Use lobster clasps or jump rings to attach your chain strap to the acrylic rings. Adjust length as desired for shoulder or crossbody wear.
Finishing Touches
Weave in all ends. With chunky yarn, this takes some patience. Weave each tail through at least 3 inches of stitches to prevent them from popping out.
Block if desired. Lay the bag flat and shape it with your hands. For t-shirt yarn, you can lightly steam to help it hold its shape. Do not press hard or you will flatten the texture.
Add a lining (optional). For extra structure and security, cut a simple fabric lining and hand stitch it inside. This is totally optional but nice for everyday use.
Customization Ideas
Make this crochet bucket bag your own with these easy modifications.
Change the color palette. Neutrals like gray, black, and white create a more minimalist look. Pastels make it perfect for spring. Go wild with rainbow stripes for maximum impact.
Skip the stripes. Work the entire body in one color for a simpler look that works up even faster.
Add a pocket. Crochet a small rectangle and sew it to the inside of the bag for your phone or keys.
Switch the hardware. Silver, rose gold, or even wood rings completely change the vibe.
Adjust the size. Add more increase rounds to the base for a larger bag. Work fewer body rounds for a shorter one.
Troubleshooting Common Issues
My bag is too floppy.
Your stitches may be too loose. Try going down a hook size. T-shirt yarn also creates more structure than regular yarn.
My stripes are not lining up.
Make sure you are joining each round and starting in the correct stitch. Count your stitches every few rounds.
The base is curling up.
You are crocheting too tightly. Try relaxing your tension or moving up a hook size for the base only.
My color changes look messy.
Practice changing colors on the last yarn over of the previous stitch. This takes some practice but makes a huge difference.
You Did It
Congratulations on finishing your Warm Mustard Yellow Drawstring Bucket Bag. Seriously, this is a beautiful project and you should be proud of yourself.
This crochet tutorial covered everything from the circular base construction to those adorable finishing details. I hope the step by step instructions made this feel totally doable.
I would absolutely love to see your finished bag. Tag me on Instagram or share in my Facebook group. Seeing your creations honestly makes my entire week. Every single time.
Thanks so much for choosing this pattern. Happy hooking, friend.
*Pin this pattern for later and share it with your crochet-loving friends. More patterns coming soon.*