
This gorgeous dusty rose envelope bag might just be my favorite project of the season. When I finished crocheting it, I actually set it on my desk and stared at it for a solid five minutes. That textured puff stitch body, the sweet heart-shaped flap, the vintage brass hardware. It looks like something you would find in a boutique for $80 or more.
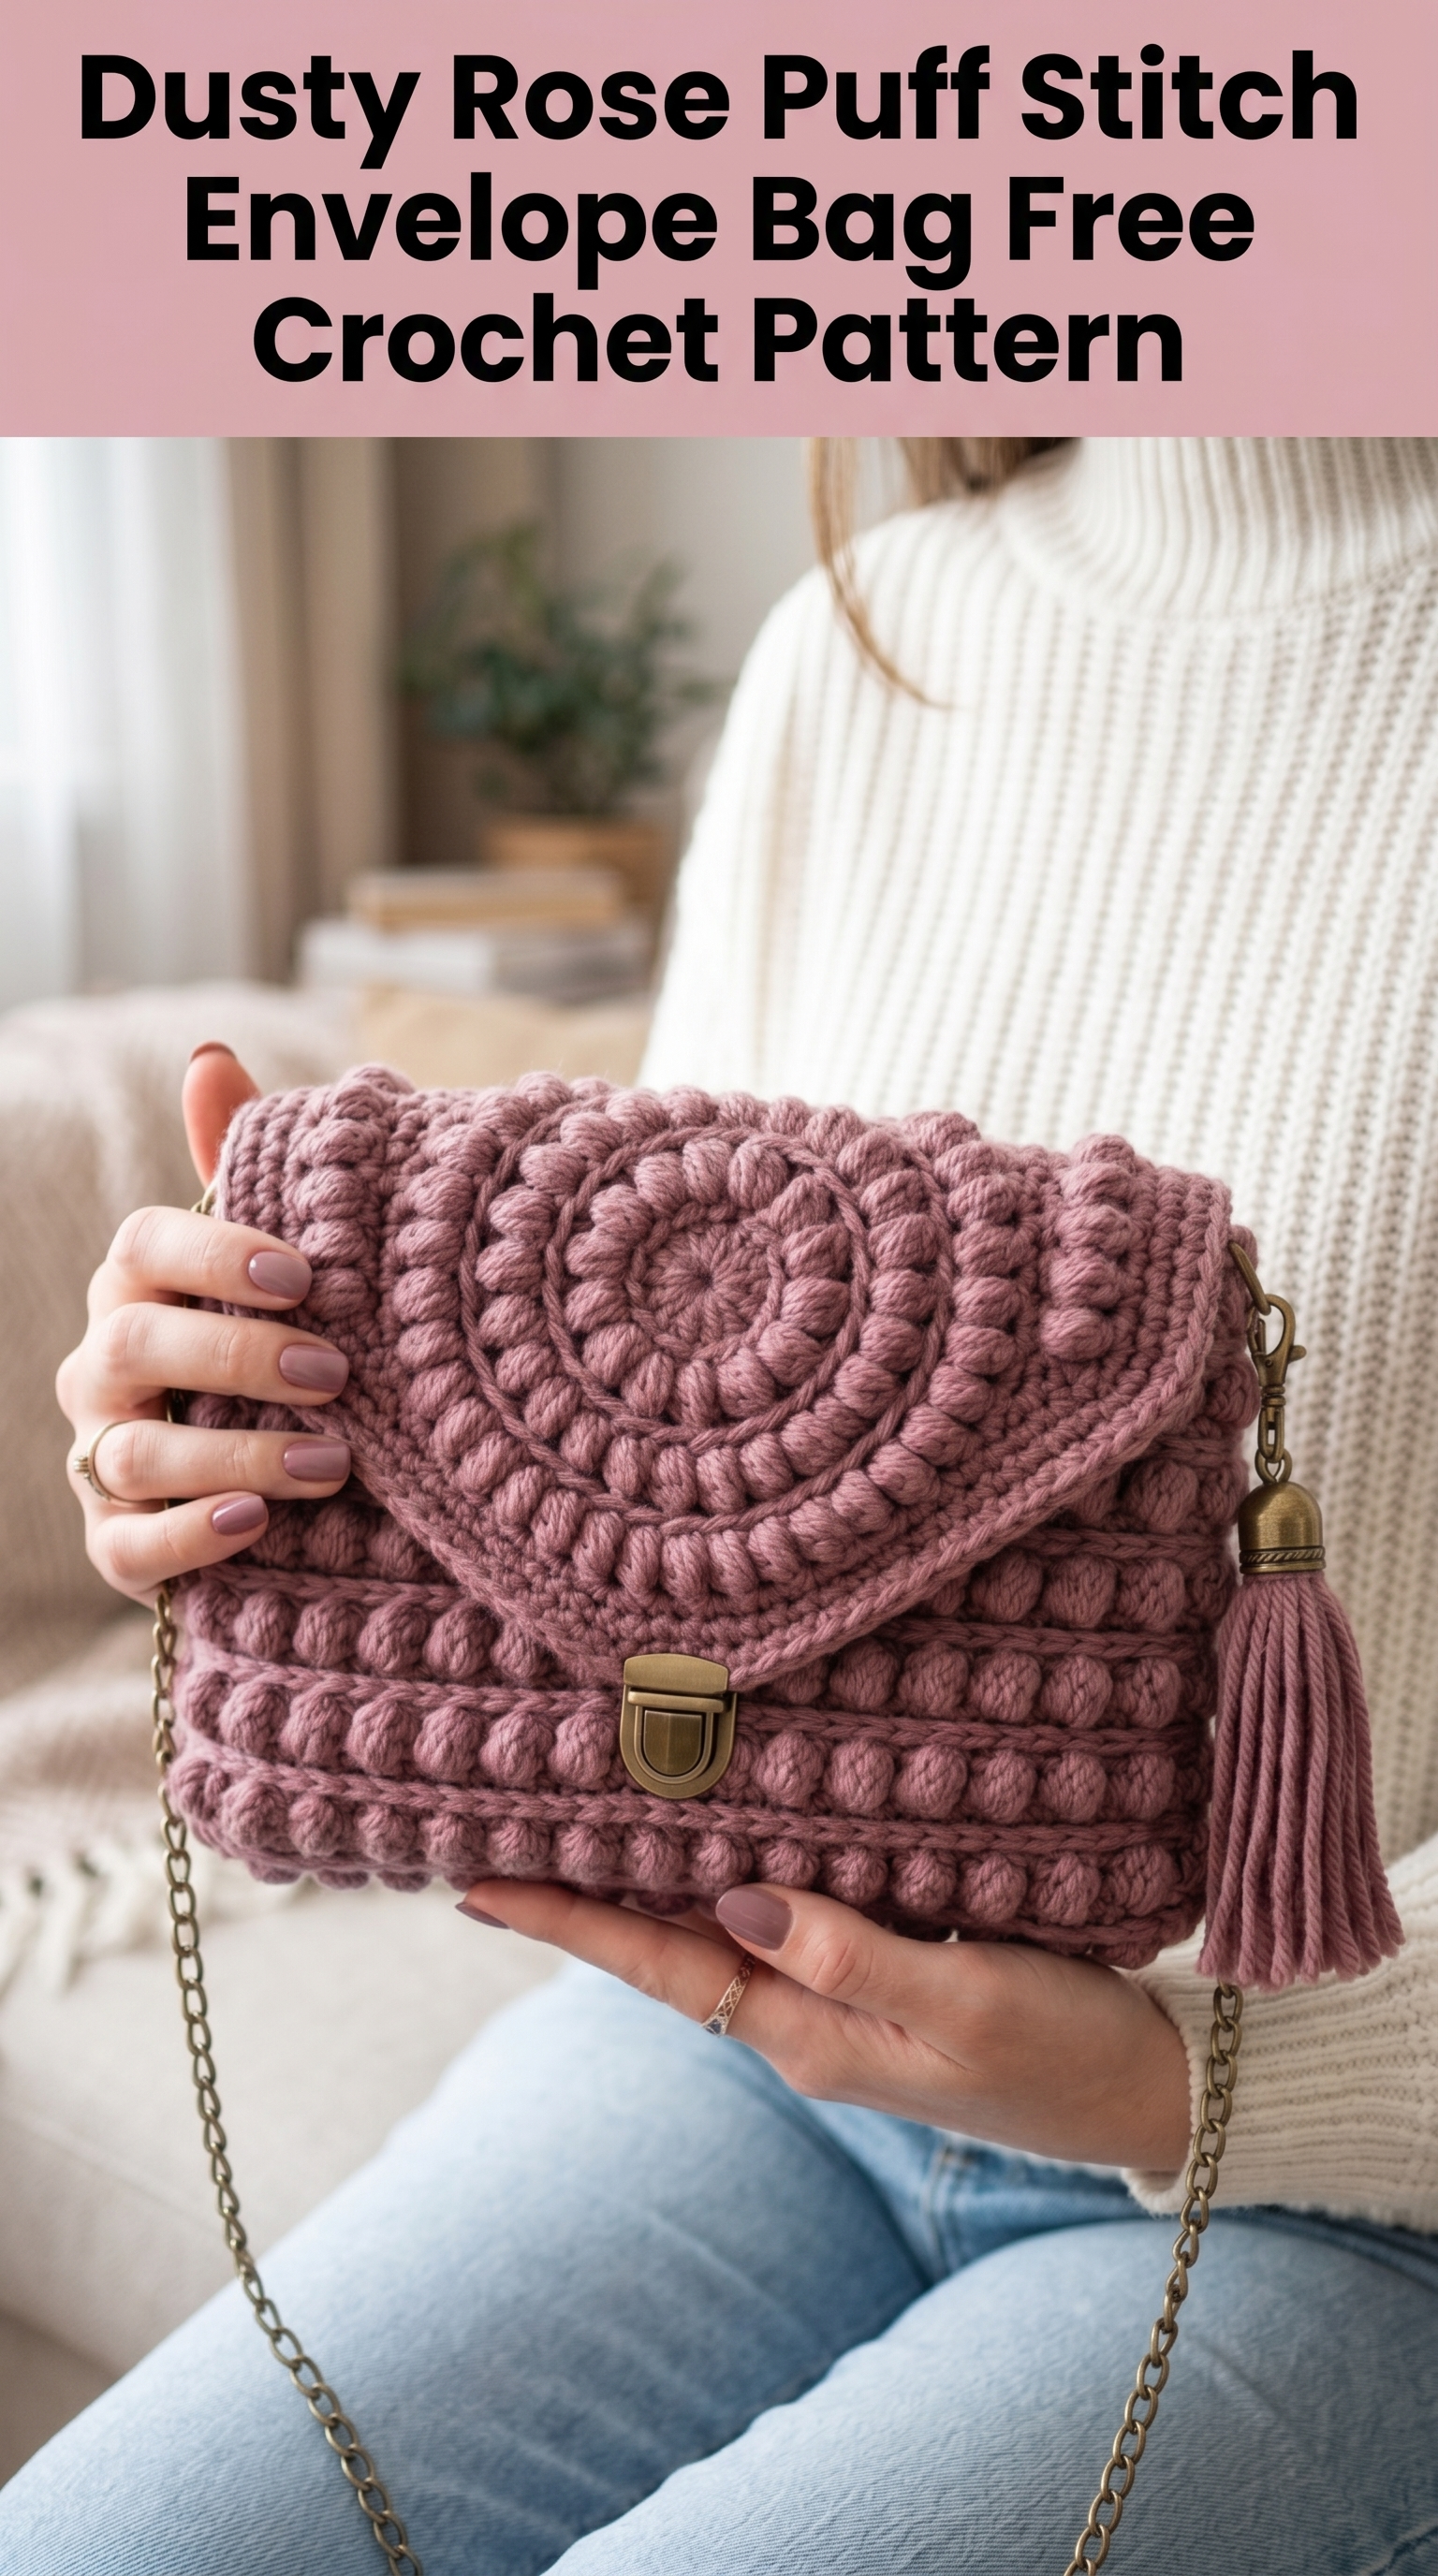
Here is the good news. If you can crochet a puff stitch and work in rows, you can absolutely make this bag. I would call it an intermediate skill level project, but a confident beginner who takes their time will do just fine. The construction is straightforward. You are essentially making two rectangles, a heart-shaped flap, and then assembling everything together.
Let me walk you through the entire crochet pattern step by step so you can recreate this beauty from scratch.
Why This Crochet Envelope Bag Pattern Works So Well
The magic of this design is in the stitch choices. The body uses alternating rows of single crochet and puff stitches to create those beautiful raised bobble rows. This gives the bag incredible texture and structure without being too heavy.
The heart flap features concentric rounds of puff stitches that create a dimensional, almost quilted look. When you pair that dusty rose yarn with antique brass hardware and a matching tassel, you get something truly special.
I designed this as a crossbody bag with a chain strap, but you could easily swap that for a crocheted strap or wear it as a clutch. Totally up to you.
Materials You Will Need
Before we dive into the crochet tutorial, let us gather everything you need.
Yarn:
Hook:
Notions:
Gauge:
Abbreviations and Stitch Definitions
Let me define every stitch we will use. I want zero confusion.
ch = chain: Wrap yarn over hook, pull through loop on hook. This creates your foundation.
sl st = slip stitch: Insert hook, yarn over, pull through stitch AND loop on hook in one motion. Used for joining.
sc = single crochet: Insert hook, yarn over, pull up a loop (2 loops on hook), yarn over, pull through both loops.
hdc = half double crochet: Yarn over, insert hook, yarn over, pull up a loop (3 loops on hook), yarn over, pull through all 3 loops.
dc = double crochet: Yarn over, insert hook, yarn over, pull up a loop, yarn over, pull through 2 loops, yarn over, pull through remaining 2 loops.
puff st = puff stitch: This is the star of the show. Here is how to make one: *Yarn over, insert hook into stitch, yarn over, pull up a loop* repeat this sequence 4 times total (9 loops on hook), yarn over, pull through all 9 loops, ch 1 to close the puff. That closing chain is important. It locks the puff in place.
inc = increase: Work 2 stitches in the same stitch.
sk = skip: Miss the indicated stitch and work into the next one.
Finished Dimensions
Step by Step Crochet Pattern for the Envelope Bag
Now let us get to the actual pattern instructions. Take your time. Mark your rows if it helps.
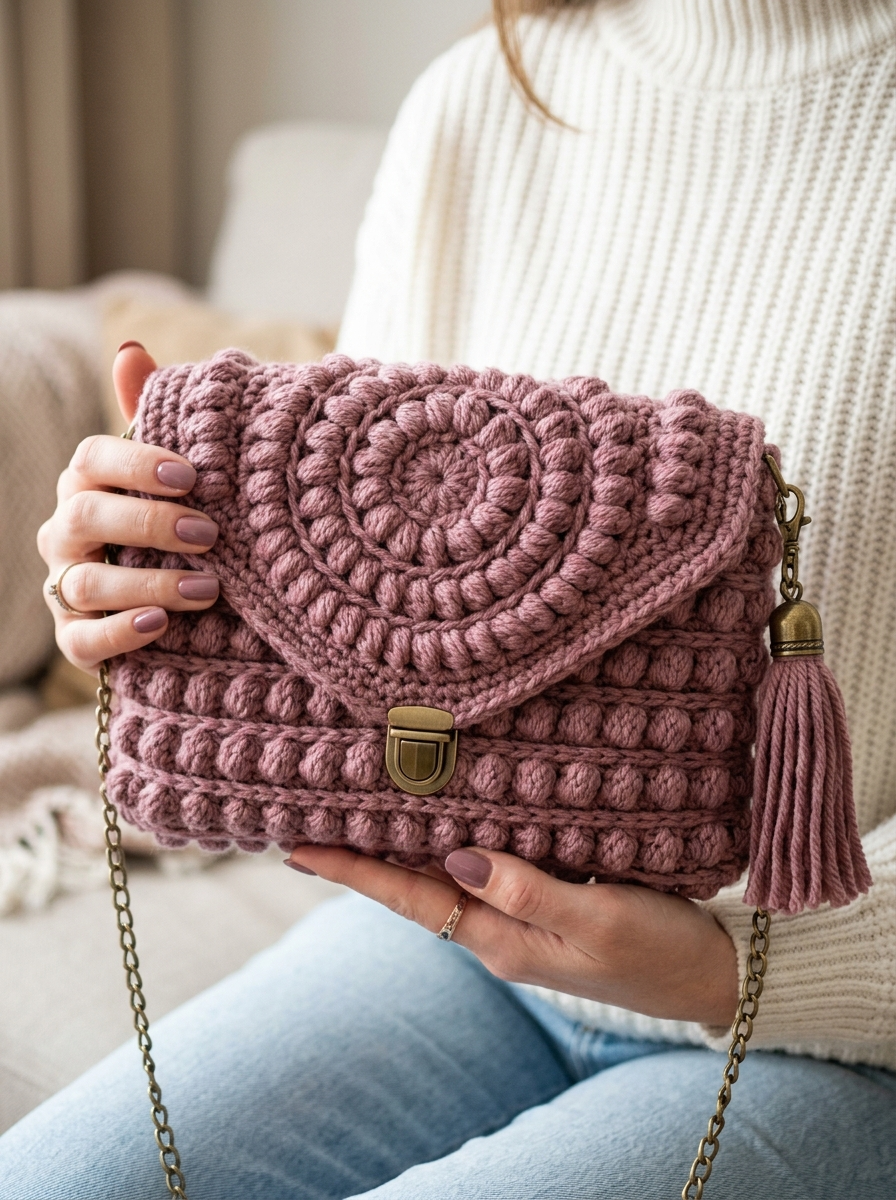
Part 1: The Bag Body (Make 2 Panels)
You will crochet two identical rectangles for the front and back of the bag.
Foundation Row: Ch 33.
Row 1: Sc in 2nd ch from hook and in each ch across. (32 sts)
Row 2: Ch 1, turn. Sc in first st, *puff st in next st, sc in next st* repeat across, ending with sc in last st. (32 sts: 16 sc + 16 puff sts)
Row 3: Ch 1, turn. Sc in each st across, working 1 sc into the top of each puff and 1 sc into each sc. (32 sts)
Row 4: Ch 1, turn. Sc in first 2 sts, *puff st in next st, sc in next st* repeat to last 2 sts, sc in last 2 sts. (32 sts)
This offsets your puff stitches so they create a brick-like pattern instead of lining up in columns. Much prettier.
Row 5: Ch 1, turn. Sc in each st across. (32 sts)
Rows 6 through 25: Repeat Rows 2 through 5 five more times. You should have approximately 6 horizontal puff stitch rows total.
Rows 26 and 27: Ch 1, turn. Sc in each st across. (32 sts)
Fasten off. Weave in ends.
Make a second identical panel.
Part 2: The Heart-Shaped Flap
This is worked in continuous rounds from the center outward. Place a stitch marker at the start of each round.
Magic Ring: Create a magic ring (adjustable loop).
Round 1: Ch 1, work 6 sc into the ring. Pull ring tight. Do not join. (6 sts)
Round 2: 2 sc in each st around. (12 sts)
Round 3: *Sc in next st, 2 sc in next st* repeat around. (18 sts)
Round 4: *Sc in next 2 sts, puff st in next st* repeat around. (18 sts)
Round 5: *Sc in next 2 sts, 2 sc in next st* repeat around. (24 sts)
Round 6: *Sc in next 3 sts, puff st in next st* repeat around. (24 sts)
Round 7: *Sc in next 3 sts, 2 sc in next st* repeat around. (30 sts)
Round 8: *Sc in next 4 sts, puff st in next st* repeat around. (30 sts)
Round 9: *Sc in next 4 sts, 2 sc in next st* repeat around. (36 sts)
Round 10: Sc in each st around. (36 sts)
Now we shape the heart. This is where it gets fun.
Round 11 (First Lobe): Sc in next 18 sts. Stop. You are now at the top center of the heart.
Round 12: Ch 1, turn. Sc in next 6 sts, puff st in next st, sc in next 4 sts, puff st in next st, sc in next 6 sts. (18 sts)
Round 13: Ch 1, turn. Sk first st, sc in next 5 sts, puff st in next st, sc in next 4 sts, puff st in next st, sc in next 4 sts, sk last st. (16 sts)
Round 14: Ch 1, turn. Sk first st, sc in next 14 sts, sk last st. (14 sts)
Round 15: Ch 1, turn. Sk first st, sc across to last st, sk last st. (12 sts)
Fasten off.
Return to Round 11. Join yarn to the 19th stitch (other side of heart).
Repeat Rounds 12 through 15 for the second lobe.
Fasten off. You now have a heart shape with two rounded lobes at the top.
Edging Round: Join yarn at the bottom point of the heart. Sc evenly around the entire edge, working 3 sc into the bottom point and 2 sc into any corners to keep edges flat. Sl st to join.
Final Puff Border: Ch 1, *sc in next st, puff st in next st* around the entire heart edge. Sl st to join. Fasten off.
Part 3: Assembly
Here comes the satisfying part.
Step 1: Join the Body Panels
Hold both body panels together with wrong sides facing (puff stitches visible on outside). Starting at one bottom corner, sc through both layers along the bottom edge and up both sides. Leave the top open. This creates a pouch.
Step 2: Attach D-Rings
At each top corner of the back panel, fold down approximately 1 inch of fabric around a D-ring. Whip stitch securely in place. These hold your chain strap.
Step 3: Attach the Heart Flap
Position the heart flap at the back top edge of the bag, centered. The bottom point should hang down over the front of the bag. Whip stitch the straight top edge of the heart (between the lobes) to the back panel.
Step 4: Install the Clasp
This step depends on your specific hardware. Most push clasps have two parts: the decorative lock plate and the catch.
If cutting your fabric makes you nervous, you can also sew the hardware on using sturdy thread and small holes.
Part 4: Finishing Touches
Chain Strap: Clip your chain to both D-rings. Most chains come with lobster clasps that make this simple.
Tassel: If you want the matching tassel, here is a quick method. Wrap yarn around a piece of cardboard about 4 inches tall, roughly 30 times. Tie a short strand tightly through the top loops. Cut the bottom loops. Wrap another strand around all the strands about 1 inch from the top to create the tassel head. Trim the ends evenly. Attach to your D-ring with a jump ring or lobster clasp.
Weave in ALL ends. Seriously. Bags get handled a lot.
Optional lining: For extra durability and to protect your items, you can sew a simple fabric lining inside. I use cotton quilting fabric.
Tips for Crochet Beginners
If you are newer to crochet, here are some things I wish someone had told me:
How to Customize Your Envelope Bag
One thing I love about this beginner friendly crochet pattern is how versatile it is.
Wrapping Up
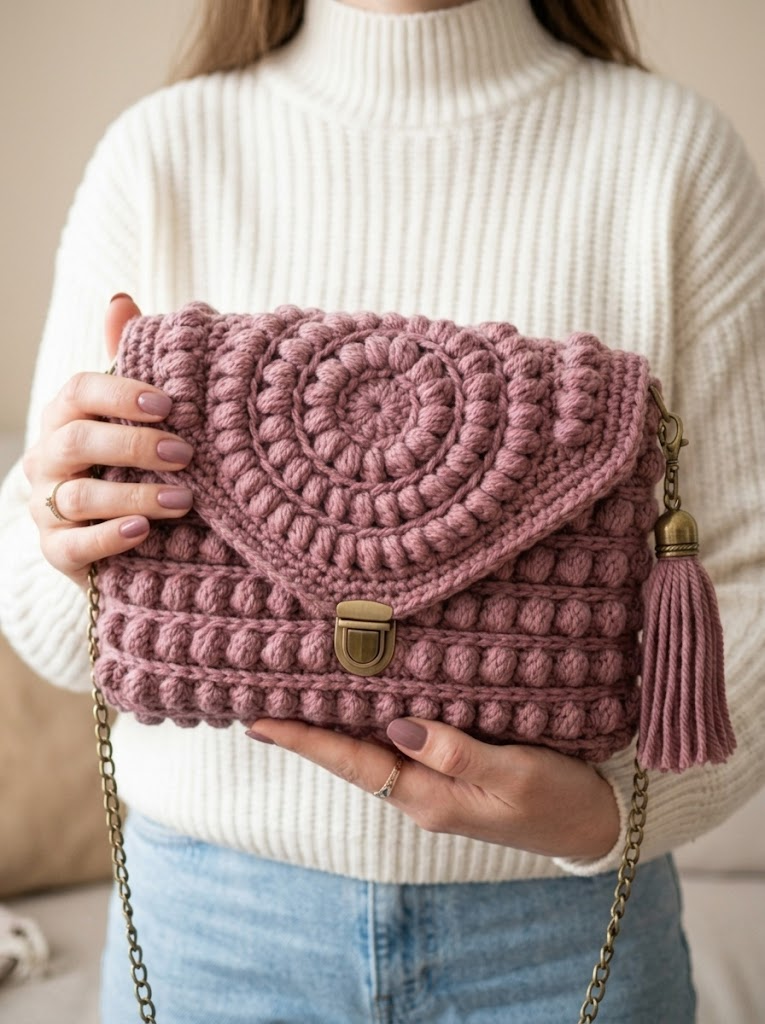
There you have it. A complete step by step crochet tutorial for making your own dusty rose puff stitch envelope bag. I truly hope you enjoy making this as much as I did.
When you finish yours, I would absolutely love to see it. Tag me on Instagram or share a photo in my Facebook group. Nothing makes my day like seeing your finished projects show up in my feed.
Thanks so much for being here and for trusting me with your next project. Now go grab that hook and make something beautiful.
Happy crocheting.