
This stunning burgundy clutch bag is about to become your new favorite accessory project. I designed this bobble spiral clutch with texture lovers in mind. The combination of puffy bobble stitches arranged in elegant rows creates a sophisticated bag that looks far more complicated than it actually is. If you can make a double crochet and count to five, you can absolutely make this bag.
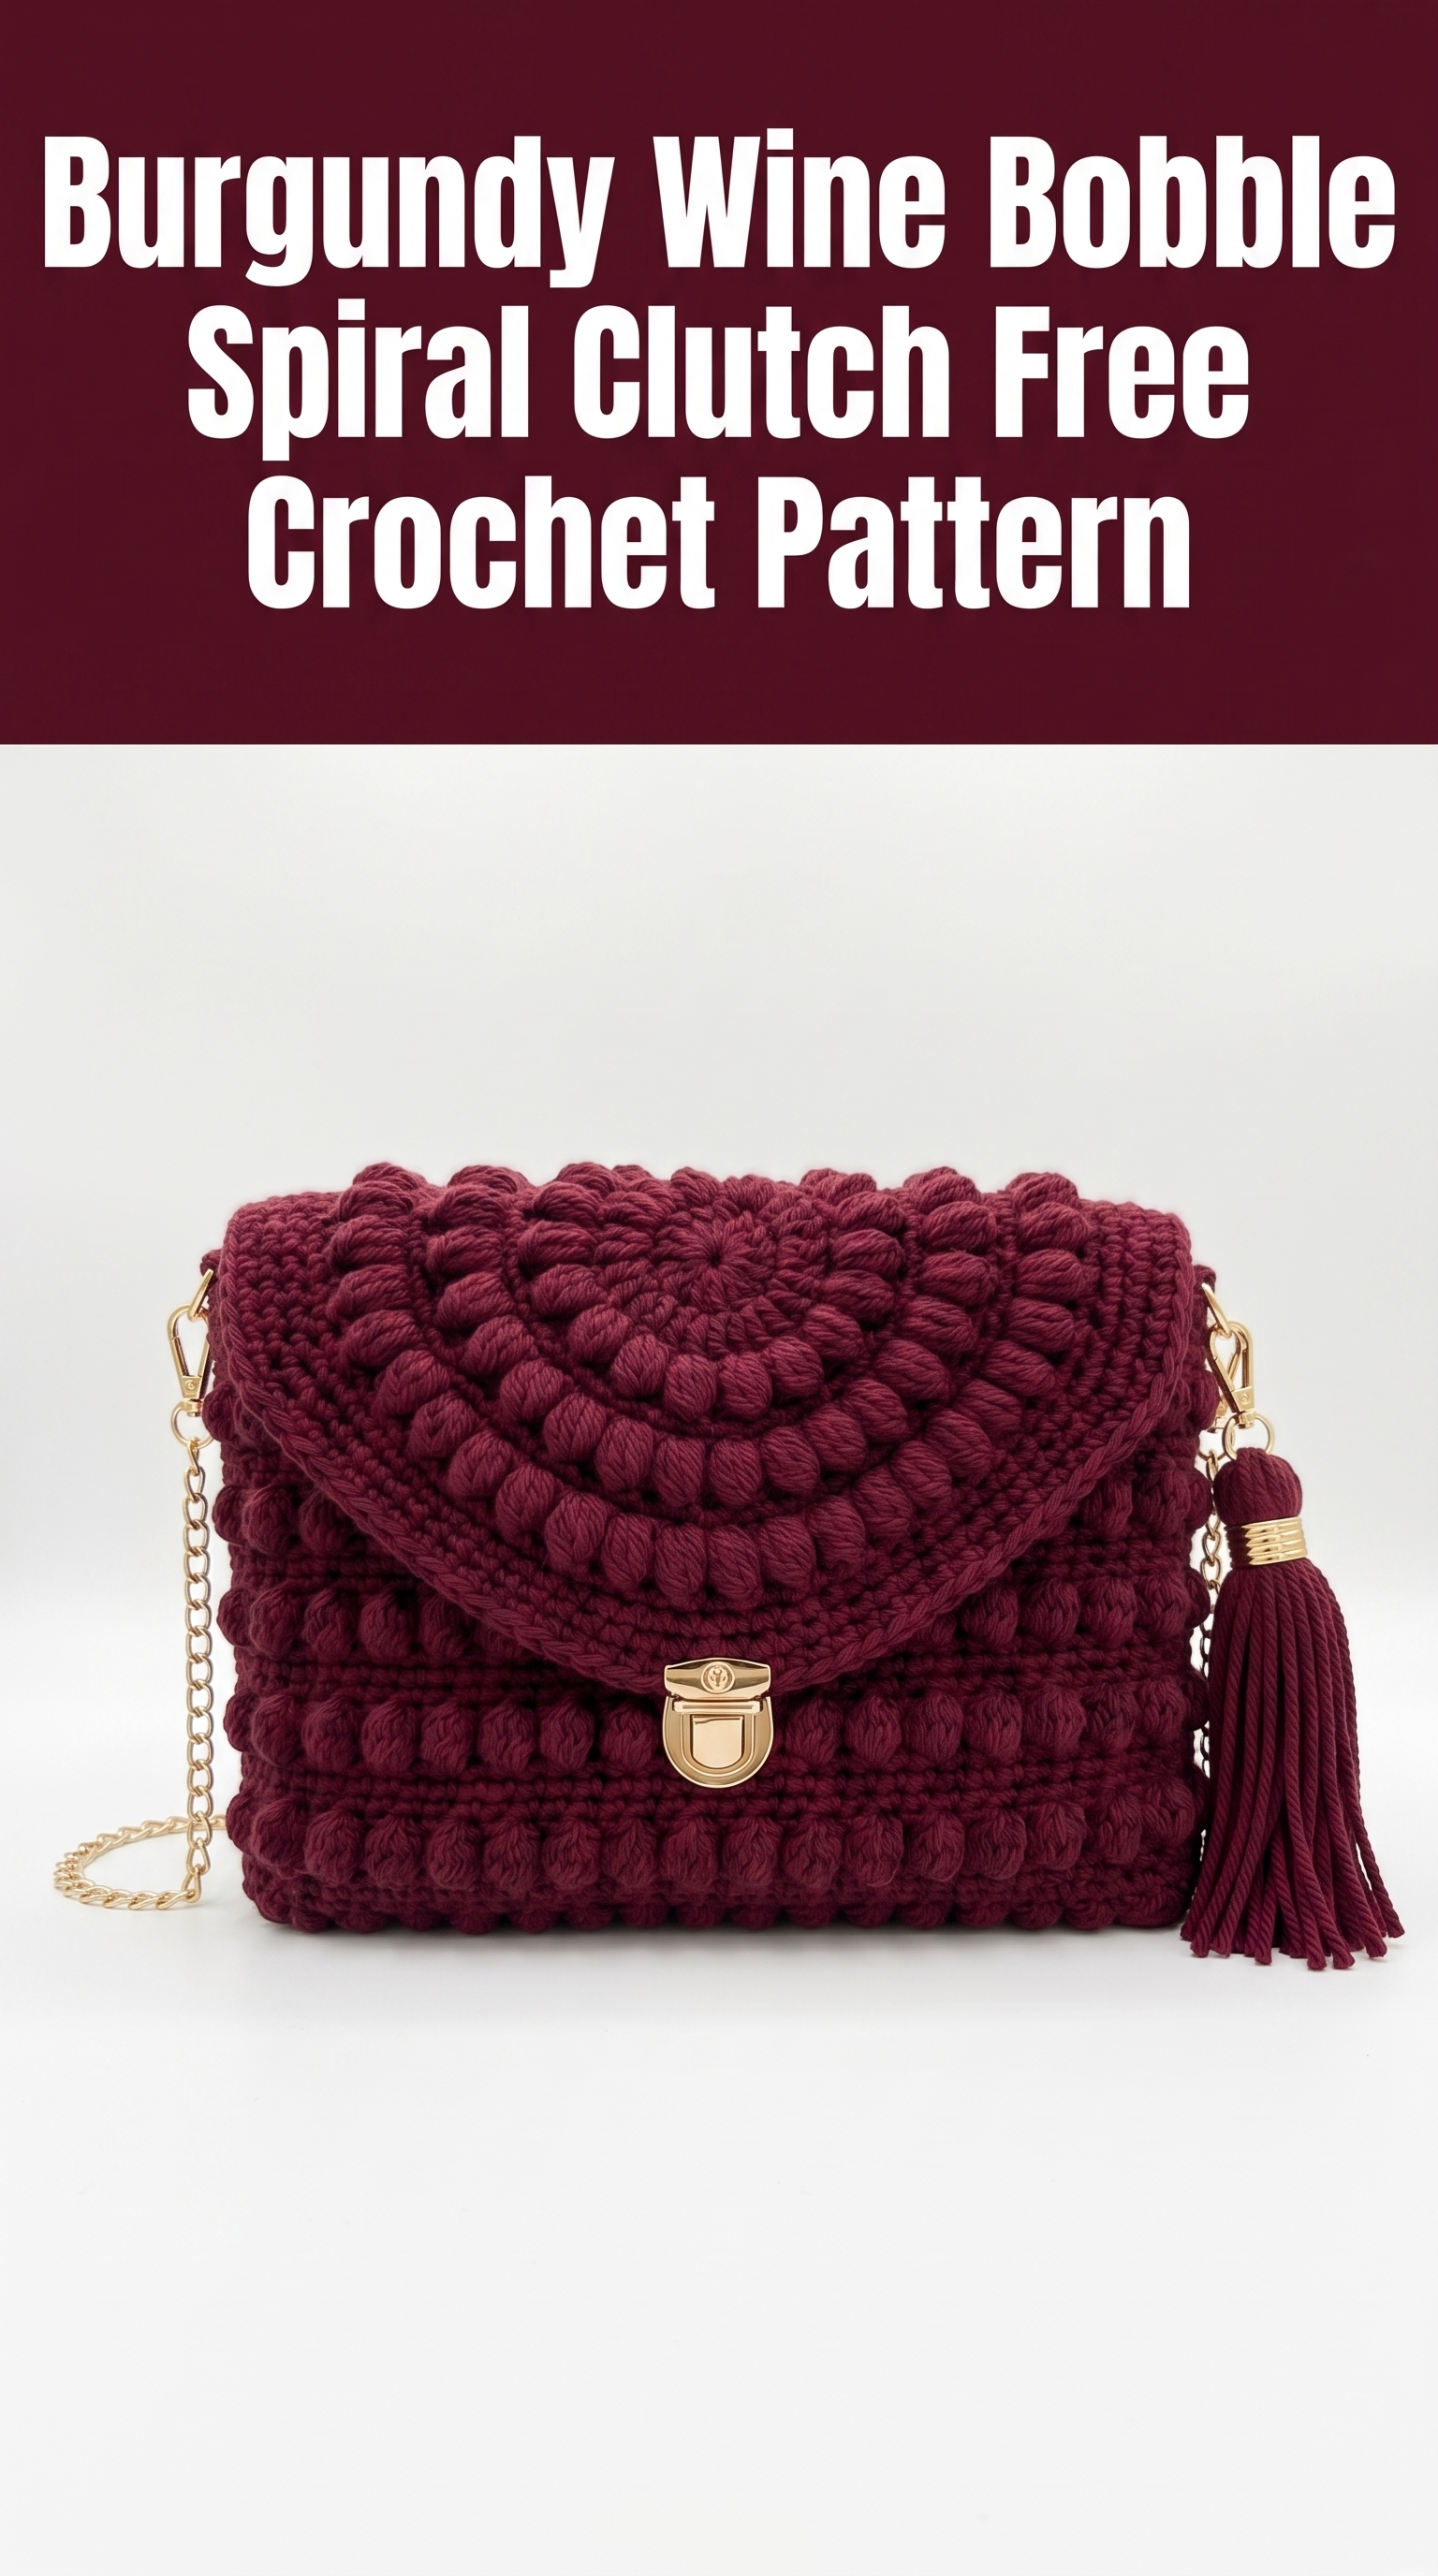
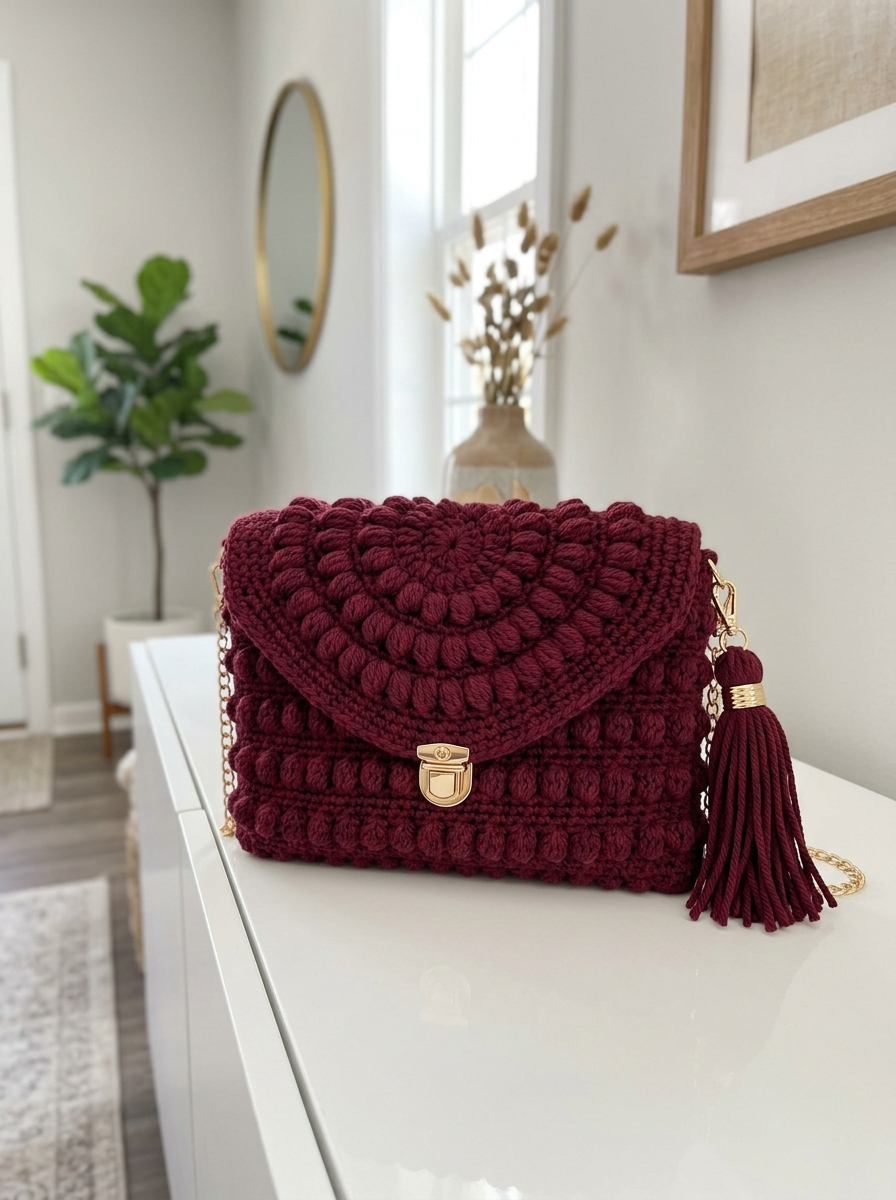
The crochet clutch pattern works up in roughly a weekend, and the finished piece looks like something you would find in a boutique. That gorgeous spiral flap with radiating bobbles is the showstopper here. Pair it with a gold chain strap and a matching tassel, and you have a handmade accessory worthy of any special occasion.
Let me walk you through exactly how to recreate this beauty from start to finish.
Why This Bobble Spiral Clutch Pattern Works So Well
The magic of this crochet pattern lies in the contrast between the dense single crochet base and those plump bobble stitches. Bobbles pop forward from the fabric surface, creating dimensional texture that catches light beautifully. The burgundy wine color I chose showcases the texture perfectly because the shadows between bobbles become more dramatic in deeper shades.
This step by step crochet tutorial breaks the project into manageable pieces. You will make a rectangular body, a separate spiral flap, then join everything together. Working in sections means you can easily check your progress and fix mistakes before moving on.
Skill Level and What You Need to Know
I would call this an intermediate beginner crochet pattern. You should feel comfortable with basic stitches and working in rows. The bobble stitch might be new to you, but I promise it is simpler than it looks. I will teach you exactly how to make it below.
Stitches you need to know:
If you have made a dishcloth or simple scarf, you have the skills for this project.
Materials List for Your Crochet Clutch
Gather these supplies before starting. Having everything ready makes the process so much smoother.
Yarn:
Hook:
Notions:
Optional but helpful:
Finished Dimensions
The completed clutch measures approximately:
The flap extends approximately 12cm from the top edge when closed.
Gauge Information
Gauge matters for bags because it affects the final size and fabric density. Work a test swatch before starting.
In single crochet:
16 stitches and 18 rows = 10cm (4 inches) square
In bobble pattern:
14 stitches and 10 rows = 10cm (4 inches) square
If your swatch is larger, try a smaller hook. If smaller, go up a hook size. A tight gauge creates sturdier fabric that holds its shape better for bags.
Abbreviations and Stitch Definitions
Let me explain every stitch abbreviation you will encounter. Read through these before starting so nothing surprises you mid-row.
Ch = Chain stitch. Wrap yarn over hook, pull through loop on hook. This creates your foundation and turning chains.
Sl st = Slip stitch. Insert hook, yarn over, pull through both the stitch and the loop on your hook in one motion. Used for joining and moving across stitches invisibly.
Sc = Single crochet. Insert hook into stitch, yarn over and pull up a loop (2 loops on hook), yarn over and pull through both loops. The shortest basic stitch.
Dc = Double crochet. Yarn over, insert hook into stitch, yarn over and pull up a loop (3 loops on hook), yarn over and pull through 2 loops, yarn over and pull through remaining 2 loops. Taller than single crochet.
Bob = Bobble stitch. This creates those puffy bumps. Here is exactly how to make one:
How to Crochet a Bobble Stitch
1. Yarn over, insert hook into designated stitch
2. Yarn over, pull up a loop (3 loops on hook)
3. Yarn over, pull through 2 loops (2 loops remain)
4. Repeat steps 1-3 four more times in the same stitch (6 loops on hook total)
5. Yarn over, pull through all 6 loops at once
6. Chain 1 to secure the bobble (this chain does NOT count as a stitch)
The bobble pushes to the opposite side of your work. When working the bag body, bobbles will naturally pop toward the right side.
Inc = Increase. Work 2 stitches into the same stitch.
Skip = Pass over the indicated stitch without working into it.
The Complete Crochet Clutch Pattern
Now for the actual instructions. I have broken this into clear sections. Take your time with each part.
Part 1: Clutch Body (Front and Back Panels Worked Together)
The body is worked flat in rows, then folded and seamed to create the bag structure.
Foundation:
Ch 39.
Row 1 (Wrong Side): Sc in 2nd ch from hook and in each ch across. (38 sts)
Row 2 (Right Side): Ch 1, turn. Sc in first st, *bob in next st, sc in next st* across. (38 sts, 19 bobbles)
Row 3: Ch 1, turn. Sc in each st across, working into the top of each bobble and each sc. (38 sts)
Row 4: Ch 1, turn. Sc in first 2 sts, *bob in next st, sc in next st* across to last st, sc in last st. (38 sts, 18 bobbles)
Row 5: Ch 1, turn. Sc in each st across. (38 sts)
Repeat Rows 2-5 for the bobble pattern. The bobbles will alternate position every other bobble row, creating that gorgeous staggered texture.
Continue in pattern until piece measures approximately 40cm (16 inches) from foundation. This creates enough fabric for both front and back panels when folded.
End after completing a Row 3 or Row 5 (a plain sc row).
Final Row: Ch 1, turn. Sc in each st across. Fasten off, leaving a long tail for seaming.
Part 2: Side Gussets (Make 2)
The gussets create the depth of the bag.
Foundation:
Ch 11.
Row 1: Sc in 2nd ch from hook and in each ch across. (10 sts)
Row 2: Ch 1, turn. Sc in first st, *bob in next st, sc in next st* across. (10 sts, 5 bobbles)
Row 3: Ch 1, turn. Sc in each st across. (10 sts)
Row 4: Ch 1, turn. Sc in first 2 sts, *bob in next st, sc in next st* across to last 2 sts, sc in last 2 sts. (10 sts, 4 bobbles)
Row 5: Ch 1, turn. Sc in each st across. (10 sts)
Repeat Rows 2-5 until gusset measures approximately 40cm (16 inches), matching the body length.
Fasten off, leaving a long tail for seaming.
Part 3: Spiral Bobble Flap
This is the showpiece of the design. The flap is worked in joined rounds from the center outward, creating that beautiful radiating spiral effect.
Magic Ring:
Create a magic ring (adjustable loop).
Round 1: Ch 1, work 8 sc into the ring. Pull ring closed. Join with sl st to first sc. (8 sts)
Round 2: Ch 1, 2 sc in each st around. Join with sl st. (16 sts)
Round 3: Ch 1, *sc in first st, bob in next st* around. Join with sl st. (16 sts, 8 bobbles)
Round 4: Ch 1, *sc in next st, 2 sc in next st* around. Join with sl st. (24 sts)
Round 5: Ch 1, *sc in next 2 sts, bob in next st* around. Join with sl st. (24 sts, 8 bobbles)
Round 6: Ch 1, *sc in next 2 sts, 2 sc in next st* around. Join with sl st. (32 sts)
Round 7: Ch 1, *sc in next st, bob in next st* around. Join with sl st. (32 sts, 16 bobbles)
Round 8: Ch 1, *sc in next 3 sts, 2 sc in next st* around. Join with sl st. (40 sts)
Round 9: Ch 1, *sc in next 4 sts, bob in next st* around. Join with sl st. (40 sts, 8 bobbles)
Round 10: Ch 1, *sc in next 4 sts, 2 sc in next st* around. Join with sl st. (48 sts)
Round 11: Ch 1, *sc in next 2 sts, bob in next st* around. Join with sl st. (48 sts, 16 bobbles)
Round 12: Ch 1, *sc in next 5 sts, 2 sc in next st* around. Join with sl st. (56 sts)
Round 13: Ch 1, *sc in next 6 sts, bob in next st* around. Join with sl st. (56 sts, 8 bobbles)
Continue increasing 8 stitches every other round while maintaining the bobble pattern until the circle measures approximately 18cm (7 inches) in diameter.
Edging Round: Ch 1, *sc in next st, bob in next st* around entire edge. Join with sl st. Fasten off.
The flap will naturally curve into a slight dome shape. This is correct and helps the flap lay nicely over the bag front.
Part 4: Bottom Panel
Foundation:
Ch 39.
Row 1: Sc in 2nd ch from hook and in each ch across. (38 sts)
Rows 2-10: Ch 1, turn. Sc in each st across. (38 sts)
Fasten off, leaving a long tail.
Assembly Instructions for Your Crochet Clutch
Now comes the satisfying part where everything comes together.
Step 1: Prepare the Body
Fold the main body panel in half with right sides facing out. The fold becomes the bottom back edge. Mark the fold line with stitch markers.
Step 2: Attach Side Gussets
Using mattress stitch or whip stitch, sew one gusset to each short side of the body. Start from the bottom fold and work upward. The gussets should align with the body edges precisely.
Step 3: Attach Bottom Panel
Sew the bottom panel to the base of the bag, connecting it to the body and both gussets. This reinforces the bottom and gives the bag structure.
Step 4: Position the Flap
Place the circular flap on the back panel of the bag, positioning it so approximately 3cm overlaps onto the back. The flap should extend forward to cover the front panel with some overhang.
Step 5: Attach the Flap
Whip stitch the straight edge of the flap to the back panel. Work slowly and check alignment frequently. The flap should open and close smoothly.
Step 6: Install Hardware
Mark the center front of the bag where the clasp will sit. The clasp should align with the center of the flap. Follow manufacturer instructions to attach the push lock closure. Most require small holes for the prongs.
Step 7: Attach Chain Strap
Secure D-rings or lobster clasps to the top corners of the side gussets. You can crochet small loops or sew fabric tabs to hold these. Thread the chain through and secure.
How to Make the Matching Tassel
The tassel adds such a beautiful finishing touch.
1. Cut a piece of cardboard approximately 15cm tall
2. Wrap yarn around the cardboard 40-50 times
3. Slide a 30cm strand under the wraps at the top and tie tightly
4. Cut the bottom loops
5. Wrap another strand around the tassel about 2cm from the top to create the head
6. Trim ends evenly
7. Attach to the chain strap or D-ring with the top tie
Optional Fabric Lining
Adding a lining protects your belongings and gives the bag a polished interior. Cut fabric to match the bag interior dimensions plus 1cm seam allowance on all sides. Sew the lining pieces together, press seams, and hand stitch to the inside of the bag along the top edge.
Tips for Success With This Crochet Pattern
Keep your tension consistent. Bags need firm, even fabric. If your stitches vary a lot in size, the bobbles will look uneven.
Count every row. Place a stitch marker at the beginning of each row to track your progress.
Block the flap. After completing the spiral, wet block it flat to ensure it lies smoothly. Pin it into a perfect circle and let dry completely.
Test your hardware placement. Before making permanent holes, close the flap and mark exactly where the clasp needs to sit. Measure twice.
Wrapping Up Your Bobble Spiral Clutch
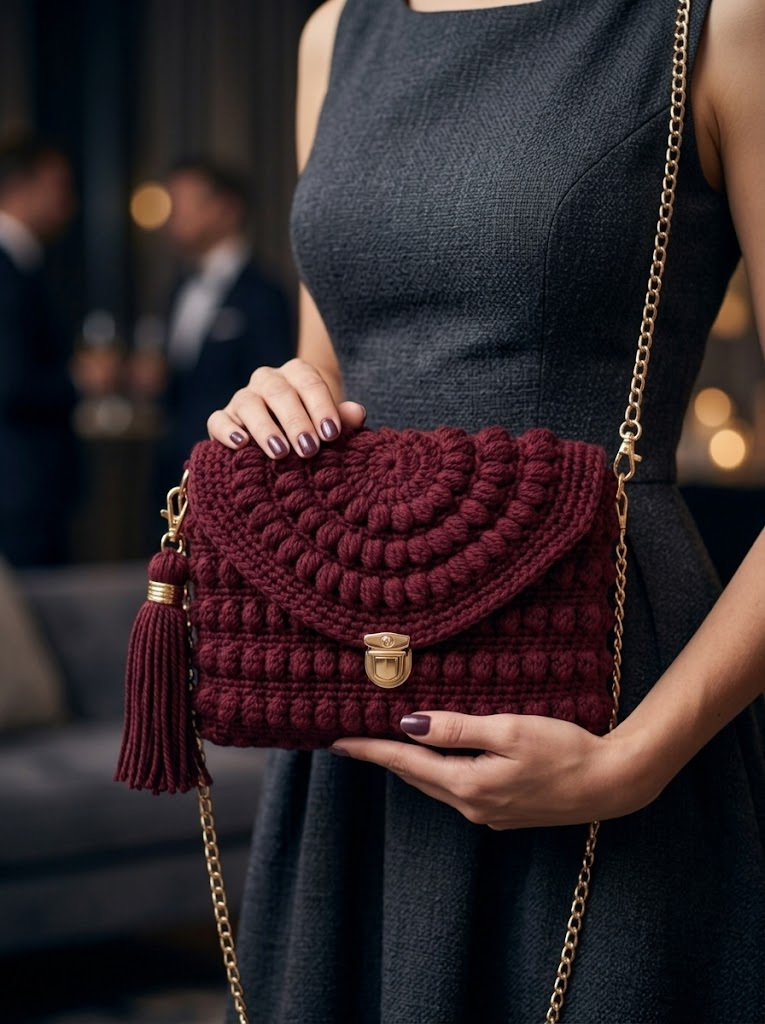
I am so excited for you to make this crochet clutch pattern. The finished bag feels luxurious, looks designer, and carries the satisfaction of being completely handmade. Every time someone compliments this accessory, you get to say you made it yourself.
This beginner friendly crochet tutorial gives you all the tools to succeed. Take it section by section, trust the process, and do not rush the finishing details. The hardware and tassel elevate a nice project into something truly special.
Thank you so much for choosing to make this pattern. I genuinely appreciate you being here. If you complete this project, I would absolutely love to see your version. Tag me on Instagram or share in my Facebook group. Seeing your creations makes my whole day.
Happy crocheting, friend. You have got this.