
This sleek tassel crossbody bag is exactly the kind of project that makes people ask, “Wait, you *made* that?” And honestly, that reaction never gets old.
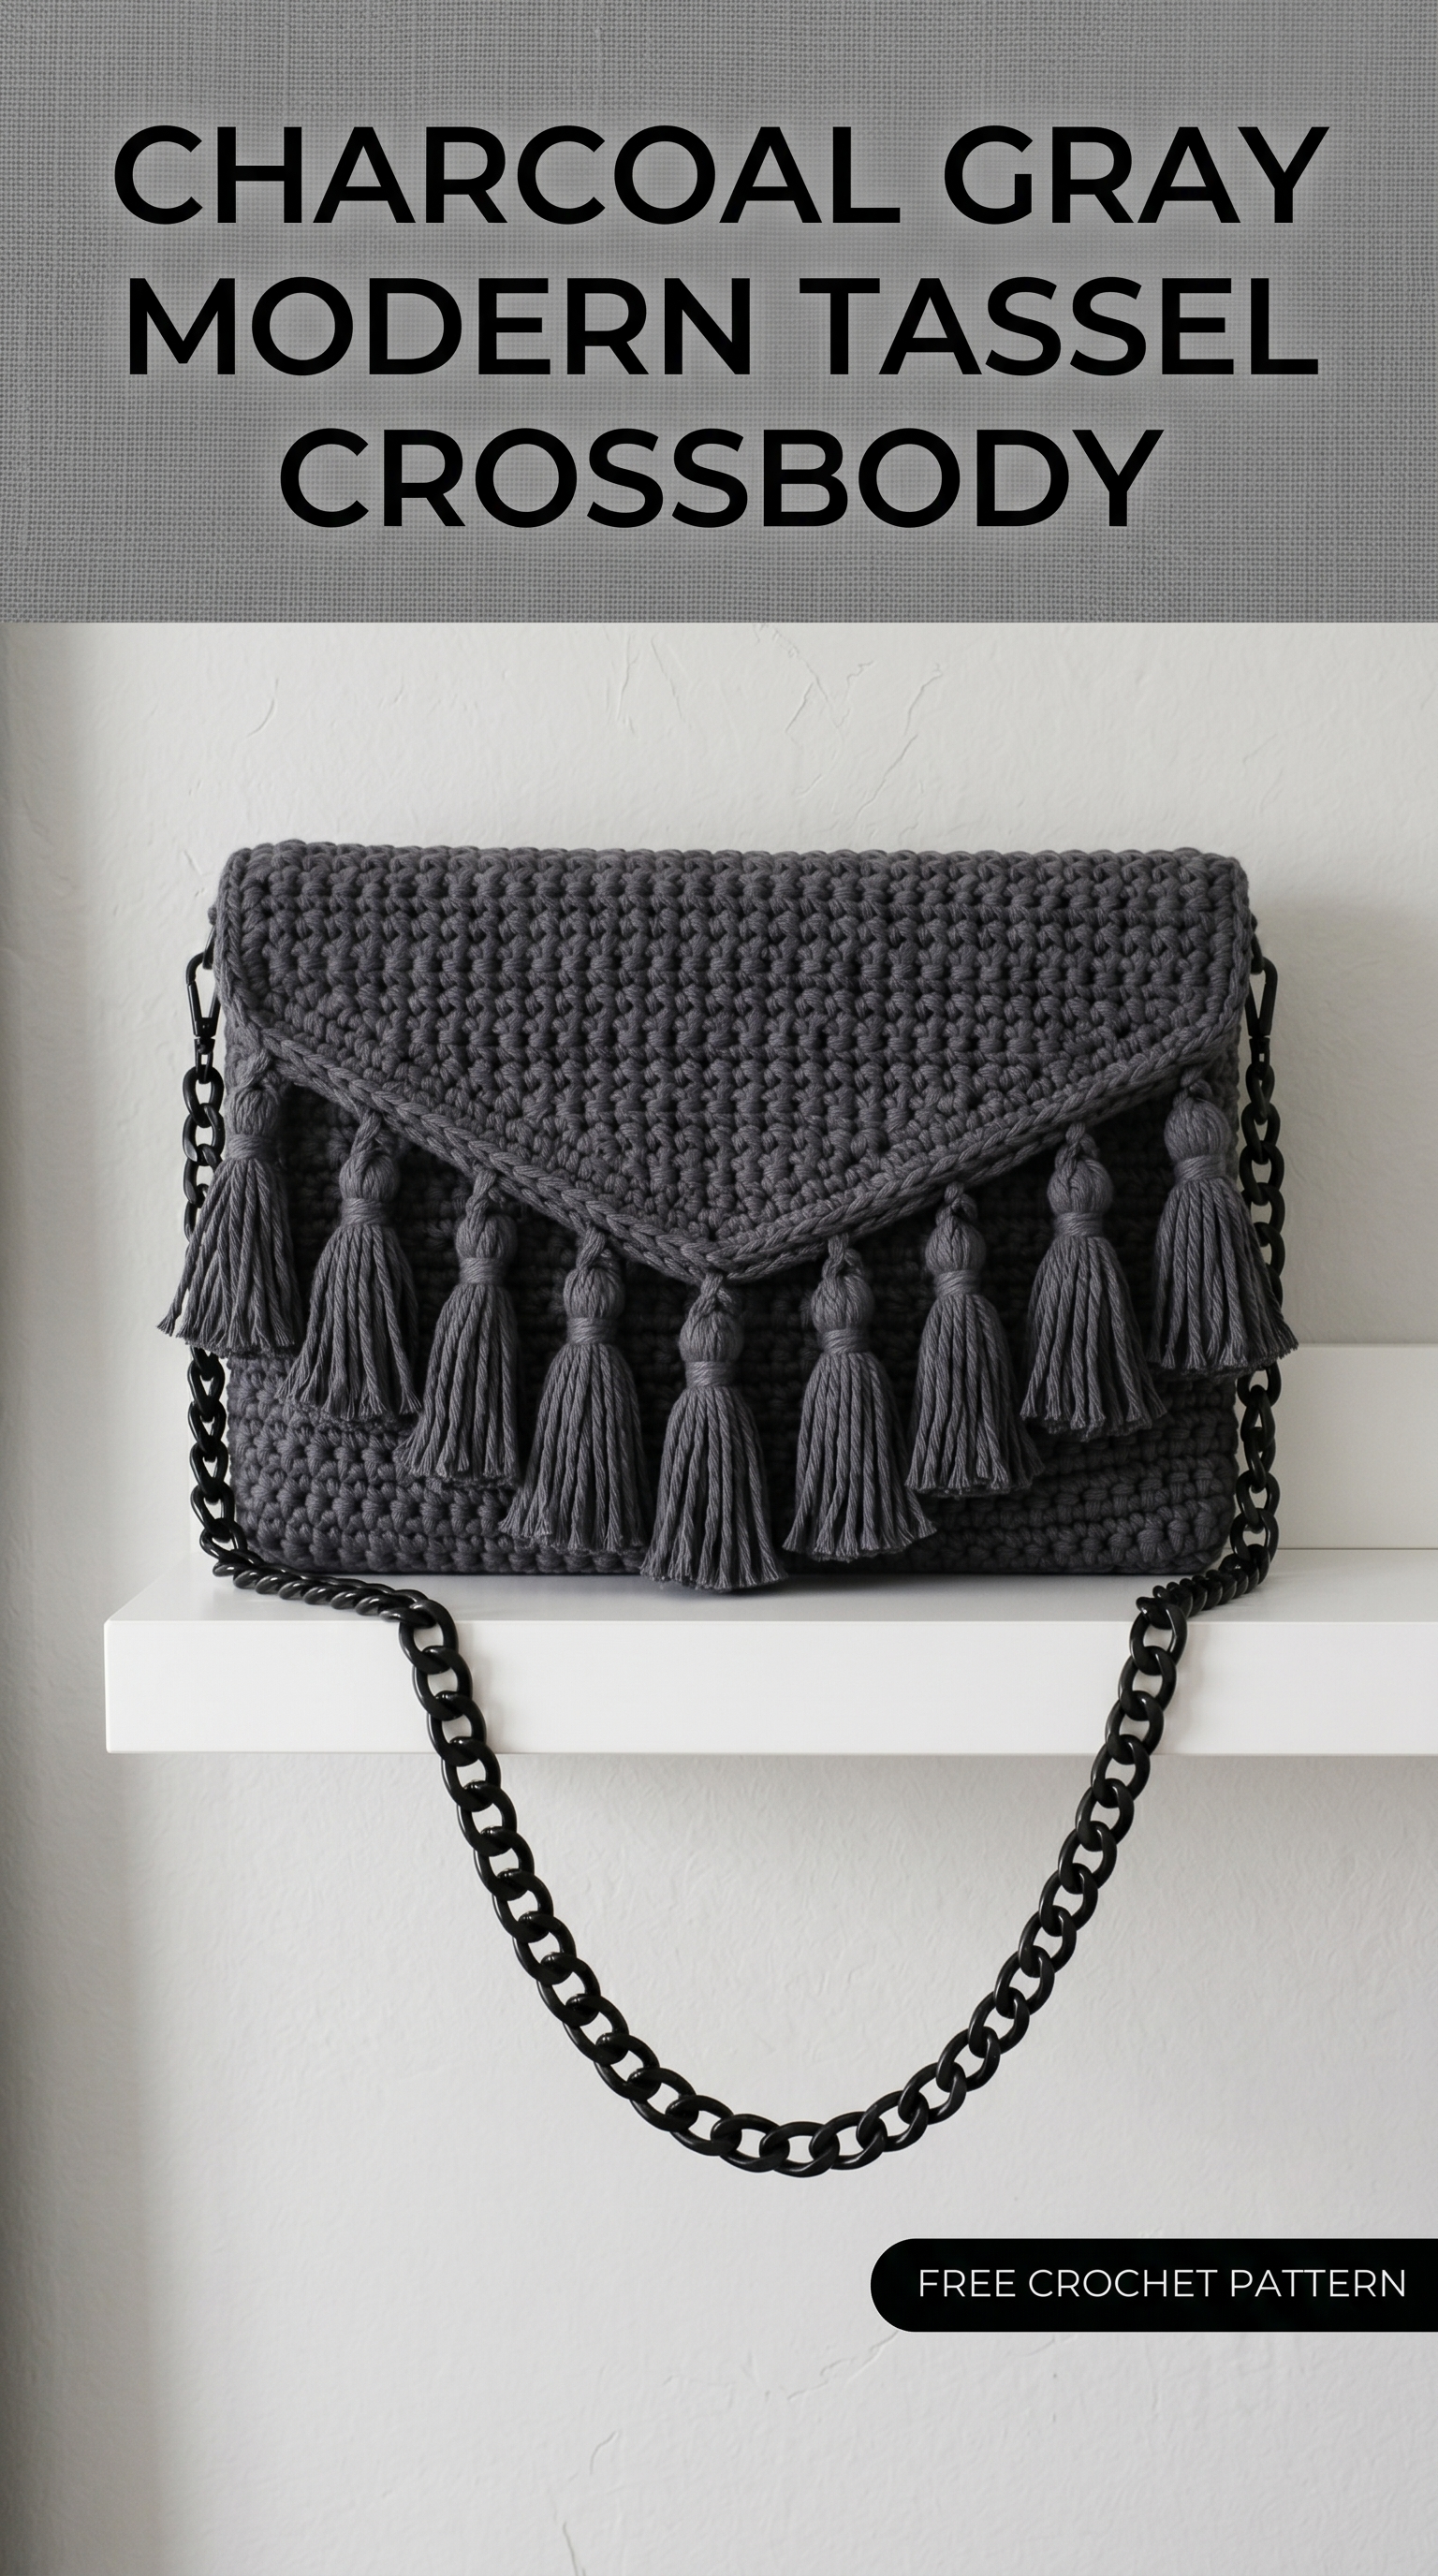
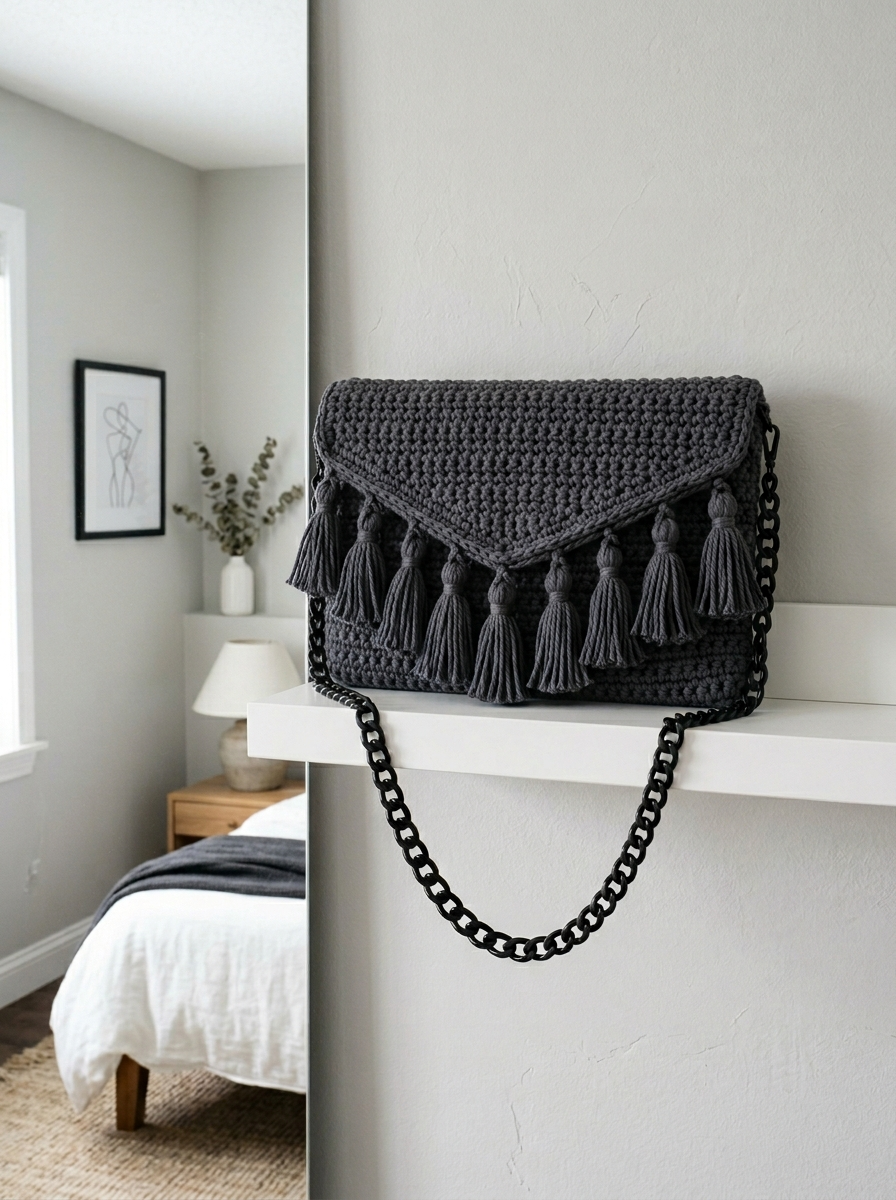
I designed this modern crochet clutch to look like something you would find in a boutique, not a craft fair. The structured envelope shape, chunky tassels, and black chain strap give it serious style credibility. But here is the best part: if you can single crochet and double crochet, you can absolutely make this bag. The construction is simpler than it looks, I promise.
Let me walk you through everything you need to create your own charcoal gray modern tassel crossbody bag from start to finish.
Why This Crochet Crossbody Bag Pattern Works
Before we dive into the step by step crochet tutorial, let me tell you why I love this design so much.
The envelope flap creates visual interest without complicated stitchwork. Those handmade tassels add movement and texture that elevate the whole piece. And the chain strap means no crocheting a long shoulder strap that stretches out over time.
This crochet pattern uses basic stitches throughout. The magic happens in the construction and finishing details. Even if you consider yourself an adventurous beginner or solid intermediate crocheter, this project is well within reach.
Finished dimensions: Approximately 10 inches wide by 7 inches tall (not including flap or tassels)
Skill level: Confident beginner to intermediate
Materials You Will Need
Gathering your supplies before you start makes the whole process smoother. Here is everything required to complete this crochet crossbody bag pattern:
Yarn:
Hook:
Hardware:
Tools:
Stitch Abbreviations and Definitions
Let me define every stitch before we begin. Even if you know these already, a quick refresher never hurts.
Ch = Chain: Yarn over, pull through loop on hook. This creates the foundation for your work.
Sl st = Slip stitch: Insert hook, yarn over, pull through both the stitch and the loop on your hook in one motion. Used for joining and moving across stitches.
Sc = Single crochet: Insert hook into stitch, yarn over and pull up a loop (2 loops on hook), yarn over and pull through both loops. A short, tight stitch.
Dc = Double crochet: Yarn over, insert hook into stitch, yarn over and pull up a loop (3 loops on hook), yarn over and pull through 2 loops, yarn over and pull through remaining 2 loops. A taller stitch that works up faster.
Dec = Decrease: Working two stitches together as one to reduce your stitch count.
Sc2tog = Single crochet two together: A decrease method. Insert hook in first stitch, pull up a loop, insert hook in next stitch, pull up a loop (3 loops on hook), yarn over and pull through all 3 loops.
Gauge Check
Before starting the main body, work a quick gauge swatch. This ensures your bag turns out the right size.
Gauge: 14 sc and 16 rows = 4 inches in single crochet
If your swatch is larger, try a smaller hook. If smaller, go up a hook size. For bags, a tighter gauge is actually preferable since it creates sturdier fabric that holds its shape.
Crochet Pattern Instructions
Now for the fun part. This crochet tutorial breaks down into four sections: the bag body, the envelope flap, the tassels, and final assembly.
Part 1: Bag Body (Worked Flat, Then Seamed)
The main body is one long rectangle that gets folded and seamed on the sides. Simple, right?
Foundation:
Ch 36.
Row 1: Sc in 2nd ch from hook and in each ch across. (35 sts)
Row 2: Ch 1, turn. Sc in each st across. (35 sts)
Rows 3 through 56: Repeat Row 2. (35 sts each row)
You should have a rectangle approximately 10 inches wide and 14 inches tall.
Fasten off and weave in your starting tail.
Folding and seaming:
Fold the rectangle in half with wrong sides together, bringing the short edges to meet. The fold becomes the bottom of your bag.
Using your tapestry needle and a length of yarn, whip stitch or mattress stitch the side seams closed. Work from the bottom fold up to the top edge on both sides.
Turn right side out. You now have a basic pouch shape.
Part 2: Envelope Flap
The triangular envelope flap attaches to the back of the bag and folds over the front. This is where the asymmetrical style comes in.
Foundation:
Ch 36.
Row 1: Sc in 2nd ch from hook and in each st across. (35 sts)
Row 2: Ch 1, turn. Sc in each st across. (35 sts)
Rows 3 through 6: Repeat Row 2. (35 sts)
Now we begin the diagonal shaping. This creates that sharp envelope point.
Row 7: Ch 1, turn. Sc2tog, sc in each st to last 2 sts, sc2tog. (33 sts)
Row 8: Ch 1, turn. Sc in each st across. (33 sts)
Rows 9 through 24: Repeat Rows 7 and 8, continuing to decrease 2 stitches every other row.
Your stitch counts will be:
Row 25: Ch 1, turn. Sc2tog, sc to last 2 sts, sc2tog. (15 sts)
Row 26: Ch 1, turn. Sc in each st across. (15 sts)
Continue decreasing every other row:
Row 38: Ch 1, turn. Sc3tog (insert hook in first st, pull up loop, insert in second st, pull up loop, insert in third st, pull up loop, yarn over and pull through all 4 loops). (1 st)
Fasten off, leaving a long tail.
Border (optional but recommended):
Join yarn at any corner of the flap. Sc evenly around all edges, working 3 sc in the point corner for a clean finish. Sl st to first sc to join. Fasten off.
Part 3: Handmade Tassels
Those chunky tassels are what take this bag from nice to “where did you buy that?” territory. You will make 8 tassels total.
How to crochet tassel toppers:
Each tassel has a little crocheted ball on top. Here is how to make them:
Magic ring: Ch 2, work 6 sc in the second ch from hook. Pull tail to tighten into a ring. (6 sts)
Round 1: 2 sc in each st around. (12 sts)
Round 2: Sc in each st around. (12 sts)
Round 3: Sc2tog around. (6 sts)
Do not fasten off yet.
Making the tassel fringe:
Cut 12 to 14 strands of yarn, each about 6 inches long. Fold them in half and pull the folded loop through the bottom opening of your crocheted ball. Thread the cut ends through the loop and pull snug.
Finishing the tassel:
Wrap a separate strand of yarn around the tassel about half an inch below the ball, creating that distinctive wrapped neck. Secure with a knot and hide the tail inside the tassel.
Trim the tassel ends evenly.
Repeat to make 8 tassels total.
Part 4: Assembly and Finishing
Almost there. This is where everything comes together.
Attaching the flap:
Position the straight edge of the envelope flap along the inside back edge of the bag opening. Using whip stitch and matching yarn, sew the flap securely in place.
Installing the magnetic snap:
Mark the center of the flap point (inside) and the corresponding spot on the bag front. Follow the manufacturer instructions for your magnetic snap. Most require you to poke small holes, insert the prongs, and bend them flat.
If you have never installed a magnetic snap before, do not worry. YouTube has excellent tutorials, and it takes about 5 minutes once you understand the mechanism.
Attaching D-rings for the strap:
On each side of the bag opening, create a small yarn loop or tab:
Ch 8, sl st to form a ring. Sc 12 sts around the chain ring. Sl st to join and fasten off.
Sew one ring holder to each inside corner of the bag opening. Thread your D-rings through these loops, then clip your chain strap to the D-rings.
Attaching the tassels:
Space the 8 tassels evenly along the edge of the envelope flap where it meets the bag body. Use the yarn tails from each tassel topper to sew them in place, then weave in ends securely.
Tips for Success
A few things I learned while designing this crochet crossbody bag pattern:
Use stitch markers generously. Mark your first stitch of each row so you do not accidentally increase or decrease at the edges.
Block your pieces before assembly. Wet blocking or steam blocking will even out your stitches and make seaming much easier.
Consider adding a fabric lining. While not required, a simple cotton lining protects the inside from wear and gives the bag more structure. Hand sew or use fabric glue.
Experiment with tassel placement. I positioned mine along the flap edge, but you could also add them only to the corners or skip them entirely for a more minimalist look.
Customization Ideas
This step by step crochet pattern works beautifully in the charcoal gray shown, but do not let that limit you. Here are some variations to consider:
You Did It
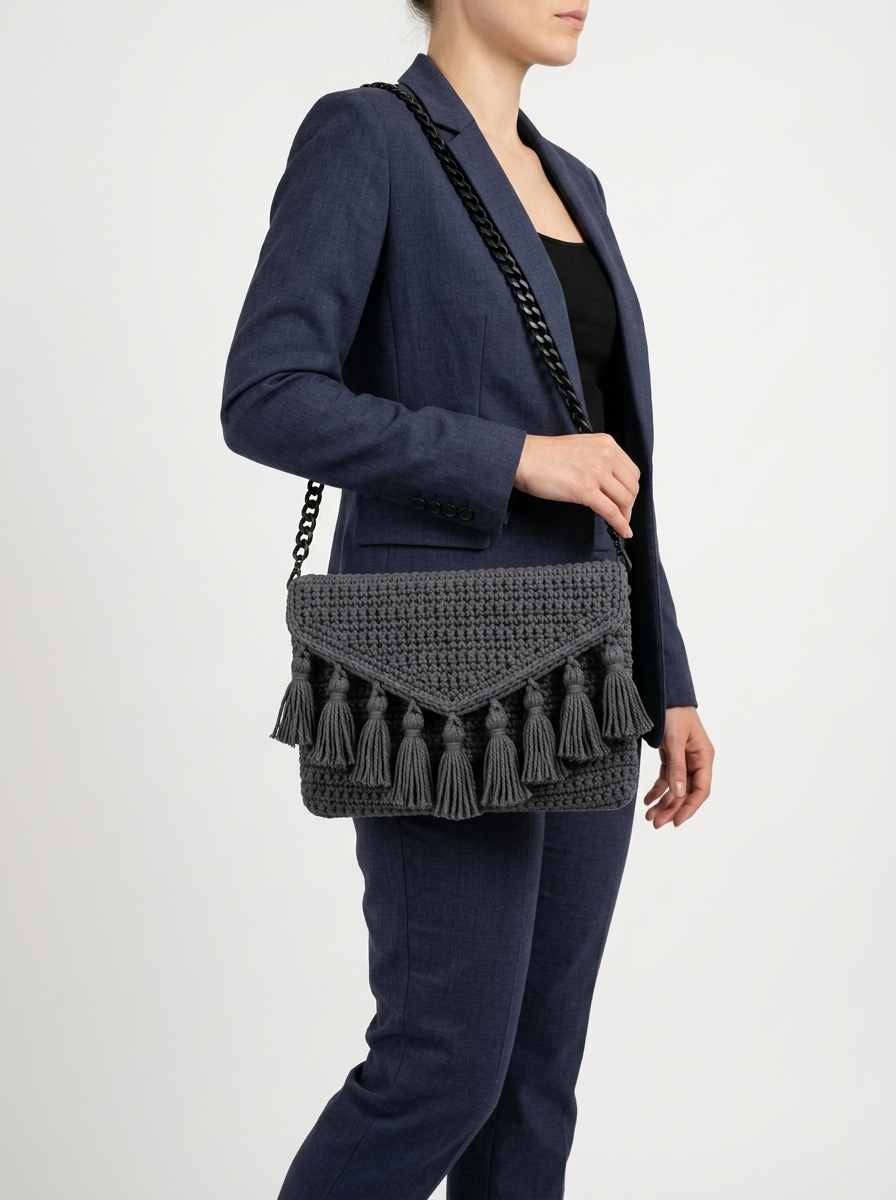
And that is the complete crochet pattern for this charcoal gray modern tassel crossbody bag. From foundation chain to final tassel, you now have everything you need to create a sophisticated accessory that looks anything but homemade.
This beginner friendly crochet pattern proves that handmade can absolutely be high style. Every time you grab this bag and head out the door, you will remember that you made something beautiful with your own two hands and a hook.
Thank you so much for choosing this pattern for your next project. I genuinely appreciate you being here and trusting me with your crafting time.
I would absolutely love to see your finished bag. Tag me on Instagram or share in my Facebook group. Seeing your creations is honestly the best part of designing patterns.
Happy crocheting, friend. You have got this.