
This stunning crescent moon purse is about to become your new favorite arm candy. With its dramatic bobble texture, elegant curved shape, and those gorgeous antique gold hardware accents, this bag looks straight out of a high-end boutique. But here’s the thing. You’re going to make it yourself.
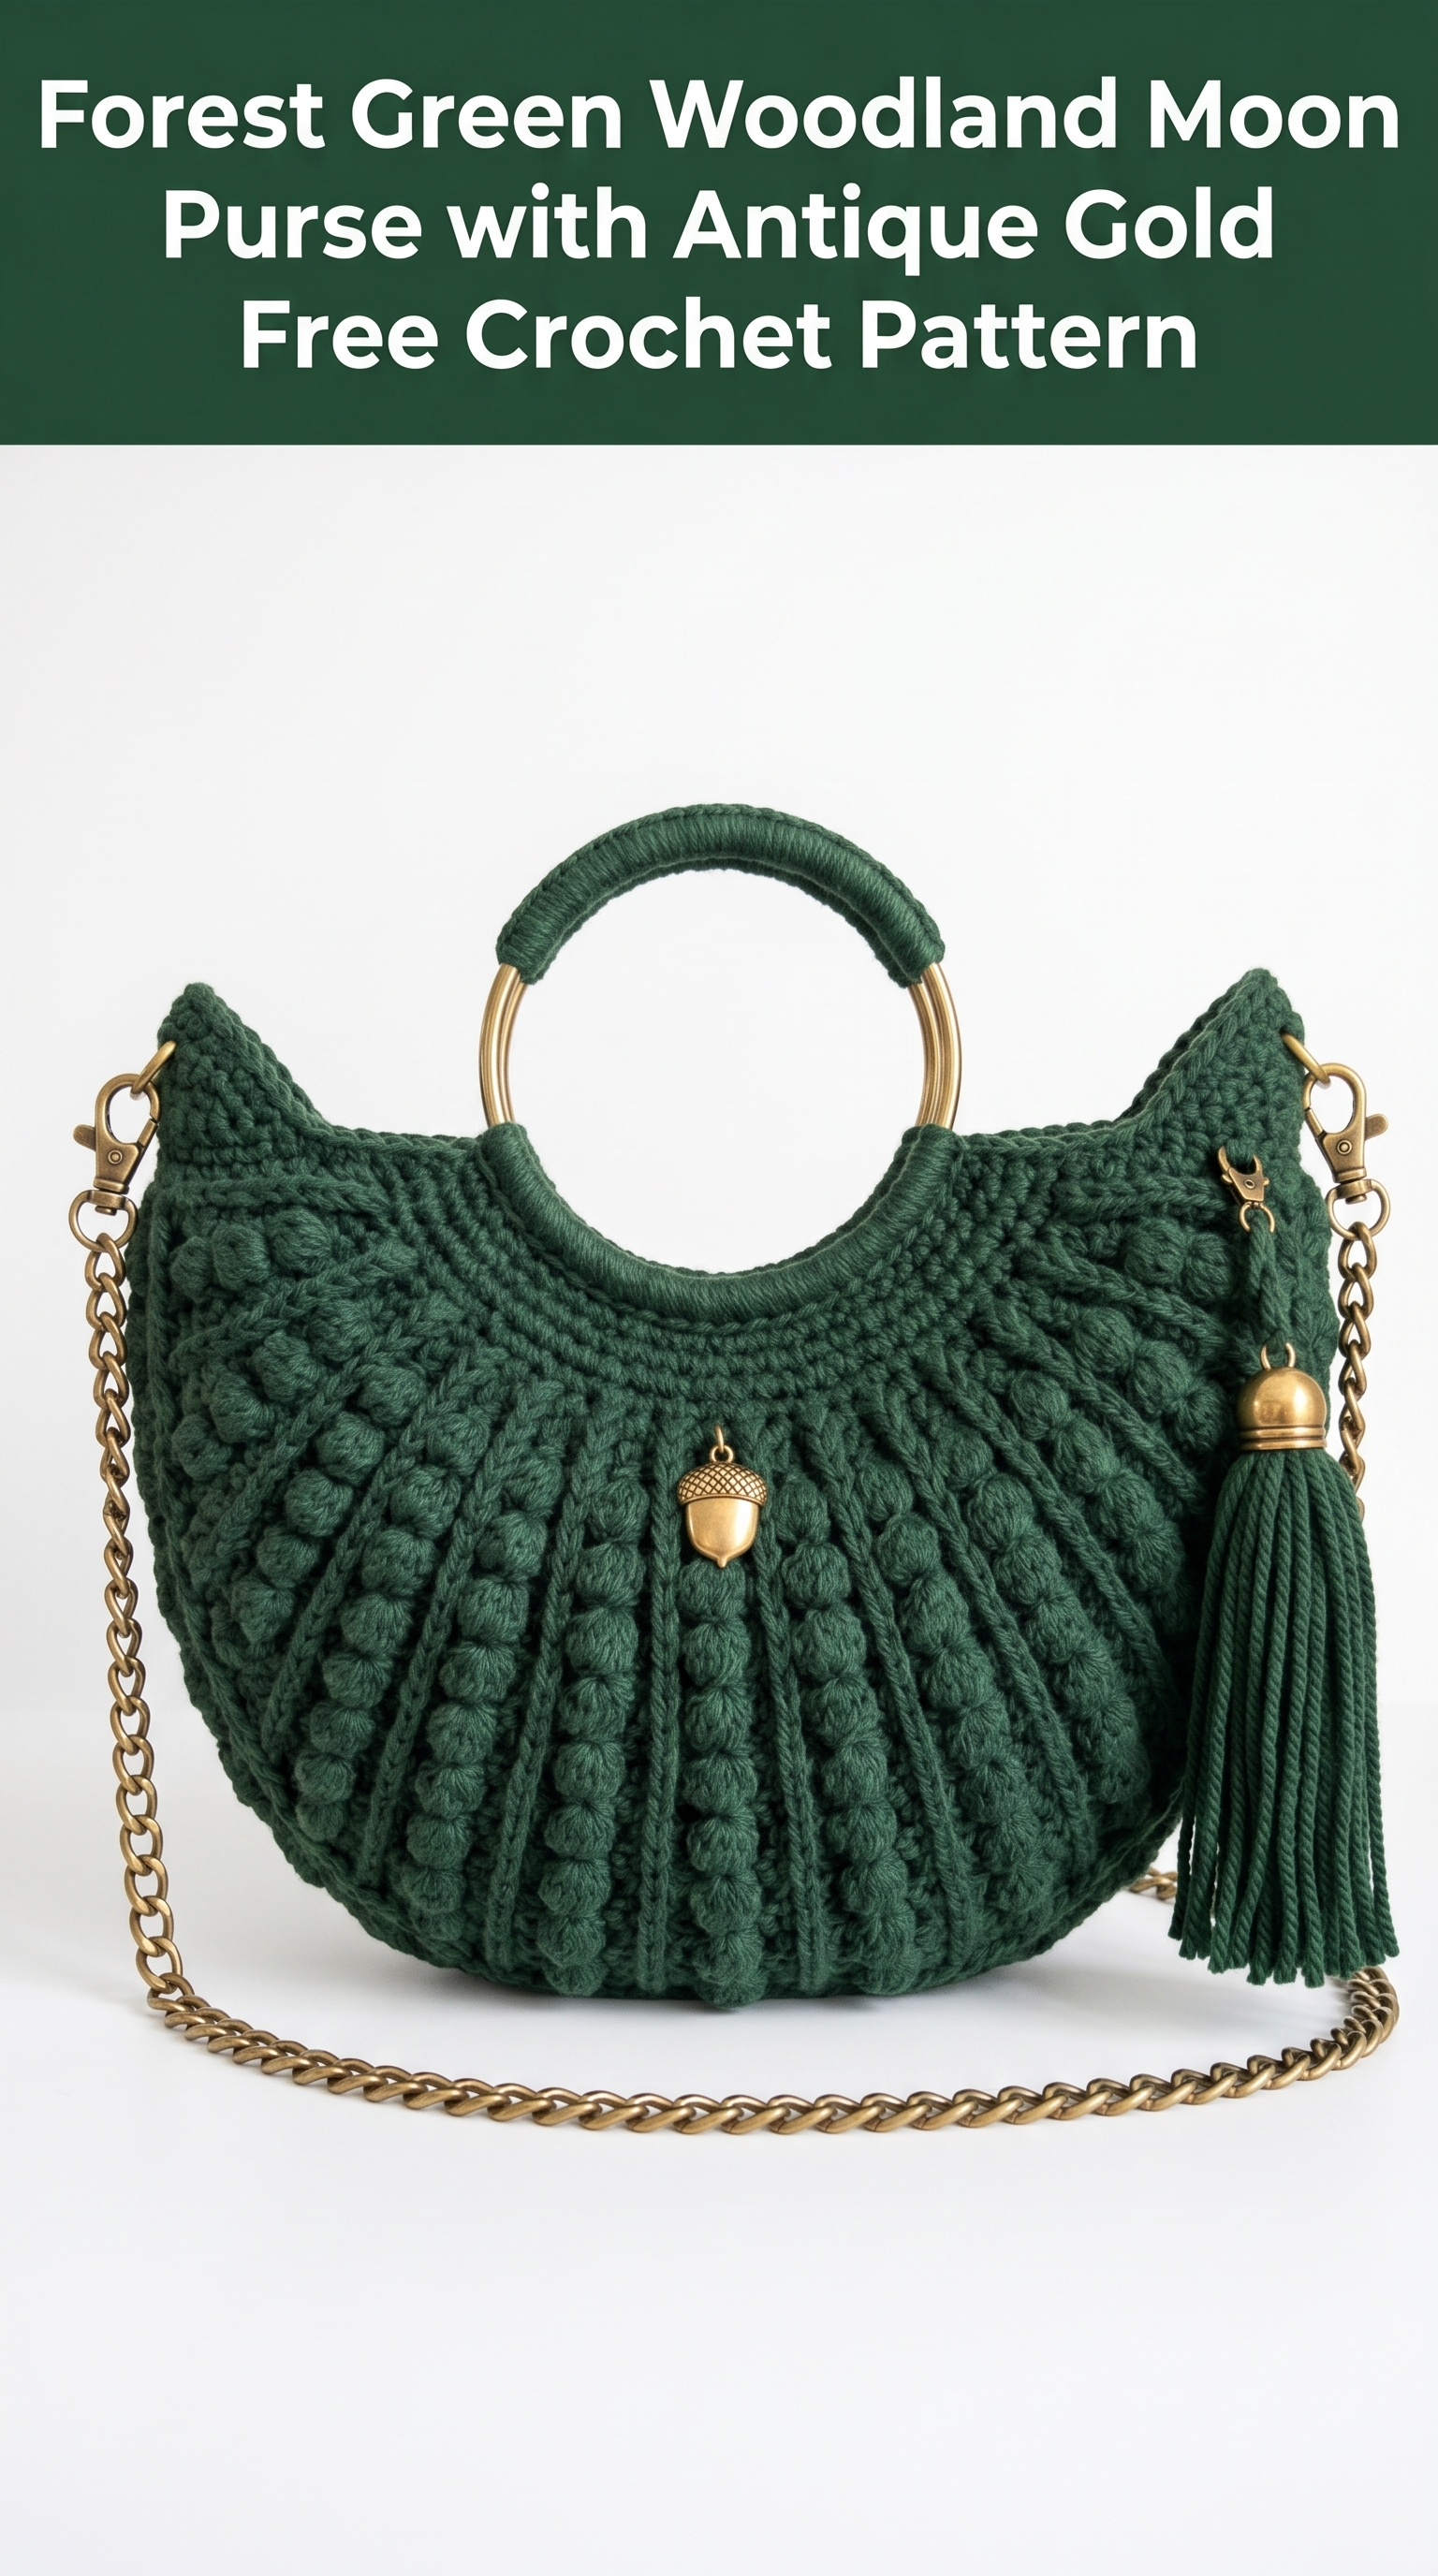
I designed this Forest Green Woodland Moon Purse after falling in love with the idea of a bag that feels both earthy and luxurious. The deep forest green yarn paired with brass hardware gives it that enchanted woodland vibe. And that little acorn charm? Pure magic.
If you can work basic stitches and follow a pattern, you can absolutely make this. I’ll walk you through every single step.
Why You’ll Love This Crochet Pattern
This purse combines texture, structure, and style in one gorgeous project. The bobble stitches create vertical columns that radiate outward like sun rays or the ridges of a seashell. It’s eye-catching without being fussy.
The crescent moon shape is flattering and practical. It sits nicely against your hip when worn crossbody, and the curved opening gives you easy access to your essentials.
Plus, this crochet pattern teaches you techniques you can use forever. Bobble stitches, working in joined rounds, shaping with increases, and attaching hardware. You’ll finish this project feeling like a total boss.
Skill Level
Intermediate. You should be comfortable with basic stitches and working in the round. The bobble stitch might be new to you, but I’ll explain it thoroughly. If you’ve made a hat or a simple bag before, you’re ready for this.
Finished Dimensions
Materials Needed
Yarn
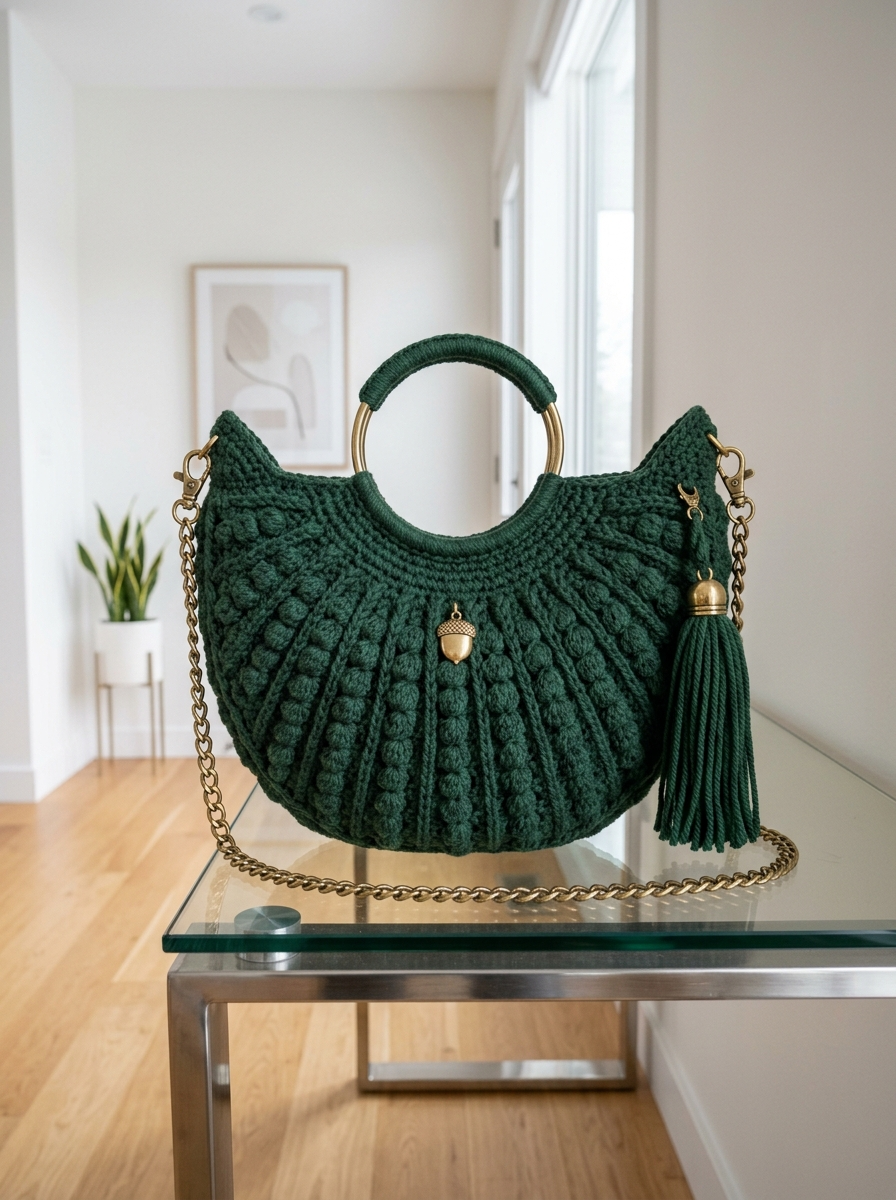
Cotton gives this bag the body and stiffness it needs to hold its shape beautifully.
Hook
Hardware and Notions
Gauge
18 stitches and 10 rows = 4 inches in single crochet worked flat.
Gauge matters here because you want your purse to match the finished dimensions. Too loose and it gets floppy. Too tight and you’ll run out of yarn. Take five minutes to swatch. Future you will be grateful.
Abbreviations and Stitch Definitions
Let me break down every stitch you’ll use. No surprises.
Special Techniques
The Bobble Stitch
This stitch looks intimidating but it’s just five incomplete double crochets squished together. Here’s the breakdown:
1. Yarn over, insert hook into stitch
2. Yarn over, pull up a loop
3. Yarn over, pull through 2 loops (you now have 2 loops on hook)
4. Repeat steps 1 through 3 four more times in the SAME stitch (you’ll have 6 loops on hook)
5. Yarn over and pull through all 6 loops
The bobble naturally pops to the front of your work. When working in rounds, the “front” alternates, so pay attention to which side you want the bobbles to show.
Pro tip: Keep your tension relaxed when working bobbles. Tight stitches make lumpy, sad bobbles.
Pattern Notes
Step by Step Crochet Pattern
Panel One (Make 2)
You’ll make two identical crescent panels that get sewn together.
Foundation Row:
Ch 61.
Row 1 (RS): Sc in 2nd ch from hook and in each ch across. Turn. (60 sts)
Row 2: Ch 1, sc in each st across. Turn. (60 sts)
Row 3: Ch 1, sc in first 4 sts, *bob in next st, sc in next 4 sts*, repeat from * to * across. Turn. (60 sts, 12 bobbles)
Row 4: Ch 1, sc in each st across. Turn. (60 sts)
Row 5: Ch 1, sc in first 4 sts, *bob in next st, sc in next 4 sts*, repeat from * to * across. Turn. (60 sts, 12 bobbles)
Continue alternating Rows 4 and 5 for the bobble pattern. Work a total of 24 rows in this manner.
Now we begin shaping the crescent curve.
Shaping Section:
Row 25: Ch 1, sc2tog over first 2 sts, sc in next 2 sts, *bob in next st, sc in next 4 sts*, repeat from * to * until 4 sts remain, sc in next 2 sts, sc2tog over last 2 sts. Turn. (58 sts)
Row 26: Ch 1, sc in each st across. Turn. (58 sts)
Row 27: Ch 1, sc2tog, work in pattern to last 2 sts, sc2tog. Turn. (56 sts)
Continue decreasing 2 stitches every other row (one at each end) while maintaining the bobble column pattern as established. Adjust bobble placement as stitch count decreases to keep columns aligned.
Continue until you have 20 sts remaining (approximately 20 more rows of shaping).
Final Rows:
Last Row: Ch 1, sc2tog across entire row. (10 sts)
Fasten off, leaving a long tail for seaming.
Assembly
1. Place both panels with wrong sides together, matching the curved bottom edges perfectly.
2. Using a yarn needle and long tail, whip stitch or mattress stitch along the entire curved edge, leaving the top straight edge open.
3. Weave in ends securely.
Edging
Join yarn at one corner of the top opening.
Round 1: Ch 1, sc evenly around the entire top opening, working through both layers at the sides to close them. Join with sl st to first sc.
Round 2: Ch 1, sc in each st around. Join with sl st.
Round 3: Ch 1, working from left to right (reverse single crochet), work 1 reverse sc in each st around for a decorative rope-like edge. Join and fasten off.
This creates that polished top edge visible in the finished purse.
Handle Attachment
Wrapping the Metal Handles
The circular metal handles get wrapped with yarn for a cohesive look.
1. Leaving a 6 inch tail, begin wrapping yarn tightly around one section of the metal handle ring.
2. Wrap closely so no metal shows through.
3. Continue for approximately 3 inches (the top curve portion).
4. Secure by threading tail through several wraps with your yarn needle.
Repeat for the second handle if desired, or leave portions of the brass visible for contrast as shown.
Attaching Handles to Purse
1. Position handles at center top of each panel.
2. Using yarn and needle, stitch securely through both the wrapped portion and the top edge of the purse.
3. Reinforce with multiple passes. These handles bear weight, so don’t skimp here.
Adding the Chain Strap
1. Locate the upper corners of your purse where the side seams meet the top edge.
2. Create small reinforced loops using yarn: ch 10, sl st to join, then sc around the chain loop for stability. Attach these loops to each corner.
3. Open your swivel lobster clasps and attach them to each yarn loop.
4. Connect your chain strap to the lobster clasps.
Now you can wear your purse crossbody or remove the chain for a clutch style.
Making the Tassel
1. Wrap yarn around a 6 inch piece of cardboard approximately 40 times.
2. Slide a separate piece of yarn through the top and tie tightly.
3. Cut the bottom loops.
4. Wrap another piece of yarn around the tassel about 1 inch from the top to create the “neck.”
5. Trim ends evenly.
6. Attach your tassel cap and secure with a jump ring.
7. Clip tassel to one of the side hardware attachments.
Adding the Charm
That adorable acorn charm attaches with a small jump ring directly to the center front of your purse. Stitch through the back loop of a center bobble for a secure anchor point.
Optional Lining
For a truly professional finish, add a fabric lining:
1. Trace your finished panels onto fabric, adding 1/2 inch seam allowance.
2. Cut two lining pieces.
3. Sew lining pieces together along the curved edge, right sides facing.
4. Insert lining into purse, wrong sides together.
5. Hand stitch lining to purse along the top edge, tucking raw edges under.
A lining prevents stretching, hides your yarn tails, and makes the interior smooth and functional.
Troubleshooting Tips
My bobbles look flat. Your tension might be too tight. Relax your grip and let the yarn flow. Also make sure you’re pulling through all 6 loops at once.
The panels don’t match. Count your stitches at the end of every row. Stitch markers at the beginning and end help you stay consistent.
The bag is floppy. Cotton yarn and proper gauge are essential for structure. You can also add interfacing inside the lining for extra body.
My shaping looks uneven. Blocking helps enormously. Wet your finished purse, pin it to a blocking mat in the correct shape, and let it dry completely.
Styling Your Woodland Moon Purse
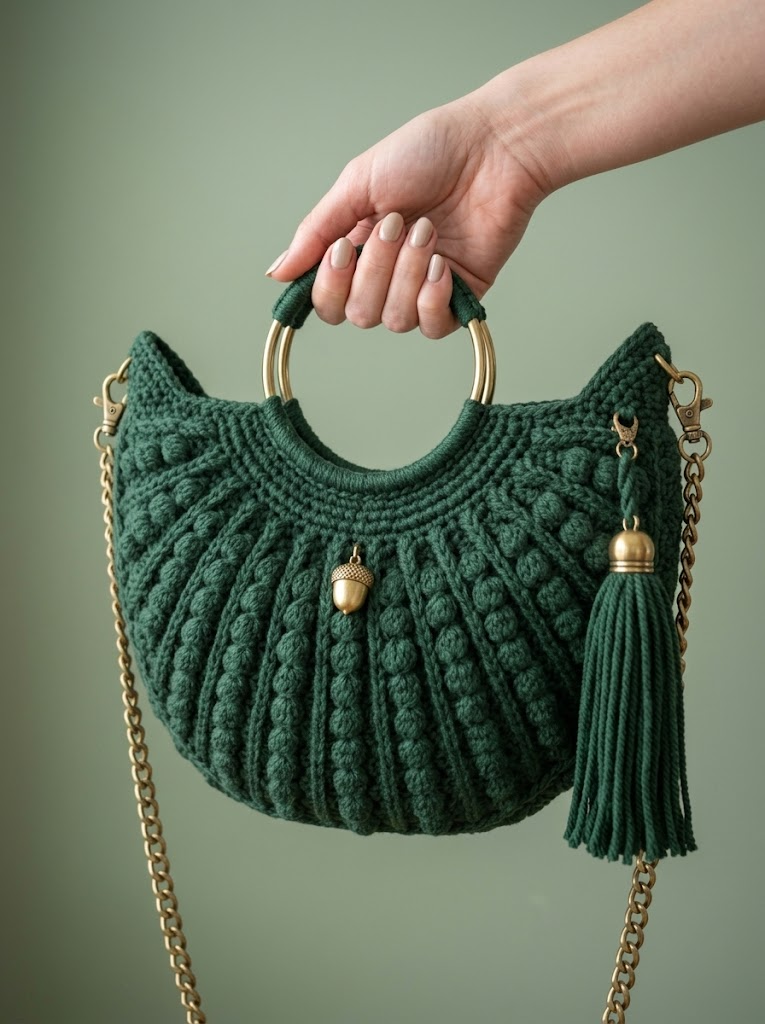
This bag transitions beautifully from day to night. Pair it with jeans and a cozy sweater for farmers market trips, or dress it up with a flowy dress for evening events. The forest green reads as a neutral while still making a statement.
Swap the chain for a leather strap for a more casual vibe. Change the charm seasonally. Add a silk scarf tied to the handle. Make it yours.
Final Thoughts
You just made a designer-worthy accessory with your own two hands. That’s pretty incredible.
This Forest Green Woodland Moon Purse crochet pattern combines everything I love about crochet. Texture, creativity, and practical beauty. Every time you carry this bag, you’ll feel that little burst of pride knowing you created it.
Thank you so much for choosing this pattern and trusting me to guide you through it. I genuinely love being part of your crochet journey.
I would absolutely love to see your finished purse. Tag me on Instagram or share in our Facebook group. Seeing your versions of my designs is hands down the best part of what I do.
Happy hooking, friend. You’ve got this.