
This stunning sage green crochet clutch bag is the kind of project that looks far more complicated than it actually is. I fell in love with the earthy boho vibe the moment I finished attaching those tassels. The combination of textured stitches, a dramatic pointed flap, and decorative tassels creates something that honestly looks store bought. But you made it. With your own hands.
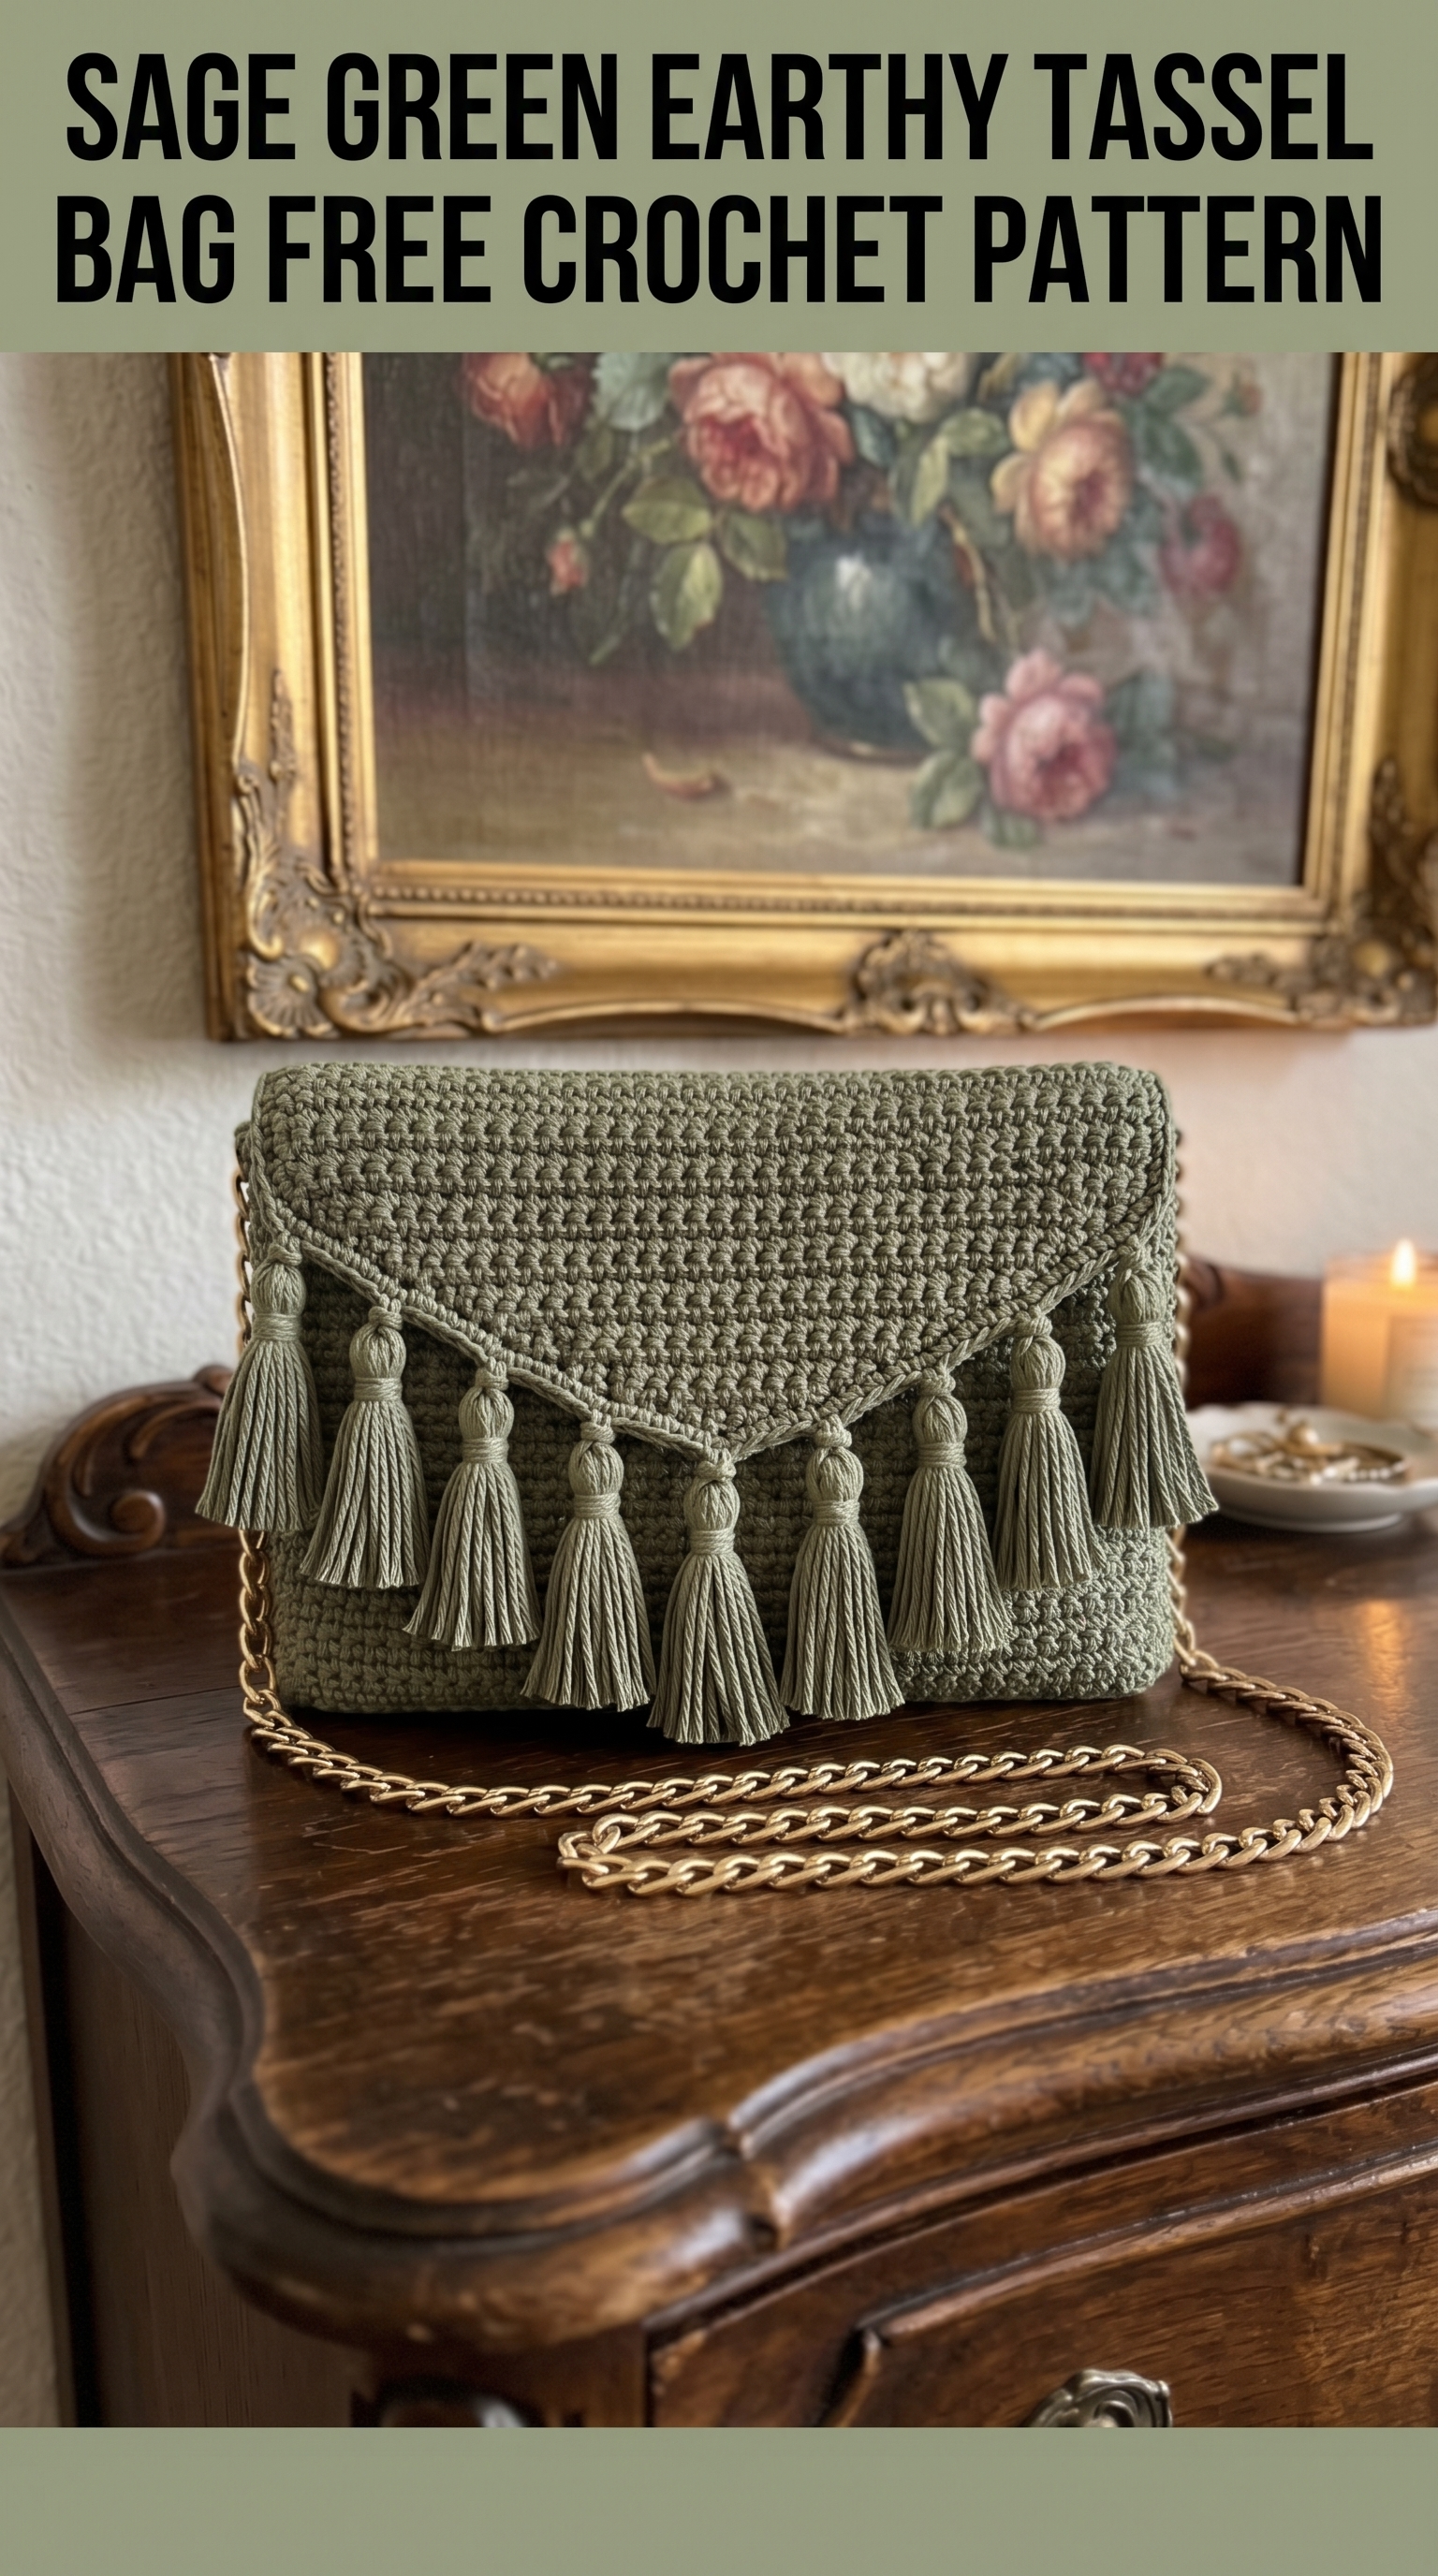
If you can work basic crochet stitches and follow a simple pattern repeat, you can absolutely make this bag. I would call this an advanced beginner to intermediate level project. Nothing scary here. Just a rectangular base, some textured rows, and a few finishing touches that make all the difference.
Let me walk you through everything you need to recreate this sage green earthy tassel bag crochet pattern from start to finish.
Why This Crochet Bag Pattern Works So Well
Before we dive into the materials and instructions, let me tell you what makes this design special.
The body uses a tight, dense stitch pattern that gives the bag real structure. No floppy fabric here. Your phone, keys, wallet, and lipstick will stay secure. The texture comes from alternating rows that create those horizontal ridges you can see running across the surface.
That pointed flap is everything. It turns a simple rectangular clutch into something with real design interest. And those tassels along the edge? They transform the whole piece into a boho statement accessory.
The gold chain strap elevates this from casual to evening appropriate. You could wear this to brunch or to a wedding. It is that versatile.
Materials You Will Need
Here is your complete shopping list for this crochet tutorial.
Yarn:
Hook:
Notions:
Gauge
Gauge matters for bags because it affects the final size and structure.
Work 20 stitches and 18 rows in the main stitch pattern to get a 10cm x 10cm (4 inch x 4 inch) square.
If your square is larger, go down a hook size. If smaller, go up a hook size. Taking five minutes to check gauge saves hours of frustration later.
Finished Dimensions
Abbreviations and Stitch Definitions
Let me define every stitch before we begin. No confusion allowed.
Ch = Chain. Wrap yarn over hook and pull through the loop on your hook. This creates one chain stitch.
Sl st = Slip stitch. Insert hook, yarn over, pull through both the stitch and the loop on your hook in one motion. Used for joining and creating a flat seam.
Sc = Single crochet. Insert hook into stitch, yarn over and pull up a loop (two loops on hook), yarn over and pull through both loops.
Hdc = Half double crochet. Yarn over, insert hook into stitch, yarn over and pull up a loop (three loops on hook), yarn over and pull through all three loops at once.
BLO = Back loop only. Instead of inserting your hook under both loops at the top of a stitch, insert it under only the back loop. This creates ridged texture.
Sk = Skip. Miss the indicated stitch and work into the next one.
St(s) = Stitch(es).
Rep = Repeat.
Step by Step Crochet Pattern Instructions
Here we go. Take a breath. You have got this.
The Bag Body (Worked Flat, Then Folded)
We are making one long rectangle, then folding it to create front, back, and bottom in one piece. Smart, right? Fewer seams means a cleaner finish.
Foundation Row:
Ch 49.
Row 1: Sc in 2nd ch from hook and in each ch across. (48 sts)
Row 2: Ch 1, turn. Working in BLO, sc in each st across. (48 sts)
Rows 3 through 70: Repeat Row 2.
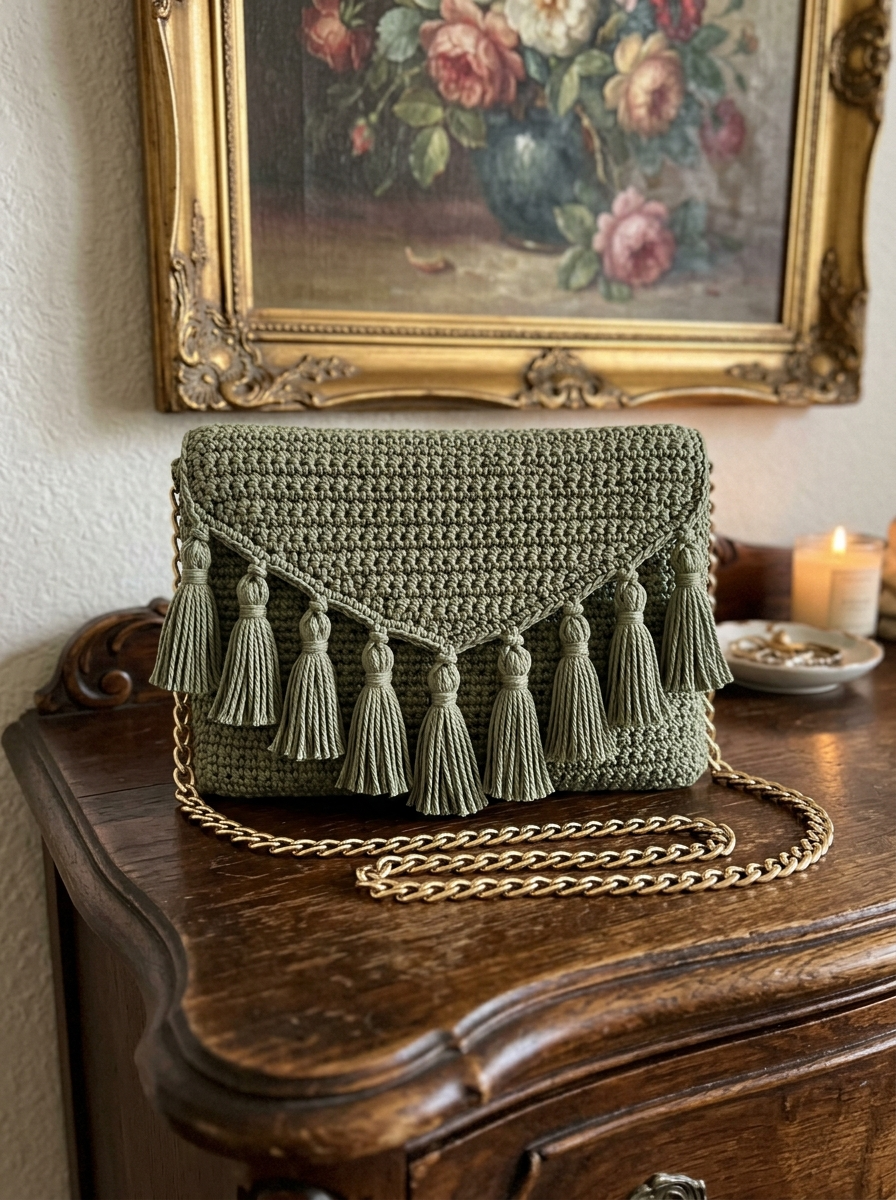
You should now have a long rectangle with beautiful horizontal ridges from the back loop only technique. This is the texture you see in the photo.
A quick note: Those ridges happen because when you work in back loop only, the front loop creates a visible horizontal bar. Pretty clever trick for adding visual interest to basic single crochet.
Count your rows. You need exactly 70 rows to have enough fabric for the front, bottom, and back panels.
Fasten off. Weave in ends.
Folding and Seaming the Body
Lay your rectangle flat with the ridges running horizontally.
Fold the bottom edge up approximately 16cm (about 28 rows). This becomes your bag front.
Fold the top edge down to meet the fold you just made. This is your bag back.
You should now have three layers stacked: front panel, back panel, and a small section remaining at the top that will become your flap base.
Seaming the sides:
Using your tapestry needle and matching yarn, whip stitch or mattress stitch the side edges together through all layers. Work from bottom fold to top edge on both sides.
Turn right side out. Your bag body is complete.
The Pointed Flap
This is where the magic happens. The flap is worked separately and attached to the back of the bag.
Foundation Row:
Ch 49.
Row 1: Sc in 2nd ch from hook and in each ch across. (48 sts)
Row 2: Ch 1, turn. Working in BLO, sc in each st across. (48 sts)
Rows 3 through 8: Repeat Row 2. (48 sts each row)
Now we begin the shaping to create the pointed center.
Row 9: Ch 1, turn. Sk first st, sc in BLO across to last 2 sts, sk 1 st, sc in last st. (46 sts)
Row 10: Ch 1, turn. Sc in BLO across. (46 sts)
Row 11: Ch 1, turn. Sk first st, sc in BLO across to last 2 sts, sk 1 st, sc in last st. (44 sts)
Row 12: Ch 1, turn. Sc in BLO across. (44 sts)
Continue this pattern of decreasing on odd rows and working even on even rows until you have 4 stitches remaining.
Final decrease rows:
When you reach 4 sts, work: Sk 1, sc2tog (insert hook in next st, pull up loop, insert hook in following st, pull up loop, yarn over and pull through all 3 loops), sk last st. (1 st)
Fasten off, leaving a long tail.
Attaching the Flap
Position the straight edge of your flap along the back top edge of your bag, right sides facing out.
Using whip stitch, sew the flap securely to the bag back. Make sure your stitches are tight and even.
Making the Tassels
I count approximately 9 tassels along the flap edge in the photo. These are what take this bag from nice to absolutely gorgeous.
For each tassel:
1. Cut 20 strands of yarn, each about 15cm long.
2. Bundle the strands together evenly.
3. Fold the bundle in half.
4. Using a separate piece of yarn, tie tightly around the bundle about 1.5cm below the fold. This creates the tassel head.
5. Wrap additional yarn around this tie point several times to create a neat, bulbous head. Secure with a knot.
6. Trim the tassel ends evenly.
Attaching tassels:
Space your 9 tassels evenly along the pointed edge of the flap. Use the folded loop at the top of each tassel to attach through the edge stitches. Pull the tassel body through the loop and tighten.
Adding the Chain Strap
This step requires your D-rings or jump rings.
Attach one D-ring to each inside side seam at the top of your bag. You can sew these in place with yarn or use small pliers to secure jump rings through the fabric.
Thread your gold chain through both D-rings. The chain should be long enough to wear crossbody or over one shoulder, approximately 120cm works well.
Optional: Adding a Fabric Lining
If you want extra durability and a polished interior, cut fabric to fit inside your bag with a 1cm seam allowance. Sew the lining pieces together, slip inside the bag, and hand stitch around the top edge.
This step is completely optional but makes the bag feel more finished.
Helpful Tips for Success
Tension matters. Keep your stitches consistent and slightly tight. Loose stitches create a floppy bag.
Block before assembling. Wet blocking your rectangle before folding helps even out any wonky edges.
Count often. Check your stitch count every few rows. Finding a mistake early saves frogging heartbreak.
The tassels make it. Do not skip them. Seriously. They transform the entire piece.
Customization Ideas
Want to make this earthy tassel bag crochet pattern your own? Here are some ideas.
You Did It
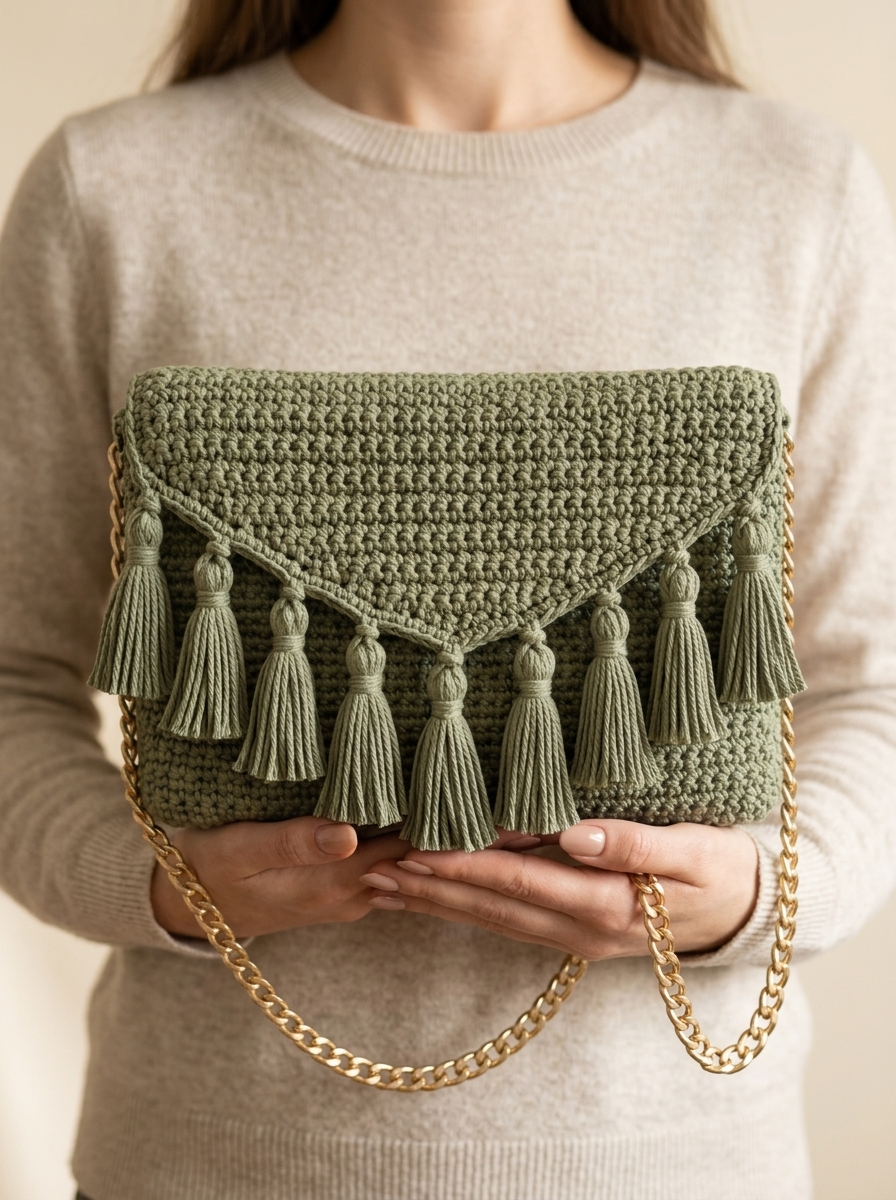
And just like that, you have a handmade designer-looking accessory. This sage green earthy tassel bag is going to get you so many compliments. People will not believe you made it yourself.
I am so glad you chose to make this project. Thank you for trusting me with your crafting time. That means everything.
I would absolutely love to see your finished bag. Tag me on Instagram or share in our Facebook group. Seeing your creations makes my whole day brighter.
Now go show off that gorgeous new bag. You earned it.
Happy crocheting, friend.