
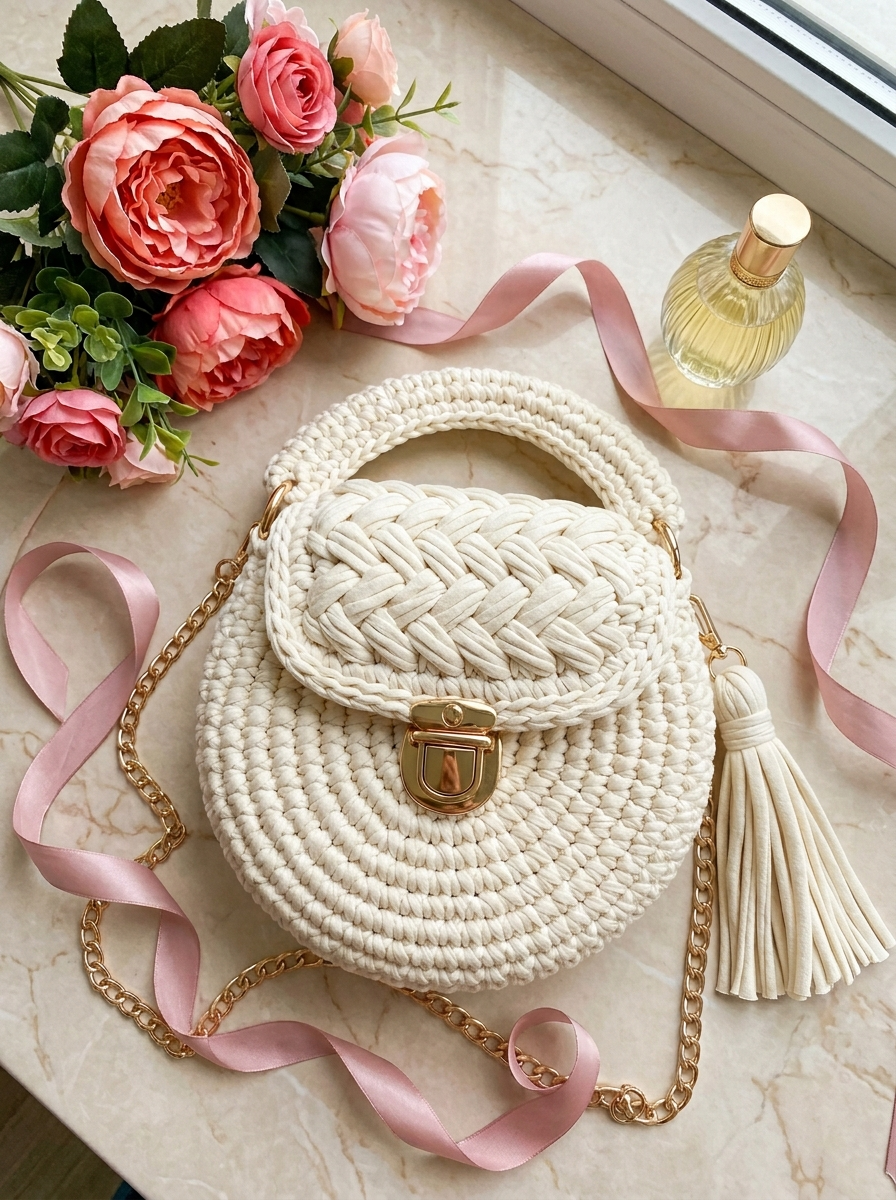
Oh, this bag. This is one of those projects that looks like it belongs in a boutique window but actually comes together beautifully in a weekend. The Cream and Gold Elegant Round Bag is a structured, sophisticated crossbody that pairs chunky t-shirt yarn with luxe hardware. The result? A handmade accessory that genuinely looks designer.
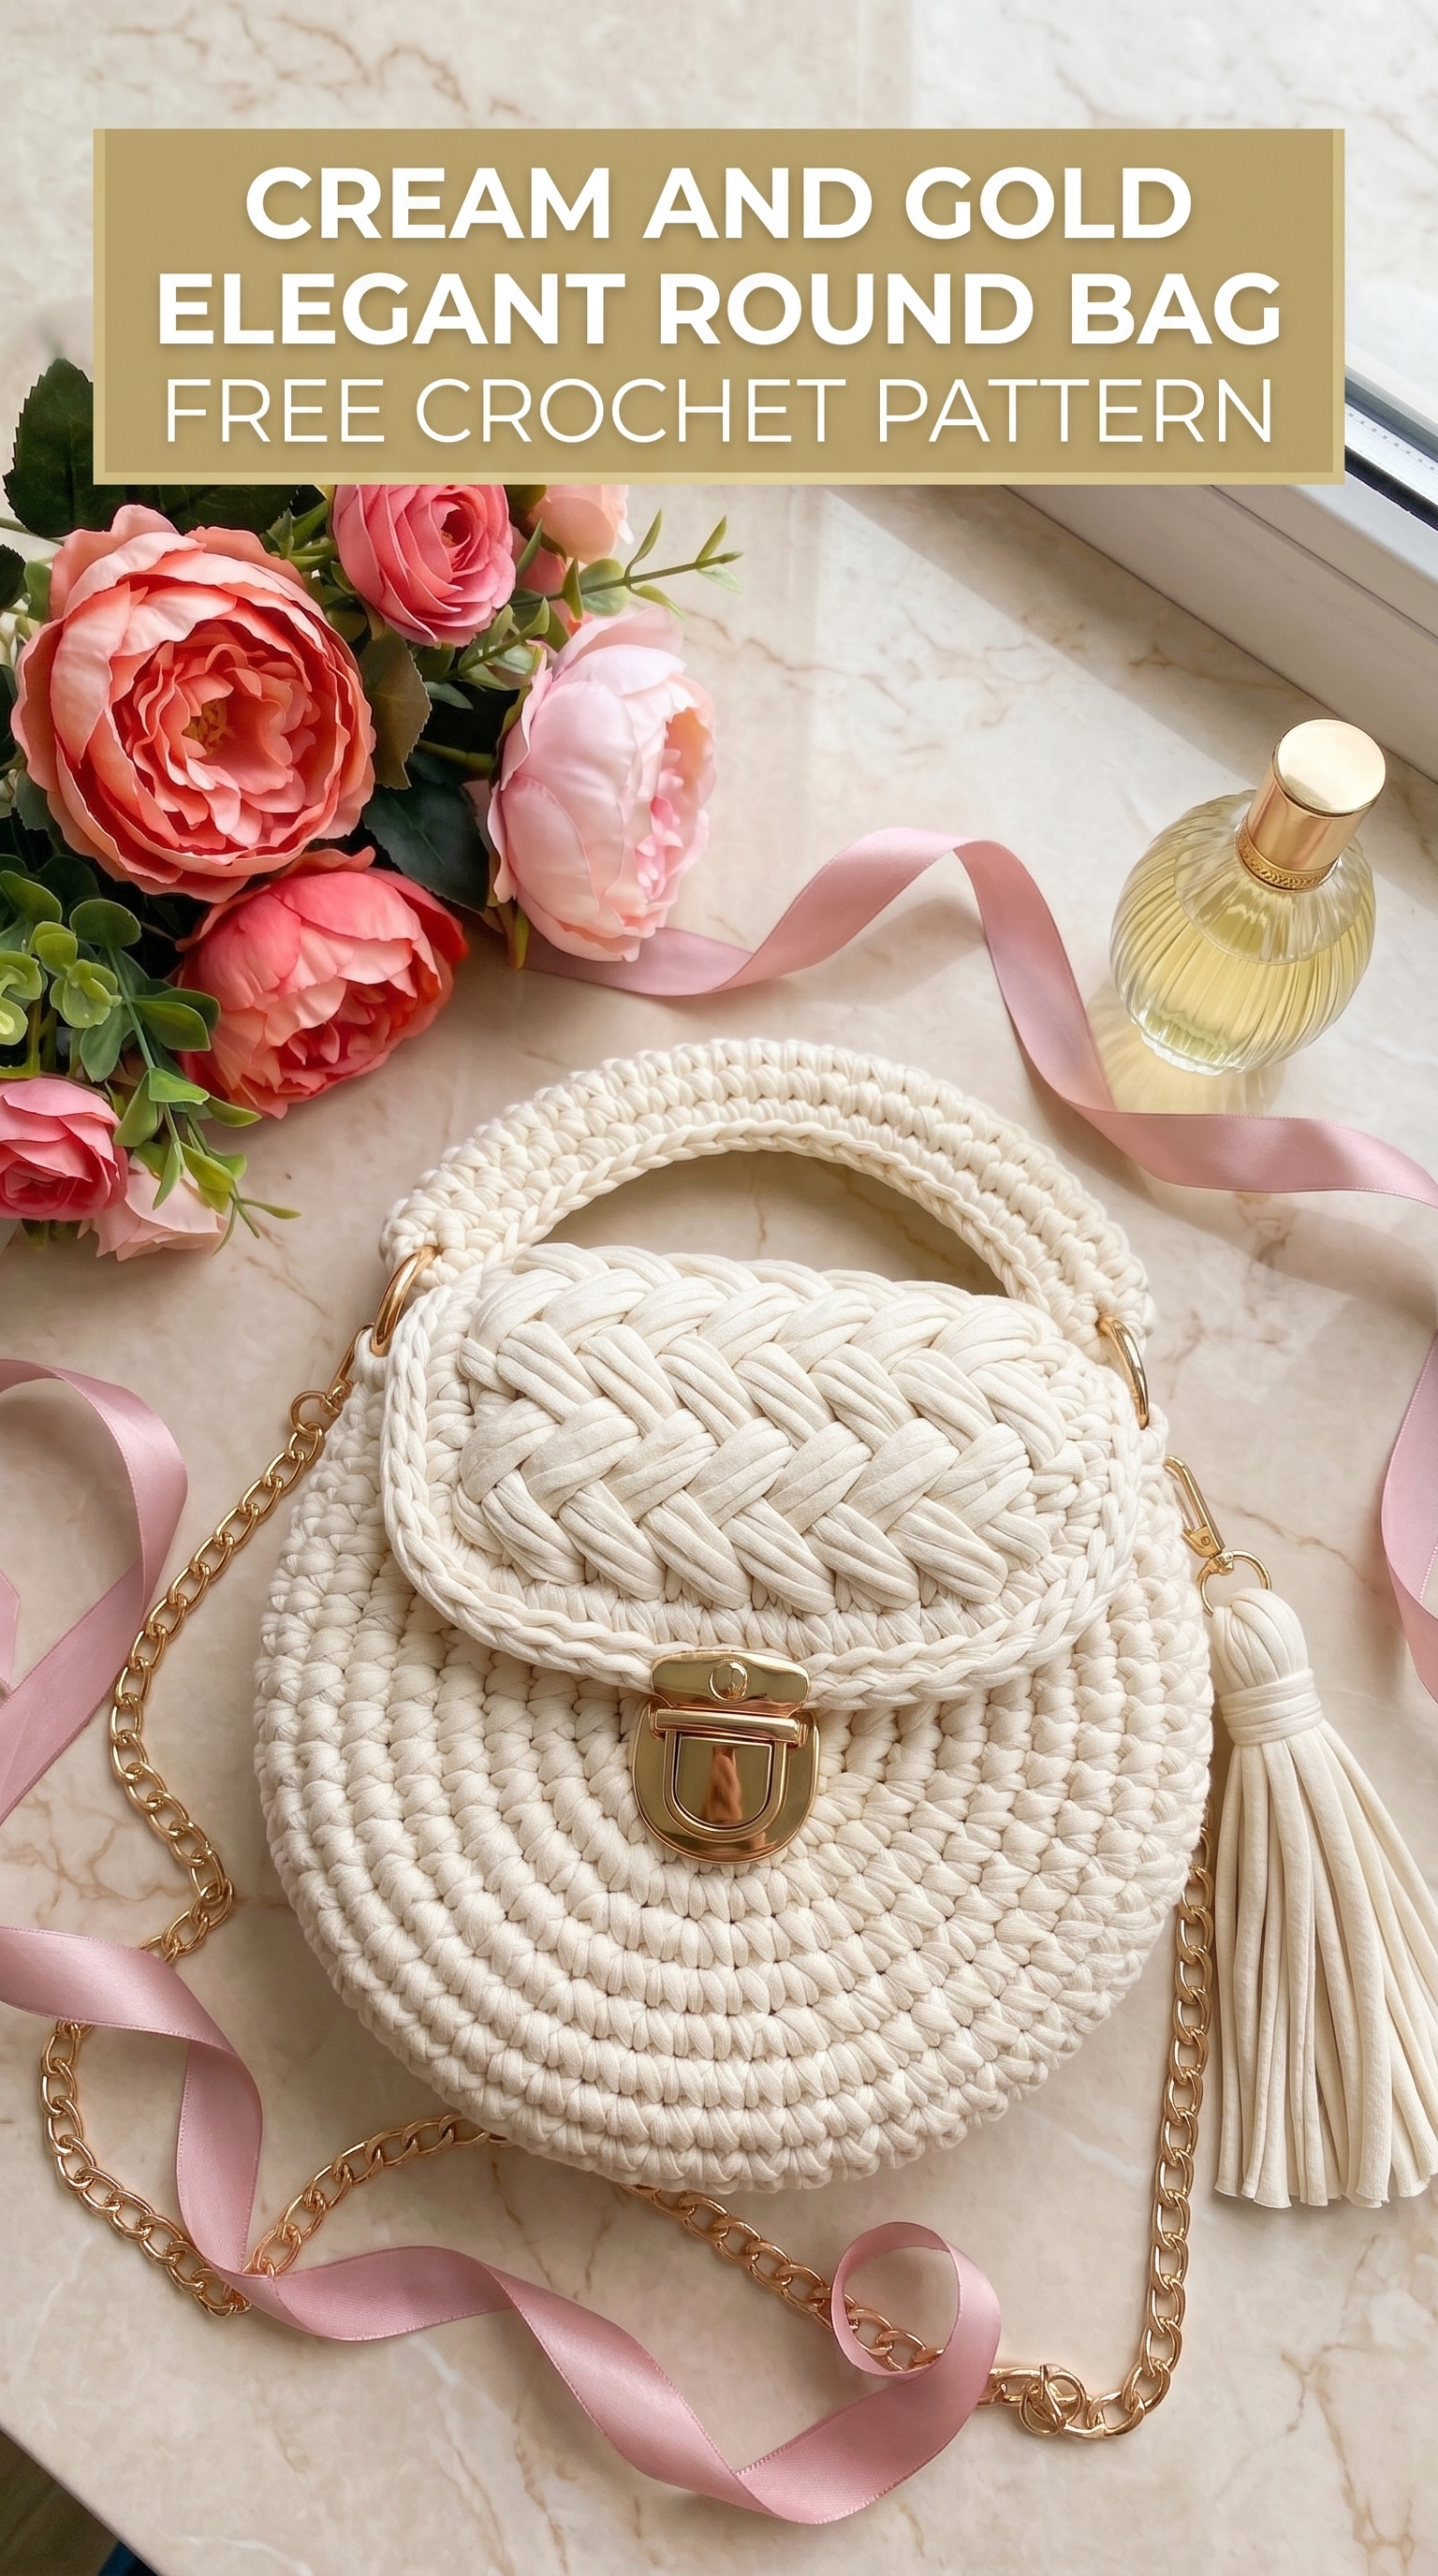
If you can crochet in the round and work basic stitches, you can absolutely make this. I promise. The fancy braided flap might look intimidating, but I will walk you through every step of this crochet pattern. By the end, you will have a stunning bag that nobody will believe you made yourself.
Why This Crochet Pattern Works So Well
This elegant round bag crochet tutorial hits a sweet spot. The construction is straightforward, but the finished piece looks complex. Here is why it works:
The yarn does the heavy lifting. T-shirt yarn (also called trapillo or ribbon yarn) creates that chunky, textured look automatically. Each stitch is bold and visible. No fussy increases to hide.
The hardware elevates everything. A gold push-lock clasp, D-rings, and a chain strap transform this from “handmade bag” to “where did you buy that?” territory.
The shape is forgiving. Round bags hide minor tension inconsistencies. Nobody will notice if one row is slightly tighter than another.
Let me show you exactly how to crochet this step by step.
Materials You Will Need
Gather these supplies before you start. Having everything ready makes the process so much smoother.
Yarn
Hook
Hardware
Notions
Skill Level
Confident Beginner to Intermediate
You should be comfortable with:
The braided flap technique is the trickiest part, but I will break it down clearly.
Stitch Abbreviations and Definitions
Let me define every stitch before we begin. Refer back here anytime you need a refresher.
Chain (ch): The foundation stitch. Yarn over, pull through the loop on your hook. Creates the starting row or adds height.
Slip Stitch (sl st): Insert hook, yarn over, pull through both the stitch and the loop on your hook in one motion. Used to join rounds or move across stitches invisibly.
Single Crochet (sc): Insert hook into stitch, yarn over, pull up a loop (two loops on hook), yarn over, pull through both loops. This is your main stitch for the bag body.
Increase (inc): Work two single crochet stitches into the same stitch. This adds one stitch to your count.
Back Loop Only (BLO): Insert your hook under only the back loop of the stitch (the loop farthest from you), leaving the front loop unworked. Creates a ridge texture.
Finished Dimensions
These measurements may vary slightly depending on your tension and yarn thickness.
Pattern Notes Before You Begin
A few things to keep in mind as you work through this crochet pattern:
1. Work in continuous rounds unless otherwise specified. Do not join rounds with a slip stitch unless instructed. Use a stitch marker to track your first stitch.
2. T-shirt yarn varies in thickness. Even within the same skein, some sections may be thicker or thinner. Try to keep your tension consistent and adjust as needed.
3. Count your stitches at the end of each round. This bag relies on even shaping.
4. The bag has two identical circular pieces that get joined together. Think of it like making two coasters and sewing them into a pouch.
Crochet Pattern Instructions
Base Circle (Make 2)
You will create two identical flat circles. One becomes the front panel, one becomes the back panel.
Round 1: Create a magic ring. Work 6 sc into the ring. Pull tight to close. (6 sts)
Do not join. Place stitch marker in first stitch and move it up each round.
Round 2: Work 2 sc in each stitch around. (12 sts)
Round 3: *Sc in next stitch, inc in next stitch.* Repeat from * to * around. (18 sts)
Round 4: *Sc in next 2 stitches, inc in next stitch.* Repeat around. (24 sts)
Round 5: *Sc in next 3 stitches, inc in next stitch.* Repeat around. (30 sts)
Round 6: *Sc in next 4 stitches, inc in next stitch.* Repeat around. (36 sts)
Round 7: *Sc in next 5 stitches, inc in next stitch.* Repeat around. (42 sts)
Your circle should lay flat without cupping or ruffling. If it cups, your tension is too tight. If it ruffles, your tension is too loose or you have too many increases.
For a slightly larger bag: Continue the increase pattern for one more round. *Sc in next 6 stitches, inc in next stitch.* Repeat around. (48 sts)
Slip stitch to first stitch to join. Fasten off the first circle, leaving a long tail for sewing. Continue directly into the sides on the second circle.
Bag Body (Sides)
Using the second circle, you will now build the walls of the bag by working in the back loop only. This creates that distinctive ridge at the base.
Round 8: Working in BLO only, sc in each stitch around. (42 sts)
This round will feel different. The unworked front loops create a visible line that defines where the base meets the sides. Very satisfying.
Rounds 9-13: Sc in each stitch around (working through both loops as normal). (42 sts per round)
That gives you 6 rounds of sides total, including the BLO round. The bag should stand about 5-6cm tall.
Slip stitch to first stitch to join. Fasten off, leaving a long tail for assembly.
Joining the Panels
Now you will attach the flat circle (your first piece) to the body piece.
1. Place the flat circle inside the body piece, wrong sides together. The flat circle becomes an interior bottom.
2. Using the long tail from the body piece and your tapestry needle, whip stitch the two pieces together through the remaining front loops from Round 8. This hides the seam beautifully.
3. Alternatively, hold both pieces together and slip stitch through both layers all the way around.
At this point, you have a little bowl or container shape. Looking good.
Top Edging and D-Ring Attachment
The top edge needs a clean finish, plus attachment points for your strap.
Round 1: Join yarn at the back center of the bag. Sc evenly around the top edge. When you reach the side points (roughly at 3 o’clock and 9 o’clock positions), fold a D-ring into the work: insert hook through the D-ring, then through the next stitch, complete the sc. This anchors the D-ring.
Work another sc through the same stitch and D-ring to secure it firmly.
Continue sc around. Slip stitch to join. (42 sts approximately)
Round 2: Sc in each stitch around, working a sc into each D-ring attachment as you pass it. Slip stitch to join. Fasten off.
The D-rings should now be firmly attached at the sides of your bag.
Braided Flap
This is the showstopper. The flap uses a technique that mimics a Celtic weave or braided texture. It looks complex but follows a repeating pattern.
Foundation: Chain 15. This should span approximately the top third of your bag opening.
Row 1: Sc in second chain from hook and each chain across. Turn. (14 sts)
Row 2: Ch 1 (does not count as stitch). Working in BLO, sc in each stitch across. Turn. (14 sts)
Rows 3-8: Repeat Row 2.
This creates a rectangular piece with horizontal ridges from the BLO work.
Creating the Braid Effect
Here is where the magic happens. You will use the unworked front loops to create woven vertical lines.
1. Cut 6 strands of t-shirt yarn, each approximately 30cm long.
2. Working from the bottom of your rectangle, insert one strand through the front loop of the first stitch in Row 2. Weave it vertically through every other row’s front loops, going under and over to create a woven look.
3. Repeat with additional strands, spacing them evenly across the width of the flap.
4. When all strands are woven through, pull them taut (not too tight) and secure the ends on the wrong side with small knots or by weaving them in.
The result is a braided or woven texture across the flap surface.
Alternative method: If the weaving feels too fiddly, you can achieve a similar look by crocheting surface slip stitches vertically across the finished rectangle. Insert hook from front to back, pull up a loop, and slip stitch along each column.
Attaching the Flap
1. Position the flap at the back center of the bag, overlapping the top edge by about 1-2cm.
2. Whip stitch or slip stitch the back edge of the flap to the bag firmly.
3. The flap should fold over the front of the bag and reach approximately halfway down.
Handle
The handle attaches to the flap and gives you the option to carry the bag by hand.
Chain 30 (adjust for desired length). Slip stitch to form a loop, or attach both ends to the sides of the flap using slip stitches or whip stitches.
To match the braided look: work sc in each chain, then weave additional strands through as you did for the flap. Secure the handle ends to the D-rings or directly to the flap.
Hardware Installation
Push-Lock Clasp:
1. Position the clasp base on the front center of the bag, about 2cm below the top edge.
2. Mark where the prongs need to go through the fabric.
3. Use scissors to carefully poke small holes (or use an awl if you have one).
4. Insert the prongs, place the backing plate inside the bag, and bend the prongs flat to secure.
5. Attach the corresponding clasp piece to the underside of the flap, aligned to meet the base when closed.
Take your time with this step. Measure twice before making any holes.
Chain Strap:
Attach lobster clasps or swivel hooks to each end of your chain strap. Clip them to the D-rings. Done.
Tassel (Optional)
A matching tassel adds movement and polish.
1. Cut 15-20 strands of t-shirt yarn, each 20cm long.
2. Bundle them together and fold in half.
3. Wrap another strand tightly around the bundle about 2cm from the fold. Knot to secure.
4. Attach the tassel to a D-ring or to the clasp hardware.
Finishing Tips
Styling Your Elegant Round Bag
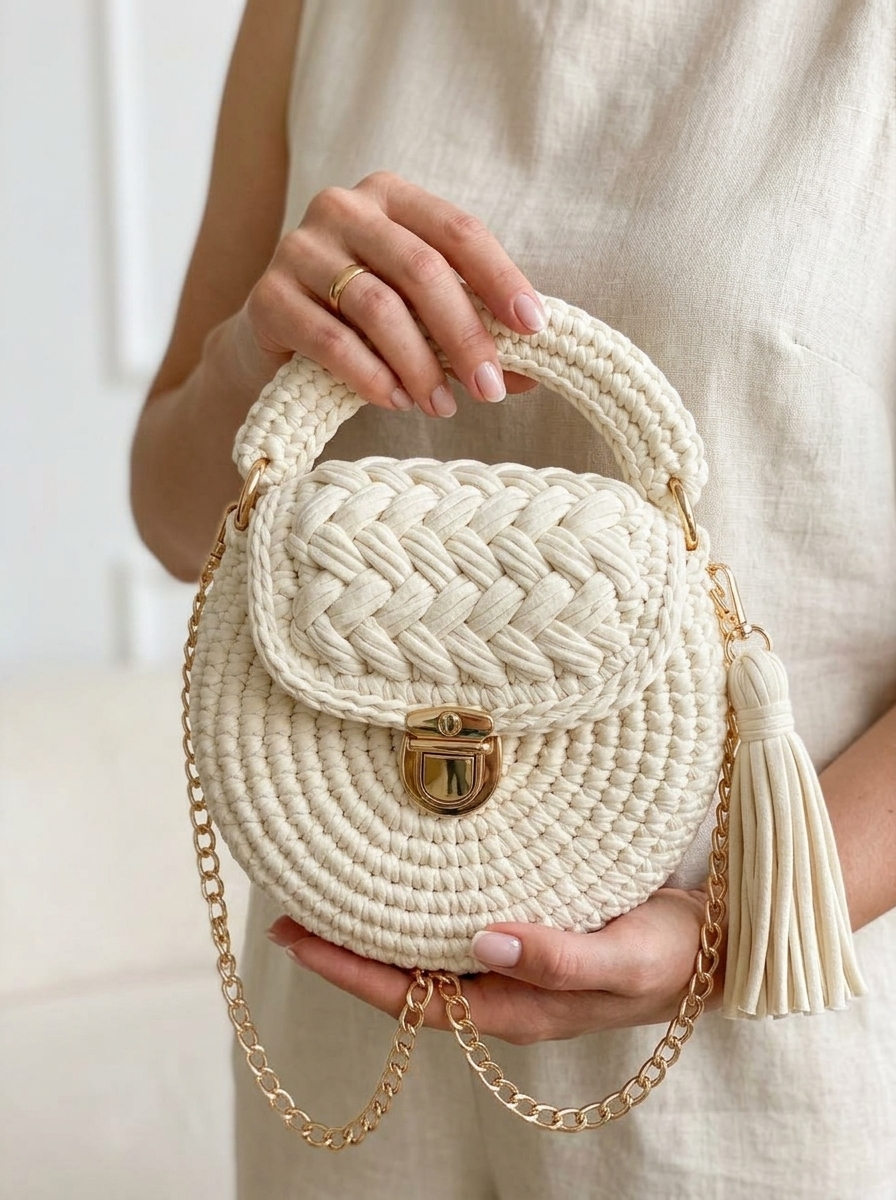
This bag pairs beautifully with summer dresses, linen pants, or even jeans and a crisp white shirt. The cream color is neutral enough to go with everything, and the gold hardware adds just enough sparkle.
Wear it crossbody for hands-free convenience or carry it by the handle for a more formal look.
Troubleshooting Common Issues
My circle is cupping: Your tension is too tight. Try going up a hook size or consciously loosening your stitches.
My circle is ruffling: You may have added too many increases or your tension is too loose. Count your stitches and try again.
The hardware feels wobbly: Add a small piece of faux leather or felt behind the clasp base for reinforcement before installing.
My flap does not lay flat: Block it separately before attaching. Wet blocking (dampening and pinning flat) works well with t-shirt yarn.
Final Thoughts on This Elegant Round Bag Crochet Pattern
You did it. Or you are about to. Either way, I am so excited for you to make this cream and gold elegant round bag. It is one of those projects that feels special from the first stitch to the final hardware installation.
This crochet pattern gives you everything you need to create a bag that looks like it costs far more than the materials. And every time someone asks where you got it, you get to say, “I made it.”
Thank you for trusting me with your crafting time. That means a lot.
When you finish your bag, I would absolutely love to see it. Tag me on Instagram or share your photo in my Facebook group. Seeing your creations genuinely makes my day.
Happy crocheting, friend. You have got this.