
Crocheted dresses look intimidating. I get it. All those delicate shells, that structured bodice, the perfect drape of the skirt. You might be scrolling past patterns like this thinking they are way beyond your skill level.
Here is the truth: if you can double crochet and follow a stitch count, you can make this dress. The construction is actually logical and straightforward once you break it down into sections. You work from the top down, which means you can try it on your little one as you go.
Whether you have been crocheting for years or you are an adventurous beginner ready for your first garment project, this pattern walks you through every single step. I have included checkpoints so you can measure your progress, and the whole thing comes together in a satisfying, predictable way. Let me show you how.
About This Peach Blossom Dress Pattern
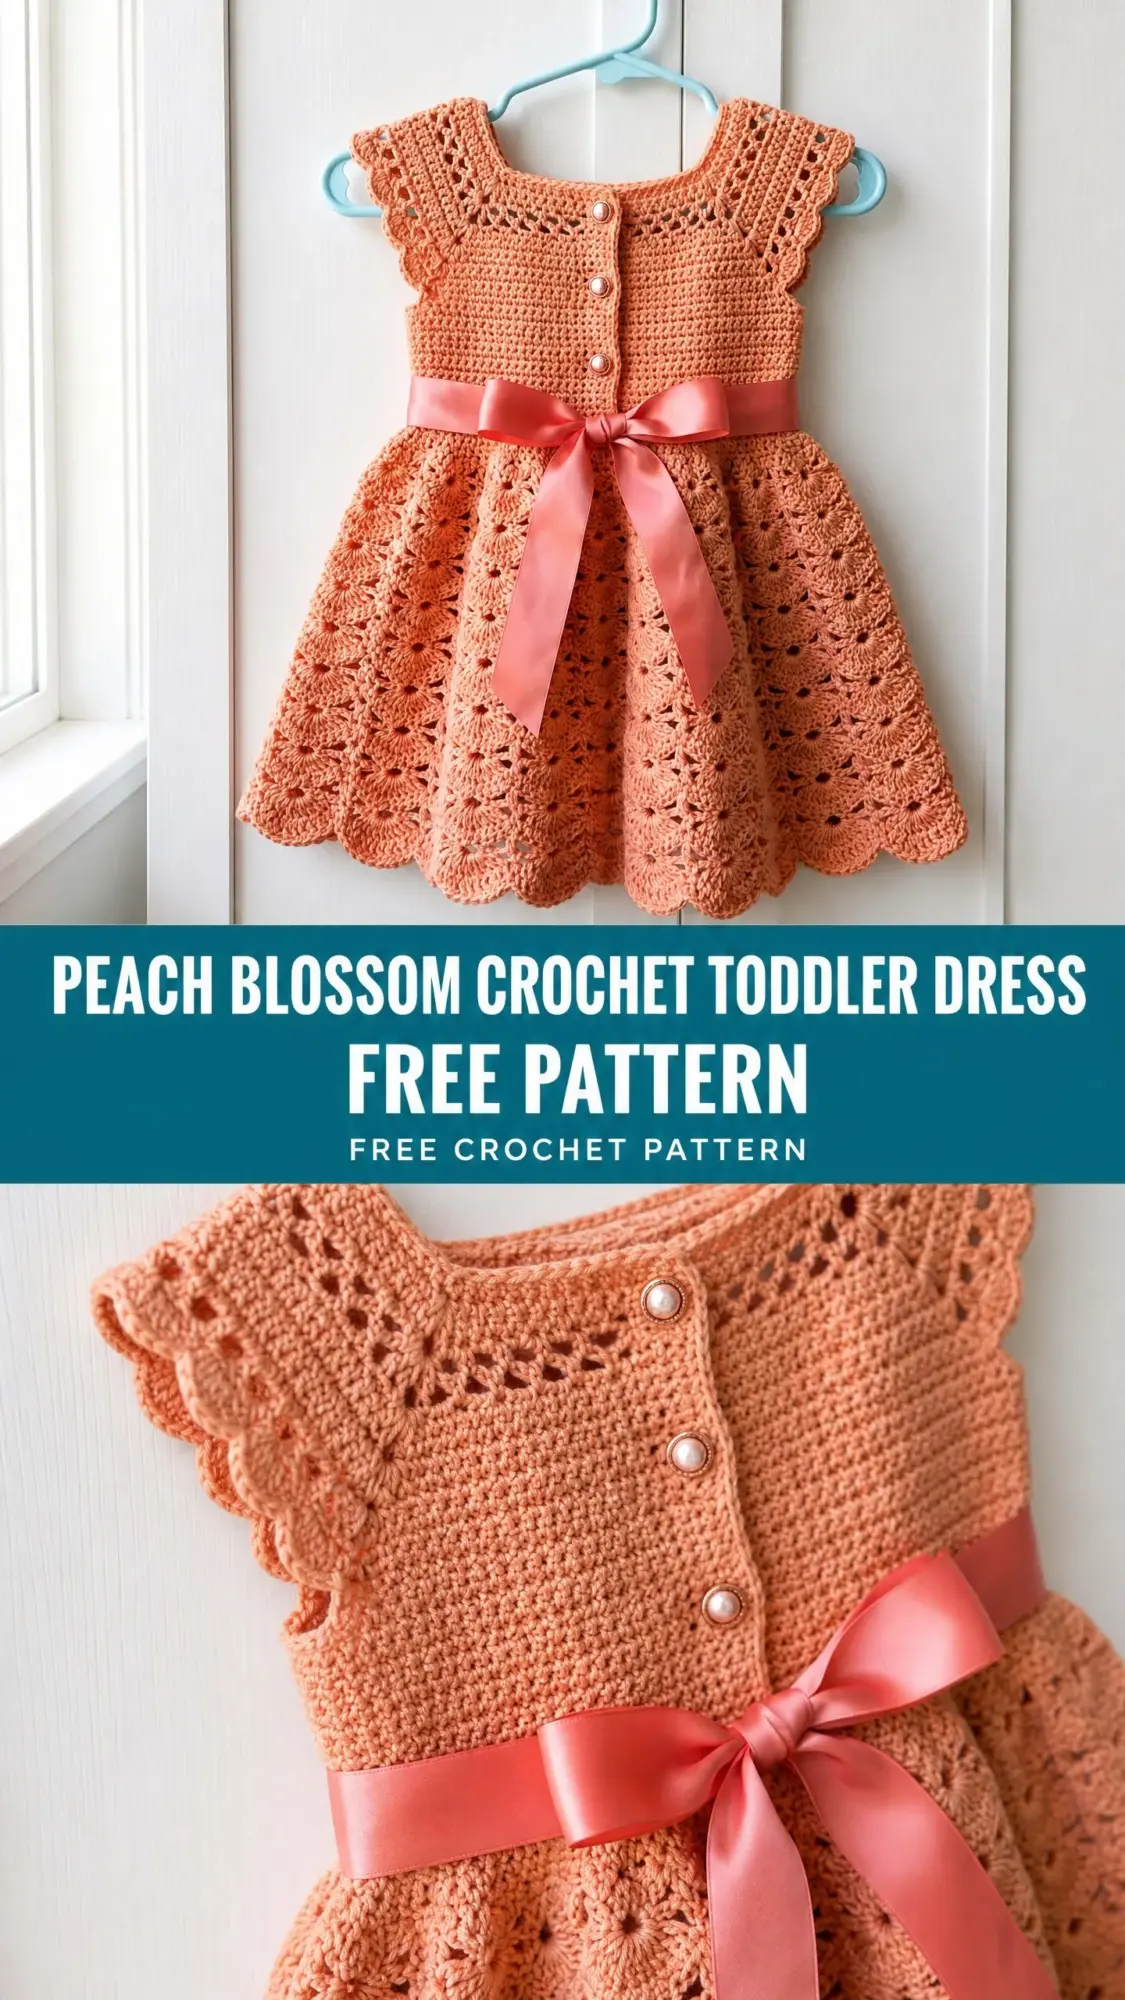
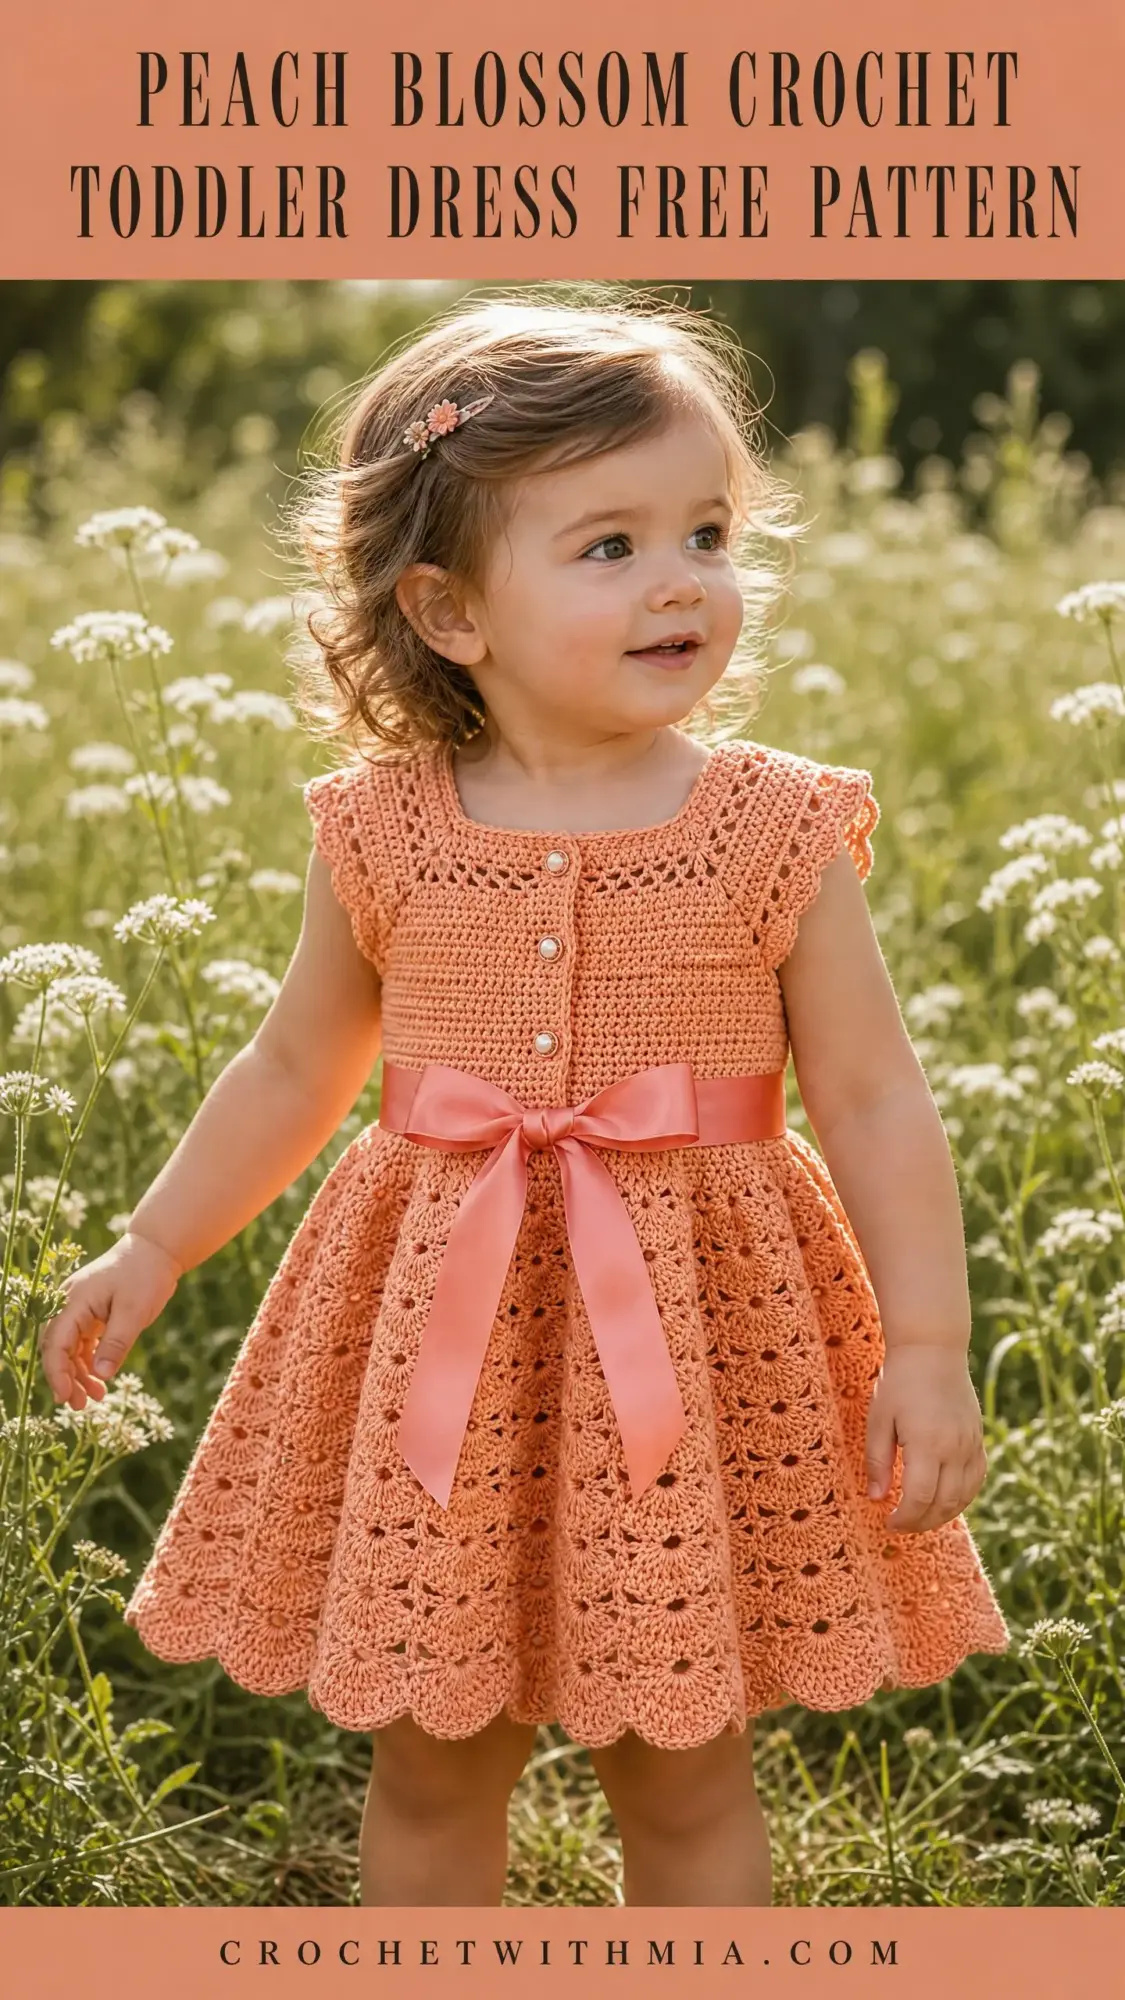
This toddler dress features everything you want in a special occasion piece. A structured bodice with a decorative button placket gives it that classic handmade look. The shell stitch lace skirt creates beautiful movement, and the scalloped hem finishes everything off perfectly. A satin ribbon threaded through eyelets at the waist adds that final elegant touch.
The dress is worked top down in a combination of joined rounds and flat rows. You start at the neckline, work outward for the yoke, split for the bodice section, then rejoin for the skirt. This construction method means no seaming at the end, which I know we all appreciate.
Skill level: Intermediate. You should be comfortable with working in joined rounds, working flat rows, shell stitches, and reading stitch counts. If you have completed a few projects and feel ready to challenge yourself, this is an excellent next step.
Time estimate: Approximately 12 to 18 hours for an experienced crocheter. Give yourself extra time for blocking and ribbon finishing.
Finished Measurements
This pattern is written for toddler size 2T, which fits approximately 1 to 2 years old.
Size customization tips are included at the end of this pattern.
Materials Needed
Yarn: Worsted weight yarn (CYCA 4), approximately 400 yards or 366 meters total in peach or coral
Hook: US size G-6 or 4.0 mm crochet hook
Notions:
Yarn Suggestions
Option 1: Lion Brand Pound of Love (100% acrylic, worsted weight, 1020 yards per skein) in color Pastel Peach. This yarn is soft, machine washable, and excellent for children’s garments. One skein provides ample yardage for this project.
Option 2: Paintbox Yarns Simply DK held double (100% acrylic, DK weight) in Peach. Holding two strands together achieves worsted weight gauge and adds body to the lace pattern.
Option 3: Cascade 220 Superwash (100% superwash merino wool, worsted weight, 220 yards per skein) in a peach or coral colorway. Two skeins required. This offers beautiful stitch definition and softness next to skin.
Substitution note: Any smooth worsted weight yarn that achieves the stated gauge will work. Avoid overly fuzzy or textured yarns, which will obscure the shell and fan stitch detail. Choose a yarn with good drape for the skirt section.
Gauge
Getting gauge right matters for a fitted garment like this. Take time to check yours before starting.
In half double crochet (hdc) flat rows with US G-6 or 4.0 mm hook:
16 stitches and 12 rows = 4 inches or 10 cm
In shell stitch pattern (skirt) worked in rounds with US G-6 or 4.0 mm hook:
One complete shell repeat (12 stitches) = approximately 2.5 inches or 6.4 cm wide
4 rounds of shell pattern = approximately 2 inches or 5 cm tall
Adjust your hook size up or down as needed to match gauge before beginning.
Abbreviations and Stitch Definitions
Let me walk you through every abbreviation used in this pattern. I have included plain English definitions so nothing catches you off guard.
Special Stitches Explained
These decorative stitches create the beautiful texture in this dress. Practice them on a small swatch if they are new to you.
Shell Stitch (used in skirt):
Work 5 double crochet (dc) all into the same stitch or space. This forms one shell unit. The 5 dc fan out to create a scalloped effect.
Fan Stitch (used in yoke lace border):
Work (2 dc, ch 2, 2 dc) all into the same stitch or space. This forms one fan unit.
Scallop Edging:
In the indicated stitch or space, work (sc, hdc, 3 dc, hdc, sc). This forms one scallop.
Picot:
Ch 3, sl st into the third ch from hook. This forms one picot, a small decorative bump.
V-stitch:
Work (dc, ch 2, dc) into the same stitch or space. This forms one V-stitch.
Lace Fan Border (used at neckline and sleeve edges):
Step 1: Attach yarn to indicated position.
Step 2: Ch 1, sc into first stitch.
Step 3: (sk 2 sts, work Fan Stitch into next st, sk 2 sts, sc into next st) repeat around or across.
Step 4: This 6-stitch repeat forms the lace fan border.
Waist Eyelet Round:
Work as follows: (hdc into next 3 sts, ch 2, sk 2 sts) repeat around. This creates uniform eyelets for threading the satin ribbon.
Important Pattern Notes
Read through these notes before you begin. They will save you confusion later.
1. The dress is constructed top down. The yoke is worked in joined rounds. The bodice center section is then worked flat in rows to create the button placket opening. The skirt is rejoined and worked in rounds.
2. The right side (RS) of the work is always facing during skirt rounds. Join each round with a sl st to the top of the starting chain or first stitch unless otherwise noted.
3. The button placket runs vertically at center front of the bodice. Buttons are placed on the right placket band for the wearer. Buttonholes are worked on the left placket band.
4. The satin ribbon is threaded through the waist eyelet round after blocking, tied in a bow at center front.
5. Turning chains count as follows throughout this pattern:
6. All stitch counts are given in parentheses at the end of each row or round.
7. Blocking is strongly recommended before assembly. Wet block the finished dress, pinning the skirt scallops into shape and allowing to dry fully.
8. The cap sleeves are formed by the shaped edge of the yoke. No additional sleeve shaping is needed. The lace fan border is applied around the cap sleeve opening after the bodice is complete.
Step by Step Pattern Instructions
Section 1: Yoke
The yoke begins at the neckline and is worked outward in joined rounds to the underarm.
Foundation: Work a magic ring or ch 4 and join with sl st to form a ring.
Round 1 (RS): Ch 3 (counts as first dc), work 47 more dc into ring, join with sl st to top of beginning ch-3. (48 dc)
Round 2: Ch 3 (counts as first dc), dc into same st as join, 2 dc into each st around, join with sl st to top of beginning ch-3. (96 dc)
Round 3: Ch 3 (counts as first dc), dc into same st, dc into next st, (2 dc into next st, dc into next st) rep around to last st, 2 dc into last st, join with sl st to top of beginning ch-3. (144 dc)
Round 4: Ch 3 (counts as first dc), dc into same st, dc into next 2 sts, (2 dc into next st, dc into next 2 sts) rep around, join with sl st to top of beginning ch-3. (192 dc)
Place stitch markers to divide the yoke into 4 sections:
Round 5: Ch 3 (counts as first dc), dc into each st around, join. (192 dc)
Round 6: Ch 3, dc into same st, dc into next 5 sts, (2 dc into next st, dc into next 5 sts) rep around, join. (224 dc)
Round 7: Ch 3, dc into each st around, join. (224 dc)
Round 8: Ch 3, dc into same st, dc into next 6 sts, (2 dc into next st, dc into next 6 sts) rep around, join. (256 dc)
Checkpoint: After Round 8, the yoke should measure approximately 3.5 inches or 9 cm from center ring to outer edge.
Section 2: Neckline Lace Fan Border
The neckline border is applied to the foundation ring edge.
With RS facing, join yarn at any stitch along the neckline edge.
Neckline Border Round 1: Ch 1, sc evenly around neckline edge, placing 1 sc per dc of Round 1. Join with sl st to first sc. (48 sc)
Neckline Border Round 2 (Fan Lace): Ch 1, sc into first st, (sk 2 sts, work Fan Stitch into next st, sk 2 sts, sc into next st) rep around. Join with sl st to first sc. (8 fans, 8 sc)
Neckline Border Round 3: Sl st across to first ch-2 sp of first fan, ch 1, sc into same ch-2 sp, (ch 3, sc into next ch-2 sp) rep around, ending ch 3, join to first sc. (8 sc, 8 ch-3 sps)
Fasten off and weave in ends at neckline.
Section 3: Divide for Bodice
Divide the yoke into front bodice, back bodice, and two armhole openings.
Count along Round 8’s 256 sts and divide as follows:
Joining for bodice: Starting at right front, work across 52 right front sts, ch 8 for right underarm, sk 26 right armhole sts, work across 100 back sts, ch 8 for left underarm, sk 26 left armhole sts, work across 52 left front sts.
Bodice stitch count at join row: 52 + 8 + 100 + 8 + 52 = 220 sts across.
Section 4: Bodice Rows
The bodice is worked flat in hdc rows.
Row 1 (RS): Ch 2 (counts as first hdc), hdc into each st and each ch across. Turn. (220 hdc)
Rows 2 through 10: Ch 2 (counts as first hdc), hdc into each st across. Turn. (220 hdc)
Row 11 (RS): Ch 2, hdc into next 53 sts, hdc2tog, hdc into next 108 sts, hdc2tog, hdc into next 54 sts. Turn. (218 hdc)
Rows 12 through 14: Ch 2, hdc into each st across. Turn. (218 hdc)
Row 15 (RS): Ch 2, hdc into next 52 sts, hdc2tog, hdc into next 108 sts, hdc2tog, hdc into next 52 sts. Turn. (216 hdc)
Rows 16 through 18: Ch 2, hdc into each st across. Turn. (216 hdc)
Do not fasten off.
Checkpoint: After Row 18, your piece should measure approximately 8 inches or 20 cm from neckline to current row.
Section 5: Waist Eyelet Round
Join Row 18 ends together at center front with a sl st, forming a joined round. Adjust stitch count to 215 by skipping one stitch when joining.
Eyelet Round: Ch 2 (counts as hdc), hdc into next 2 sts, (ch 2, sk 2 sts, hdc into next 3 sts) 42 times, ch 2, sk 2, join with sl st to top of ch-2. (43 hdc-3 groups, 43 ch-2 eyelets)
Section 6: Skirt
Skirt Setup Round: Ch 1, sc into first st and each st and ch-sp around. Work 1 sc per hdc and 2 sc per ch-2 sp. Join. (215 sc)
Increase Round: Ch 1, sc into each st around, placing 2 sc into one stitch at side seam area. Join. (216 sc)
Skirt Round 1 (Shell Foundation): Ch 3 (counts as first dc), 2 dc into same st, sk 2 sts, sc into next st, sk 2 sts, (5 dc into next st, sk 2 sts, sc into next st, sk 2 sts) 17 times, 2 dc into same st as beg ch-3, join with sl st to top of ch-3. (18 shells, 18 sc)
Skirt Round 2: Sl st to center dc of first shell, ch 1, sc into same st, ch 5, (sc into center dc of next shell, ch 5) 17 times, join with sl st to first sc. (18 sc, 18 ch-5 sps)
Skirt Round 3: Ch 3, 4 dc into same st, sc into ch-5 sp, (5 dc into sc, sc into ch-5 sp) 17 times, join. (18 shells, 18 sc)
Skirt Round 4 (sc conversion with increase): Sl st into any dc, ch 1, sc into same st, sc into next 4 dc, sc into sc, (sc into next 5 dc, sc into sc) 17 times. Join. (216 sc)
Skirt Increase Round A: Ch 1, (sc into next 8 sts, 2 sc into next st) 24 times, join. (240 sc)
Skirt Round 5: Ch 3, 2 dc into same st, sk 2 sts, sc into next st, sk 2 sts, (5 dc into next st, sk 2 sts, sc into next st, sk 2 sts) 19 times, 2 dc into first st to complete shell, join. (20 shells, 20 sc)
Skirt Round 6: Sl st to center dc of first shell, ch 1, sc into same st, ch 5, (sc into center dc of next shell, ch 5) 19 times, join. (20 sc, 20 ch-5 sps)
Skirt Round 7: Ch 3, 4 dc into same sc, sc into ch-5 sp, (5 dc into next sc, sc into next ch-5 sp) 19 times, join. (20 shells, 20 sc)
Skirt Round 8: Sl st to center dc of first shell, ch 1, sc into same st, ch 5, (sc into center dc of next shell, ch 5) 19 times, join. (20 sc, 20 ch-5 sps)
Round 9 (sc conversion): Sl st into first dc, ch 1, sc into same st, sc into next 4 dc, sc into sc, (sc into next 5 dc, sc into sc) 19 times, join. (240 sc)
Skirt Increase Round B: Ch 1, (sc into next 9 sts, 2 sc into next st) 24 times, join. (264 sc)
Skirt Round 10: Ch 3, 2 dc into same st, sk 2 sts, sc into next st, sk 2 sts, (5 dc into next st, sk 2 sts, sc into next st, sk 2 sts) 21 times, 2 dc into first st to complete shell, join. (22 shells, 22 sc)
Skirt Round 11: Sl st to center dc of first shell, ch 1, sc into same st, ch 5, (sc into center dc of next shell, ch 5) 21 times, join. (22 sc, 22 ch-5 sps)
Skirt Round 12: Ch 3, 4 dc into same sc, sc into ch-5 sp, (5 dc into next sc, sc into next ch-5 sp) 21 times, join. (22 shells, 22 sc)
Skirt Round 13: Sl st to center dc of first shell, ch 1, sc into same st, ch 5, (sc into center dc of next shell, ch 5) 21 times, join. (22 sc, 22 ch-5 sps)
Round 14 (sc conversion): Sl st into first dc, ch 1, sc into same st, sc into next 4 dc, sc into sc, (sc into next 5 dc, sc into sc) 21 times, join. (264 sc)
Round 15: Ch 3, 2 dc into same st, sk 2 sts, sc into next st, sk 2 sts, (5 dc into next st, sk 2 sts, sc into next st, sk 2 sts) 21 times, 2 dc into first st, join. (22 shells, 22 sc)
Round 16: Sl st to center dc, ch 1, sc into same st, ch 5, (sc into center dc of next shell, ch 5) 21 times, join. (22 sc, 22 ch-5 sps)
Continue with scalloped hem edging, then fasten off.
Finishing Your Dress
Blocking: Wet block the finished dress on a blocking mat. Pin the skirt scallops into shape, gently stretching them to show off the lace pattern. Allow to dry completely before removing pins.
Ribbon: Thread the satin ribbon through the waist eyelets, weaving in and out. Center the ribbon ends at the front and tie in a bow.
Buttons: Sew decorative buttons along the front placket, spacing them evenly. These buttons are decorative and add that classic finished look.
Weave in all remaining ends using your tapestry needle.
Tips for Size Customization
To adjust the size of this crochet toddler dress pattern:
You Did It!
This Peach Blossom dress is one of those projects that looks far more complicated than it actually is. Once you understand the construction flow, each section builds naturally on the last. The finished result is absolutely stunning, perfect for birthday parties, family photos, or any special occasion.
Thank you so much for choosing this pattern. I genuinely hope you love making it as much as I loved designing it. If you create this dress, I would be thrilled to see your finished piece! Tag me on Instagram or share in my Facebook group.
If this pattern helped you, save it to your Pinterest boards so you can find it again later. And please drop a comment below if you make this sweet little dress. I love seeing your color choices and hearing about who the lucky little one is that gets to wear it!