
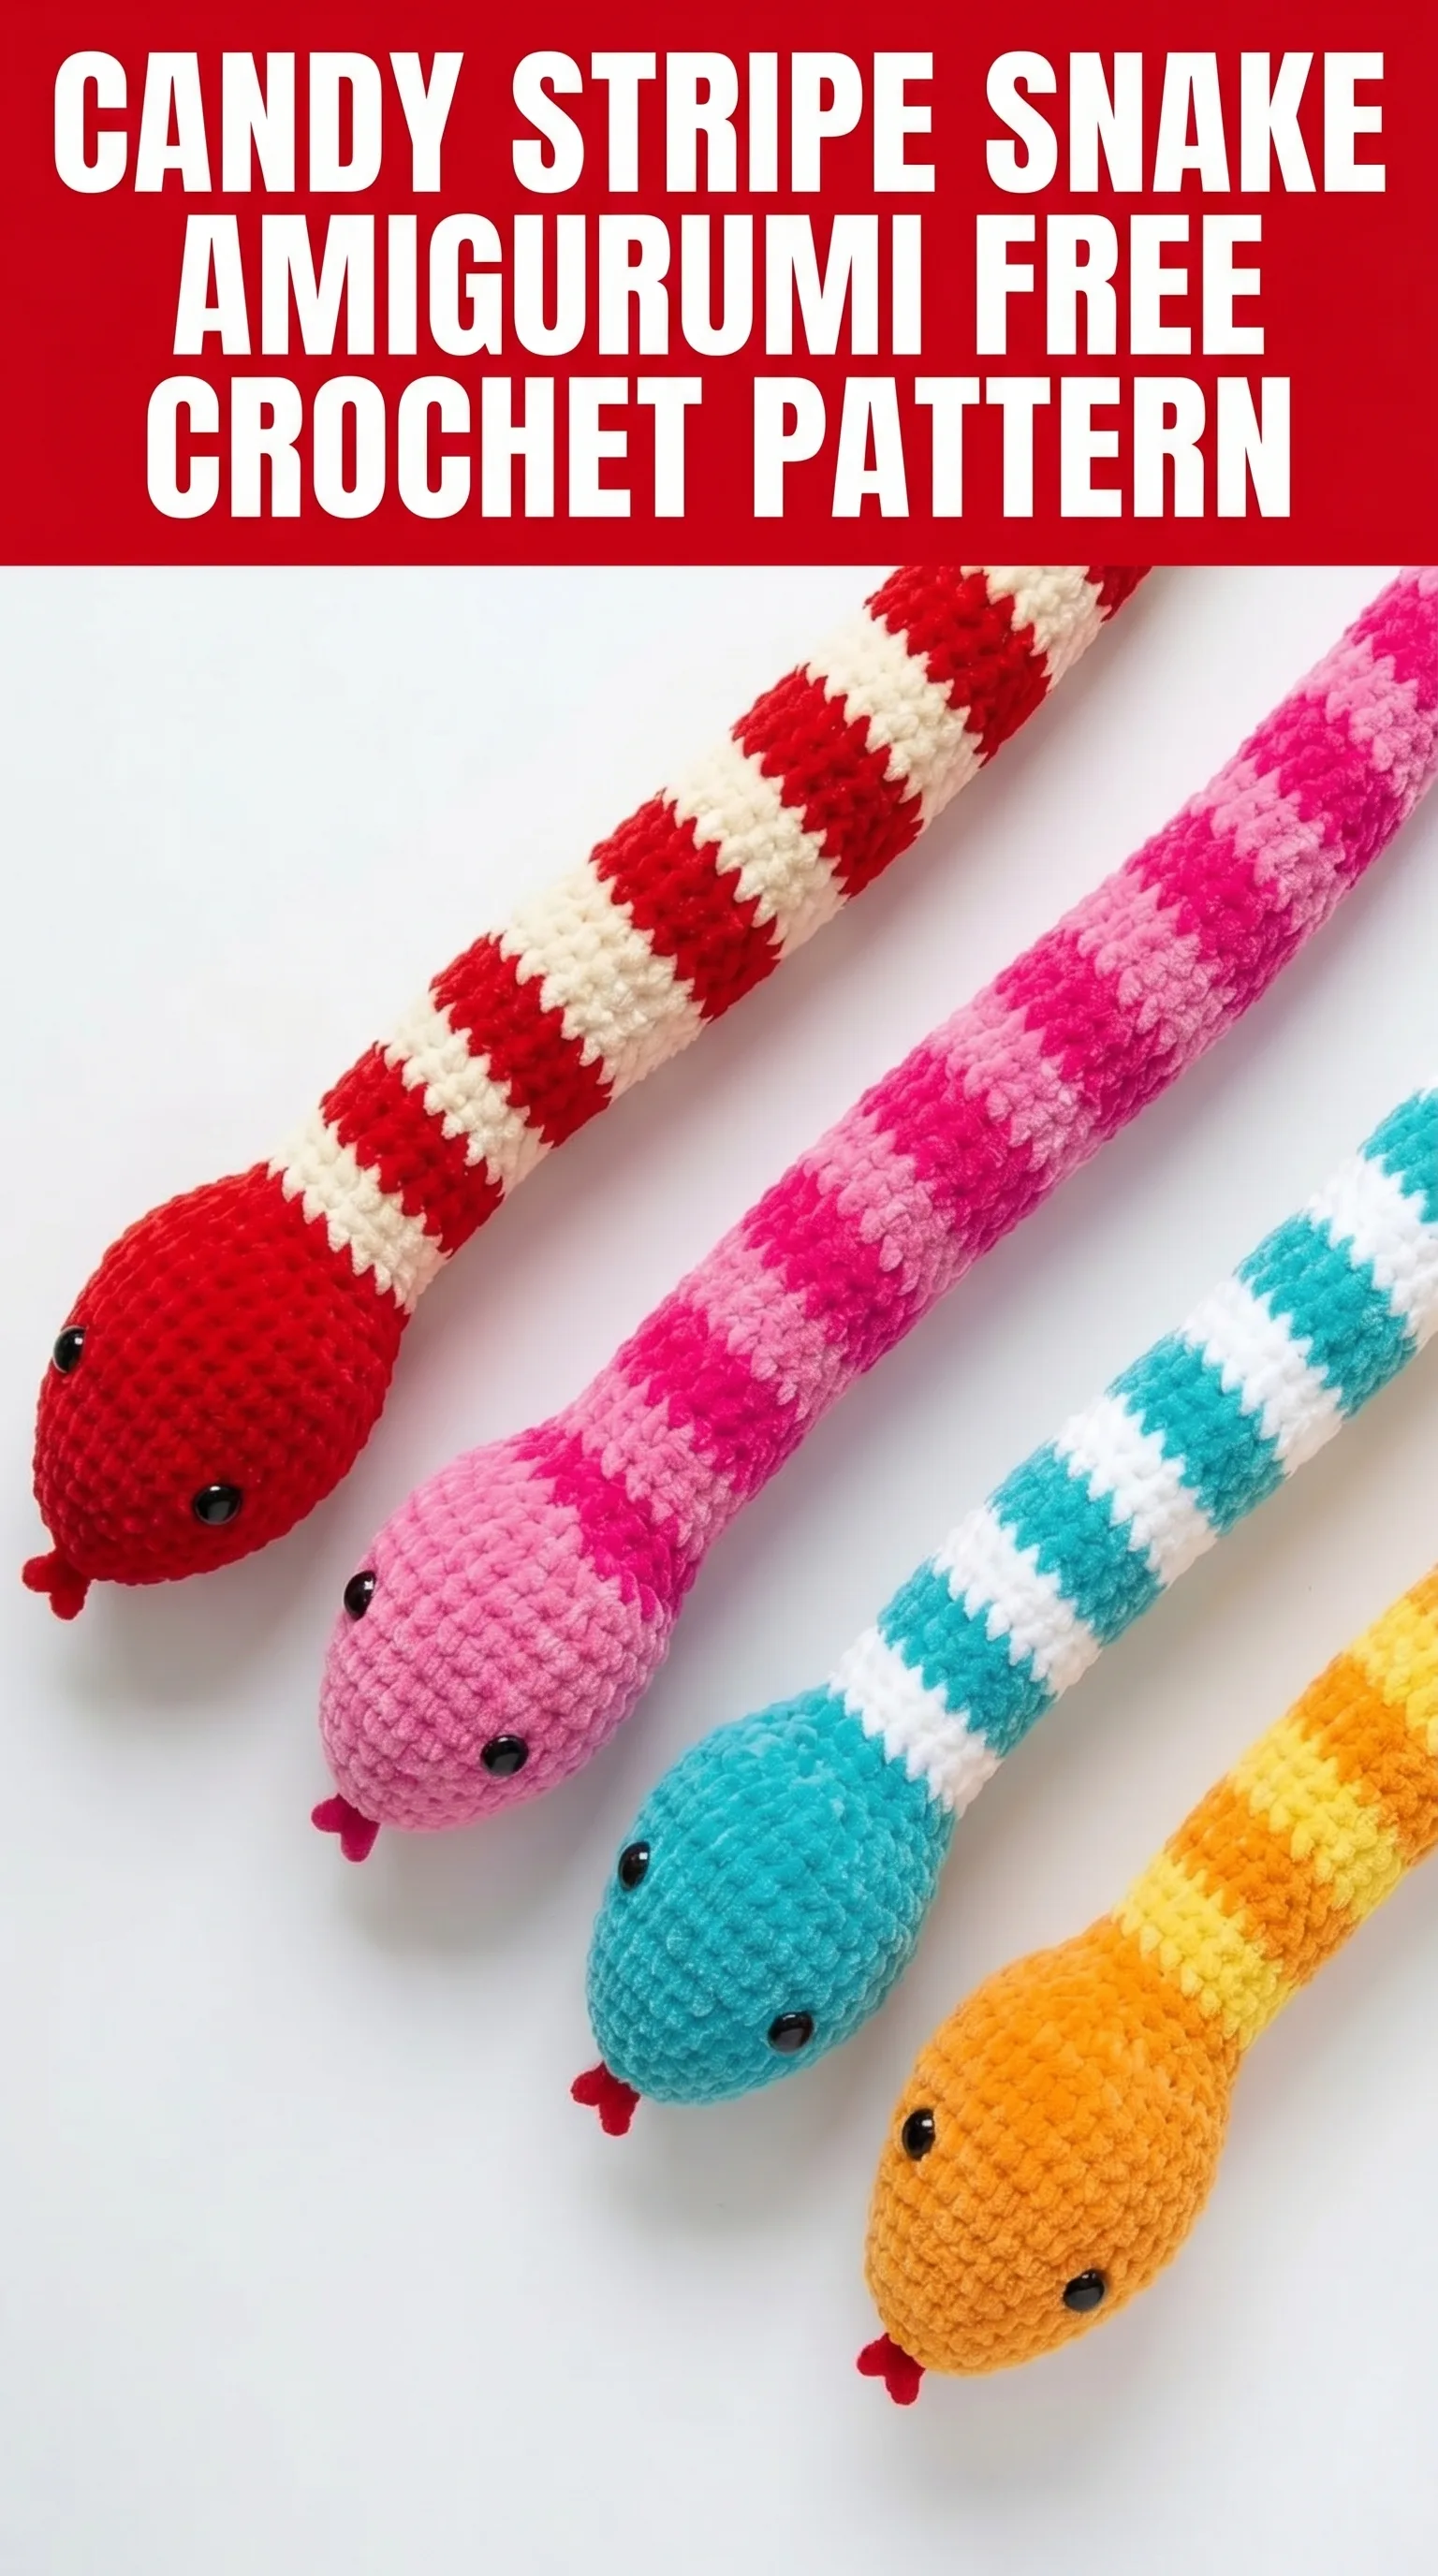
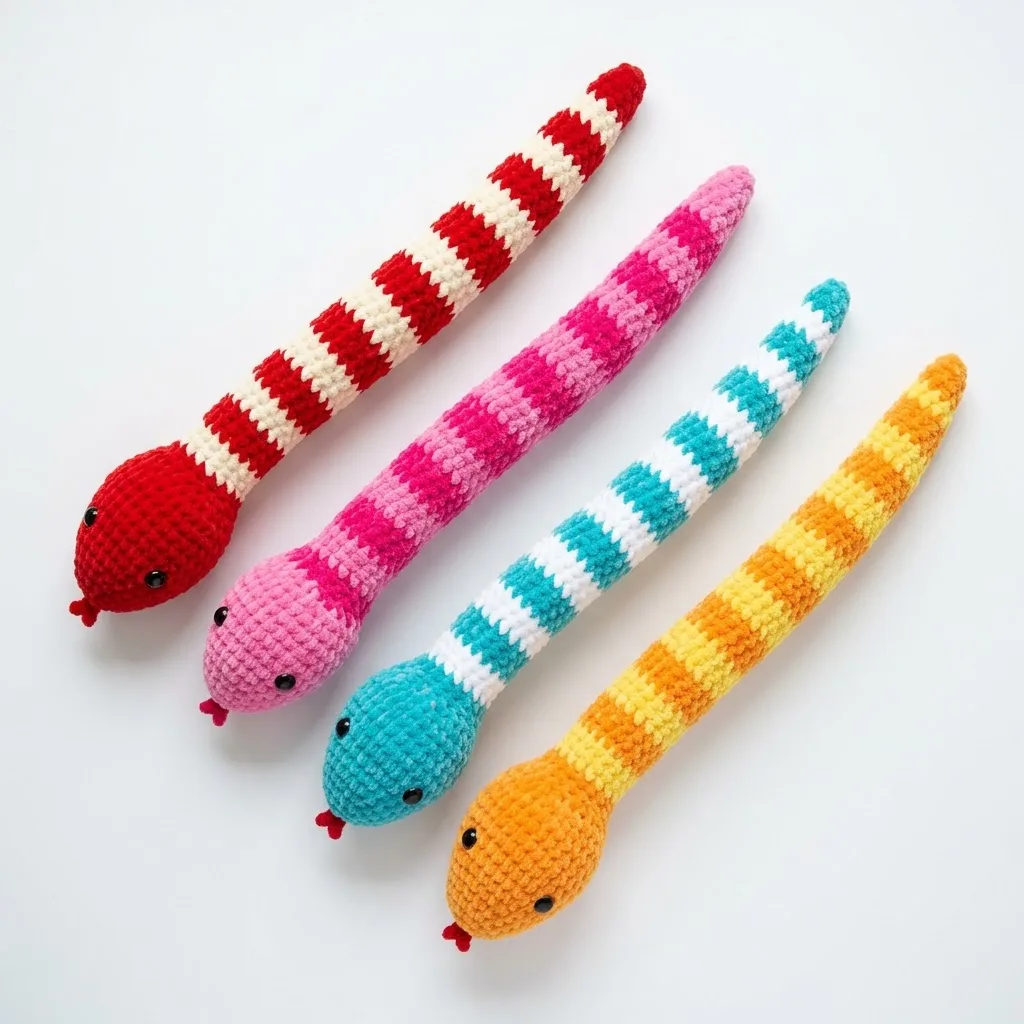
I’ve always thought snakes get a bad reputation. They’re actually pretty adorable when you think about it. Long, wiggly, and perfect for hugging. That’s exactly why I designed these candy stripe snake amigurumi. I wanted a project that was simple to crochet, used up leftover yarn from my stash, and made kids (and let’s be honest, adults too) smile the moment they saw it. These little guys work up so fast that I made four in different colorways before I even realized I’d been crocheting for hours. No regrets.
Why You’ll Love This Snake Amigurumi Pattern
This candy stripe snake crochet pattern is one of those rare projects that looks impressive but is genuinely beginner friendly. If you can single crochet in the round, you can make this snake. That’s really all there is to it.
The striped body creates visual interest without any complicated colorwork techniques. You’re simply changing colors every few rounds. The shape comes naturally from basic increases at the head, a long tube for the body, and simple decreases at the tail. No fussy shaping. No counting complicated stitch patterns. Just satisfying, rhythmic crochet that practically works itself.
Each snake measures approximately 15 to 18 inches long depending on your tension and how many body rounds you work. They’re the perfect size for little hands to drag around, but substantial enough to feel like a real toy.
Materials You’ll Need
Before you start, gather these supplies. Having everything ready makes the process so much smoother.
Yarn:
Hook:
Notions:
Gauge: Gauge isn’t critical for amigurumi, but you want a tight fabric so stuffing doesn’t show through. If you can see gaps between your stitches, go down a hook size.
Stitches and Abbreviations
Let me walk you through every stitch used in this pattern. Even if you’re a complete beginner, you’ll understand exactly what to do.
Magic Ring (MR): An adjustable loop that closes completely, leaving no hole at the center. You wrap yarn around your fingers, pull up a loop, chain one, then work your stitches into the ring. Pull the tail to close it tight.
Chain (ch): The most basic crochet stitch. Yarn over, pull through the loop on your hook. That’s one chain.
Single Crochet (sc): Insert hook into the stitch, yarn over and pull up a loop (two loops on hook), yarn over and pull through both loops. One single crochet complete.
Increase (inc): Work two single crochet stitches into the same stitch. This adds one stitch to your total count.
Decrease (dec): Also called invisible decrease or sc2tog. Insert hook through the front loops only of the next two stitches, yarn over, pull through both front loops, yarn over, pull through both loops on hook. This removes one stitch from your total.
Slip Stitch (sl st): Insert hook, yarn over, pull through both the stitch and the loop on your hook in one motion. Used for joining and finishing.
Fasten Off (FO): Cut yarn leaving a tail, pull the tail through the last loop to secure your work.
Skill Level
This pattern is perfect for confident beginners. If you’ve completed a few small projects and feel comfortable working in continuous rounds, you’re ready. The only technique that might feel new is changing colors cleanly, and I’ll walk you through that.
The Complete Snake Amigurumi Pattern
This snake is worked in continuous rounds. That means you don’t join at the end of each round. You just keep spiraling. Use a stitch marker to track the beginning of each round, moving it up as you go.
Head
You’ll start at the nose and work toward the body.
Using your main color and a magic ring:
Round 1: 6 sc into magic ring, pull tight. (6 sts)
Round 2: Inc in each st around. (12 sts)
Round 3: *Sc 1, inc* repeat around. (18 sts)
Round 4: *Sc 2, inc* repeat around. (24 sts)
Rounds 5 through 8: Sc in each st around. (24 sts)
After completing Round 6, pause to attach safety eyes. Position them between Rounds 4 and 5, spaced about 6 stitches apart. Push the post through from the outside, then secure the washer on the inside. Make sure they’re even before continuing. This is much easier to do before the head is stuffed.
Round 9: *Sc 2, dec* repeat around. (18 sts)
Round 10: Sc in each st around. (18 sts)
Begin stuffing the head firmly now. You want it to hold its round shape nicely.
Body
Here’s where the fun stripes happen. The body is simply a long tube with color changes every 4 rounds. You can adjust stripe width by changing colors more or less frequently.
Continue from the head with main color:
Rounds 11 through 14: Sc in each st around. (18 sts)
Change to contrast color:
Rounds 15 through 18: Sc in each st around. (18 sts)
Change to main color:
Rounds 19 through 22: Sc in each st around. (18 sts)
Continue alternating colors every 4 rounds until your snake body measures approximately 12 to 14 inches from the nose. This usually means about 15 to 18 stripe sections total.
Pro tip for clean color changes: On the last stitch before changing colors, insert your hook, pull up a loop with the old color, then complete the stitch by pulling through with the new color. This places the new color exactly where you need it and eliminates that jog that can happen with stripes.
As you work the body, stuff as you go. Add small amounts of fiberfill every few inches. Don’t wait until the end because you won’t be able to reach inside the narrow tube. Pack it firmly but not so tight that the stitches stretch.
Tail
When your body is the desired length, you’ll decrease to close the tail. Continue in whatever color comes next in your stripe pattern.
Round 1: *Sc 1, dec* repeat around. (12 sts)
Round 2: Sc in each st around. (12 sts)
Round 3: Dec around. (6 sts)
Round 4: Dec around. (3 sts)
Fasten off, leaving a 6 inch tail. Thread through remaining stitches, pull tight to close. Weave in the end securely.
Tongue
The tongue is a simple chain that you’ll fold and attach.
Using red yarn:
Ch 8, sl st in second ch from hook, sl st in next 2 ch, ch 4, sl st in second ch from hook, sl st in remaining ch. Fasten off, leaving a 6 inch tail.
This creates a forked tongue shape. Use your yarn needle to sew it to the front of the head, just below and between the eyes. A few stitches through the center section will secure it nicely. You can add a tiny bit of fabric glue for extra security if this is for a young child.
Finishing Your Snake
Weave in all remaining ends carefully. For amigurumi, I like to weave through several stitches, then back through in a different direction. This locks everything in place.
If you carried your yarn up the inside while working stripes (instead of cutting at each color change), make sure those carried strands are hidden and won’t show through.
Give your snake a good squeeze to distribute the stuffing evenly. If any areas feel lumpy or sparse, you can add or rearrange stuffing through the stitches before the tail is completely closed.
Pattern Variations and Ideas
One of my favorite things about this snake amigurumi pattern is how customizable it is. Here are some ideas to make it your own:
Rainbow snake: Use a different color for every stripe section. Perfect for using up those small leftover balls.
Gradient snake: Start with a dark shade at the head and gradually shift to lighter shades toward the tail.
Solid snake: Skip the stripes entirely for a quick monochrome version.
Extra long snake: Just keep adding body rounds. Some crafters make these 3 feet long or more. They make excellent draft stoppers for doors.
Different eyes: Try embroidered eyes for a fully baby safe option. French knots in black yarn work beautifully.
Rattle insert: Before closing the tail, slip a small rattle or bell inside (wrapped in stuffing to muffle it slightly) for a baby toy version.
Tips for Crochet Beginners
If this is one of your first amigurumi projects, here are a few things I wish someone had told me:
Tight stitches are your friend. The fabric should be dense enough that you can’t see the stuffing through it. If your stitches look loose and gappy, try a smaller hook.
Count your stitches. Especially in the head where you’re increasing, verify your stitch count at the end of each round. It’s much easier to fix a mistake right away than to notice it 20 rounds later.
Trust the spiral. Working in continuous rounds feels weird at first. The slight diagonal jog where rounds end is normal and won’t show in the finished piece.
Take breaks. Amigurumi requires focus. If you’re losing count or making mistakes, step away. It’ll be easier with fresh eyes.
Why Snakes Make Great Handmade Gifts
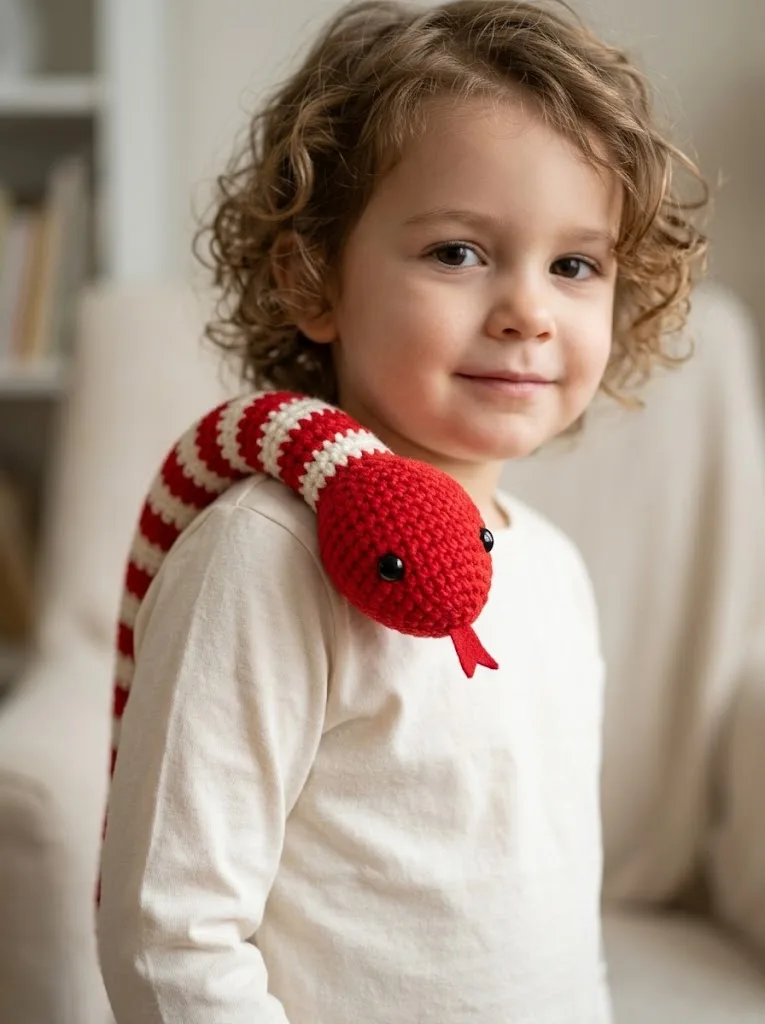
These candy stripe snakes are one of my go to gifts for kids. They’re quirky, colorful, and different from the typical teddy bears everyone else gives. Children love them because they can wrap them around their necks, stuff them in backpacks, or make them slither across the floor.
For baby showers, these work wonderfully when made with safety in mind. Use embroidered eyes, secure the tongue with extra stitching, and double check that all ends are woven in tightly.
They also make surprisingly good stress relievers for adults. Something about that soft, squeezable body is oddly satisfying to hold during phone calls or TV watching.
How Long Does This Pattern Take?
Most crocheters can complete one snake in 2 to 4 hours. The head works up in about 30 minutes. The body is where you’ll spend most of your time, but it’s such mindless, relaxing crochet that it goes quickly. The tail and tongue take just a few minutes each.
This is an excellent project for car rides, waiting rooms, or binge watching your favorite show. The repeat rounds require minimal attention once you get into a rhythm.
I really hope you enjoy making these sweet little snakes as much as I did. They’ve become one of my most requested patterns from friends and family, and now I’m thrilled to share the step by step crochet tutorial with you.
If you make one (or four, like me), I would absolutely love to see it. Tag me on Instagram or share a photo in my Facebook group. Nothing makes my day brighter than seeing your finished projects.
Save this candy stripe snake amigurumi pattern to your Pinterest boards so you can find it whenever the mood strikes. And please drop a comment below if you give it a try. I love hearing which colorways you choose and who the lucky recipient will be. Happy crocheting, friend.