
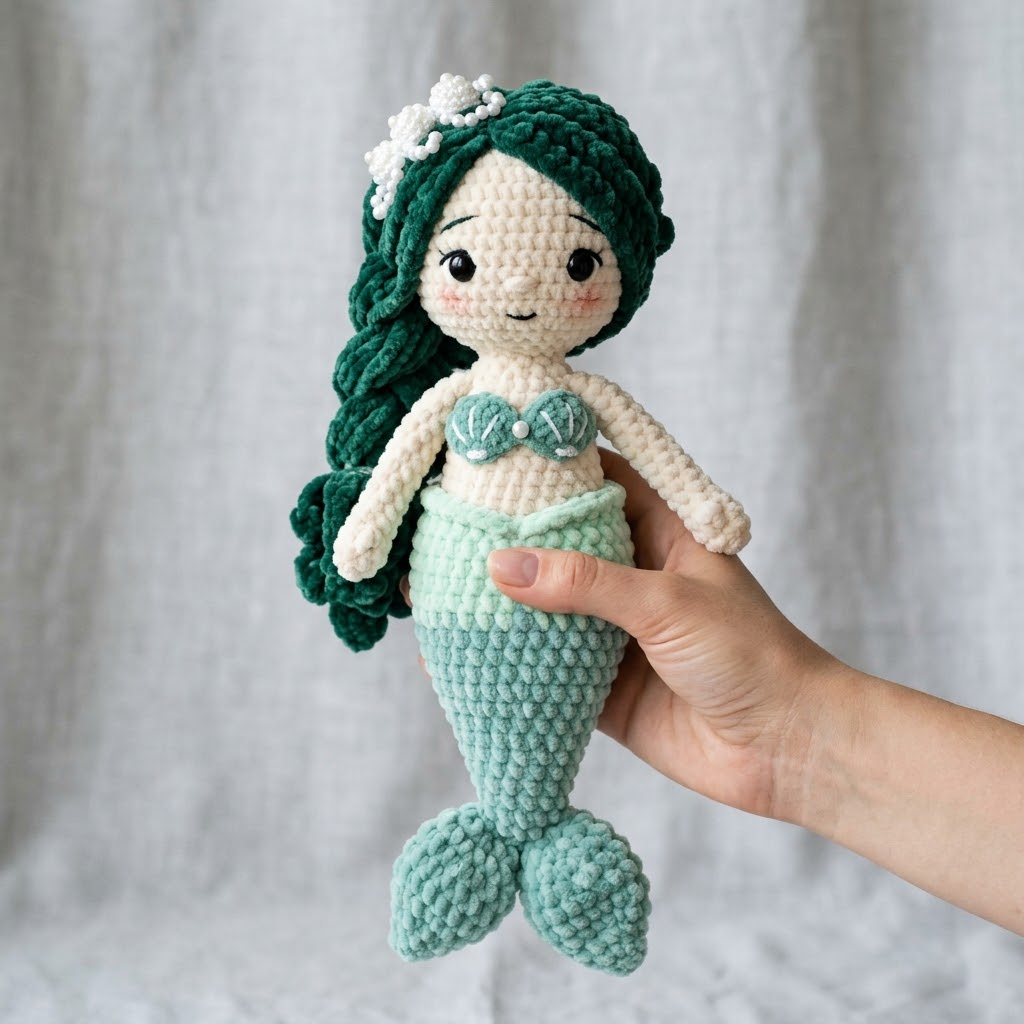
She is absolutely enchanting, isn’t she? This Mint Seafoam Mermaid Amigurumi is the kind of project that makes you fall in love with crochet all over again. With her flowing teal hair, delicate shell bikini top, and beautifully shaped tail in soft seafoam tones, this mermaid doll is pure magic to create and even more magical to gift.
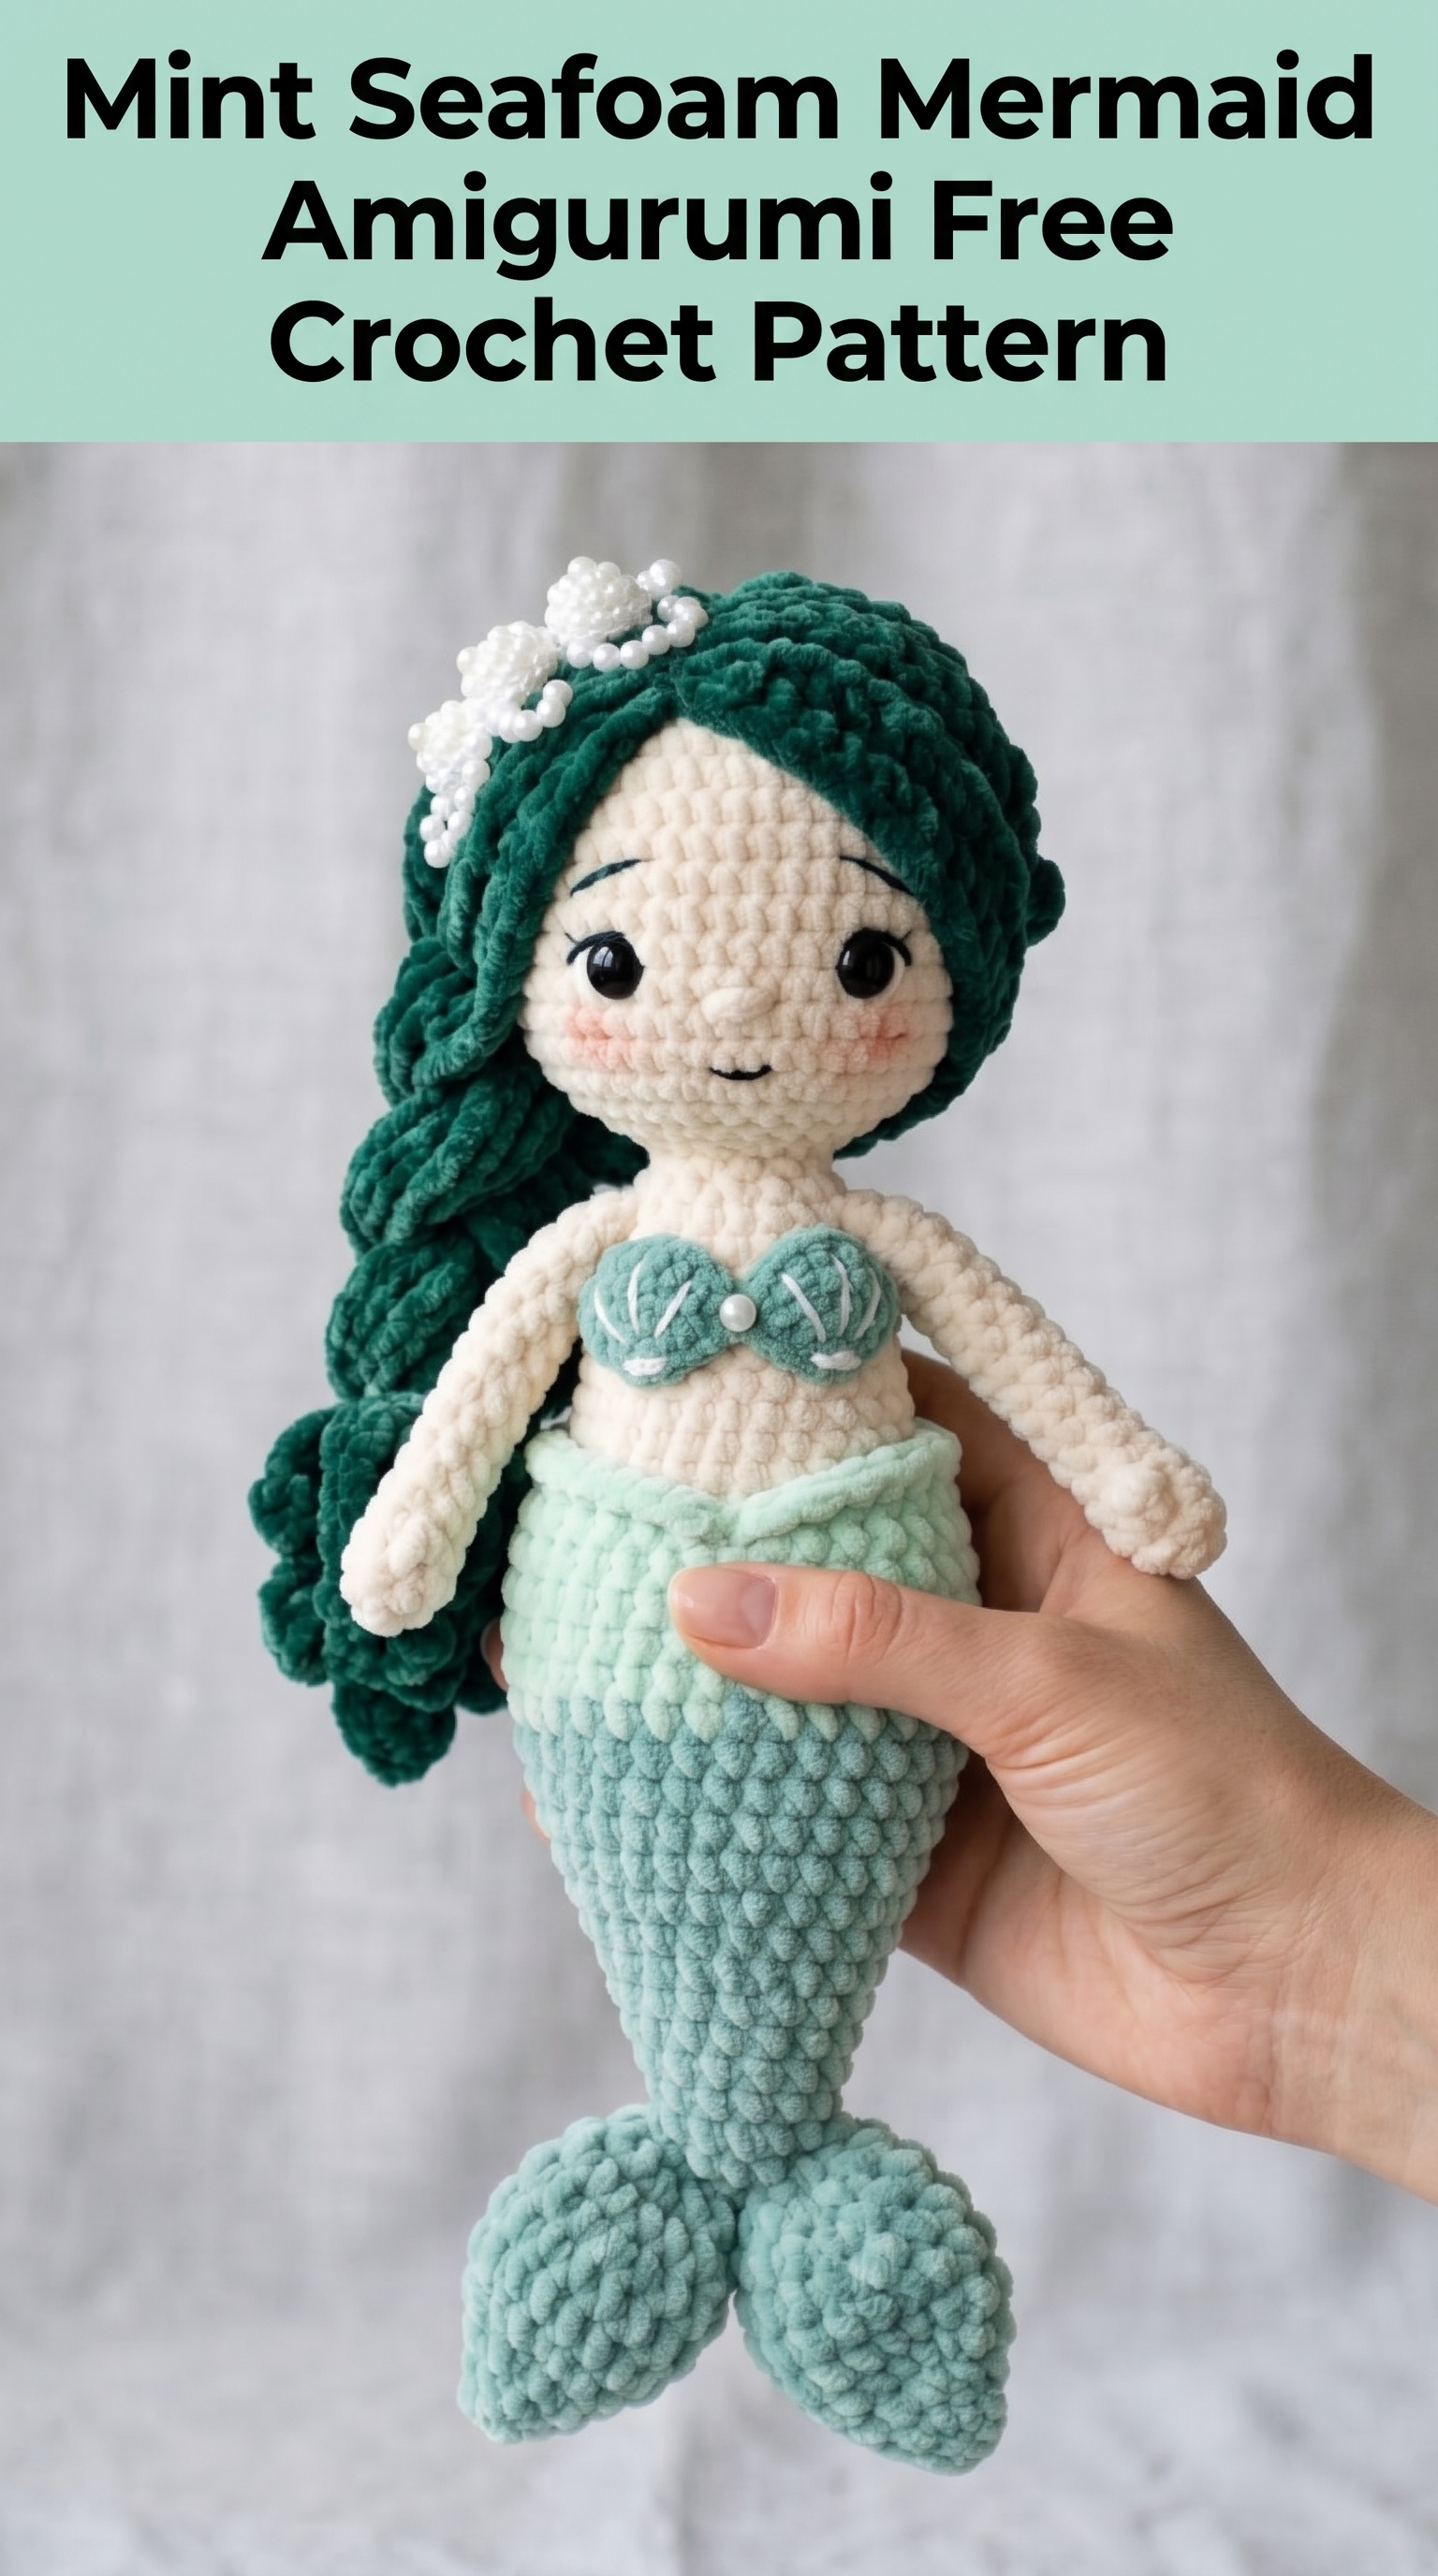
I designed this crochet pattern to be approachable for confident beginners while still offering enough detail to satisfy intermediate crocheters. If you can work in the round and know your basic increases and decreases, you absolutely can make this mermaid. She stands about 12 to 14 inches tall when finished, making her the perfect size for cuddling, displaying, or imaginative play.
Let me walk you through everything you need to bring this ocean beauty to life.
Why You Will Love This Mermaid Amigurumi Crochet Pattern
This step by step crochet tutorial breaks down each section of the mermaid into manageable pieces. You will crochet the head and body as one continuous piece, then work the arms, tail, fins, shell top, and hair separately before assembling. The construction method keeps things organized and gives you natural stopping points.
The yarn choice here makes all the difference. I used velvet or chenille yarn for the hair and tail sections, which creates that plush, textured look you see in the photos. The skin tone sections use a smooth worsted weight cotton or acrylic blend for cleaner stitch definition on the face.
This is a beginner friendly pattern in the sense that every technique is explained. But I want to be honest with you. Amigurumi dolls require patience and attention to detail. Give yourself grace, take breaks, and enjoy the process.
Materials You Will Need
Gather these supplies before you start. Having everything ready makes the workflow so much smoother.
Yarn:
Hook:
Notions:
Abbreviations and Stitch Definitions
Let me define every stitch abbreviation before we begin. If any of these feel unfamiliar, practice them on a small swatch first.
Magic Ring (MR): An adjustable loop that allows you to pull the center hole completely closed. You work your first round of stitches into this ring.
Chain (ch): The foundation stitch. Wrap yarn over hook, pull through loop on hook.
Single Crochet (sc): Insert hook into stitch, yarn over, pull up a loop (2 loops on hook), yarn over, pull through both loops.
Increase (inc): Work 2 single crochet stitches into the same stitch. This adds one stitch to your count.
Invisible Decrease (dec): Insert hook through front loops only of the next 2 stitches, yarn over, pull through both front loops, yarn over, pull through both loops on hook. This creates a tighter, less visible decrease.
Slip Stitch (sl st): Insert hook, yarn over, pull through stitch and loop on hook in one motion.
Front Loop Only (FLO): Work into only the front loop of the stitch, leaving the back loop unworked.
Back Loop Only (BLO): Work into only the back loop of the stitch.
Gauge and Sizing Notes
For amigurumi, gauge matters less than fabric density. Your stitches should be tight enough that stuffing does not show through. If you see white fiberfill peeking between stitches, go down a hook size.
Finished mermaid measures approximately 12 to 14 inches tall depending on your tension and yarn choices. The velvet yarn sections may measure slightly larger due to the yarn’s bulk.
Step by Step Crochet Pattern Instructions
Head and Upper Body
Work in continuous rounds. Do not join. Use a stitch marker to track the beginning of each round.
Use skin tone yarn and 3.5mm hook.
Round 1: 6 sc in magic ring (6 sts)
Round 2: Inc in each st around (12 sts)
Round 3: *Sc 1, inc* repeat around (18 sts)
Round 4: *Sc 2, inc* repeat around (24 sts)
Round 5: *Sc 3, inc* repeat around (30 sts)
Round 6: *Sc 4, inc* repeat around (36 sts)
Round 7: *Sc 5, inc* repeat around (42 sts)
Rounds 8 through 15: Sc in each st around (42 sts) — 8 rounds total
Insert safety eyes between Rounds 10 and 11, approximately 6 stitches apart. Take your time positioning them. Once the backs are secured, they cannot be removed.
Round 16: *Sc 5, dec* repeat around (36 sts)
Round 17: *Sc 4, dec* repeat around (30 sts)
Round 18: *Sc 3, dec* repeat around (24 sts)
Begin stuffing the head firmly. Continue adding stuffing as you work.
Round 19: *Sc 2, dec* repeat around (18 sts)
Round 20: Sc in each st around (18 sts) — this creates the neck
Rounds 21 through 22: Sc in each st around (18 sts)
Round 23: *Sc 2, inc* repeat around (24 sts)
Round 24: *Sc 3, inc* repeat around (30 sts)
Rounds 25 through 32: Sc in each st around (30 sts) — 8 rounds for the torso
Stuff the body as you go. Keep it firm but not rock hard.
Tail Section
Switch to seafoam mint velvet yarn and 5.0mm hook. Continue working from the body without fastening off, or join new yarn if needed.
Round 33: Working in BLO, sc in each st around (30 sts) — this creates a ridge for the waistline
Rounds 34 through 40: Sc in each st around (30 sts) — 7 rounds
Round 41: *Sc 4, dec* repeat around (25 sts)
Rounds 42 through 44: Sc in each st around (25 sts)
Round 45: *Sc 3, dec* repeat around (20 sts)
Rounds 46 through 48: Sc in each st around (20 sts)
Round 49: *Sc 2, dec* repeat around (15 sts)
Rounds 50 through 52: Sc in each st around (15 sts)
Round 53: *Sc 1, dec* repeat around (10 sts)
Stuff the tail section. The velvet yarn compresses differently than cotton, so stuff a bit more than you think you need.
Round 54: Sc in each st around (10 sts)
Fasten off, leaving a long tail for sewing.
Tail Fins (Make 2)
Use seafoam mint velvet yarn and 5.0mm hook.
Round 1: 6 sc in magic ring (6 sts)
Round 2: Inc in each st around (12 sts)
Round 3: *Sc 1, inc* repeat around (18 sts)
Rounds 4 through 8: Sc in each st around (18 sts) — 5 rounds
Round 9: *Sc 1, dec* repeat around (12 sts)
Stuff lightly. Flatten the opening and slip stitch across to close.
Fasten off, leaving a long tail. Sew both fins to the bottom of the tail, angled outward to create the classic mermaid tail shape.
Arms (Make 2)
Use skin tone yarn and 3.5mm hook.
Round 1: 6 sc in magic ring (6 sts)
Round 2: Inc in each st around (12 sts)
Rounds 3 through 5: Sc in each st around (12 sts)
Round 6: *Sc 1, dec* repeat around (8 sts)
Rounds 7 through 20: Sc in each st around (8 sts) — 14 rounds
Do not stuff the arms, or stuff very lightly. Flatten the opening.
Fasten off, leaving a long tail for sewing. Attach arms to the sides of the body at shoulder level.
Shell Bikini Top (Make 2)
Use light mint green worsted weight yarn and 3.5mm hook.
Row 1: Ch 2, 3 sc in second ch from hook, turn (3 sts)
Row 2: Ch 1, inc, sc 1, inc, turn (5 sts)
Row 3: Ch 1, inc, sc 3, inc, turn (7 sts)
Row 4: Ch 1, sc in each st across (7 sts)
Row 5: Sc around the entire edge to create a finished border.
Fasten off. Using white yarn, embroider small lines radiating from the center to create shell texture.
Sew both shells to the chest area with a small gap between them. Add a tiny pearl bead in the center if desired.
Hair
This is where the magic happens. The flowing teal hair uses a simple but effective technique.
Method: Cut strands of deep teal velvet yarn approximately 16 to 20 inches long. Using your crochet hook, pull folded strands through stitches on the head to create fringe-style hair.
Start at the hairline (around Round 7 of the head) and work your way back and down. Layer the strands densely for full coverage. The velvet yarn naturally creates waves and texture.
For the side part, attach strands more densely on one side. Let the hair fall naturally over the shoulder.
Hair Crown: Using white yarn, crochet a small chain or create a beaded headpiece. The one shown uses small pearl beads strung onto yarn and shaped into a delicate crown. Attach to the side of the head near the part.
Facial Features
Eyebrows: Using black embroidery floss, embroider small curved lines above each eye.
Mouth: Embroider a small curved smile below the nose area using black floss.
Cheeks: Apply a tiny bit of pink chalk or makeup blush to the cheeks for a sweet rosy glow. This detail brings her face to life.
Assembly Tips
Take your time with assembly. This is where your mermaid transforms from pieces into a character.
1. Sew arms securely to the body at an angle that looks natural
2. Attach tail fins at the base, slightly angled apart
3. Position the shell top pieces symmetrically
4. Add hair working from front to back
5. Secure the crown accessory last
Weave in all ends thoroughly. Velvet yarn can be slippery, so weave through several stitches and consider a tiny dab of fabric glue on the inside if needed.
How to Customize Your Mermaid
This crochet pattern is wonderfully adaptable. Change the hair color to coral, lavender, or golden blonde. Swap the tail color to deep purple or sunset orange. Add a tiny starfish instead of pearls. Embroider freckles or change the expression.
Each mermaid you make will have her own personality.
Final Thoughts on This Mermaid Amigurumi Crochet Pattern
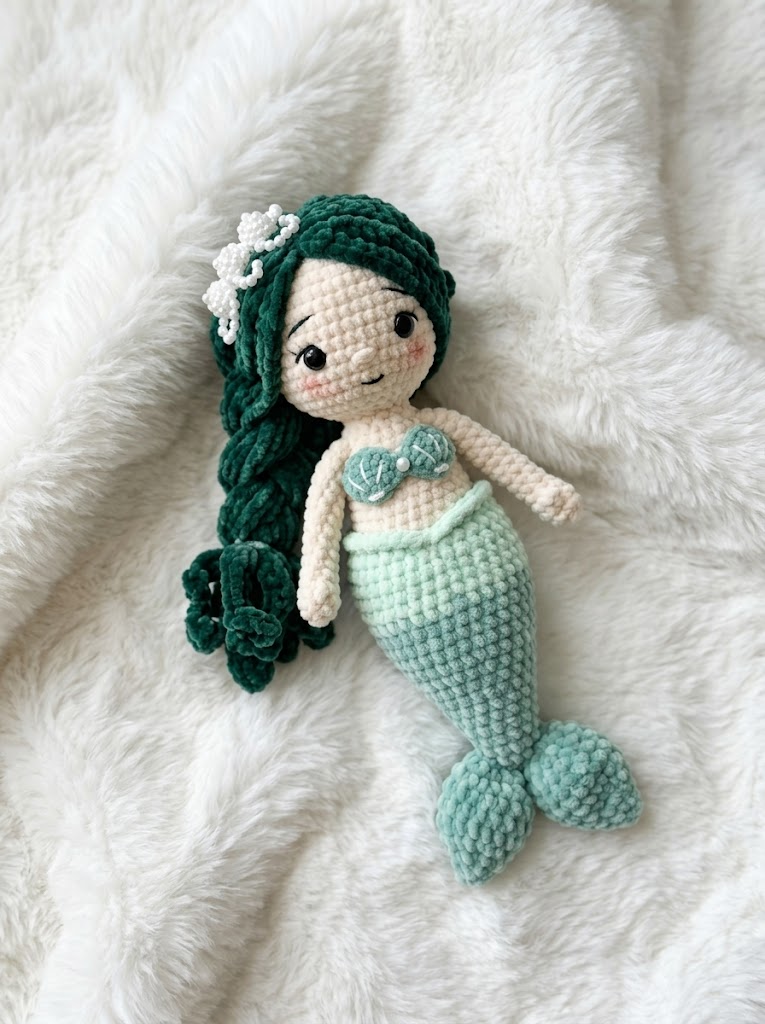
Creating this Mint Seafoam Mermaid is such a rewarding project. She requires patience, yes. But every round brings you closer to holding your very own handmade ocean friend. The combination of velvet yarn texture and clean amigurumi construction makes her truly special.
I hope this step by step crochet tutorial gives you everything you need to bring her to life. You have got this.
Thank you so much for choosing to make this mermaid. I genuinely cannot wait to see your finished dolls. Please tag me on Instagram or share in my Facebook group when she is complete. Your photos absolutely make my day, and I love seeing the color combinations you choose.
Happy crocheting, friend. Now go make some magic.