
I’ve been looking for the perfect statement piece for baby showers, and this lion cub romper is my new favourite. The combination of that rich mustard gold colour, the chunky ribbed details, and that absolutely adorable three-dimensional lion face makes this one of those projects that gets gasps when you pull it out of the gift bag.
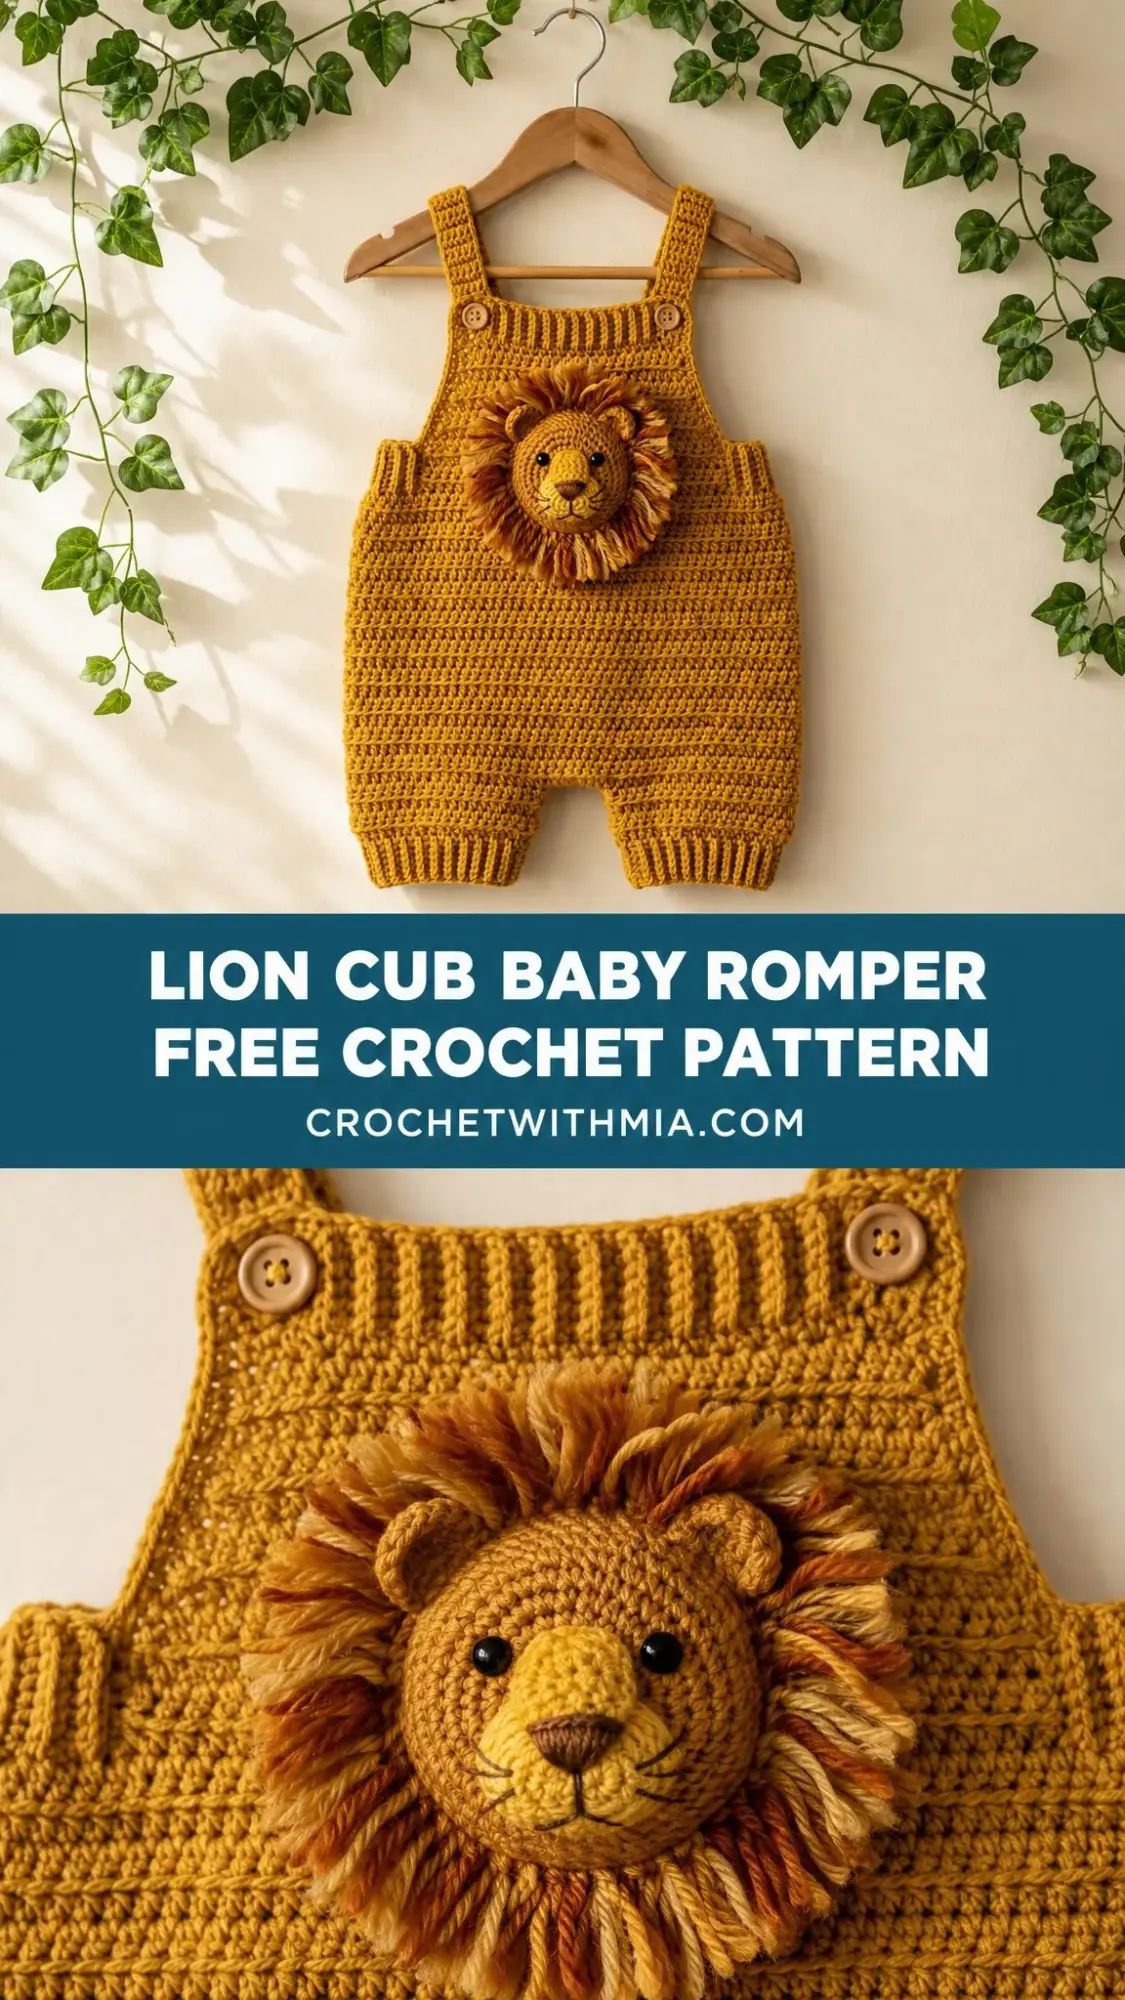
If you’ve ever wanted to crochet something that looks like it belongs in a boutique, this is your pattern. The construction is more approachable than you might think, and I’m walking you through every single step today.
Fair warning: once you make one of these, you’ll want to make them in every size. Don’t say I didn’t tell you.
Why This Crochet Baby Romper Pattern Stands Out
This isn’t your average baby garment. The romper features a square bib front with wide ribbed shoulder straps, a gently flared body that accommodates a diaper comfortably, and ribbed leg cuffs that stay put without squeezing. But the real showstopper is the stuffed amigurumi lion face with its fluffy looped mane, sewn right to the front bib.
The entire romper is worked in single crochet (sc), which creates a dense, durable fabric perfect for baby wear. The ribbed sections use back loop only single crochet (BLO sc), giving you that classic knit-look texture without picking up knitting needles.
I’d call this an intermediate level project. If you’ve completed at least one seamed garment and tried amigurumi before, you’re ready. True beginners should practice gauge swatches and basic amigurumi techniques first, but don’t let that scare you off. The main fabric is straightforward, and I’ll explain every special technique as we go.
Finished Measurements
This pattern is sized for babies 3 to 6 months old, approximately 12 to 14 pounds. Here’s what you’re working toward:
Materials Needed
Yarn:
Suggested Yarns:
1. Lion Brand 24/7 Cotton in Goldenrod (two skeins needed)
2. Paintbox Yarns Simply DK held doubled in Mustard Yellow (three skeins needed)
3. We Are Knitters The Cotton in Mustard (three skeins needed)
Hooks:
Notions:
Gauge
Getting gauge right matters for garments. Take time to swatch before diving in.
With MC and G-6 / 4.0 mm hook in single crochet rows:
18 stitches = 4 inches / 10 cm
20 rows = 4 inches / 10 cm
With MC and F-5 / 3.75 mm hook in BLO single crochet rib:
20 stitches = 4 inches / 10 cm
22 rows = 4 inches / 10 cm
Adjust your hook size up or down if needed to match these numbers.
Abbreviations
Let me break down every abbreviation you’ll encounter:
Special Techniques
BLO Single Crochet Rib
This creates the stretchy ribbed texture on the straps, bib edges, and leg cuffs.
After your foundation chain, sc in the second chain from hook and across. Turn. For every row after, ch 1 (this does NOT count as a stitch), then sc into only the back loop of each stitch across. Turn and repeat.
Magic Ring
This starts your amigurumi pieces with a closed center instead of a hole.
Form a loop with yarn, crossing the working end over the tail. Insert hook into the loop, yarn over, pull up a loop. Chain 1 to secure. Work your stitches into the center of the ring. Pull the tail firmly to close the ring tight before finishing round 1.
Mane Loop Stitch
This creates the fluffy lion mane. You’ll work from the wrong side so the loops fall to the right side.
Insert hook into the stitch. Wrap CB yarn around your index finger to form a loop about 1 inch long. Insert hook under both strands of that loop. Draw both strands through the stitch (three loops now on hook). Remove your finger from the loop. Yarn over and draw through all three loops on hook.
The loop stays on the right side of your work.
Pattern Instructions
Section 1: Shoulder Straps (Make 2)
Using F-5 hook and MC, work BLO Single Crochet Rib.
Foundation: ch 8.
Row 1 (WS): Sc in second ch from hook and each ch across. Turn. (7 sc)
Row 2: Ch 1, sc BLO across. Turn. (7 sc)
Repeat Row 2 until strap measures 4.5 inches / 11.5 cm from beginning, approximately 25 rows total.
Fasten off, leaving a 12 inch / 30 cm tail for sewing.
Checkpoint: Each strap should measure 1.5 inches / 4 cm wide and 4.5 inches / 11.5 cm long.
Section 2: Front Bib
Switch to G-6 hook and MC.
Foundation: ch 33.
Row 1 (RS): Sc in second ch from hook and each ch across. Turn. (32 sc)
Row 2 (WS): Ch 1, sc BLO across. Turn. (32 sc)
Row 3 (RS): Ch 1, sc BLO across. Turn. (32 sc)
Rows 4 through 5: Ch 1, sc BLO across. Turn. (32 sc)
Row 6: Ch 1, sc across (both loops from here on). Turn. (32 sc)
Rows 7 through 20: Ch 1, sc across. Turn. (32 sc)
Place a stitch marker in the last stitch and set aside.
Strap Attachment: Align one strap at each top corner of the bib (RS of strap facing RS of bib). Sew each strap to the top 7 stitches at each end of Row 1, leaving the center 18 stitches free as the neck opening.
Checkpoint: Front bib should measure 7 inches wide and 4 inches tall.
Section 3: Back Bib
Using G-6 hook and MC.
Foundation: ch 33.
Row 1 (RS): Sc in second ch from hook and each ch across. Turn. (32 sc)
Rows 2 through 5: Ch 1, sc BLO across. Turn. (32 sc)
Rows 6 through 20: Ch 1, sc across. Turn. (32 sc)
Fasten off, leaving a long tail.
Button Loops: With F-5 hook and MC, rejoin yarn at the right edge of the top (Row 1). Work 7 sc across the first 7 stitches, ch 3, sl st into the same stitch to form a button loop. Continue across to the last 7 stitches, work 7 sc, ch 3, sl st to form second button loop. Fasten off.
Attach straps to the back bib the same way as the front.
Section 4: Front Body Panel
With G-6 hook and MC, rejoin yarn at the right edge of Row 20 of the front bib, RS facing.
Row 1 (RS): Ch 1, sc across all 32 stitches. Turn. (32 sc)
Row 2: Ch 1, sc across. Turn. (32 sc)
Row 3 (increase row): Ch 1, 2 sc in first st, sc across to last st, 2 sc in last st. Turn. (34 sc)
Row 4: Ch 1, sc across. Turn. (34 sc)
Row 5 (increase row): Ch 1, 2 sc in first st, sc across to last st, 2 sc in last st. Turn. (36 sc)
Rows 6 through 8: Ch 1, sc across. Turn. (36 sc)
Row 9 (increase row): Ch 1, 2 sc in first st, sc across to last st, 2 sc in last st. Turn. (38 sc)
Rows 10 through 12: Ch 1, sc across. Turn. (38 sc)
Row 13 (increase row): Ch 1, 2 sc in first st, sc across to last st, 2 sc in last st. Turn. (40 sc)
Rows 14 through 25: Ch 1, sc across. Turn. (40 sc)
Leg Divide:
Row 26 (right leg): Ch 1, sc across first 17 sts. Turn, leaving remaining 23 sts unworked. (17 sc)
Rows 27 through 32: Ch 1, sc across. Turn. (17 sc)
Row 33: Fasten off.
Return to Row 25. Count to stitch 24 from the right edge. Rejoin MC at stitch 24, RS facing. This leaves stitches 18 through 23 as the crotch bridge (6 stitches).
Row 26 (left leg): Ch 1, sc across remaining 17 sts. Turn. (17 sc)
Rows 27 through 32: Ch 1, sc across. Turn. (17 sc)
Row 33: Fasten off.
Section 5: Back Body Panel
Work identically to Section 4, picking up stitches along Row 20 of the back bib. Follow all the same rows and shaping.
Section 6: Side Seams
Place front and back panels with wrong sides together. Using yarn needle and MC with mattress stitch, join the side seams from the underarm (bottom of bib) to the top of the leg opening (Row 25). Leave leg openings free.
Crotch seam: Whipstitch the two crotch bridges together (6 stitches each side).
Checkpoint: The romper body should measure approximately 8.5 inches across the chest and 11 inches from bib top to crotch seam.
Section 7: Ribbed Leg Cuffs (Make 2)
With F-5 hook and MC, join yarn to any stitch around one leg opening.
Rnd 1: Ch 1, sc evenly around the entire leg opening. Pick up 17 sts along the front leg edge, 17 sts along the back leg edge, and 3 sts across each short end of the crotch area. Total: (40 sc). Join with sl st to first sc.
Rnd 2: Ch 1, sc BLO in each st around. Join with sl st. (40 sc)
Rnds 3 through 8: Ch 1, sc BLO in each st around. Join with sl st. (40 sc)
Fasten off and weave in end. Repeat for second leg.
Section 8: Lion Face Applique
Center Face:
Using G-6 hook and CA.
Foundation: Magic ring.
Rnd 1: Ch 1, 6 sc into ring. Pull ring closed. Join with sl st. (6 sc)
Rnd 2: Ch 1, 2 sc in each st around. Join with sl st. (12 sc)
Rnd 3: Ch 1, (sc in next st, 2 sc in next st) 6 times. Join with sl st. (18 sc)
Rnd 4: Ch 1, (sc in next 2 sts, 2 sc in next st) 6 times. Join with sl st. (24 sc)
Rnd 5: Ch 1, (sc in next 3 sts, 2 sc in next st) 6 times. Join with sl st. (30 sc)
Rnd 6: Ch 1, (sc in next 4 sts, 2 sc in next st) 6 times. Join with sl st. (36 sc)
Rnd 7: Ch 1, sc in each st around. Join with sl st. (36 sc)
Rnd 8: Ch 1, (sc in next 5 sts, 2 sc in next st) 6 times. Join with sl st. (42 sc)
Insert safety eyes between Rnds 4 and 5, approximately 8 stitches apart. For children under 3, embroider eyes instead.
Rnd 9: Ch 1, (sc2tog, sc in next 5 sts) 6 times. Join with sl st. (36 sc)
Begin stuffing with fiberfill.
Rnd 10: Ch 1, (sc2tog, sc in next 4 sts) 6 times. Join with sl st. (30 sc)
Add more fiberfill.
Rnd 11: Ch 1, (sc2tog, sc in next 3 sts) 6 times. Join with sl st. (24 sc)
Rnd 12: Ch 1, (sc2tog, sc in next 2 sts) 6 times. Join with sl st. (18 sc)
Rnd 13: Ch 1, (sc2tog, sc in next st) 6 times. Join with sl st. (12 sc)
Rnd 14: Ch 1, sc2tog 6 times. Join with sl st. (6 sc)
Fasten off, leaving a long tail. Thread tail through remaining 6 sts and pull closed.
Snout: Using CA and yarn needle, embroider a small oval snout over Rnds 1 through 2 using satin stitch. Embroider a small Y shape for the mouth and two straight stitches for nostrils.
Mane:
Using G-6 hook and MC (or CB).
Foundation ring: Ch 28, join with sl st to form ring.
Rnd 1 (WS facing you): Ch 1. Work Mane Loop Stitch into every stitch around. Join with sl st. (28 loop sts)
Rnd 2: Ch 1. Work 2 Mane Loop Stitches into every stitch around. Join with sl st. (56 loop sts)
Fasten off CB. Switch to MC.
Rnd 3 (inner edge): Join MC. Ch 1, sc in each chain space around the inner edge. (28 sc). Join with sl st.
Whipstitch the face to the inner edge of the mane ring all the way around.
Section 9: Attaching the Lion Face
Position the lion face on the front bib, centered horizontally and approximately 1 inch up from the bottom edge of the bib. Sew all around the back edge of the mane ring to secure it to the bib.
Section 10: Button Attachment
Sew one button at each top corner of the front strap ends, aligned with the button loops on the back bib.
Finishing Your Lion Cub Romper
Wet blocking: Soak the finished romper in cool water with gentle baby detergent for 20 minutes. Gently squeeze out water without wringing. Lay flat on a blocking mat, pin to measurements, and let dry completely (24 to 48 hours).
Seam check: Before blocking, inspect all seams. Reinforce the crotch seam with a second pass of whipstitch.
Weave ends: All yarn tails should be woven in at least 2 inches in two directions, then trimmed flush.
Size Adjustments
0 to 3 months: Reduce bib width to 28 stitches. Reduce body panel rows by 3 (stop at Row 22 before leg divide). Aim for 36 stitches for leg cuff pickup.
6 to 9 months: Increase bib width to 36 stitches. Add 4 rows to body panel (work through Row 29). Aim for 44 stitches for leg cuff pickup.
9 to 12 months: Increase bib width to 40 stitches. Add 8 rows to body panel (work through Row 33). Aim for 48 stitches for leg cuff pickup.
Care Instructions
Machine wash cold on gentle cycle inside a mesh laundry bag. Lay flat to dry. Do not tumble dry, iron, or bleach. Reshape the lion face by hand while damp after washing. Store folded to prevent strap stretching.
Time to Get Started
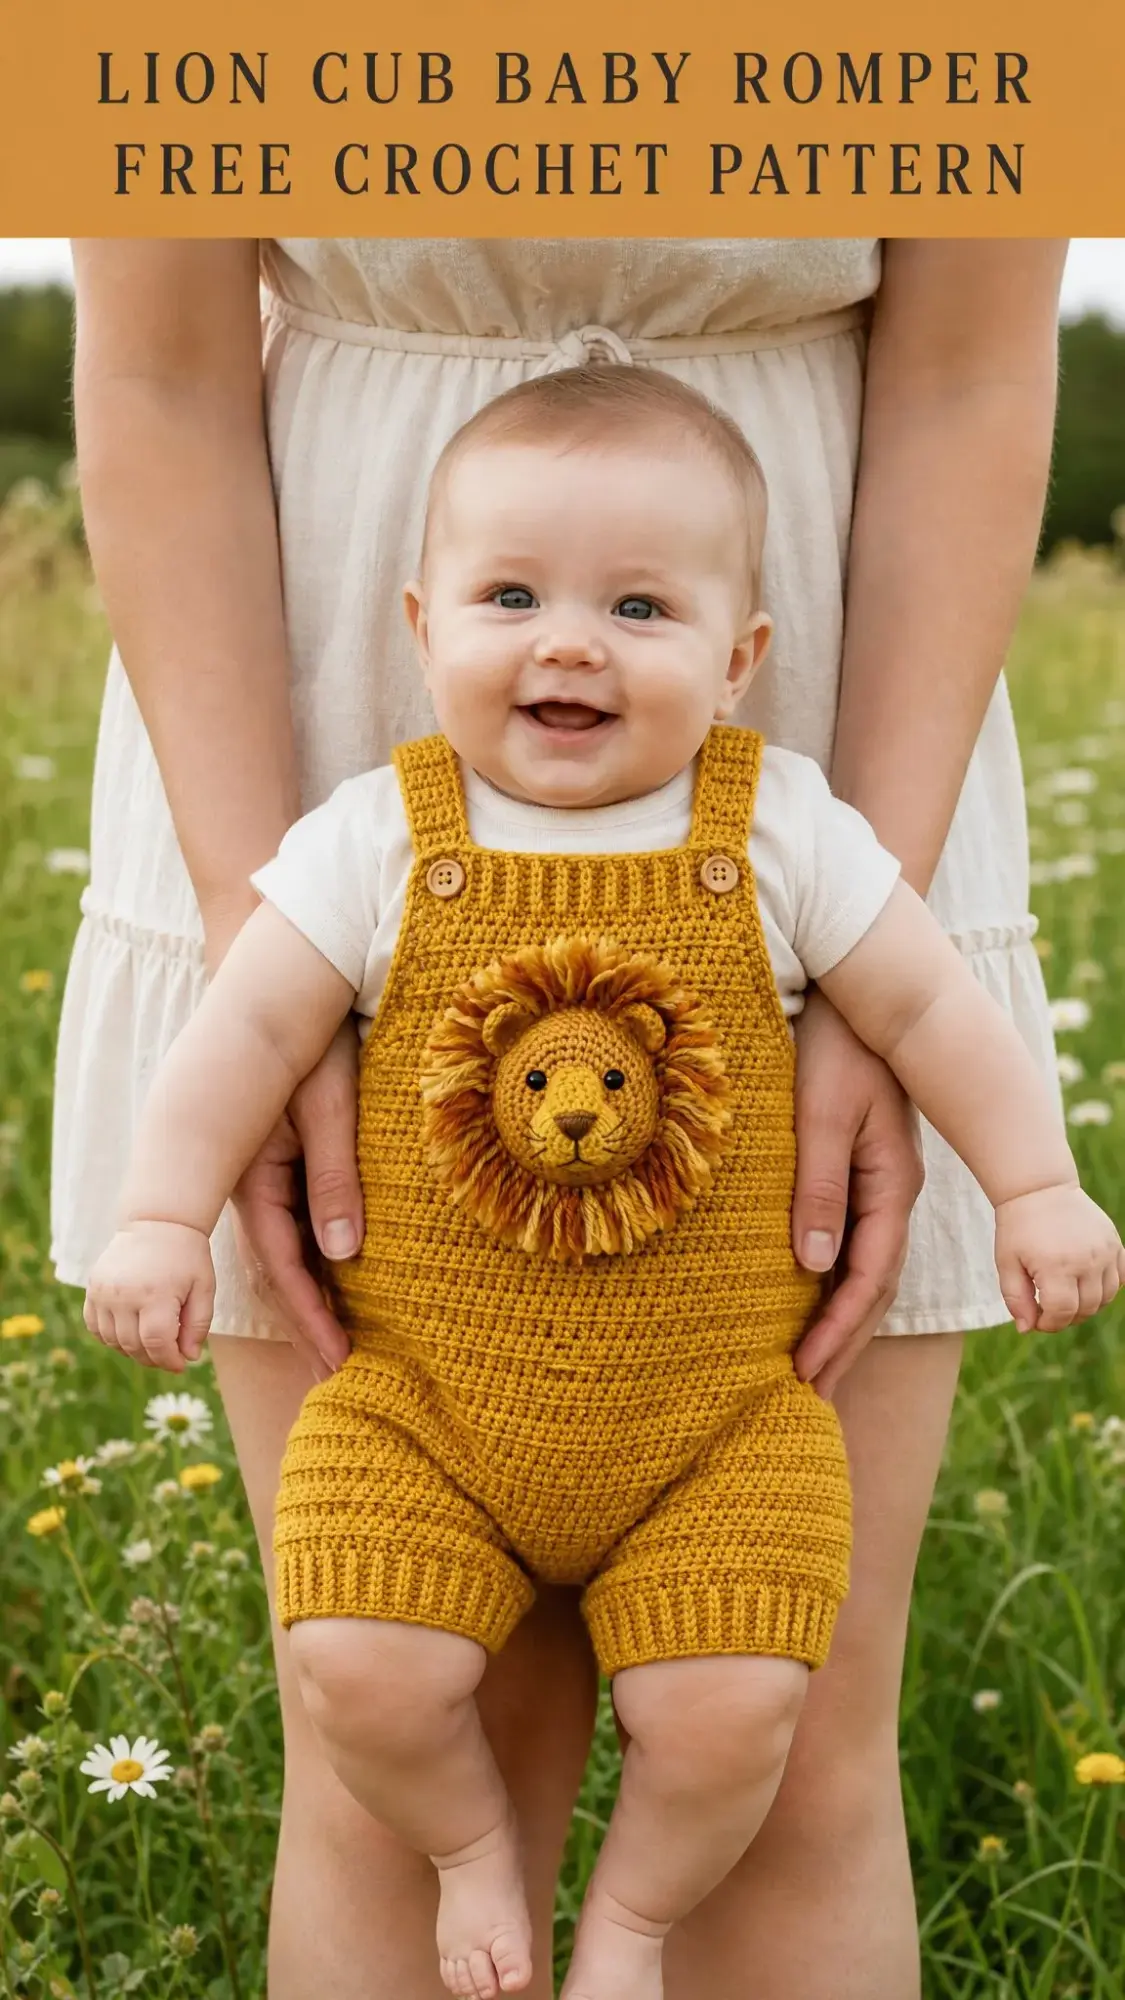
This lion cub baby romper takes approximately 12 to 18 hours for an experienced crocheter, spread over several sessions. The lion face alone is about 2 to 3 hours of satisfying amigurumi work. Break it into manageable chunks: straps one evening, bib the next, body panels over a weekend. Before you know it, you’ll have a one-of-a-kind baby gift that looks like you spent a fortune at a handmade boutique.
Thank you so much for choosing this pattern. I hope you love making it as much as I loved designing it. If you give it a try, I’d absolutely love to see your finished romper. Tag me on Instagram or share a photo in my Facebook group. Nothing makes my day like seeing your versions come to life.
Go ahead and pin this lion cub baby romper crochet pattern to your Pinterest boards so you can find it when you’re ready to start. And if you make one, please drop a comment below. I read every single one, and I can’t wait to hear how yours turns out!