
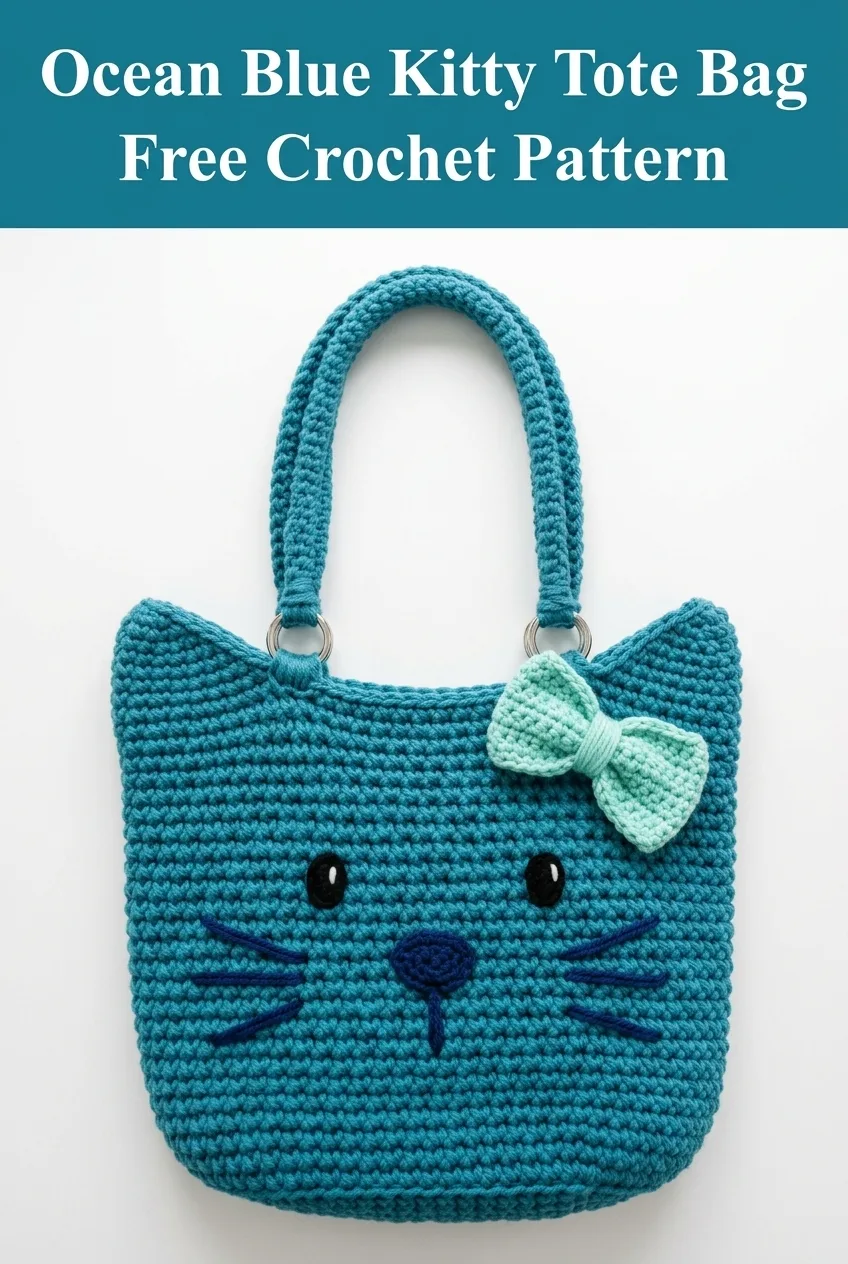
THIS is one of those projects that looks SO impressive but comes together faster than you’d ever expect! Seriously, if you can single crochet, you can make this adorable cat tote bag. The whole bag works up in just a few evenings, and the face details are simple embroidery that takes maybe 20 minutes. I made mine in about 8 hours total, and every single person who sees it asks where I bought it. Gift potential? Through the roof. Make one for yourself, then prepare to make five more for every cat lover you know!
Why You’ll Love This Crochet Kitty Tote Bag Pattern
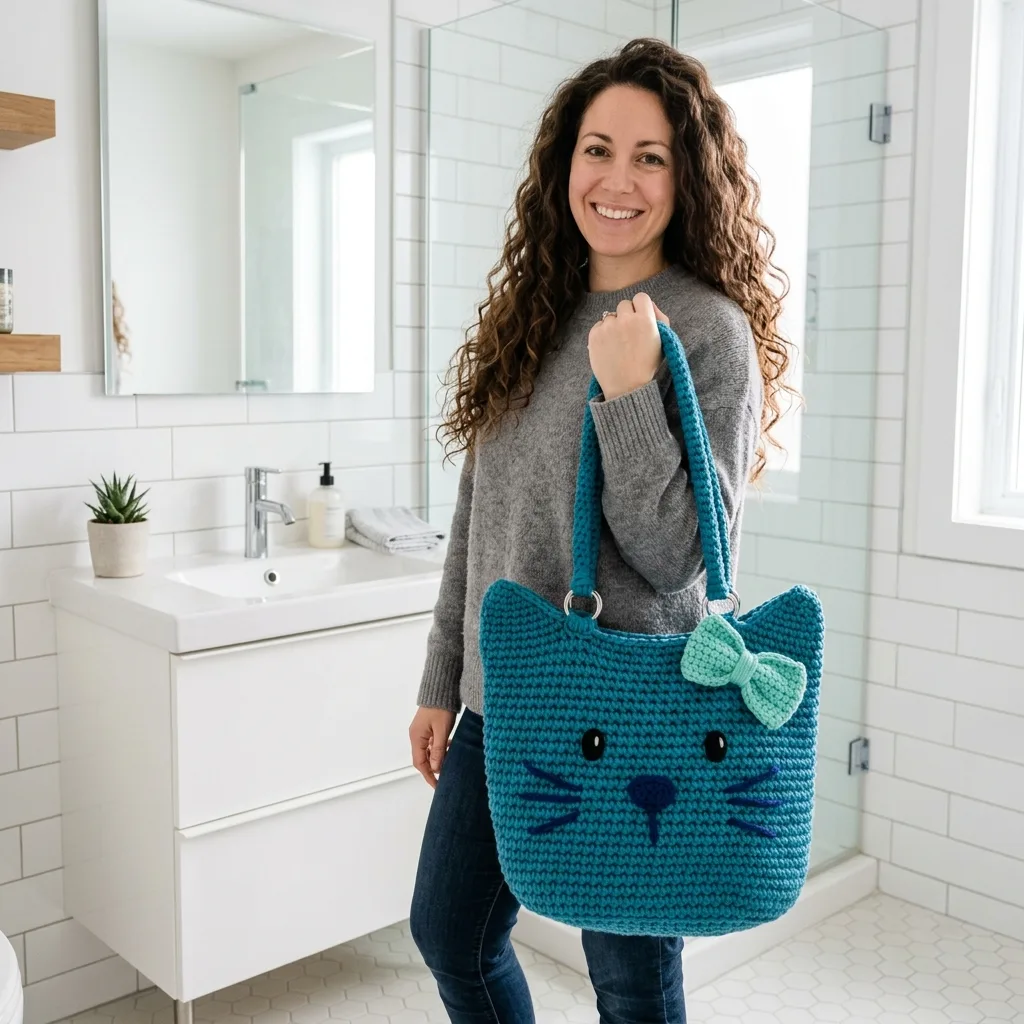
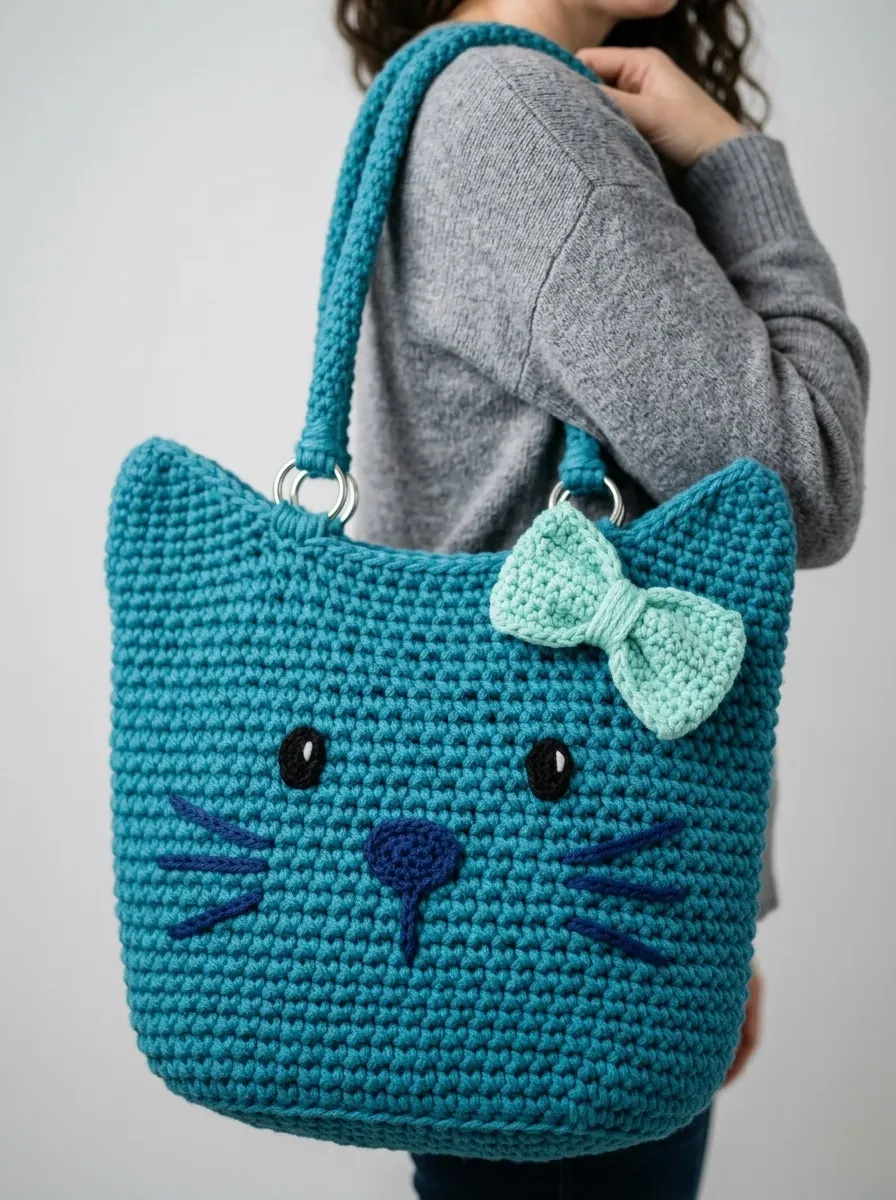
This ocean blue kitty tote bag combines practicality with pure charm. The bag itself is sturdy enough for groceries, books, or a day at the beach. Those pointed cat ears at the top give it instant personality without adding complicated shaping. And that little mint bow? Chef’s kiss.
The construction is beginner friendly with no complicated techniques required. You’ll work the main body in continuous rounds using single crochet stitches. The ears form naturally through simple decreases at the top corners. Even the face is just embroidered on at the end, so you can position everything exactly where you want it.
What makes this tote bag special:
Finished Dimensions
Based on the proportions shown, this kitty tote bag measures approximately:
Materials Needed
Yarn:
Hook:
Notions:
Gauge
14 single crochet stitches and 16 rows = 4 inches in single crochet worked in the round.
Gauge matters here! A tighter gauge means a sturdier bag that won’t stretch out when you load it up. If your stitches look loose or holey, go down a hook size.
Abbreviations and Stitch Definitions
Let me walk you through every stitch you’ll need. Even if you’re newer to crochet, you’ve got this.
Ch = Chain. This is your foundation stitch. Yarn over, pull through the loop on your hook. One chain made.
Sl st = Slip stitch. Insert hook, yarn over, pull through both the stitch and the loop on your hook in one motion. Used for joining rounds.
Sc = Single crochet. Insert hook into stitch, yarn over and pull up a loop (2 loops on hook), yarn over and pull through both loops. This is the main stitch for the entire bag.
Sc2tog = Single crochet two together. This is a decrease that turns 2 stitches into 1. Insert hook in first stitch, pull up a loop. Insert hook in next stitch, pull up a loop. You now have 3 loops on your hook. Yarn over and pull through all 3. One stitch decreased.
Inc = Increase. Work 2 single crochet stitches into the same stitch.
BLO = Back loop only. Instead of inserting your hook under both loops of the V at the top of the stitch, only go under the back loop. This creates a ridge.
Step by Step Crochet Pattern Instructions
Base of the Bag
The bottom of the tote is worked flat in rows, creating an oval shape. This gives your bag a nice structured base.
Row 1: Ch 25. Sc in 2nd ch from hook and in each ch across. (24 sc)
Row 2: Ch 1, turn. 2 sc in first st, sc in next 22 sts, 2 sc in last st. (26 sc)
Row 3: Ch 1, turn. 2 sc in first st, sc in next 24 sts, 2 sc in last st. (28 sc)
Row 4: Ch 1, turn. 2 sc in first st, sc in next 26 sts, 2 sc in last st. (30 sc)
Row 5: Ch 1, turn. 2 sc in first st, sc in next 28 sts, 2 sc in last st. (32 sc)
Row 6: Ch 1, turn. Sc in each st across. (32 sc)
Rows 7 through 10: Repeat Row 6. (32 sc each row)
You should now have a rectangular base approximately 4 inches by 9 inches.
Body of the Bag
Now you’ll work in continuous rounds to build up the sides. Place a stitch marker at the beginning of your round and move it up as you go.
Joining Round: Ch 1. Working in BLO around the entire edge of the base, sc evenly around all four sides. Work approximately 32 sc along each long side and 14 sc along each short side. Place marker. (approximately 92 sc)
Don’t stress about the exact count here. The important thing is that your stitches are evenly spaced and the work lies flat without puckering.
Round 1 through 40: Sc in each st around. Do not join. Continue working in a spiral, moving your marker up each round. (92 sc per round)
After 40 rounds, your bag body should measure approximately 10 inches tall. Try it on your shoulder with the strap placement in mind. Add or subtract rounds if needed.
Shaping the Cat Ears
This is where the magic happens! You’ll divide your work and shape each ear separately.
Marking the corners: Place stitch markers at the 4 corners of your bag. These should sit at the fold lines where the short sides meet the long sides.
Ear 1 (Right Side):
Row 1: Starting at right corner marker, sc across 23 sts to the next corner marker. Ch 1, turn. (23 sc)
Row 2: Sc2tog, sc to last 2 sts, sc2tog. Ch 1, turn. (21 sc)
Row 3: Sc2tog, sc to last 2 sts, sc2tog. Ch 1, turn. (19 sc)
Row 4: Sc2tog, sc to last 2 sts, sc2tog. Ch 1, turn. (17 sc)
Row 5: Sc2tog, sc to last 2 sts, sc2tog. Ch 1, turn. (15 sc)
Row 6: Sc2tog, sc to last 2 sts, sc2tog. Ch 1, turn. (13 sc)
Row 7: Sc2tog, sc to last 2 sts, sc2tog. Ch 1, turn. (11 sc)
Row 8: Sc2tog, sc to last 2 sts, sc2tog. Ch 1, turn. (9 sc)
Row 9: Sc2tog, sc to last 2 sts, sc2tog. Ch 1, turn. (7 sc)
Row 10: Sc2tog, sc in next 3 sts, sc2tog. (5 sc)
Fasten off, leaving a 6 inch tail for weaving in.
Ear 2 (Left Side):
Skip the 23 stitches along one short side of the bag. Join yarn at the next corner marker. Repeat Rows 1 through 10 as for Ear 1.
Shoulder Strap
The strap needs to be sturdy since it carries all the weight. Working with double strands or a tighter gauge helps here.
Row 1: Ch 7. Sc in 2nd ch from hook and in each ch across. (6 sc)
Rows 2 through 120: Ch 1, turn. Sc in each st across. (6 sc)
This creates a strap approximately 30 inches long. Adjust the number of rows for your preferred length. I recommend trying it on before fastening off.
Fasten off, leaving long tails for attaching.
Strap Attachment Tabs (Make 2)
These tabs loop through the metal rings and attach to the inside of the bag.
Row 1: Ch 9. Sc in 2nd ch from hook and in each ch across. (8 sc)
Rows 2 through 6: Ch 1, turn. Sc in each st across. (8 sc)
Fasten off, leaving a 12 inch tail.
The Bow
This little mint bow adds so much personality. It’s quick and simple.
Center piece:
Row 1: Ch 5. Sc in 2nd ch from hook and in each ch across. (4 sc)
Rows 2 through 8: Ch 1, turn. Sc in each st across. (4 sc)
Fasten off, leaving a long tail.
Bow loops:
Row 1: Ch 21. Sc in 2nd ch from hook and in each ch across. (20 sc)
Rows 2 through 6: Ch 1, turn. Sc in each st across. (20 sc)
Fasten off, leaving a long tail.
Assembly and Finishing
Take your time with this part. Good assembly makes all the difference between a handmade look and a professional finish.
Attaching the Strap
Thread each strap end through a metal ring. Fold the strap end back about 2 inches and whip stitch securely to itself. The metal ring should hang freely.
Position the ring tabs on the inside of the bag, about 2 inches below the ear points and centered on each side panel. Whip stitch the tabs in place, going through all layers for strength. Loop the tab through the ring before stitching the second end down.
Creating the Cat Face
Eyes: If using safety eyes, position them about 4 inches up from the bottom of the bag and roughly 3 inches apart. Mark placement with pins first. Push the post through from the outside and secure the backing on the inside.
If embroidering the eyes, use black yarn and make tight satin stitch circles about the size of a nickel.
Nose: Using navy yarn, embroider a small triangle nose centered below and between the eyes. Make it about 1 inch wide at the top.
Whiskers: Using navy yarn, embroider 3 straight lines on each side of the nose, angling outward. Each whisker should be about 1.5 inches long.
Mouth: Embroider two small curved lines extending down from the bottom point of the nose, like an upside down Y.
Assembling the Bow
Take the bow loops piece and fold the short ends toward the center, overlapping slightly. Pinch in the middle to create the bow shape. Wrap the center piece around the middle tightly and stitch in place on the back.
Attach the finished bow to the right ear using whip stitch, positioning it near the base of the ear where it meets the bag body.
Tips for Success
Blocking: Lightly steam block your finished bag to even out the stitches and help it hold its shape. Stuff with tissue paper while it dries.
Lining: For extra durability, consider adding a fabric lining. Cut fabric to fit the interior, fold raw edges under, and hand stitch in place.
Stiffening: If your bag feels too floppy, you can insert plastic canvas in the base before lining, or use fabric stiffener spray.
Color variations: This pattern works beautifully in any color. Try grey for a realistic cat look, orange for a tabby vibe, or pink for something more playful.
Who Is This Pattern For?
This ocean blue kitty tote bag crochet pattern works well for confident beginners who have made at least a few projects and feel comfortable with single crochet. The techniques are straightforward, but you’ll need patience for the repetitive rounds and attention to detail for the face embroidery.
Intermediate and advanced crocheters will breeze through this as a relaxing project. It makes excellent TV crocheting since the body rounds require zero counting once you get going.
I really hope you love making this adorable kitty tote bag as much as I loved designing it! If you make one, please save this pattern to your Pinterest boards so you can find it again later and share it with fellow cat loving crocheters. I would absolutely love to see your finished bags, so drop a comment below with your color choices or tag me on social media. Happy hooking!