
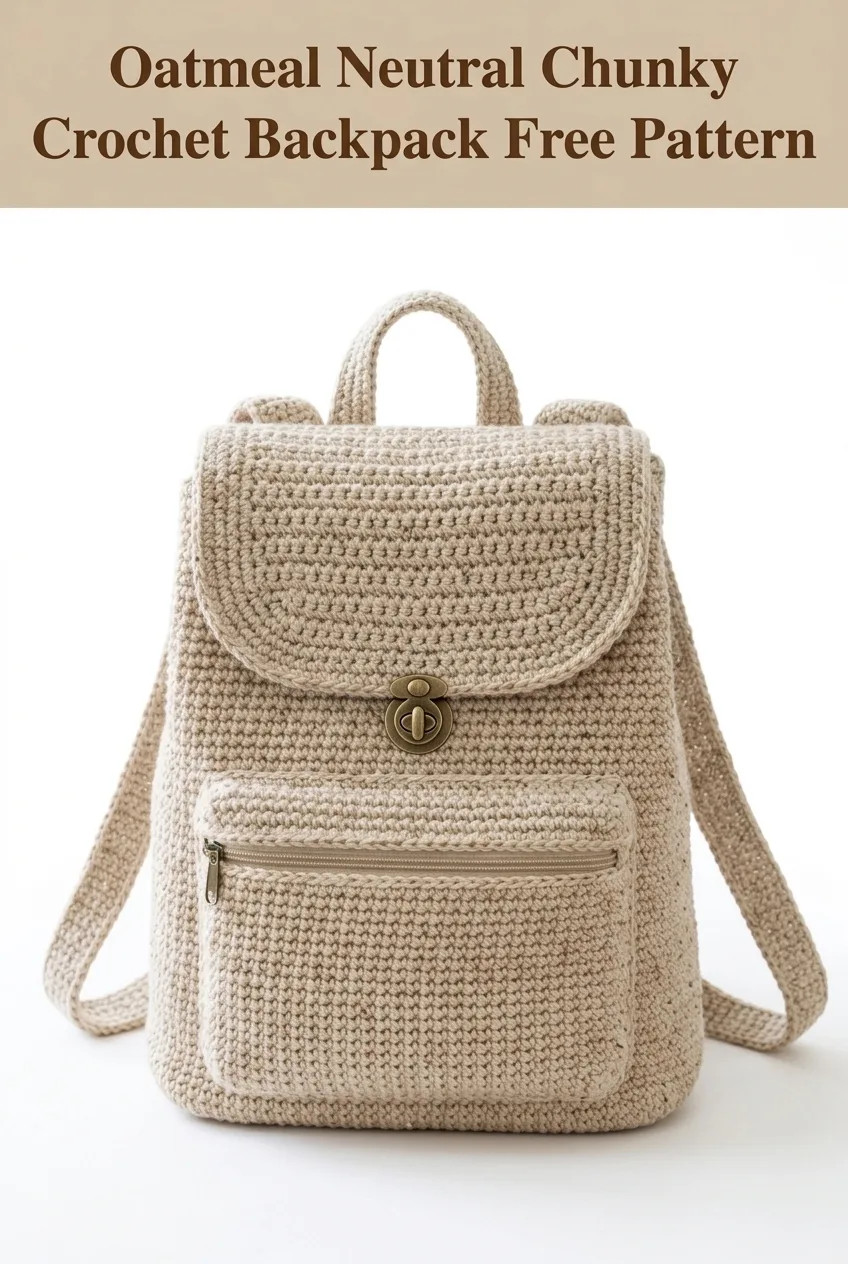
Looking for a practical, everyday bag that works up sturdy enough to actually use? This chunky crochet backpack is perfect for carrying your essentials while keeping your hands free. Made with simple single crochet stitches throughout, this pattern works for confident beginners ready to tackle their first bag project. The neutral oatmeal color goes with everything, and the structured design makes it a thoughtful handmade gift for teens, college students, or anyone who appreciates functional accessories.
Why You’ll Love This Crochet Backpack Pattern
This backpack is the real deal. It holds its shape, has functional pockets, and looks like something you’d find in a boutique. I designed it with practicality in mind, so every element serves a purpose.
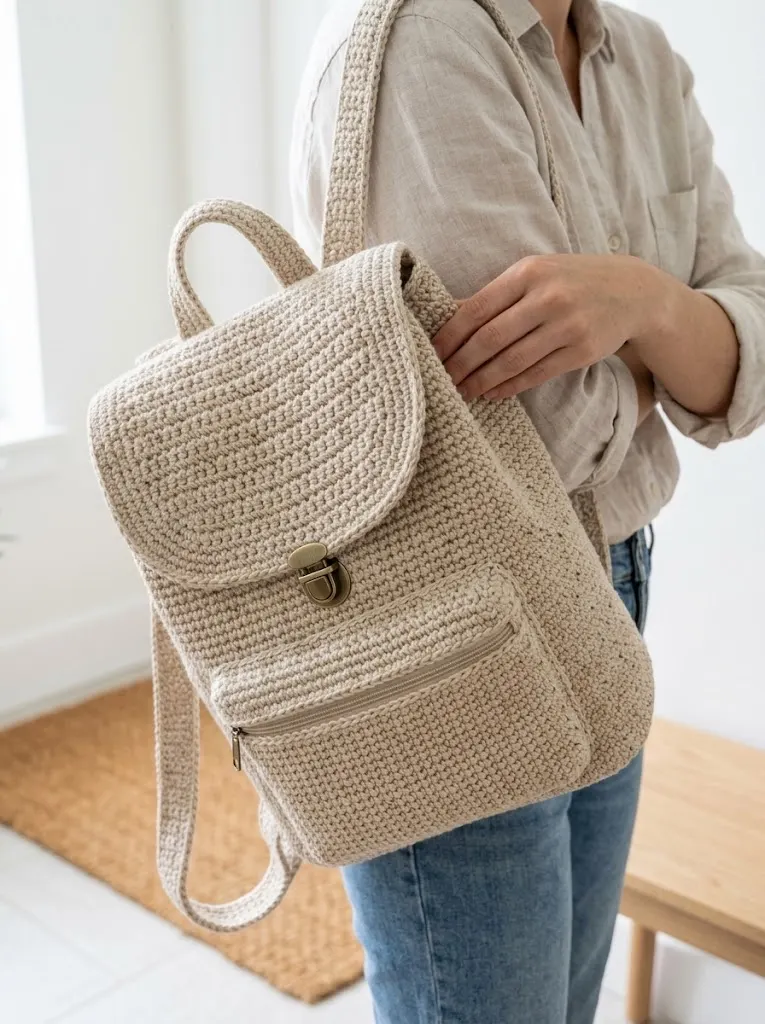
The front zippered pocket keeps your phone or keys within easy reach. The flip-top closure with a push lock clasp adds security without complicated hardware installation. And those adjustable shoulder straps? They’re comfortable enough for all-day wear.
What makes this crochet backpack tutorial beginner friendly is the consistent stitch pattern. If you can single crochet, you can make this bag. The construction happens in pieces that get sewn together at the end, so you’re never juggling complicated shaping while working in the round.
Materials Needed for Your Crochet Backpack
Before you start, gather everything you’ll need. Having your supplies ready makes the process so much smoother.
Yarn:
Hook:
Notions:
Finished Dimensions:
Gauge Information
Getting your gauge right matters for bags. Too loose and your items fall through the stitches. Too tight and you’ll fight your hook the entire project.
Gauge: 16 stitches and 18 rows = 4 inches in single crochet
Take time to make a gauge swatch. If your swatch is too big, go down a hook size. Too small? Go up a hook size. Trust me, this step saves frustration later.
Abbreviations and Stitch Definitions
Let me break down every stitch you’ll use in this pattern. Even if you know these, a quick refresher never hurts.
Ch = Chain: Yarn over, pull through loop on hook. This creates your foundation.
Sc = Single crochet: Insert hook into stitch, yarn over and pull up a loop (two loops on hook), yarn over and pull through both loops. This is your bread and butter stitch for this entire project.
Sl st = Slip stitch: Insert hook into stitch, yarn over and pull through both the stitch and the loop on hook in one motion. Used for joining and creating flat seams.
Inc = Increase: Work two single crochet stitches into the same stitch. This adds one stitch to your count.
Dec = Decrease (invisible decrease preferred): Insert hook through front loops only of the next two stitches, yarn over and pull through both front loops, yarn over and pull through both loops on hook. This removes one stitch from your count.
Step by Step Crochet Backpack Pattern
Now for the good part. I’ve broken this down into manageable sections. Work through each piece, then we’ll assemble everything at the end.
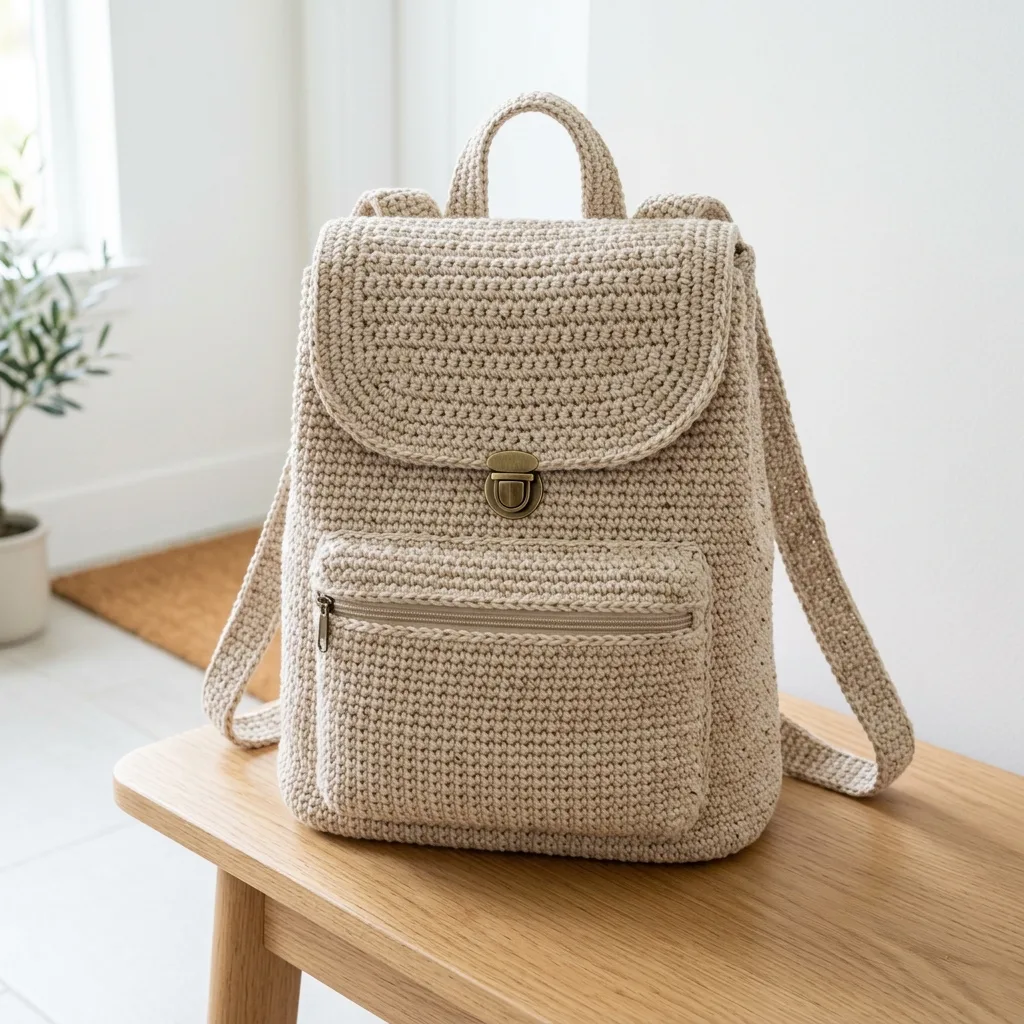
Main Body Panel (Make 2)
These form the front and back of your backpack.
Foundation: Ch 41
Row 1: Sc in 2nd ch from hook and in each ch across, turn. (40 sts)
Rows 2-54: Ch 1, sc in each st across, turn. (40 sts)
Fasten off after Row 54, leaving a long tail on one panel for seaming.
You should have two identical rectangles measuring approximately 10 inches wide by 12 inches tall.
Side and Bottom Panel (Make 1)
This long strip wraps around to create the depth of your bag.
Foundation: Ch 17
Row 1: Sc in 2nd ch from hook and in each ch across, turn. (16 sts)
Rows 2-140: Ch 1, sc in each st across, turn. (16 sts)
Fasten off, leaving a very long tail for seaming.
This strip should measure approximately 4 inches wide and 31 inches long. It will wrap around the bottom and both sides of your backpack.
Flap
The flap has a curved bottom edge for that classic backpack look.
Foundation: Ch 41
Row 1: Sc in 2nd ch from hook and in each ch across, turn. (40 sts)
Rows 2-20: Ch 1, sc in each st across, turn. (40 sts)
Now we shape the curve:
Row 21: Ch 1, dec, sc in each st to last 2 sts, dec, turn. (38 sts)
Row 22: Ch 1, sc in each st across, turn. (38 sts)
Row 23: Ch 1, dec, sc in each st to last 2 sts, dec, turn. (36 sts)
Row 24: Ch 1, sc in each st across, turn. (36 sts)
Row 25: Ch 1, dec, sc in each st to last 2 sts, dec, turn. (34 sts)
Row 26: Ch 1, dec, sc in each st to last 2 sts, dec, turn. (32 sts)
Row 27: Ch 1, dec, sc in each st to last 2 sts, dec, turn. (30 sts)
Row 28: Ch 1, dec, sc in each st to last 2 sts, dec, turn. (28 sts)
Fasten off, leaving a tail for weaving in.
Front Pocket
This sits on the front panel and holds your zipper.
Foundation: Ch 37
Row 1: Sc in 2nd ch from hook and in each ch across, turn. (36 sts)
Rows 2-24: Ch 1, sc in each st across, turn. (36 sts)
Fasten off, leaving a long tail for seaming.
Your pocket should measure approximately 9 inches wide by 5.5 inches tall.
Shoulder Straps (Make 2)
These need to be sturdy, so we work them in a tight single crochet.
Foundation: Ch 9
Row 1: Sc in 2nd ch from hook and in each ch across, turn. (8 sts)
Rows 2-160: Ch 1, sc in each st across, turn. (8 sts)
Fasten off, leaving a long tail for attaching.
Each strap should measure approximately 2 inches wide and 35 inches long. Don’t worry if yours are slightly different. You can adjust length during assembly.
Top Handle
Foundation: Ch 9
Row 1: Sc in 2nd ch from hook and in each ch across, turn. (8 sts)
Rows 2-36: Ch 1, sc in each st across, turn. (8 sts)
Fasten off, leaving a long tail.
Your handle should measure approximately 2 inches wide and 8 inches long.
Strap Connectors (Make 2)
These small loops attach at the bottom of the bag for the shoulder straps.
Foundation: Ch 5
Row 1: Sc in 2nd ch from hook and in each ch across, turn. (4 sts)
Rows 2-8: Ch 1, sc in each st across, turn. (4 sts)
Fasten off, leaving a tail for seaming.
Assembly Instructions
Take a deep breath. Assembly is where the magic happens, and I’ll walk you through every step.
Step 1: Attach the Front Pocket
Position your pocket on one of the main body panels, centered horizontally and approximately 1.5 inches up from the bottom edge. Pin in place.
Using your tapestry needle and matching yarn, whip stitch the pocket to the panel along the bottom and both sides. Leave the top open.
Pro tip: Before fully closing your seams, install your zipper along the top opening of the pocket. Hand sew it in place with coordinating thread, keeping your stitches small and neat on the outside.
Step 2: Create the Bag Body
Take your side and bottom panel strip. Starting at the top corner of one main body panel, pin the strip around the sides and bottom, easing around the corners.
Using a tapestry needle and the long tail, whip stitch the strip to the first main body panel. Work slowly around corners, keeping your seam even.
Repeat with the second main body panel on the other side of the strip.
You should now have a bag shape with an open top.
Step 3: Attach the Flap
Position the straight edge of your flap along the top back edge of the backpack (the panel without the pocket). The curved edge should hang down over the front.
Whip stitch securely in place. This seam bears weight when the bag is full, so take your time and make it strong.
Step 4: Install the Hardware
Mark the center of your flap’s curved edge. Install the bottom piece of your push lock clasp here according to the manufacturer’s instructions. Most push locks require small holes poked through the fabric and prongs bent over on the back.
Close the flap naturally over the front of the bag. Mark where the top piece of the clasp should align on the bag front. Install that piece.
Test your closure several times to make sure everything lines up.
Step 5: Attach the Top Handle
Fold your handle piece in half to find the center. Position it centered on top of the backpack, right where the flap attaches. The handle should form a loop standing upright.
Sew both ends securely to the top back edge of the bag, overlapping with the flap attachment seam for extra strength.
Step 6: Attach the Shoulder Straps
First, sew your two small strap connectors to the bottom back corners of your bag. Fold each connector into a small loop and stitch both ends to the bag.
For the top strap attachments, sew one end of each shoulder strap to the top back corners of the bag, right where the side panels meet the back panel. Position them just beside where the handle attaches.
Thread the bottom of each strap through the corresponding bottom loop. Fold the strap end back on itself about 2 inches and sew in place. This creates an adjustable point where you can modify strap length later if needed.
Step 7: Finishing Touches
Weave in all remaining ends. Block your bag by stuffing it with tissue paper or a small pillow and letting it sit overnight. This helps everything settle into shape.
Optional lining: For extra durability and a polished interior, cut fabric lining pieces to match your panels (adding seam allowance) and hand sew inside the bag.
Tips for Success with This Crochet Backpack Pattern
Maintain tension consistency. Bags need even stitches throughout. If you notice your tension changing when you’re tired, take a break.
Use stitch markers liberally. Mark the first stitch of each row to keep your edges straight. Wavy edges make assembly harder.
Block your pieces before sewing. Lay each piece flat, mist with water, and pin to measurements. Let dry completely. This makes seaming so much easier.
Reinforce stress points. Add extra stitches at strap attachments and where the flap meets the bag. These areas take the most wear.
Choose your hardware first. Push lock clasps come in different sizes. Buy yours before starting so you can adjust flap placement if needed.
Customization Ideas
Once you’ve mastered this basic backpack design, try these variations:
Change the color for different seasons. Rust and mustard work beautifully for fall. Soft sage or dusty rose feel fresh for spring.
Add texture by substituting one main body panel with a simple textured stitch like moss stitch or linen stitch.
Make it bigger or smaller by adjusting your foundation chain count and row numbers proportionally.
Skip the zippered pocket and create a simple patch pocket instead if you want an easier first project.
How to Care for Your Crochet Backpack
Cotton bags can be spot cleaned with mild soap and water. For deeper cleaning, hand wash in cool water with gentle detergent. Reshape while damp and lay flat to dry.
Avoid machine washing, which can distort the shape and weaken seams. Store your backpack stuffed with tissue paper to maintain its structure.
I really hope you love making this crochet backpack as much as I enjoyed designing it. If you found this tutorial helpful, save it to your Pinterest boards so you can find it again when you’re ready to start. And please drop a comment below if you make one. I’d absolutely love to see your finished bags and hear which color you chose!