
Miniature crochet intimidates a lot of people. I get it. The tiny hooks, the thread-weight yarn, the detailed stitches that seem impossible to see. But here’s the truth: if you can work a basic shell stitch and follow a simple increase pattern, you can absolutely make this dress.
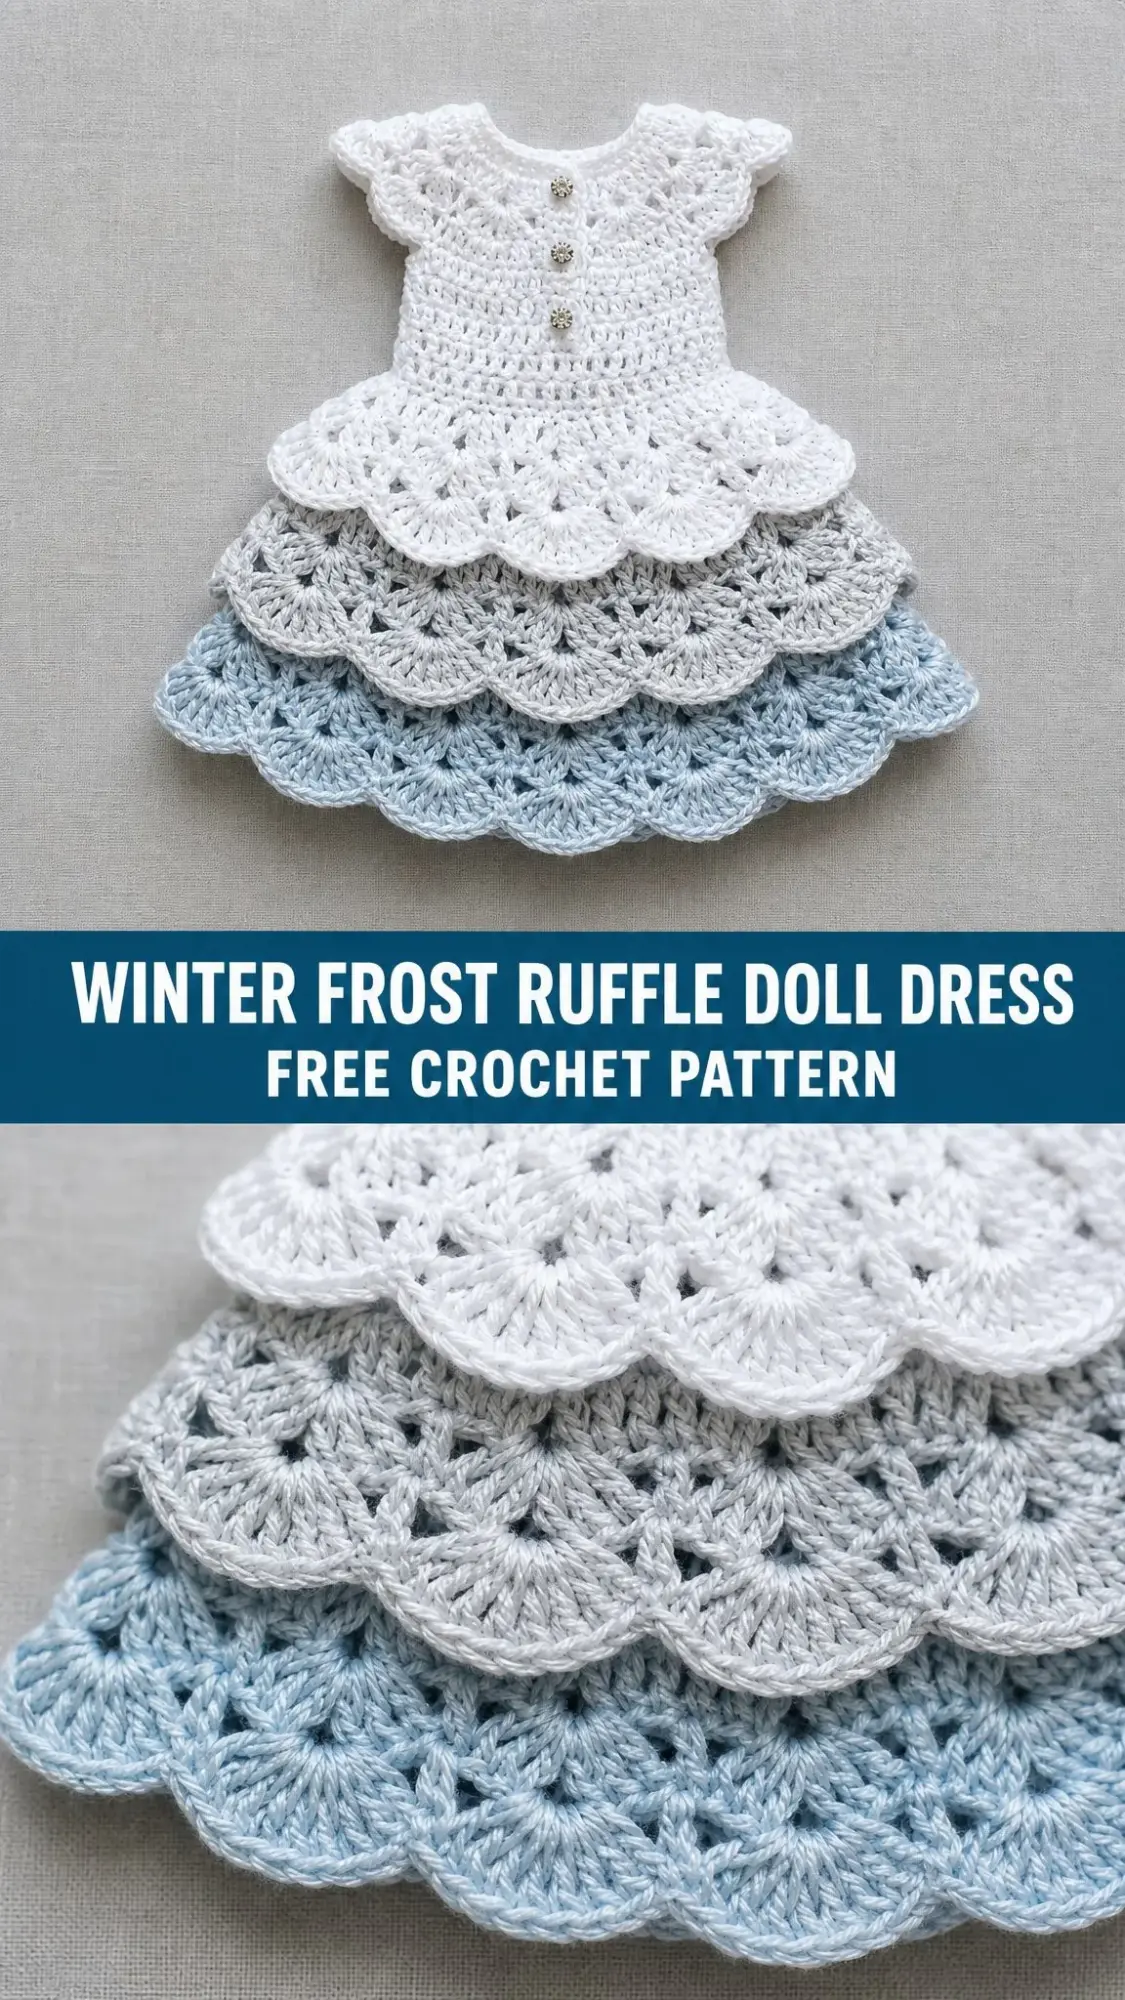
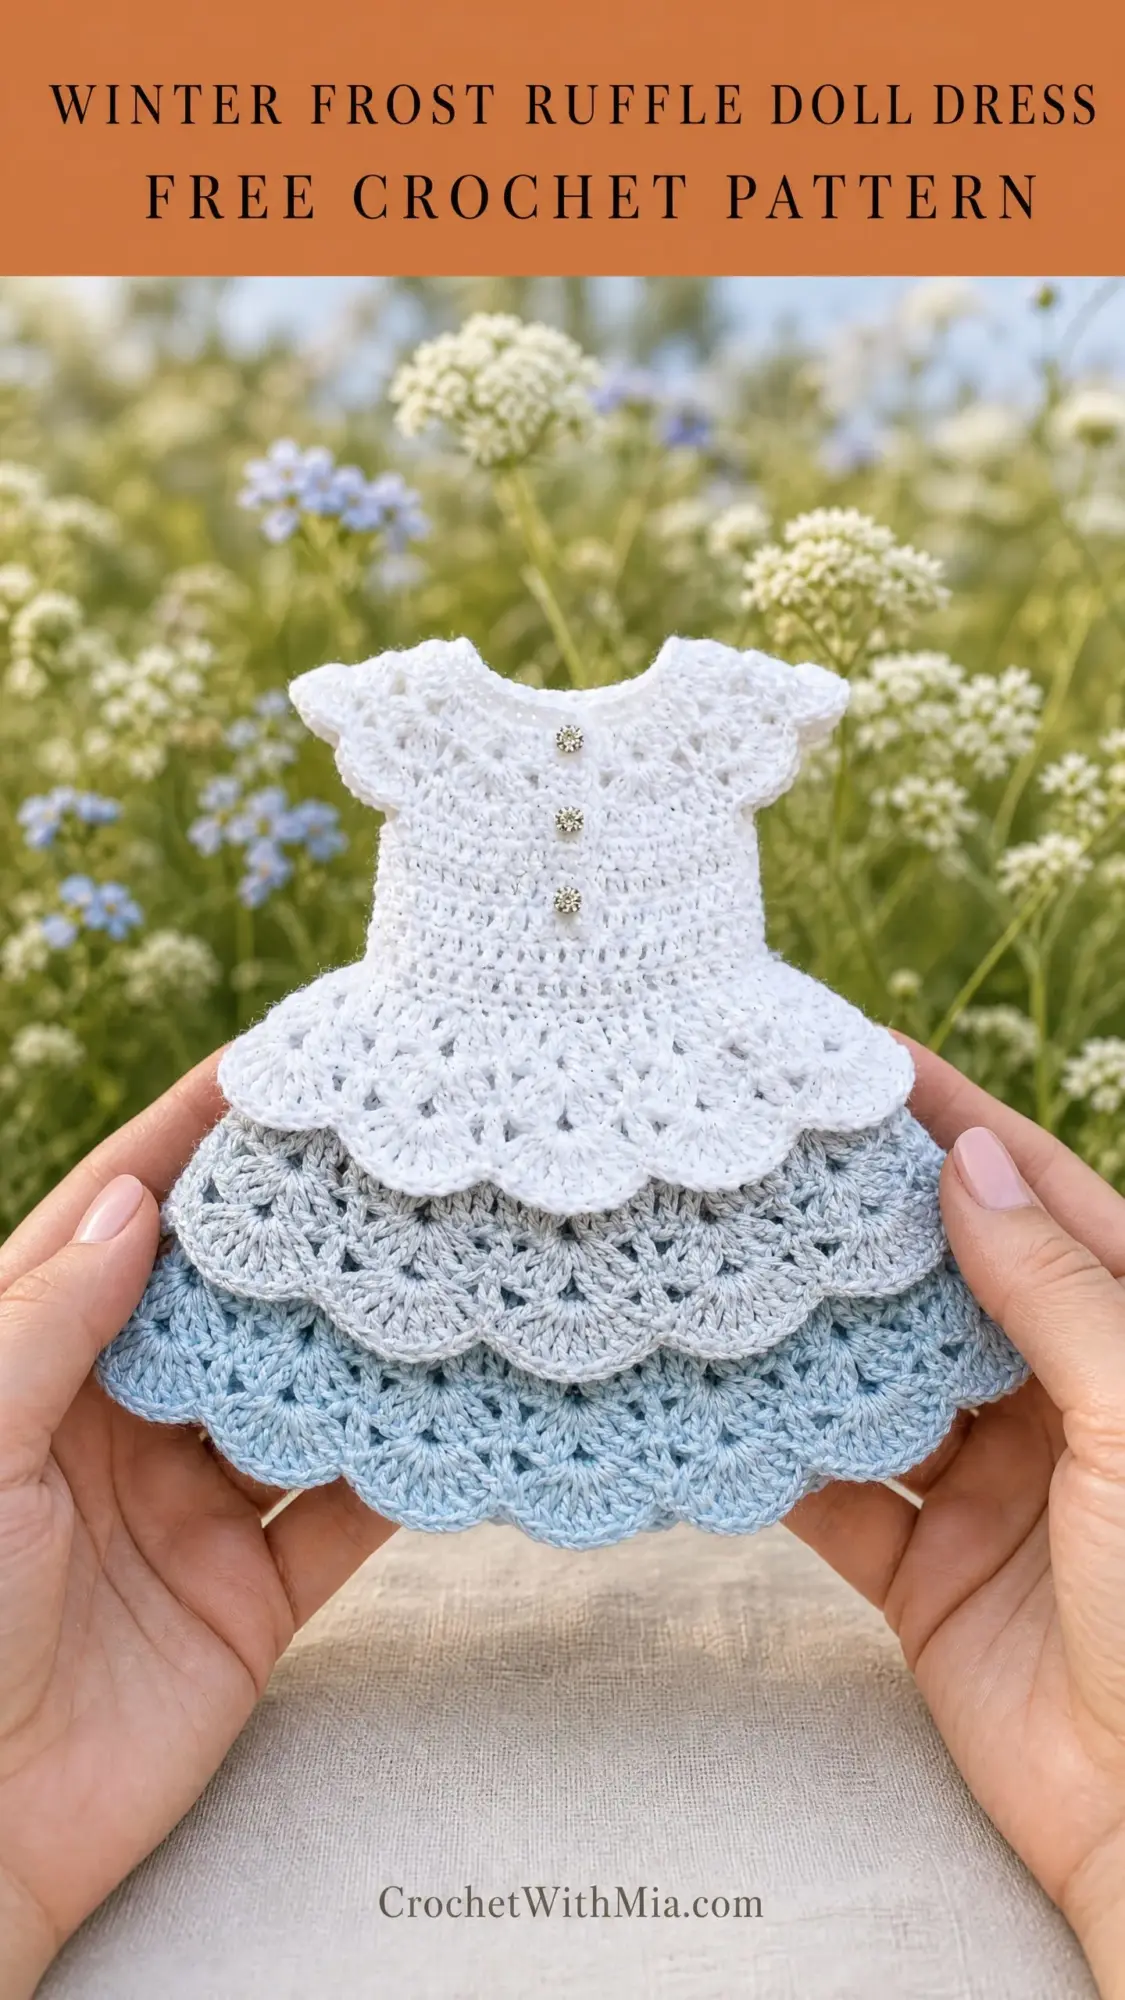
The Winter Frost Ruffle Doll Dress looks far more complicated than it actually is. Those gorgeous cascading tiers? They’re just shell stitches worked in rows. That elegant ombre effect? Simple color changes at predetermined points. The fitted bodice? Basic single crochet worked in rounds with strategic increases.
I designed this pattern specifically for Blythe dolls, but the construction method works beautifully for any 11 to 12 inch fashion doll. Whether you’re new to doll clothes or you’ve made dozens, this project breaks down into manageable sections that build your confidence as you go.
Why This Doll Dress Pattern Works for Multiple Skill Levels
This crochet tutorial falls into the intermediate category, but don’t let that scare you off if you’re a confident beginner. The entire dress uses just a handful of techniques: single crochet (sc), double crochet (dc), shell stitch, and a simple picot edging. If you’ve completed a few projects using these basic stitches, you’re ready.
The construction is logical and forgiving. You start at the neckline and work downward, which means you can try the dress on your doll as you go. The bodice is worked in joined rounds, so there’s no confusing seaming at the end. The ruffle tiers are worked flat in rows, giving you a natural back opening for easy dressing.
For more experienced crocheters, this pattern offers satisfying details like the gradient colorway and delicate picot trim. The rhinestone button embellishments add a touch of elegance that elevates the finished piece from cute to genuinely stunning.
Materials You’ll Need
Yarn: Size 10 crochet thread or fingering weight yarn in three colors. You’ll need approximately 400 yards total.
Hook: US Steel 7 / 1.65 mm hook for crochet thread, or US B-1 / 2.25 mm hook for fingering weight yarn
Notions:
Yarn Suggestions That Work Beautifully
Lizbeth Size 10 Crochet Thread by Handy Hands gives crisp stitch definition and comes in perfect shades for this project. It’s 100% Egyptian cotton with 122 yards per ball.
DMC Natura Just Cotton is a fingering weight option that creates a slightly softer drape while still holding the shell stitch shapes well. Each 50g ball contains 155 yards.
Scheepjes Catona offers a gorgeous mercerized finish that gives subtle sheen similar to the finished dress in the photos. The 25g balls contain 62 yards each.
Whatever you choose, stick with smooth cotton yarn. Avoid anything fuzzy or textured because it will obscure your beautiful shell stitches.
Gauge Information
Getting gauge right matters a lot for doll clothes. The pieces are so small that even minor variations throw off the fit completely.
Using Color A and your chosen hook:
Always work a gauge swatch before beginning. If your stitches are too loose, go down a hook size. Too tight? Go up a hook size.
Finished Measurements
This size fits a standard Blythe doll body, approximately 11.5 inches / 29 cm tall.
Abbreviations and Stitch Definitions
Let me walk you through every abbreviation you’ll encounter. Understanding these before you begin makes the pattern so much easier to follow.
Special Stitches Explained
Shell Stitch
This is the star of the pattern. A shell is simply 5 double crochet stitches all worked into the same stitch or space. When you finish, you’ll have a pretty fan-shaped cluster that shares a single base point. Think of it like opening a hand fan.
Shell Stitch Row Pattern
Each shell is separated by a chain 1 space and a single crochet worked into the chain space of the previous row. The rhythm goes: sc in ch-sp, ch 1, shell in next sc, ch 1. Repeat that sequence across your row.
Picot Edging
This delicate trim finishes the sleeves and neckline beautifully. Here’s how to work it step by step:
1. Insert your hook into the indicated stitch
2. Draw up a loop
3. Chain 3
4. Slip stitch into the first of those 3 chains
5. You’ve created a tiny decorative knot. Continue to the next stitch.
Foundation Single Crochet (FSC)
This technique creates a neat, flexible starting edge that’s perfect for necklines. It combines your foundation chain and first row into one step.
1. Make a slip knot and place on hook
2. Chain 2
3. Insert hook into the second chain from hook
4. Draw up a loop (2 loops on hook)
5. Chain 1 (this creates the chain foundation)
6. Yarn over and draw through both loops (first FSC complete)
7. For each additional FSC: insert hook under the 2 loops of the chain just made, draw up a loop, chain 1, yarn over and draw through both loops
Pattern Notes Before You Begin
Read through these notes before starting. They’ll save you confusion later.
1. The dress is worked from the neckline downward.
2. When the pattern says "join, ch 1, do not turn," keep working in the same direction. When it says "join, turn," flip your work for the next row.
3. The ruffle tiers are worked back and forth in rows, not continuous rounds. This creates the flat back opening.
4. For color changes, switch to the new color on the final yarn over of your last stitch in the current color. Cut the old color and weave in ends as you go.
5. Each ruffle tier gets progressively wider because you work increases before beginning the shell pattern rows.
6. Stitch counts in parentheses at the end of each row reflect your total working stitches, not counting turning chains unless noted.
7. Sew on the rhinestone buttons after blocking, centered vertically on the front bodice.
8. When picking up stitches along an existing edge, insert your hook under both loops unless noted otherwise.
Step by Step Instructions for the Winter Frost Ruffle Doll Dress
Bodice
Begin with Color A.
Foundation: Using Color A, make a foundation single crochet chain of 36 stitches. Do not join yet.
Check that you have 36 FSC stitches before continuing. Join with a sl st to the first FSC, being careful not to twist the chain. (36 sts)
Rnd 1: Ch 1, sc in each st around, join with sl st to first sc. (36 sc)
Rnd 2 (yoke shaping, increase round): Ch 1, [sc in next 3 sts, 2 sc in next st] 9 times, join. (45 sc)
Rnd 3: Ch 1, sc in each st around, join. (45 sc)
Rnd 4 (sleeve separation setup): Ch 1, sc in next 8 sts (right front), ch 4 (underarm bridge), sk next 9 sts (right sleeve), sc in next 11 sts (back), ch 4 (underarm bridge), sk next 9 sts (left sleeve), sc in next 8 sts (left front), join. (27 sc plus 8 ch)
You now have 27 sc stitches across front and back plus 4 chain stitches on each underarm. Your total working stitches for the next round will be 35.
Rnd 5: Ch 1, sc in each of next 8 sc, sc in each of next 4 ch, sc in each of next 11 sc, sc in each of next 4 ch, sc in each of next 8 sc, join. (35 sc)
Rnd 6: Ch 1, [sc in next 4 sts, 2 sc in next st] 7 times, join. (42 sc)
Rnd 7: Ch 1, sc in each st around, join. (42 sc)
Rnd 8: Ch 1, [sc in next 5 sts, 2 sc in next st] 7 times, join. (49 sc)
Rnd 9: Ch 1, sc in each st around, join. (49 sc)
Rnd 10: Ch 1, [sc in next 6 sts, 2 sc in next st] 7 times, join. (56 sc)
Rnd 11: Ch 1, sc in each st around, join. (56 sc)
Rnd 12: Ch 1, sc in each st around, join. (56 sc)
This completes the bodice. Do not fasten off.
Checkpoint: Your bodice from neckline to waist should measure approximately 1.75 to 2 inches / 4.5 to 5 cm. Try it on your doll. It should sit smoothly against the torso.
Sleeve Edging
Attach Color A to the first skipped stitch of one sleeve opening.
Sleeve Setup Rnd: Ch 1, sc evenly around the sleeve opening working 9 sc across the skipped sleeve stitches and 4 sc across the underarm chain bridge for a total of 13 sc. Join. (13 sc)
Sleeve Edging Rnd: Ch 1, [sc in next st, picot] around, join, fasten off. (13 sc with picots)
Repeat Sleeve Edging for the second sleeve opening.
Neckline Edging
With RS facing, join Color A to any stitch at the neckline (the original FSC edge).
Neckline Rnd: Ch 1, sc in each st around the neckline edge, join. (36 sc)
Neckline Picot Rnd: Ch 1, [sc in next st, picot] around, join, fasten off. (36 sc with picots)
Skirt Tier 1 (White, Color A)
The skirt is worked flat in rows to allow for the back opening. You’ll work into the 56 stitches of the waist from Rnd 12 of the bodice.
Choose a back opening point at Rnd 12 and work back and forth from that location.
Reattach Color A to the first stitch at the back right edge of the waist. Turn the bodice so the WS faces you.
Row 1 (WS): Ch 1, sc in first 1 st, [2 sc in next st, sc in next 4 sts] 10 times, sc in remaining 5 sts, turn. (66 sc)
Row 2 (RS, shell set-up): Ch 3 (counts as dc), 2 dc in first st (completing a 3-dc half shell), ch 2, [sk 2 sts, sc in next st, ch 2, sk 2 sts, shell in next st, ch 2] 10 times, sk 2 sts, sc in next st, ch 2, sk 2 sts, 3 dc in last st, turn.
Continue following the shell pattern for the remaining rows of Tier 1, maintaining the scalloped edge created by your shell stitches.
Skirt Tier 2 (Silver-Grey, Color B)
Change to Color B. Pick up stitches from the row above the previous tier to create the layered cascade effect. Work an increase row followed by shell pattern rows, making this tier slightly wider than the first.
Skirt Tier 3 (Ice Blue, Color C)
Change to Color C. Again pick up stitches from the row above the previous tier. Work your increase row and shell pattern rows, creating the widest tier at the bottom of the dress.
Finishing Your Doll Dress
Weave in all ends securely using your tapestry needle. With thread-weight yarn, weaving in ends carefully prevents them from working loose over time.
Block the dress by pinning it to your blocking board and lightly misting with water. Let it dry completely. Blocking opens up the shell stitches beautifully and evens out your tension.
Attach the rhinestone buttons to the front bodice center, spacing them evenly. Use matching thread and small, secure stitches.
Add the back closure if desired. A small snap or hook-and-eye works perfectly. Alternatively, the bodice can stretch slightly over the doll’s head without a closure.
Helpful Tips for Success
Work in good lighting. These small stitches are much easier to see with a bright lamp positioned over your work area.
Use stitch markers liberally. Mark the beginning of rounds, sleeve separation points, and anywhere you tend to lose count.
Take breaks. Miniature crochet requires focus, and tired eyes make mistakes. Step away every 20 to 30 minutes.
Count your stitches after every round or row. It’s much easier to fix an error immediately than to rip back several rounds later.
If your hands cramp, try a larger ergonomic hook handle. Several brands make comfort grips that fit over steel hooks.
Time Investment
Expect this project to take approximately 4 to 6 hours if you’re experienced with small gauge work. Add 1 to 2 hours if this is your first shell stitch project or your first time working with crochet thread.
The bodice works up quickly since it’s just single crochet rounds. The shell stitch tiers take longer because you’re building the pretty scalloped edges row by row. The finishing details like sleeve edging, neckline trim, and button attachment add about 30 to 45 minutes.
I really hope you enjoy making this Winter Frost Ruffle Doll Dress as much as I enjoyed designing it. There’s something so satisfying about creating a complete miniature garment with all those perfect little details. If you make one, I would absolutely love to see it. Tag me on Instagram or share a photo in my Facebook group. Your creativity always inspires me.
Save this pattern to your Pinterest boards so you can find it easily when you’re ready to start. And please drop a comment below if you make this dress. I love hearing which color combinations you choose and seeing how the gradient turns out with different yarn brands. Happy crocheting!