
I’ve been looking for the perfect Valentine’s Day baby blanket pattern for weeks, and I finally decided to design my own. This Classic Red Heart Valentine Baby Blanket is my new favourite project for gifting to little ones born around February. The checkerboard layout with those sweet heart motifs hits all the right notes, and I’m thrilled to share it with you today.
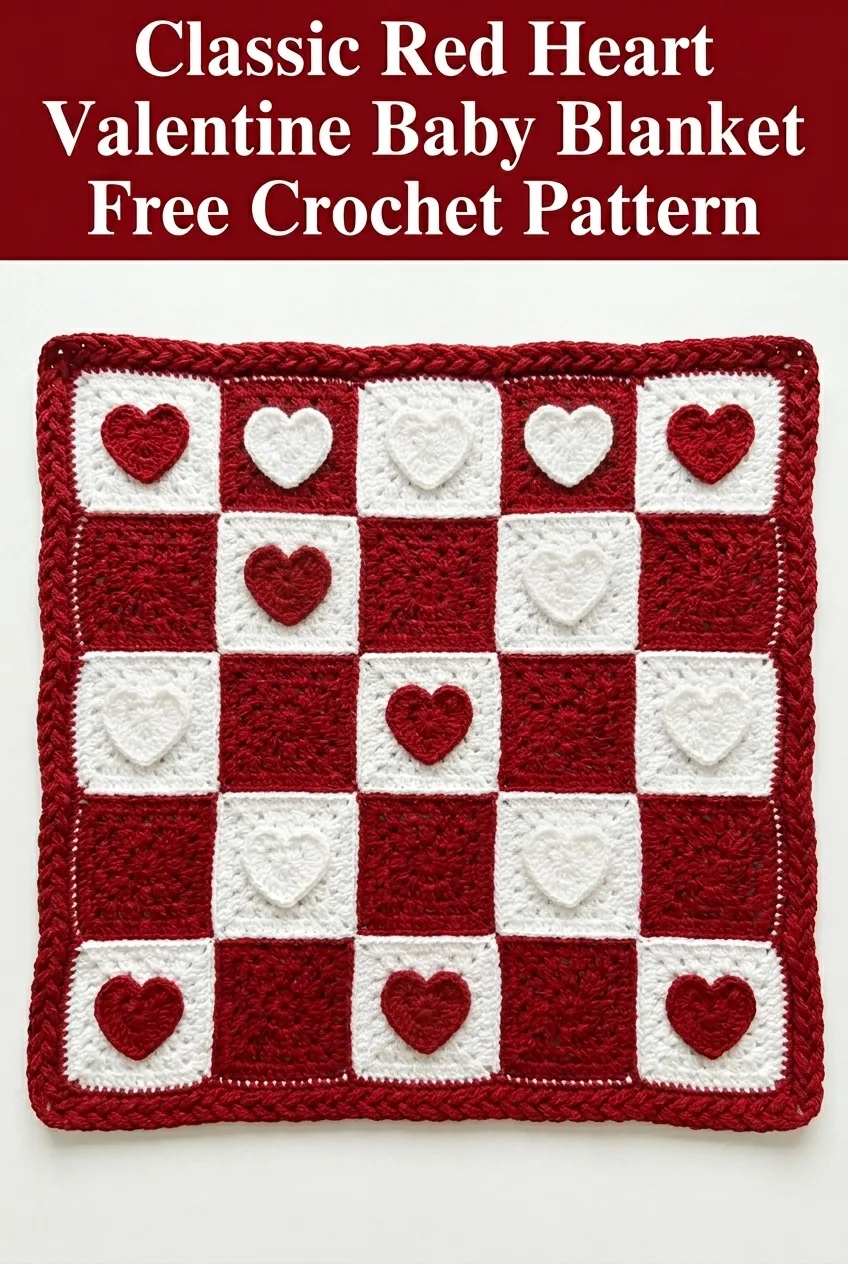
This blanket combines simple granny square construction with adorable appliqué hearts that make it look far more impressive than it actually is to create. If you can crochet a basic square and follow a simple heart pattern, you can absolutely make this blanket. The red and cream colour combination is classic and timeless, but feel free to swap in pink, purple, or any colours that speak to you.
Why This Valentine Baby Blanket Pattern Works
Let me tell you why I love this design so much. The construction is straightforward. You make individual squares, attach little heart appliqués, then join everything together with a beautiful braided border. Breaking it into smaller pieces means you can work on this blanket anywhere. Waiting rooms, car rides, lunch breaks. Each square takes about 20 minutes once you get into a rhythm.
The finished blanket measures approximately 24 inches by 24 inches, making it perfect as a stroller blanket, car seat cover, or tummy time mat. It’s substantial enough to keep baby warm but not so large that it becomes overwhelming to complete.
Materials You Will Need
Before you start, gather these supplies:
Yarn:
I used a soft acrylic blend that holds up well to washing. Baby blankets need to be machine washable, so keep that in mind when selecting your yarn.
Hook:
Notions:
Gauge
Gauge matters for this project. Work 14 stitches and 16 rows in single crochet to equal 4 inches square using your 5.0mm hook. If your gauge is off, your squares won’t match up when you join them. Take five minutes to make a gauge swatch. Your future self will thank you.
Skill Level
This pattern is beginner friendly with some intermediate elements. You should be comfortable with:
If you’ve never made a granny square before, I recommend practicing one plain square first. The heart appliqués require shaping, but I walk you through every stitch.
Abbreviations and Stitch Definitions
Let me explain all the stitches before we begin. Read through these carefully.
ch = chain. Wrap yarn over hook, pull through loop on hook. This creates the foundation for your work.
sl st = slip stitch. Insert hook, yarn over, pull through both loops at once. Used for joining and moving across stitches without adding height.
sc = single crochet. Insert hook into stitch, yarn over, pull up a loop (2 loops on hook), yarn over, pull through both loops. This is your shortest basic stitch.
hdc = half double crochet. Yarn over, insert hook into stitch, yarn over, pull up a loop (3 loops on hook), yarn over, pull through all 3 loops. Slightly taller than single crochet.
dc = double crochet. Yarn over, insert hook into stitch, yarn over, pull up a loop (3 loops on hook), yarn over, pull through 2 loops, yarn over, pull through remaining 2 loops. A tall stitch that creates nice drape.
sk = skip. Pass over the indicated stitch without working into it.
st(s) = stitch(es)
sp = space
Pattern Instructions
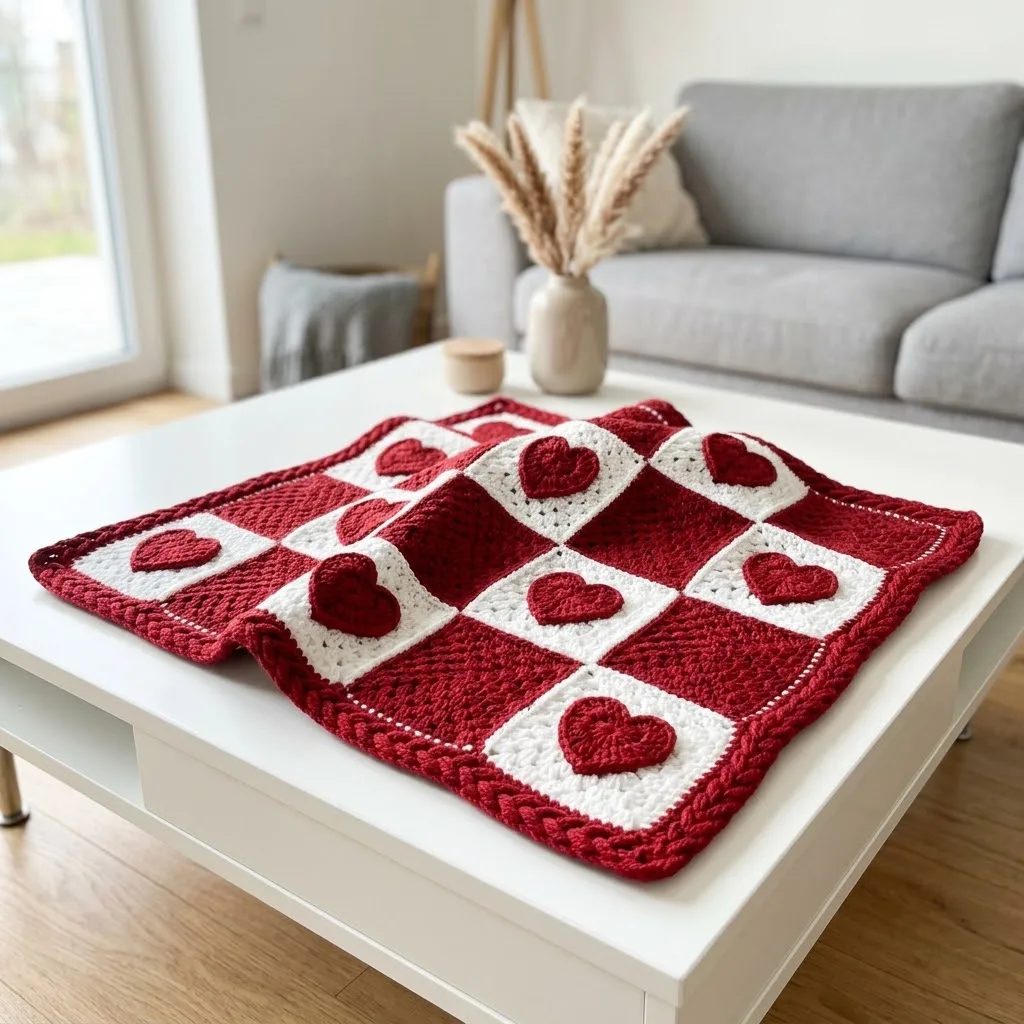
Part 1: Solid Colour Squares (Make 8 Total: 4 Red, 4 Cream)
These simple squares form the base of your checkerboard layout. Each square uses only one colour.
With your main colour and 5.0mm hook:
Round 1: Ch 4, sl st to first ch to form a ring. Ch 3 (counts as first dc), 2 dc into ring, ch 2, *3 dc into ring, ch 2* repeat 3 more times. Sl st to top of beginning ch-3 to join. (12 dc, 4 ch-2 corner spaces)
Round 2: Sl st into next 2 dc and into corner ch-2 space. Ch 3, 2 dc in same space, ch 1, 3 dc in same corner space, *ch 1, 3 dc in next corner space, ch 1, 3 dc in same corner space* repeat around. Sl st to top of ch-3 to join. (24 dc, 8 ch-1 spaces)
Round 3: Sl st into next 2 dc and into corner space. Ch 3, 2 dc in same space, ch 2, 3 dc in same corner space, *ch 1, 3 dc in next ch-1 space, ch 1, (3 dc, ch 2, 3 dc) in corner space* repeat around, ending with ch 1, 3 dc in last ch-1 space, ch 1. Sl st to join. (36 dc)
Round 4: Continue the established pattern. Work (3 dc, ch 2, 3 dc) in each corner ch-2 space. Work 3 dc in each ch-1 space along the sides. Ch 1 between each 3-dc cluster. Sl st to join. (48 dc)
Round 5: Repeat Round 4 pattern. (60 dc)
Round 6: Repeat Round 4 pattern. (72 dc)
Fasten off and weave in ends. Each finished square should measure approximately 6 inches.
Helpful tip: Count your stitches after each round. You should have 3 dc clusters on each side in Round 3, then add one more cluster per side each round after that.
Part 2: Heart Appliqués (Make 8)
These sweet hearts get attached to each square. Make them all in red for the cream squares and in cream for the red squares. The contrast makes each heart pop.
Using contrasting colour and 4.0mm hook:
Magic Ring: Create a magic ring (adjustable loop). If you’re not comfortable with magic rings, you can ch 2 and work into the first chain instead.
Row 1: Work 2 sc into the magic ring. Ch 1, turn. (2 sc)
Row 2: 2 sc in first st, 2 sc in second st. Ch 1, turn. (4 sc)
Row 3: 2 sc in first st, sc in next 2 sts, 2 sc in last st. Ch 1, turn. (6 sc)
Row 4: 2 sc in first st, sc across to last st, 2 sc in last st. Ch 1, turn. (8 sc)
Row 5: Repeat Row 4. (10 sc)
Row 6: Sc across all 10 sts. Ch 1, turn. (10 sc)
Now we create the two bumps at the top of the heart:
First Bump:
Row 7: Sc in first 5 sts only. Ch 1, turn. Leave remaining 5 sts unworked. (5 sc)
Row 8: Sk first st, sc in next 3 sts, sk last st. Ch 1, turn. (3 sc)
Row 9: Sk first st, sc in next st, sk last st. (1 sc)
Fasten off.
Second Bump:
Join yarn to the 6th stitch of Row 6 with a sl st.
Row 7: Ch 1, sc in same st and next 4 sts. Ch 1, turn. (5 sc)
Rows 8-9: Repeat as for first bump.
Fasten off, leaving a long tail for sewing.
Border the heart: Join yarn at the bottom point of the heart. Sc evenly around the entire heart edge, working 2 sc in the dip between the bumps to keep it flat. Sl st to first sc to join. Fasten off.
Part 3: Attaching Hearts to Squares
Position each heart in the centre of its corresponding square. Pin it in place if needed.
Using your yarn needle and the long tail from the heart, whip stitch around the entire edge of the heart. Secure it firmly since baby items need to withstand tugging and washing.
Weave in all ends securely on the back of each square.
Colour placement:
Part 4: Joining the Squares
Arrange your 9 squares in a 3 by 3 grid, alternating colours in a checkerboard pattern. Start with a red square in the top left corner.
Layout:
Row 1: Red (cream heart), Cream (red heart), Red (cream heart)
Row 2: Cream (red heart), Red (cream heart), Cream (red heart)
Row 3: Red (cream heart), Cream (red heart), Red (cream heart)
Joining method: I used the flat slip stitch join for a clean, raised seam that adds texture.
Hold two squares with wrong sides together. Working through both layers, insert hook through the outer loops only. Sl st across the entire edge. Continue joining all squares in rows first, then join the rows together.
Part 5: The Braided Border
This border gives the blanket a polished, professional finish. The raised texture you see in the photo comes from a simple rope or twisted single crochet technique.
Round 1: Join red yarn in any corner. Ch 1, work 3 sc in corner space, sc evenly around entire blanket, working 3 sc in each corner. Sl st to join. Count your stitches. You want a multiple of 2 plus the corner stitches.
Rounds 2-4: Ch 1, sc in each st around, working 3 sc in the centre stitch of each corner. Sl st to join.
Round 5 (Twisted Rope Edge): Ch 1. Working from left to right instead of right to left, insert hook into next stitch to the right, yarn over, pull up a loop, yarn over, pull through both loops. This creates reverse single crochet, also called crab stitch. Work around entire blanket. Sl st to join.
Fasten off and weave in all remaining ends.
Finishing Your Valentine Baby Blanket
Block your finished blanket for best results. Wet blocking works well for acrylic. Soak the blanket in lukewarm water for 15 minutes, gently squeeze out excess water (never wring), lay flat on blocking mats, and pin to measurements. Let dry completely.
Care Instructions
Machine wash cold on gentle cycle. Tumble dry low or lay flat to dry. The acrylic yarn will soften beautifully after the first wash.
Customization Ideas
Want to make this blanket your own? Here are some options:
Size adjustments: Add more squares for a larger blanket. A 4 by 5 layout creates a nice lap blanket. A 5 by 6 layout makes a full baby blanket.
Colour variations: Try pink and white for a softer look. Navy and white creates a nautical feel that works beyond Valentine’s Day.
Heart placement: Offset the hearts for a more whimsical look, or place them all facing the same direction for uniformity.
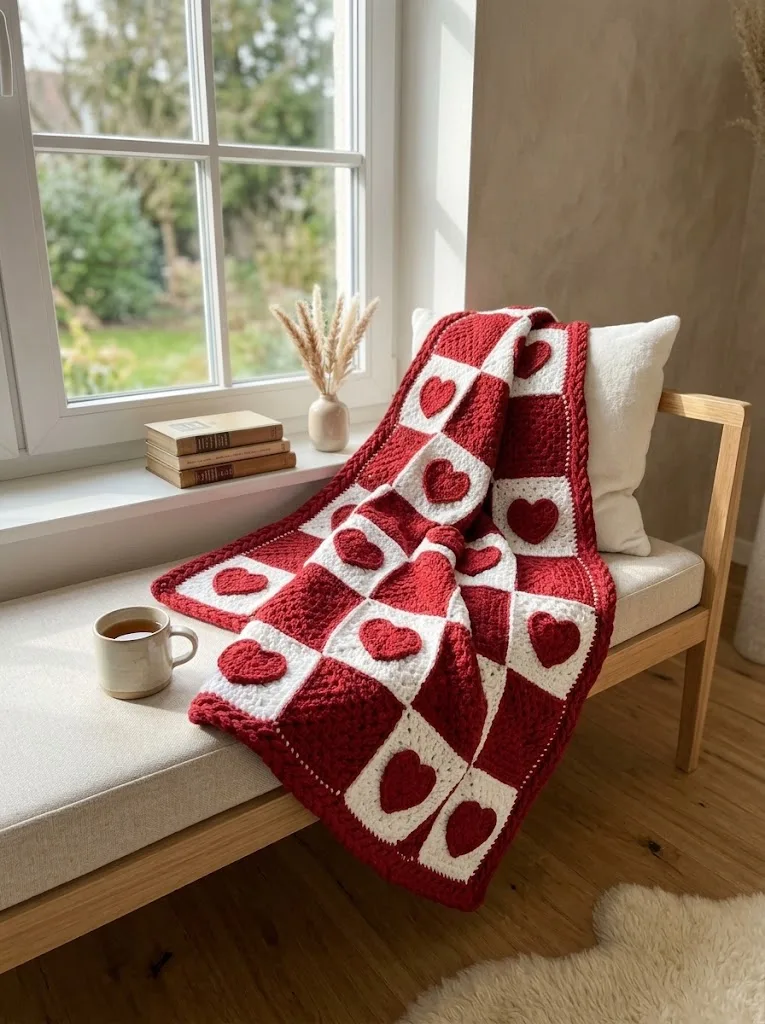
I hope this Classic Red Heart Valentine Baby Blanket crochet pattern brings you as much joy to make as it did for me to design. It’s the kind of project that looks impressive draped over a nursery rocker or tucked into a gift basket, but you’ll know the secret is that it’s actually quite simple once you break it down into manageable pieces.
If you make this blanket, I would absolutely love to see your version. Tag me on Instagram or share a photo in my Facebook group. Seeing your creations is genuinely the best part of sharing patterns.
Save this pattern to your Pinterest boards so you can find it when you’re ready to start, and please leave a comment below if you make one. I read every single comment and love hearing which colour combinations you choose.