
This is HANDS DOWN one of the most adorable baby sets you will ever crochet! I am not exaggerating when I say this little princess ensemble works up faster than you would expect and looks like a million bucks. We are talking a complete outfit here, including the dress, matching booties, and the cutest bow headband. Perfect for baby showers, first birthday photos, or that grandbaby you have been waiting to spoil. You can finish the whole set in a weekend, and trust me, the reactions you will get make every stitch worth it!
About This Crochet Baby Dress Pattern
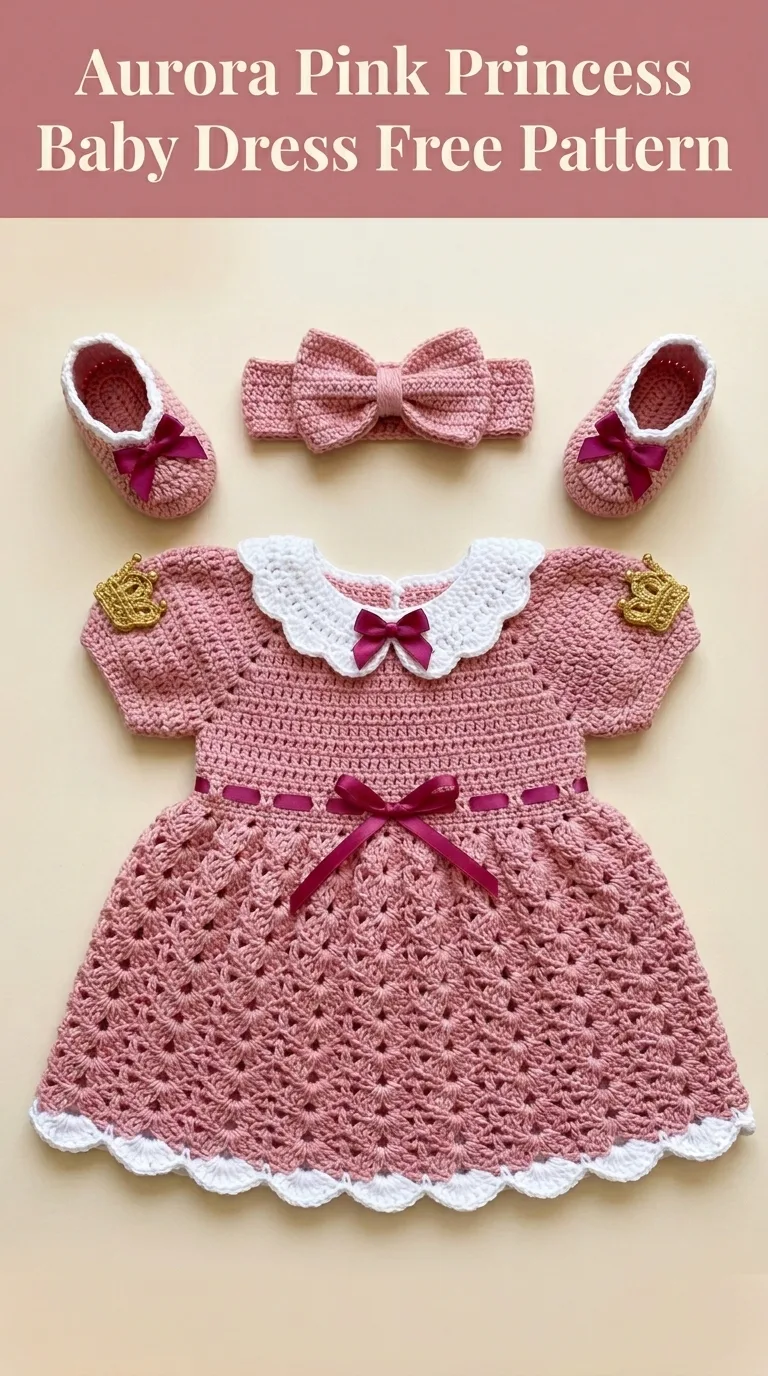
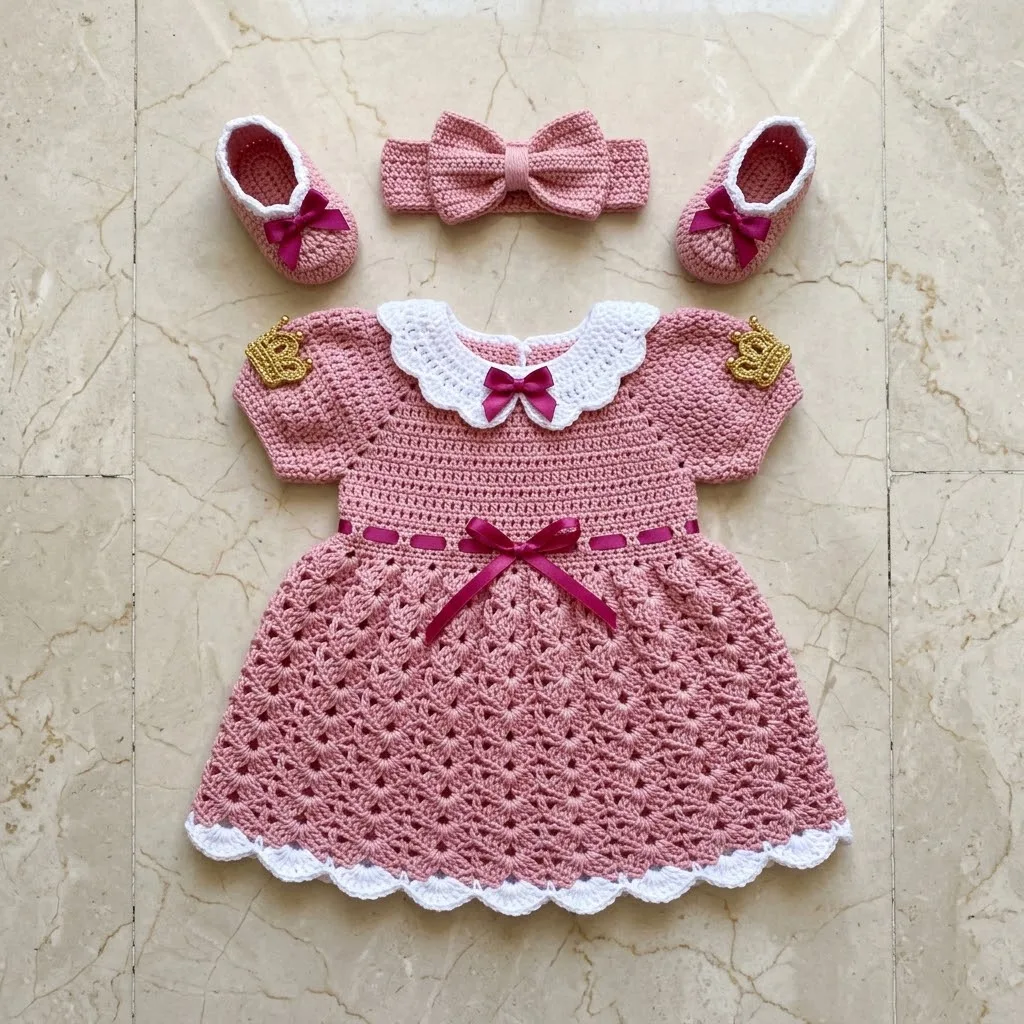
This Aurora Pink Princess Baby Dress is a complete three piece layette set designed for babies approximately 0 to 6 months. The set includes a short sleeved dress with a beautiful shell stitch skirt, a Peter Pan collar, matching mary jane style booties, and a coordinating bow headband.
The dress features a solid single crochet bodice that transitions into an airy shell stitch pattern for the skirt. Small crown appliqués on each sleeve add that royal touch, and a ribbon threaded waistband cinches everything together beautifully. White scalloped edging along the hem and collar creates lovely contrast against the dusty rose pink.
I designed this pattern with intermediate crocheters in mind, but confident beginners who have mastered basic stitches can absolutely tackle this project. The construction is straightforward once you understand how each piece comes together.
Skill Level
Intermediate. This crochet pattern requires you to know how to work in rows and rounds, increase and decrease, and join pieces together. You will also learn to create shell stitches if you have not already. Do not worry if shells are new to you. I will walk you through everything step by step.
Finished Measurements
Dress (0 to 6 months):
Booties:
Headband:
Materials Needed
Yarn:
I recommend a soft acrylic or cotton blend yarn that is machine washable. Baby items need to survive frequent washing, so choose something practical.
Hook:
Notions:
Gauge
16 single crochet stitches and 18 rows equals 4 inches square using 4.0mm hook.
Check your gauge! This matters especially for garments. If your gauge is off, your dress will not fit properly. Too many stitches per inch means you need a larger hook. Too few stitches means you need a smaller hook.
Abbreviations and Stitch Definitions
Let me explain every stitch you will use in this crochet tutorial:
Ch = Chain. Wrap yarn over hook and pull through the loop on your hook. This creates one chain stitch.
Sl st = Slip stitch. Insert hook into stitch, yarn over, pull through both the stitch and the loop on your hook in one motion. Used for joining rounds.
Sc = Single crochet. Insert hook into stitch, yarn over and pull up a loop (two loops on hook), yarn over and pull through both loops. You now have one single crochet completed.
Hdc = Half double crochet. Yarn over, insert hook into stitch, yarn over and pull up a loop (three loops on hook), yarn over and pull through all three loops at once.
Dc = Double crochet. Yarn over, insert hook into stitch, yarn over and pull up a loop (three loops on hook), yarn over and pull through two loops (two loops remain), yarn over and pull through remaining two loops.
Inc = Increase. Work two stitches into the same stitch.
Dec = Decrease. For single crochet decrease, insert hook into first stitch and pull up a loop, insert hook into next stitch and pull up a loop (three loops on hook), yarn over and pull through all three loops.
Shell = A group of stitches worked into the same stitch or space. For this pattern, one shell equals 5 double crochet stitches worked into the same stitch.
Sk = Skip. Pass over the indicated number of stitches without working into them.
Step by Step Crochet Pattern Instructions
Dress Bodice (Back Panel)
Using dusty rose pink yarn and 4.0mm hook:
Row 1: Ch 35, sc in 2nd ch from hook and in each ch across. (34 sts)
Row 2: Ch 1, turn, sc in each st across. (34 sts)
Rows 3 to 20: Repeat Row 2. (34 sts)
You now have a rectangular back panel. Set aside.
Dress Bodice (Front Panel)
Rows 1 to 20: Work exactly as back panel. (34 sts)
Joining Bodice and Creating Armholes
Now we connect the front and back panels at the shoulders while leaving openings for the sleeves.
Row 21: With right sides facing, place front and back panels together. Working through both layers, sl st through first 8 sts to join shoulder. Fasten off.
Repeat for second shoulder, joining last 8 stitches on opposite side. You now have a tube with two armhole openings (18 stitches open on each side).
Sleeves (Make 2)
Join dusty rose yarn at underarm.
Round 1: Ch 1, sc evenly around armhole opening, working approximately 28 sc total. Sl st to first sc to join. (28 sts)
Round 2: Ch 1, sc in each st around. Sl st to join. (28 sts)
Round 3: Ch 1, sc in each st around. Sl st to join. (28 sts)
Round 4: Ch 1, sc in each st around. Sl st to join. Fasten off. (28 sts)
Repeat for second sleeve.
Skirt
Join dusty rose yarn at center back of bodice bottom edge.
Round 1: Ch 1, sc evenly around bottom edge of joined bodice, working approximately 68 sc total. Sl st to first sc to join. (68 sts)
Round 2 (Increase Round): Ch 3 (counts as first dc), dc in same st, 2 dc in each st around. Sl st to top of ch 3 to join. (136 sts)
Now we begin the shell stitch pattern. This is where the skirt gets its beautiful texture!
Round 3 (Shell Setup): Ch 3, 2 dc in same st, sk 2 sts, sc in next st, *sk 2 sts, 5 dc in next st (shell made), sk 2 sts, sc in next st*. Repeat from * around, ending with 2 dc in same st as beginning ch 3. Sl st to top of ch 3 to join.
Round 4: Ch 1, sc in same st, *5 dc in next sc, sc in center dc of next shell*. Repeat from * around, ending with sl st to first sc.
Rounds 5 to 14: Repeat Round 4.
Your skirt should now measure approximately 6 inches from waist to hem.
White Scalloped Hem Border
Join white yarn to any sc between shells.
Border Round: Ch 1, *sc in sc, ch 2, dc in center dc of shell, ch 2*. Repeat from * around. Sl st to first sc. Fasten off.
Peter Pan Collar
Using white yarn and 3.5mm hook:
Row 1: Ch 41, sc in 2nd ch from hook and in each ch across. (40 sts)
Row 2: Ch 1, turn, 2 sc in first st, sc in each st to last st, 2 sc in last st. (42 sts)
Row 3: Ch 1, turn, 2 sc in first st, sc in each st to last st, 2 sc in last st. (44 sts)
Row 4: Ch 1, turn, 2 sc in first st, sc in each st to last st, 2 sc in last st. (46 sts)
Row 5: Ch 1, turn, sc in each st across. (46 sts)
Scallop Edge: Ch 1, do not turn, working along curved outer edge, *sc, sk 1, 5 dc in next st, sk 1*. Repeat from * across curved edge. Fasten off.
The collar will have a gentle curve that sits beautifully around the neckline.
Crown Appliqués (Make 2)
Using gold yarn and 3.5mm hook:
Row 1: Ch 10, sc in 2nd ch from hook and in each ch across. (9 sts)
Row 2: Ch 1, turn, sc in first 2 sts, ch 3, sl st in 2nd ch from hook, sc in next ch (first point made), sc in next 3 sts, ch 3, sl st in 2nd ch from hook, sc in next ch (second point made), sc in next 2 sts, ch 3, sl st in 2nd ch from hook, sc in next ch (third point made), sc in last 2 sts. Fasten off.
These tiny crowns add the perfect princess detail to each sleeve.
Matching Booties (Make 2)
Using dusty rose yarn and 4.0mm hook:
Sole:
Round 1: Ch 9, sc in 2nd ch from hook, sc in next 6 ch, 3 sc in last ch. Working along opposite side of foundation chain, sc in next 6 ch, 2 sc in last ch. Sl st to join. (18 sts)
Round 2: Ch 1, 2 sc in first st, sc in next 6 sts, 2 sc in each of next 3 sts, sc in next 6 sts, 2 sc in last 2 sts. Sl st to join. (26 sts)
Round 3: Ch 1, sc in first st, 2 sc in next st, sc in next 6 sts, *sc in next st, 2 sc in next st* three times, sc in next 6 sts, *sc in next st, 2 sc in next st* twice. Sl st to join. (32 sts)
Sides:
Round 4: Ch 1, working in back loops only, sc in each st around. Sl st to join. (32 sts)
Rounds 5 to 6: Ch 1, sc in each st around. Sl st to join. (32 sts)
Toe Shaping:
Round 7: Ch 1, sc in first 10 sts, dec over next 2 sts six times, sc in remaining 10 sts. Sl st to join. (26 sts)
Round 8: Ch 1, sc in first 8 sts, dec over next 2 sts five times, sc in remaining 8 sts. Sl st to join. (21 sts)
Ankle:
Rounds 9 to 11: Ch 1, sc in each st around. Sl st to join. (21 sts)
Edging: Join white yarn, ch 1, sc in each st around. Sl st to join. Fasten off.
Weave in ends and attach a small satin bow to the top of each bootie.
Bow Headband
Band:
Using dusty rose yarn and 4.0mm hook:
Row 1: Ch 51, sc in 2nd ch from hook and in each ch across. (50 sts)
Rows 2 to 4: Ch 1, turn, sc in each st across. (50 sts)
Fasten off. Seam short ends together to form a loop.
Bow:
Row 1: Ch 21, sc in 2nd ch from hook and in each ch across. (20 sts)
Rows 2 to 12: Ch 1, turn, sc in each st across. (20 sts)
Fasten off. Fold in half and wrap a small piece of yarn tightly around the center to create the bow shape. Attach securely to the headband.
Assembly and Finishing
1. Attach the collar: Position the Peter Pan collar around the neckline of the dress. The straight edge should sit against the neck opening. Use a yarn needle to whip stitch in place, leaving a small opening at the back if desired.
2. Sew on crown appliqués: Position one crown on each sleeve near the shoulder seam. Stitch securely using gold yarn. Add a small gold bead to the center point if desired.
3. Thread the ribbon: Weave the burgundy satin ribbon through the stitch spaces at the waistline where the bodice meets the skirt. Tie in a bow at the front.
4. Attach bows: Secure the small satin bow at the center front of the collar, just below where the collar meets.
5. Weave in all ends: Take your time with this step. Use your yarn needle to weave each tail through several stitches on the wrong side, then trim close.
6. Block if needed: Lay the finished pieces flat on a towel, spritz lightly with water, and pin to shape. Allow to dry completely.
Helpful Tips for Success
For beginners tackling the shell stitch: If you have never worked shells before, practice on a small swatch first. Make a chain of 20, work a row of single crochet, then try the shell pattern on the next row. Once you see how the shells nest into each other, the skirt will make perfect sense.
Counting your stitches: I always count at the end of every round when working the bodice. Losing or gaining stitches will throw off your measurements, and you will notice when you try to join the pieces.
Choosing your pink: The dusty rose shade in the photo is sometimes called vintage pink, antique rose, or blush. Look for something muted rather than bright pink for this elegant look.
Customization ideas: Swap the gold crowns for hearts, stars, or flowers. Change the ribbon color to match any theme. Work the entire set in white or cream for a christening outfit.
Who Is This Pattern For?
This crochet baby dress pattern makes an incredible gift for baby showers, especially when you know the parents are expecting a little girl. It also works beautifully for:
The complete set looks so professional that recipients often cannot believe it was handmade. I have given this as a gift several times, and the reactions never get old.
Final Thoughts on the Aurora Pink Princess Baby Dress Crochet Pattern
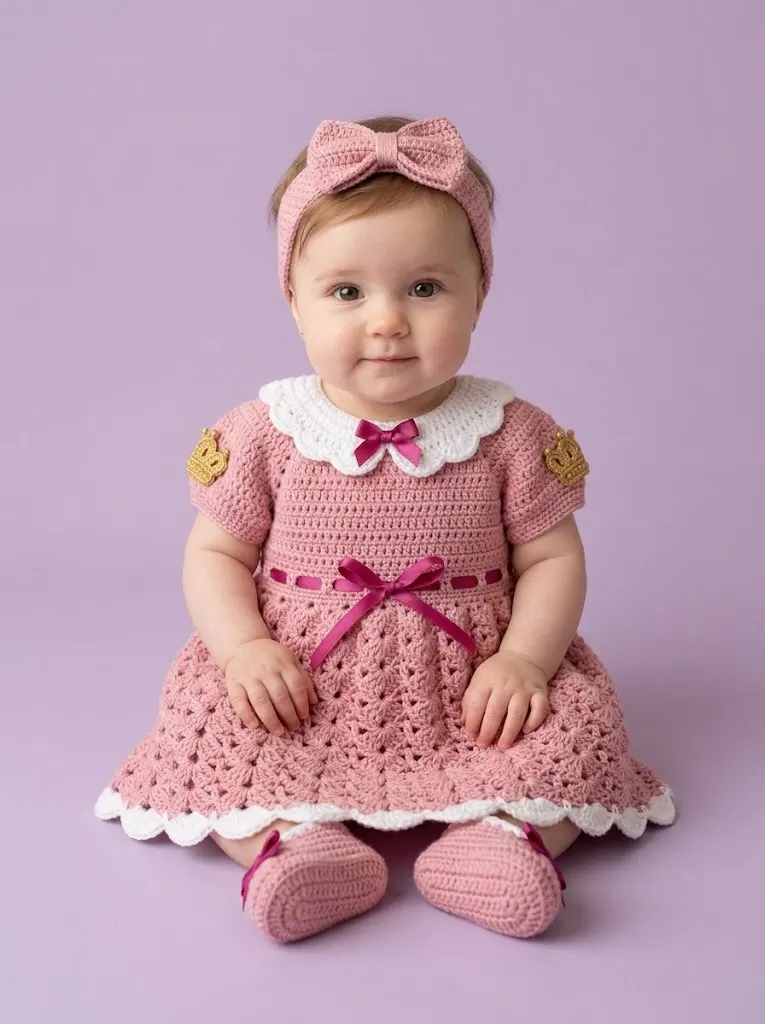
Creating this princess baby dress set is genuinely one of the most rewarding projects I can recommend. Every piece comes together to form a cohesive, heirloom quality outfit that any little one would be lucky to wear. The combination of simple single crochet, elegant shell stitches, and thoughtful details like the crown appliqués makes this crochet pattern special without being overwhelming.
Thank you so much for choosing to make this pattern! I truly hope you enjoy every stitch. If you complete your set, I would absolutely love to see it. Tag me on Instagram or share in our Facebook group. Seeing your finished projects brings me so much joy.
If this pattern made you smile, go ahead and save it to your Pinterest boards so you can find it easily later. And please drop a comment below if you give it a try. I read every single one and love hearing about your color choices, your gift recipients, and how the project turned out for you!