
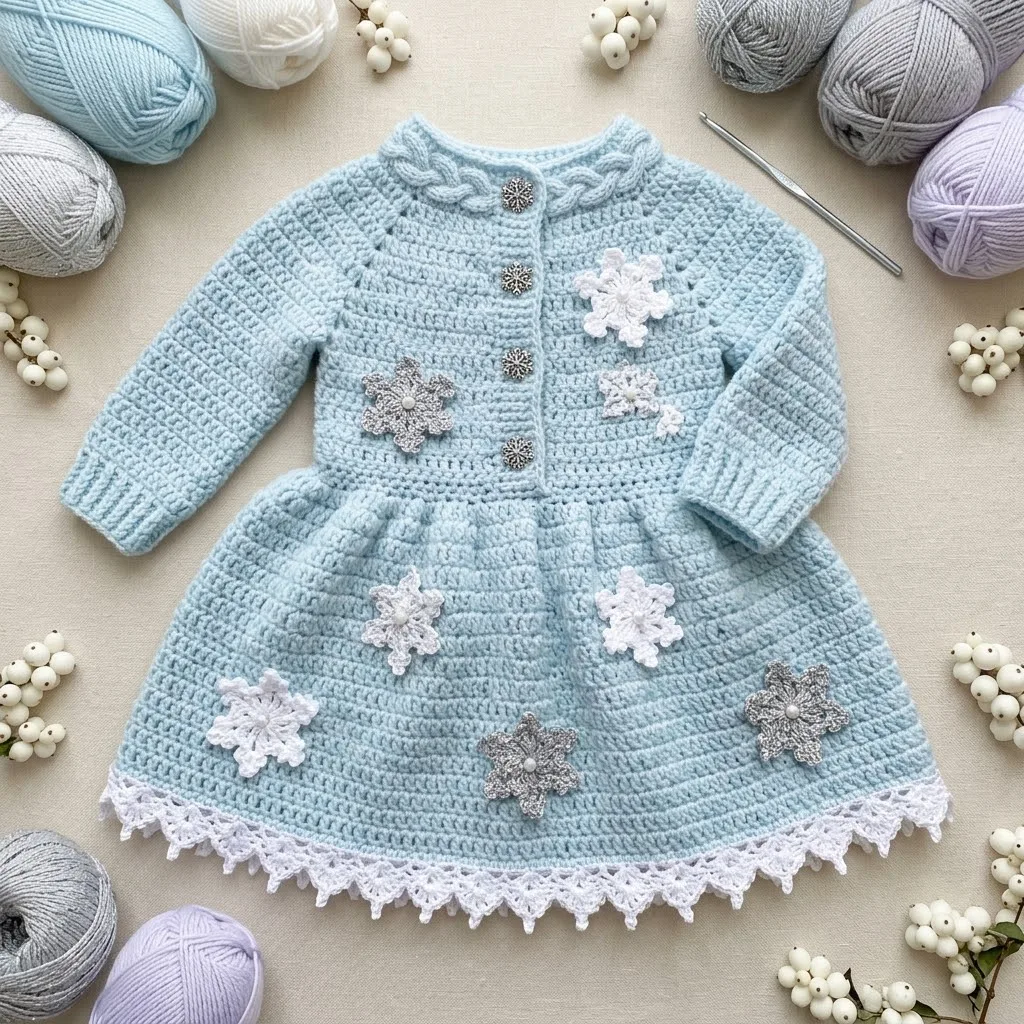
I designed this dress with one goal in mind. I wanted something that captured that magical first winter feeling for a little one. The soft ice blue, the delicate snowflake appliqués, the sweet gathered skirt. I spent hours getting the cable-look yoke just right and testing different edging options before landing on this lacy trim. I am SO pleased with how it turned out! This Winter Snowflake Baby Dress combines cozy warmth with whimsical winter charm, and I cannot wait for you to make one too.
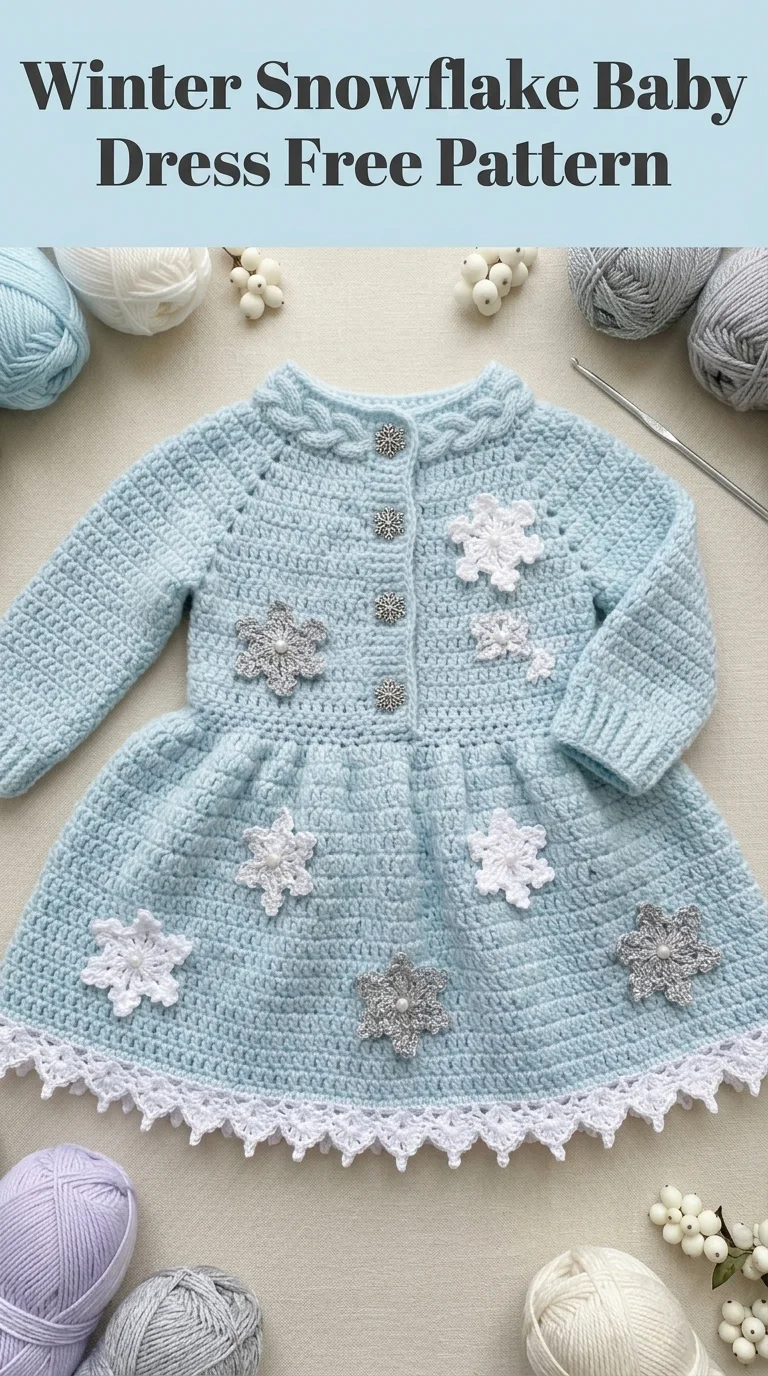
This crochet pattern works up beautifully in worsted weight yarn with a defined stitch structure that shows off every detail. The construction might look complex, but I promise you can handle it. We will work the yoke flat, shape the bodice, then add a flared skirt with gentle gathering. The snowflake and flower appliqués get sewn on at the end. Think of them as the sprinkles on top of an already gorgeous project.
Whether you are making this for a winter baby shower gift, holiday photos, or just because you spotted the perfect pale blue yarn, this step by step crochet tutorial will guide you through every stitch.
About This Baby Dress Crochet Pattern
Skill Level: Intermediate
This pattern uses basic stitches throughout the main body, with some textured techniques for the yoke detailing. If you have made a basic garment before, you are ready for this project.
Finished Size: 6 to 12 months (chest approximately 18 to 19 inches, length approximately 14 inches from shoulder to hem)
Gauge: 16 stitches and 18 rows = 4 inches in single crochet with recommended hook. Always check your gauge before starting.
Materials Needed
Yarn:
I recommend a soft acrylic or acrylic blend for easy care. Look for yarn labeled as baby-friendly. Brands like Paintbox Yarns Simply Aran or Lion Brand Vanna’s Choice work wonderfully.
Hook:
Notions:
Abbreviations and Stitch Definitions
Let me break down every stitch we will use. Even if you know these, a quick refresher never hurts.
ch = chain: Yarn over, pull through loop on hook. This creates the foundation for most crochet work.
sl st = slip stitch: Insert hook, yarn over, pull through stitch and loop on hook in one motion. Used for joining and invisible movement.
sc = single crochet: Insert hook into stitch, yarn over and pull up a loop (2 loops on hook), yarn over and pull through both loops. This is your basic building block stitch.
hdc = half double crochet: Yarn over, insert hook, yarn over and pull up a loop (3 loops on hook), yarn over and pull through all 3 loops. Slightly taller than single crochet.
dc = double crochet: Yarn over, insert hook, yarn over and pull up a loop, yarn over and pull through 2 loops, yarn over and pull through remaining 2 loops. Creates a taller, more open fabric.
inc = increase: Work 2 stitches into the same stitch. This adds width to your work.
dec = decrease: Work 2 stitches together as one. For sc, insert hook in first stitch, pull up loop, insert hook in next stitch, pull up loop (3 loops on hook), yarn over and pull through all 3.
FPdc = front post double crochet: Yarn over, insert hook from front to back around the post (vertical part) of the stitch below, complete as regular dc. Creates raised texture.
BPdc = back post double crochet: Same as FPdc but insert hook from back to front around the post. Creates recessed texture.
Pattern Notes Before You Begin
Read this section before picking up your hook. It will save you confusion later.
The dress is worked from the top down. We start with the yoke (the decorative neckline area), work down through the bodice, then add the flared skirt. Sleeves are added last by picking up stitches at the armholes.
The front opening runs down the center front, creating a cardigan-style closure. This makes dressing a wiggly baby much easier.
All turning chains count as a stitch unless noted otherwise.
When the pattern says "turn," you flip your work to crochet back the other direction. When it says "do not turn," you continue in the same direction.
Winter Snowflake Baby Dress Instructions
Yoke
The yoke creates that beautiful braided look around the neckline. We achieve this texture using front and back post double crochet stitches.
With MC and 5.0mm hook, ch 52.
Row 1: Dc in 4th ch from hook and in each ch across, turn. (50 dc)
Row 2: Ch 3 (counts as dc), *FPdc around next st, BPdc around next st* repeat across to last st, dc in last st, turn. (50 sts)
Row 3: Ch 3, *BPdc around next st, FPdc around next st* repeat across to last st, dc in last st, turn. (50 sts)
Rows 4-5: Repeat Rows 2-3.
This alternating post stitch pattern creates the cable-like texture you see in the finished piece. Do not worry if your first attempt looks a bit wonky. The texture evens out as you add more rows.
Row 6 (Increase Row): Ch 3, dc in next 7 sts, 2 dc in next st, dc in next 8 sts, 2 dc in next st, dc in next 14 sts, 2 dc in next st, dc in next 8 sts, 2 dc in next st, dc in remaining 8 sts, turn. (54 sts)
Rows 7-8: Continue in post stitch pattern as established, working FPdc over FPdc and BPdc over BPdc.
Row 9 (Increase Row): Ch 3, dc in next 8 sts, 2 dc in next st, dc in next 10 sts, 2 dc in next st, dc in next 14 sts, 2 dc in next st, dc in next 10 sts, 2 dc in next st, dc in remaining 8 sts, turn. (58 sts)
Rows 10-12: Continue pattern.
Your yoke should now measure approximately 3 inches deep.
Bodice
Now we separate for the armholes and work the bodice flat.
Row 13 (Separation Row): Ch 3, dc in next 9 sts (right front), ch 4, skip next 10 sts (first armhole), dc in next 18 sts (back), ch 4, skip next 10 sts (second armhole), dc in remaining 10 sts (left front), turn.
Row 14: Ch 3, dc in each dc and each ch across, turn. (50 sts)
Rows 15-22: Ch 3, dc in each st across, turn. (50 sts)
The bodice should measure approximately 3.5 inches from the armhole separation. Take a moment to try it against the intended recipient if possible, or measure against a similar-sized garment.
Skirt
Here comes the fun part. The skirt flares out from the bodice with gentle gathering.
Row 23 (Increase Row): Ch 3, *dc in next st, 2 dc in next st* repeat across, turn. (75 sts)
Row 24: Ch 3, dc in each st across, turn. (75 sts)
Row 25 (Increase Row): Ch 3, dc in next 2 sts, *2 dc in next st, dc in next 4 sts* repeat across to last 2 sts, dc in last 2 sts, turn. (89 sts)
Rows 26-40: Ch 3, dc in each st across, turn. (89 sts)
The skirt should now measure approximately 7 inches from the waist increase row.
Rows 41-42: Ch 1, sc in each st across, turn. (89 sts)
These final single crochet rows create a stable base for the lace edging. Fasten off.
Sleeves (Make 2)
Join MC at the center of the underarm with a sl st.
Round 1: Ch 3, dc evenly around armhole opening, working approximately 28 dc total, sl st to top of ch 3 to join. (28 dc)
Rounds 2-16: Ch 3, dc in each st around, sl st to join. (28 dc)
Round 17 (Decrease Round): Ch 3, *dc in next 5 sts, dc2tog* repeat around, sl st to join. (24 sts)
Rounds 18-20: Ch 1, sc in each st around, sl st to join. (24 sts)
Fasten off. The ribbed cuff effect comes from these final single crochet rounds. Repeat for second sleeve.
Lace Edging
Switch to Color A (white) and 4.0mm hook. This delicate edging transforms the hem.
Join yarn at center back of skirt hem with a sl st.
Round 1: Ch 1, sc evenly around entire hem, sl st to join.
Round 2: Ch 4 (counts as dc plus ch 1), skip next st, *dc in next st, ch 1, skip next st* repeat around, sl st to 3rd ch of beginning ch 4.
Round 3: Sl st into ch 1 space, ch 1, *sc in ch 1 space, ch 3, sc in same space (picot made), sc in next ch 1 space* repeat around, sl st to first sc.
Round 4: *Ch 5, skip next picot, sl st in sc between picots* repeat around.
Round 5: In each ch 5 loop work: sc, hdc, 3 dc, hdc, sc. Sl st to join.
Fasten off and weave in ends. The scalloped edge should drape beautifully along the hem.
Snowflake Appliqués (Make 3 to 4)
With Color A and 4.0mm hook, create a magic ring.
Round 1: Ch 1, 6 sc into ring, sl st to join. Pull ring closed. (6 sc)
Round 2: *Ch 5, sl st in 2nd ch from hook, sc in next ch, hdc in next ch, dc in next ch, sl st in next st of center* repeat 6 times. (6 points)
Fasten off, leaving a long tail for sewing.
These delicate snowflakes add that wintery magic to the dress. Vary their placement for a natural scattered look.
Flower Appliqués (Make 2 to 3)
With Color B (silver/gray) and 4.0mm hook, create a magic ring.
Round 1: Ch 1, 5 sc into ring, sl st to join. (5 sc)
Round 2: *Ch 3, 2 dc in same st, ch 3, sl st in same st, sl st in next st* repeat around. (5 petals)
Fasten off, leaving a long tail. Sew a small pearl bead to the center if desired.
Finishing Your Winter Snowflake Baby Dress
Block your dress gently by laying it flat on a towel and steaming or spritzing with water. Let it dry completely.
Sew buttons evenly spaced along the right front, starting just below the yoke. The natural spaces between stitches on the left front will serve as buttonholes. If you prefer more secure closures, create chain loop buttonholes on the left front.
Arrange your snowflake and flower appliqués on the dress front and skirt. I placed mine asymmetrically for a whimsical feel. Pin first, step back, and adjust until you love the placement. Then sew each appliqué securely using your tapestry needle and matching yarn.
Weave in all remaining ends. Give your finished dress one final gentle steam to set everything in place.
Tips for Success
Gauge really matters here. A dress that is too small or too big will not fit properly. Take five minutes to make a gauge swatch. Your future self will thank you.
Post stitches feeling awkward? Practice on a swatch first. The key is inserting your hook around the post, not into the top of the stitch. Watch where your hook goes and the motion will become natural quickly.
Appliqués curling? Block them individually before sewing. A light steam works wonders.
Want a different size? Add or subtract chains in multiples of 2 for the foundation chain. Adjust increase rows proportionally. The yoke depth and skirt length can be customized by adding or removing rows.
Why You Will Love Making This Pattern
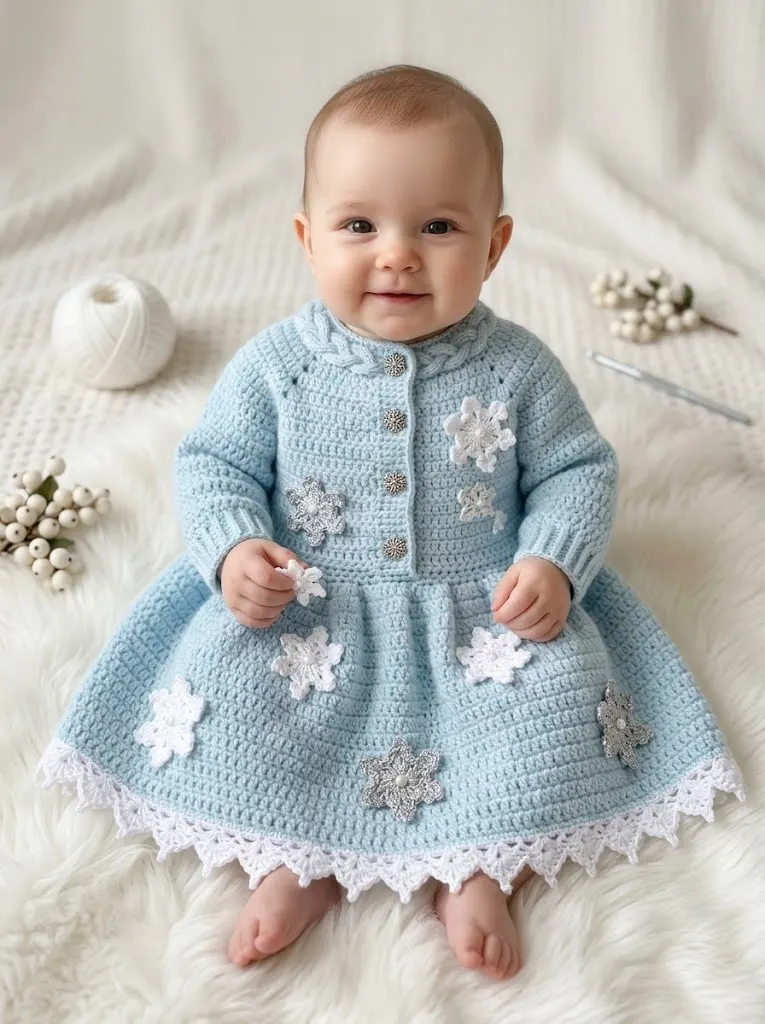
This crochet baby dress pattern hits that sweet spot between impressive and achievable. The finished piece looks like it took forever, but the construction is logical once you understand the flow. Top down means no seaming the body. The textured yoke adds visual interest without complicated colorwork. And those appliqués? They take minutes each but add so much personality.
This makes an unforgettable baby shower gift. Imagine presenting this in a beautiful box with a matching headband or booties. The recipient will treasure it.
I really hope you enjoy making this Winter Snowflake Baby Dress as much as I enjoyed designing it. If you create one, I would absolutely love to see it! Tag me on Instagram or share a photo in my Facebook group. Seeing your finished projects genuinely makes my day.
Save this pattern to your Pinterest boards so you can find it when you are ready to start. And please drop a comment below if you make one or have any questions along the way. I read every single comment and I am always here to help. Happy crocheting, friend!