
I’ve been obsessed with Highland cows for years. Those shaggy coats, that adorable fringe, the sweet little faces. When I finally sat down to design my own amigurumi version, I wanted it to capture all that charm in a squishy, huggable package. This little guy took me a few tries to get just right. I fussed over the muzzle shape, experimented with different curly fringe techniques, and added a festive party hat because why not? I am SO pleased with how he turned out, and I cannot wait to walk you through every step.
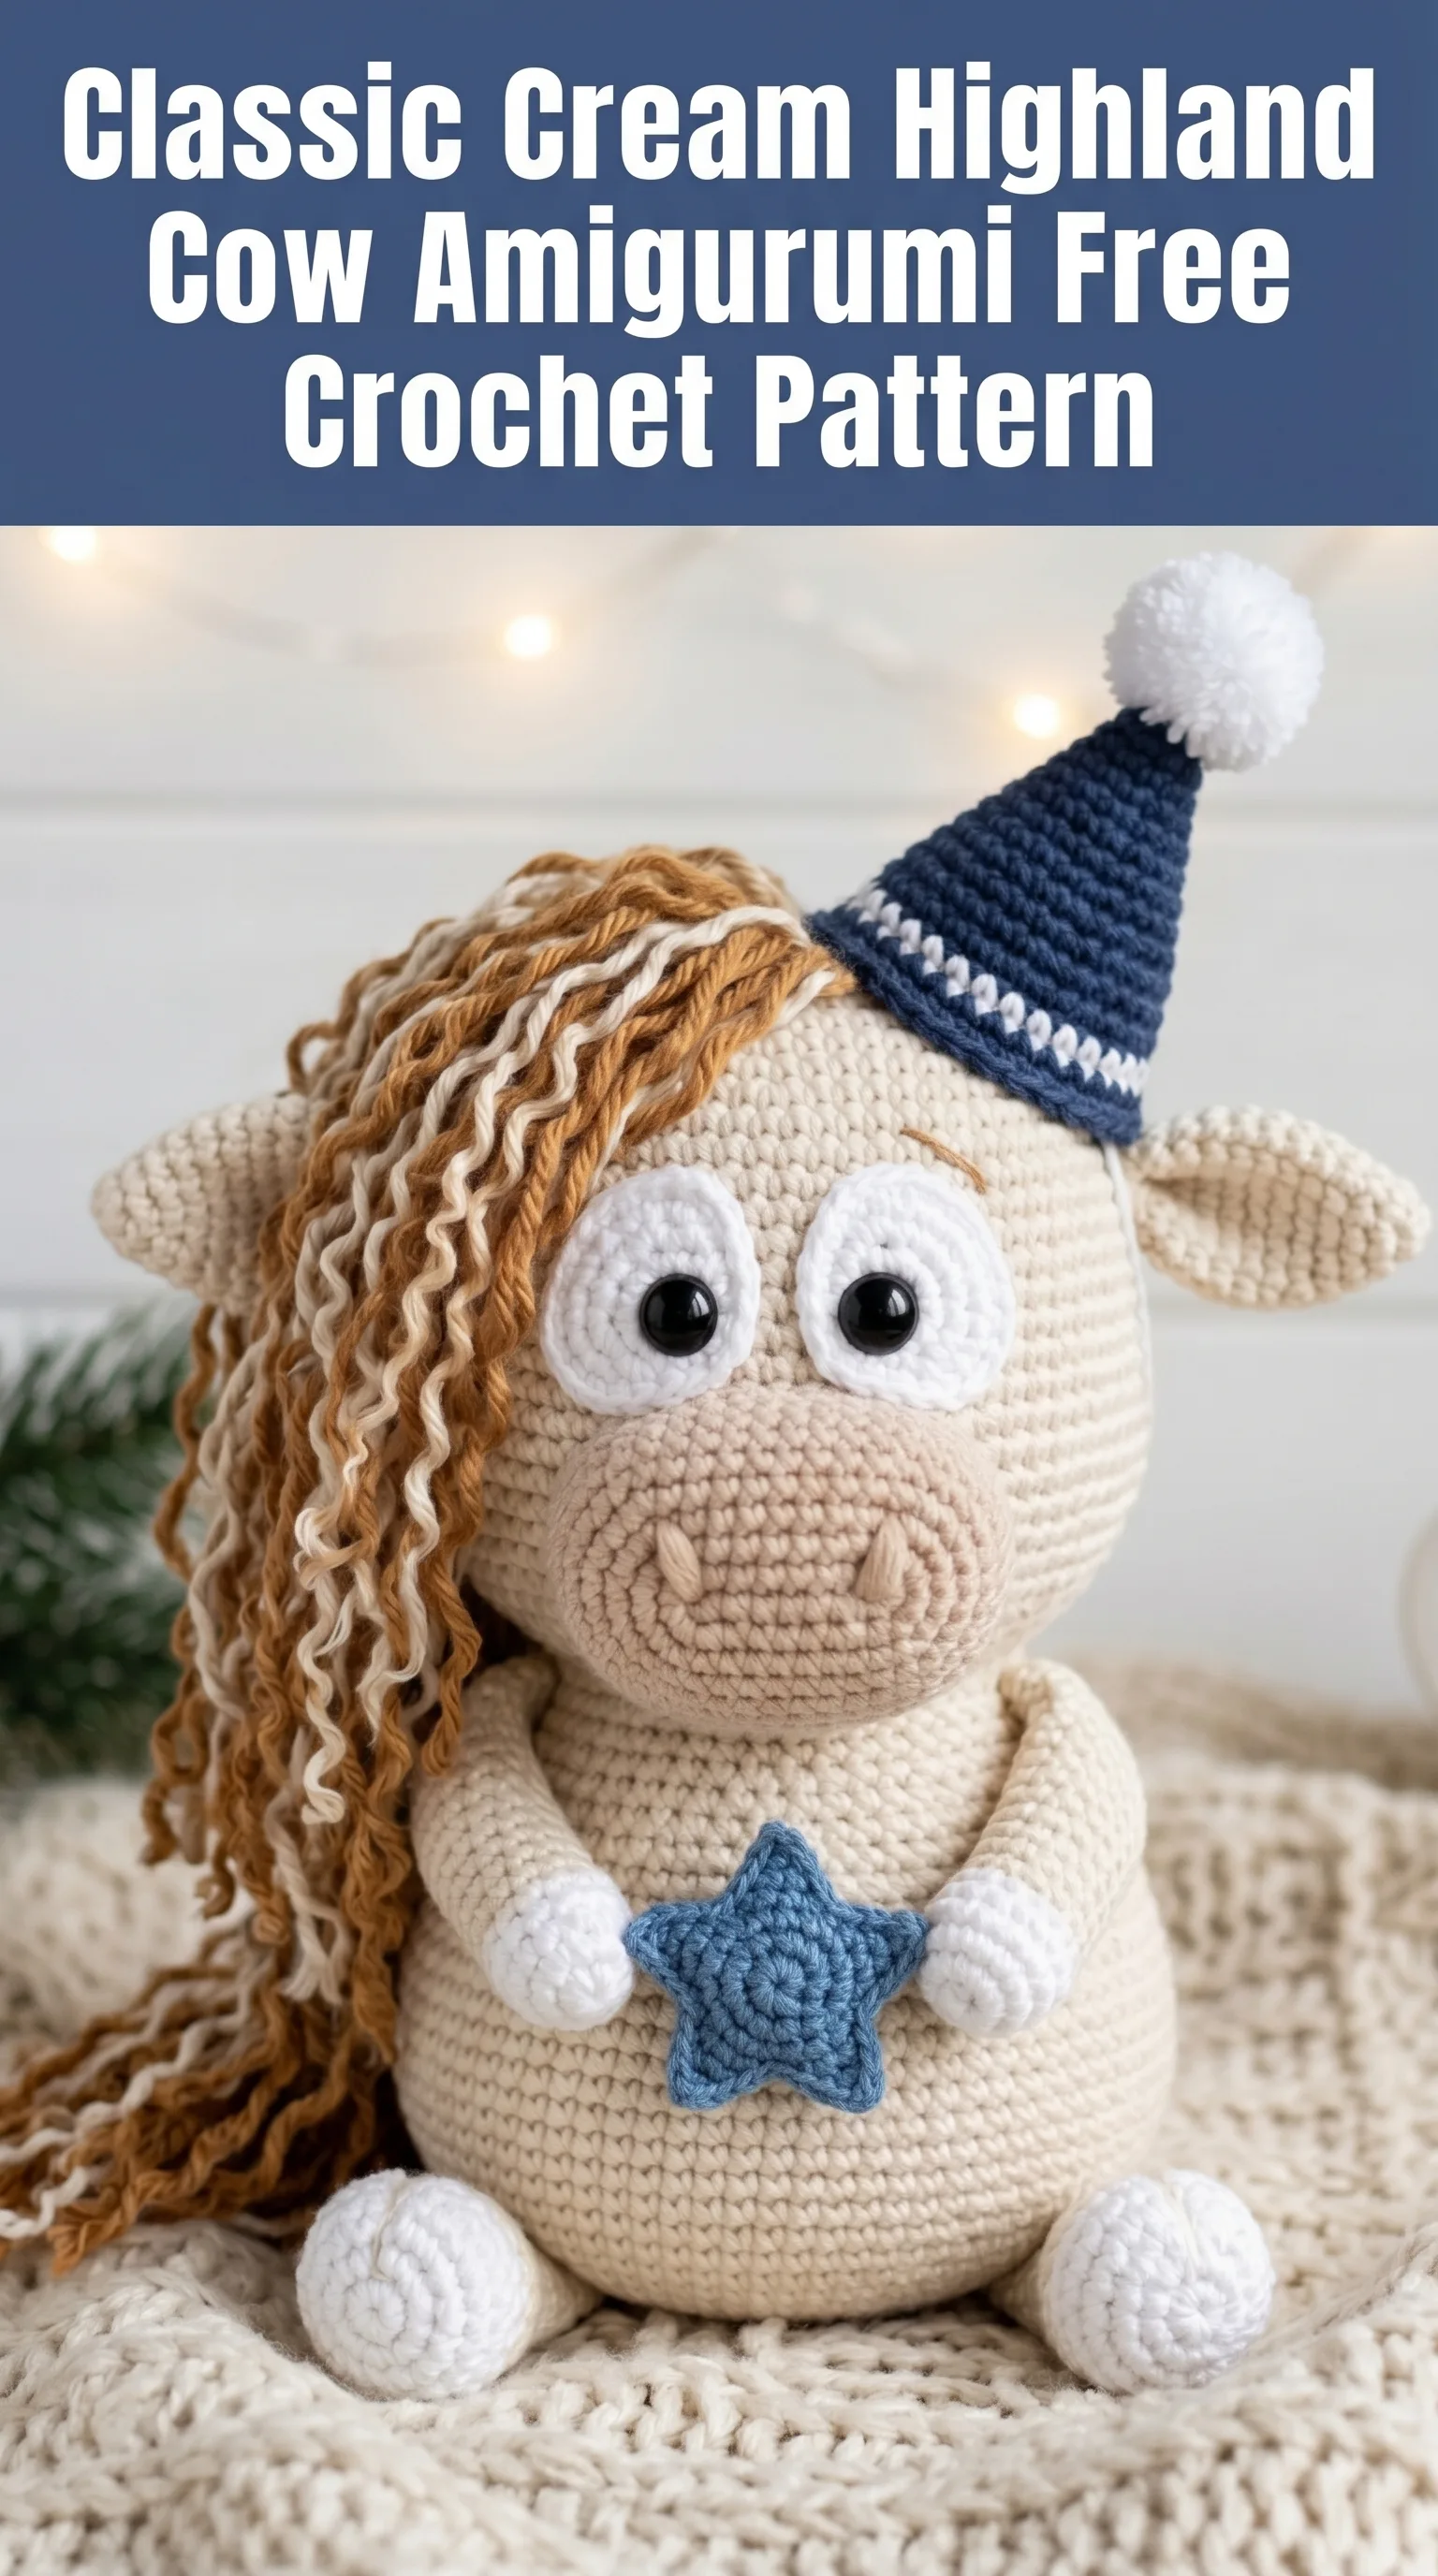
This Highland cow amigurumi crochet pattern creates a chunky, sitting cow approximately 8 to 9 inches tall when worked with worsted weight yarn. The construction uses basic amigurumi techniques with some fun texture work for that signature shaggy mane. If you’ve made a few amigurumi projects before, you’ll find this totally doable. And if you’re newer to stuffed animals, don’t worry. I’ll break down every single step.
Why You’ll Love This Highland Cow Crochet Pattern
Highland cows are having a moment, and honestly, they deserve it. This amigurumi Highland cow crochet tutorial gives you a cuddly companion that works up surprisingly quickly once you get rolling. The body and head are worked as one continuous piece, which means less sewing at the end. I know we all dread the assembly part.
The star detail on the belly adds a sweet touch, and the party hat with its little pompom makes this perfect for celebrations. You could easily leave the hat off for an everyday cow, or switch up the colors for different seasons.
What makes this pattern special:
Materials You’ll Need
Yarn:
I used a standard acrylic worsted weight for this project. The smooth finish helps the stitches look clean and even, which matters a lot for amigurumi.
Tools:
Skill Level
Intermediate beginner. You should be comfortable working in continuous rounds and increasing and decreasing evenly. The curly fringe technique might be new to you, but I promise it’s easier than it looks. If you’ve made a basic amigurumi ball before, you can absolutely handle this.
Stitches and Abbreviations
Let me walk you through every stitch you’ll need. I’ll explain each one so there’s no confusion.
Magic ring (MR): An adjustable starting ring that pulls completely closed. You wrap yarn around your fingers, pull up a loop, and work your first stitches into that ring. Then you pull the tail tight to close the center.
Chain (ch): The foundation stitch. Yarn over, pull through the loop on your hook. That’s one chain.
Single crochet (sc): Insert hook into stitch, yarn over, pull up a loop so you have two loops on your hook, yarn over, pull through both loops. This is your main stitch for the entire project.
Increase (inc): Work two single crochet stitches into the same stitch. This adds one stitch to your count.
Invisible decrease (dec): Insert hook through the front loops only of the next two stitches, yarn over, pull through both front loops, yarn over, pull through both loops on hook. This creates a neater decrease than the standard method.
Slip stitch (sl st): Insert hook into stitch, yarn over, pull through both the stitch and the loop on your hook in one motion. Used for joining and finishing.
Half double crochet (hdc): Yarn over before inserting hook, insert into stitch, yarn over, pull up a loop so you have three loops on hook, yarn over, pull through all three loops.
Gauge
Gauge isn’t critical for amigurumi the way it is for garments. What matters is that your stitches are tight enough that stuffing won’t poke through. If you can see gaps between your stitches, go down a hook size.
Highland Cow Amigurumi Pattern Instructions
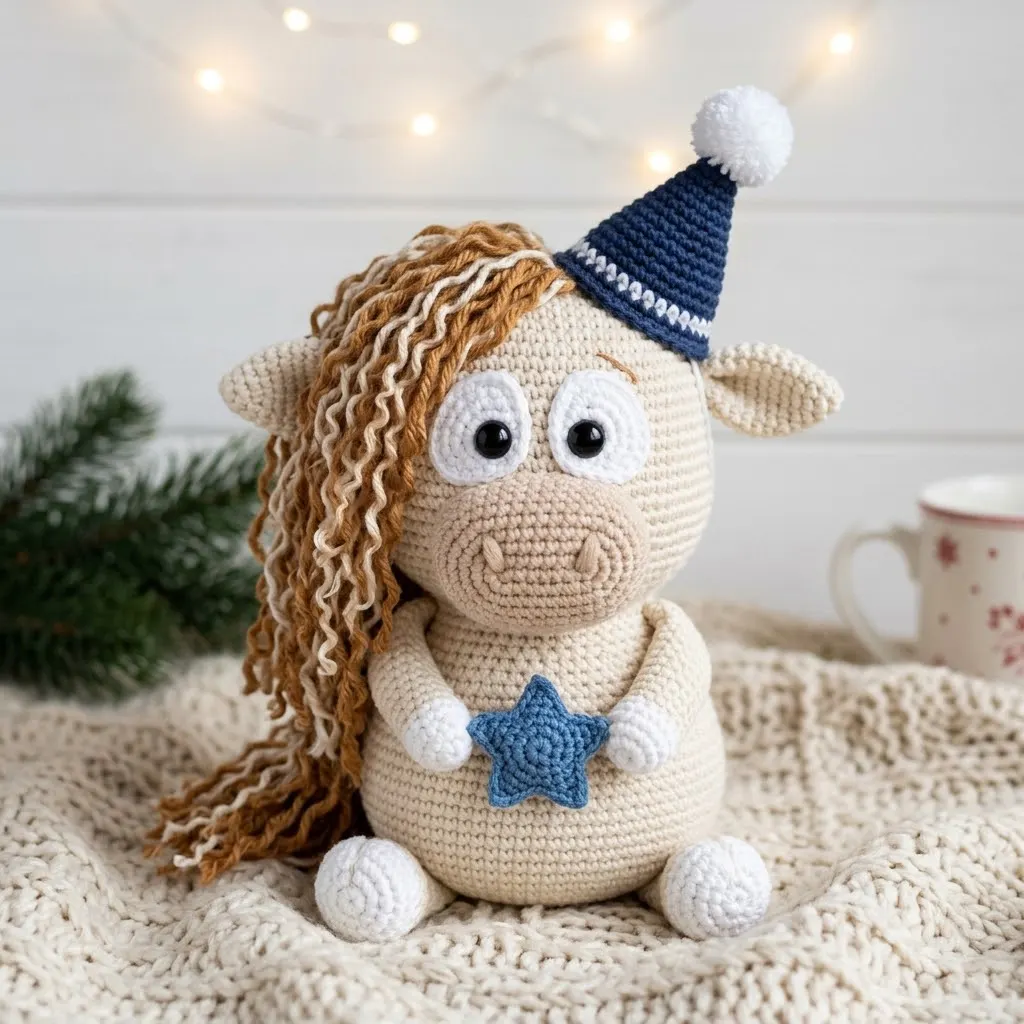
Body and Head (Worked as One Piece)
Using cream yarn and your 3.5mm hook.
Round 1: Make a magic ring, work 6 sc into the ring. (6 sts)
Round 2: Inc in each st around. (12 sts)
Round 3: *Sc 1, inc* repeat around. (18 sts)
Round 4: *Sc 2, inc* repeat around. (24 sts)
Round 5: *Sc 3, inc* repeat around. (30 sts)
Round 6: *Sc 4, inc* repeat around. (36 sts)
Round 7: *Sc 5, inc* repeat around. (42 sts)
Round 8: *Sc 6, inc* repeat around. (48 sts)
Rounds 9 to 18: Sc in each st around. (48 sts) Work 10 rounds even.
This forms the round belly. Start stuffing firmly as you go. Don’t wait until the end.
Round 19: *Sc 6, dec* repeat around. (42 sts)
Round 20: Sc in each st around. (42 sts)
Round 21: *Sc 5, dec* repeat around. (36 sts)
Round 22: Sc in each st around. (36 sts)
Round 23: *Sc 4, dec* repeat around. (30 sts)
Rounds 24 to 26: Sc in each st around. (30 sts) Work 3 rounds even. This creates the neck area.
Now we’ll increase back out for the head.
Round 27: *Sc 4, inc* repeat around. (36 sts)
Round 28: *Sc 5, inc* repeat around. (42 sts)
Round 29: *Sc 6, inc* repeat around. (48 sts)
Rounds 30 to 38: Sc in each st around. (48 sts) Work 9 rounds even for the head.
Continue stuffing firmly.
Round 39: *Sc 6, dec* repeat around. (42 sts)
Round 40: *Sc 5, dec* repeat around. (36 sts)
Round 41: *Sc 4, dec* repeat around. (30 sts)
Round 42: *Sc 3, dec* repeat around. (24 sts)
Round 43: *Sc 2, dec* repeat around. (18 sts)
Finish stuffing the head very firmly.
Round 44: *Sc 1, dec* repeat around. (12 sts)
Round 45: Dec 6 times around. (6 sts)
Fasten off and weave the tail through the remaining stitches. Pull tight to close.
Muzzle
Using cream yarn.
Round 1: Make a magic ring, work 6 sc into the ring. (6 sts)
Round 2: Inc in each st around. (12 sts)
Round 3: *Sc 1, inc* repeat around. (18 sts)
Round 4: *Sc 2, inc* repeat around. (24 sts)
Round 5: Working in back loops only, sc in each st around. (24 sts) This creates a ridge.
Rounds 6 to 8: Sc in each st around. (24 sts)
Sl st to next st, fasten off leaving a long tail for sewing. Stuff lightly. The muzzle should be puffy but not rock hard.
Using pink or tan yarn, embroider two small oval nostrils on the muzzle before attaching it to the face.
Eyes (Make 2)
Using white yarn.
Round 1: Make a magic ring, work 6 sc into the ring. (6 sts)
Round 2: Inc in each st around. (12 sts)
Round 3: *Sc 1, inc* repeat around. (18 sts)
Rounds 4 to 5: Sc in each st around. (18 sts)
Sl st to next st, fasten off leaving a long tail. These create little bowl shapes. Insert safety eyes through the center before sewing to the head, or embroider black pupils with yarn.
Ears (Make 2)
Using cream yarn.
Round 1: Make a magic ring, work 6 sc into the ring. (6 sts)
Round 2: Inc in each st around. (12 sts)
Round 3: *Sc 1, inc* repeat around. (18 sts)
Rounds 4 to 6: Sc in each st around. (18 sts)
Sl st to next st, fasten off leaving a long tail. Flatten the ear and fold slightly before sewing to create that characteristic floppy Highland cow ear.
Hooves (Make 2)
Using white yarn.
Round 1: Make a magic ring, work 6 sc into the ring. (6 sts)
Round 2: Inc in each st around. (12 sts)
Rounds 3 to 5: Sc in each st around. (12 sts)
Sl st to next st, fasten off leaving a long tail. Stuff lightly.
Arms (Make 2)
Using cream yarn.
Round 1: Make a magic ring, work 6 sc into the ring. (6 sts)
Round 2: Inc in each st around. (12 sts)
Rounds 3 to 10: Sc in each st around. (12 sts) Work 8 rounds even.
Sl st to next st, fasten off leaving a long tail. Stuff lightly, leaving the top inch unstuffed so the arms can be positioned flat against the body.
Curly Fringe
This is the fun part that really brings your Highland cow to life.
Using caramel and brown yarns, cut strands approximately 10 inches long. You’ll need around 30 to 40 strands total.
To create the curl: Chain 25 using your hook. Work 3 sc into the second chain from hook, then 3 sc into each remaining chain across. The piece will naturally spiral and curl. Fasten off.
Make approximately 15 to 20 of these curly strands in varying shades of caramel and brown.
Alternatively, you can cut yarn strands and attach them using the fringe method, then wet them and braid them overnight. When you unbraid them in the morning, they’ll be wavy and crimped.
Party Hat
Using navy blue yarn.
Round 1: Make a magic ring, work 4 sc into the ring. (4 sts)
Round 2: *Sc 1, inc* repeat around. (6 sts)
Round 3: Sc in each st around. (6 sts)
Round 4: *Sc 2, inc* repeat around. (8 sts)
Round 5: Sc in each st around. (8 sts)
Round 6: *Sc 3, inc* repeat around. (10 sts)
Round 7: Sc in each st around. (10 sts)
Round 8: *Sc 4, inc* repeat around. (12 sts)
Round 9: Sc in each st around. (12 sts)
Round 10: *Sc 5, inc* repeat around. (14 sts)
Round 11: Sc in each st around. (14 sts)
Round 12: *Sc 6, inc* repeat around. (16 sts)
Round 13: Sc in each st around. (16 sts)
Switch to white yarn and work a decorative row of running stitches around the base, or sl st around the edge.
Fasten off. Make a small pompom using white yarn and attach to the tip.
Star Decoration
Using navy blue yarn.
Ch 2. Work 5 sc into the second ch from hook. Join with sl st.
Round 2: *Ch 3, sl st in second ch from hook, sc in next ch, sl st into next sc of center* repeat 5 times to create 5 star points.
Fasten off leaving a long tail for sewing.
Assembly Instructions
Take your time with assembly. This is where your cow really comes together.
1. Position the muzzle on the lower half of the face and pin in place. Sew securely using a whip stitch.
2. Attach the eyes above the muzzle, spacing them about 5 to 6 stitches apart. If using safety eyes, insert them before closing the head. If using crocheted eye pieces, sew them on now.
3. Sew the ears on either side of the head, positioned between the eyes and the top of the head. Angle them slightly outward.
4. Attach the curly fringe across the top of the head and down one side. Use your yarn needle to weave each curl’s tail into the head, securing with a knot. Layer the curls for fullness.
5. Sew the arms to the sides of the body, just below the neck area.
6. Attach the hooves at the bottom front of the body, positioning them so the cow sits upright.
7. Sew the star to the belly, centered between the arms.
8. Position the party hat on the head, angling it to one side. Tack it in place with a few stitches so it stays put but could be removed if desired.
Tips for Success
Stuffing matters. Really pack that stuffing in. A floppy amigurumi cow is a sad amigurumi cow. The head especially needs to be firm so it holds its shape.
Use a stitch marker. Amigurumi is worked in continuous rounds, which means it’s easy to lose track of where your round begins. Move that marker up every single round.
Weave in ends as you go. You’ll thank yourself later. Nothing is worse than finishing a project and having a dozen tails to deal with.
Take photos before sewing. Pin all your pieces in place and snap a picture. It helps you see if anything looks off before you commit to sewing.
Customization Ideas
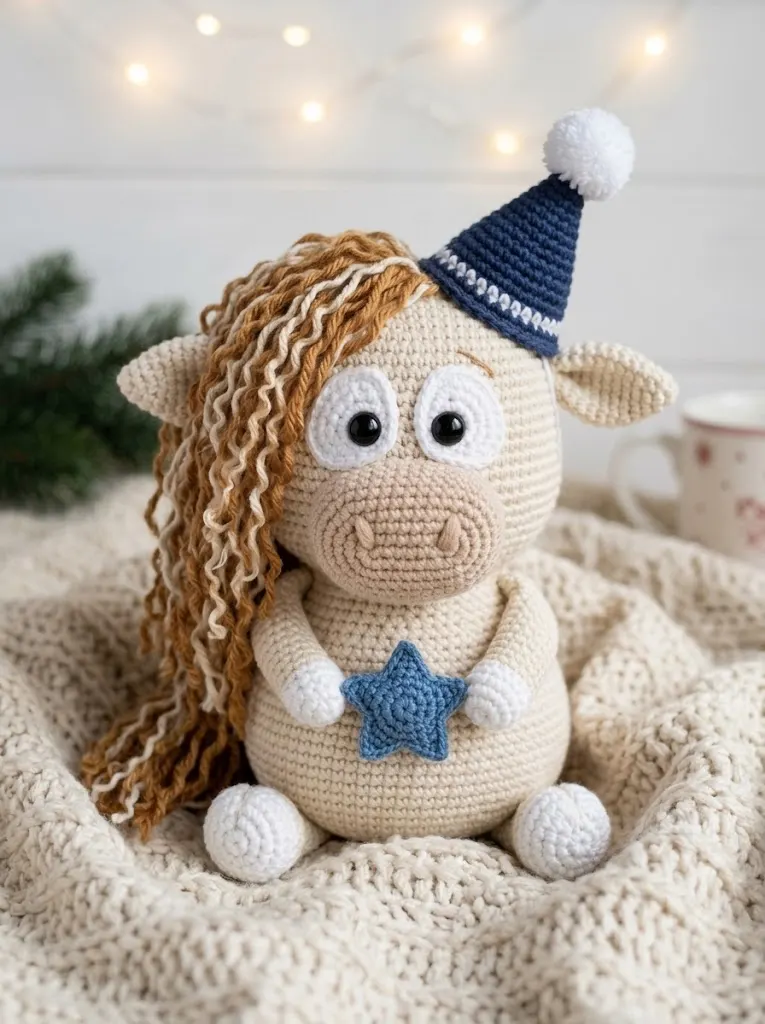
This Highland cow amigurumi pattern is endlessly adaptable. Skip the party hat for a simpler look. Change the star to a heart for Valentine’s Day. Use gray yarn instead of cream for a different Highland cow variety. Add a tiny scarf for winter.
You could also make a whole family by adjusting the hook size and yarn weight. Sport weight yarn with a 2.75mm hook creates a miniature version perfect for keychains.
I really hope you love making this cozy Highland cow as much as I loved designing him. He’s the kind of project that makes you smile every time you look at him, and he makes an incredible gift for cow lovers of all ages. Thank you so much for choosing this pattern.
If you make your own Highland cow, I would absolutely love to see it. Tag me on Instagram or share a photo in my Facebook group. Your versions always make my day.
Save this pattern to your Pinterest boards so you can find it when you’re ready to cast on. And please drop a comment below if you make one. I read every single comment and love hearing how your projects turn out.