
There is something incredibly satisfying about making a bag you will actually use every single day. This monochrome gray drawstring bucket bag is exactly that kind of project. Stylish enough for a day in the city, sturdy enough to carry your essentials, and honestly? Much easier to crochet than it looks.
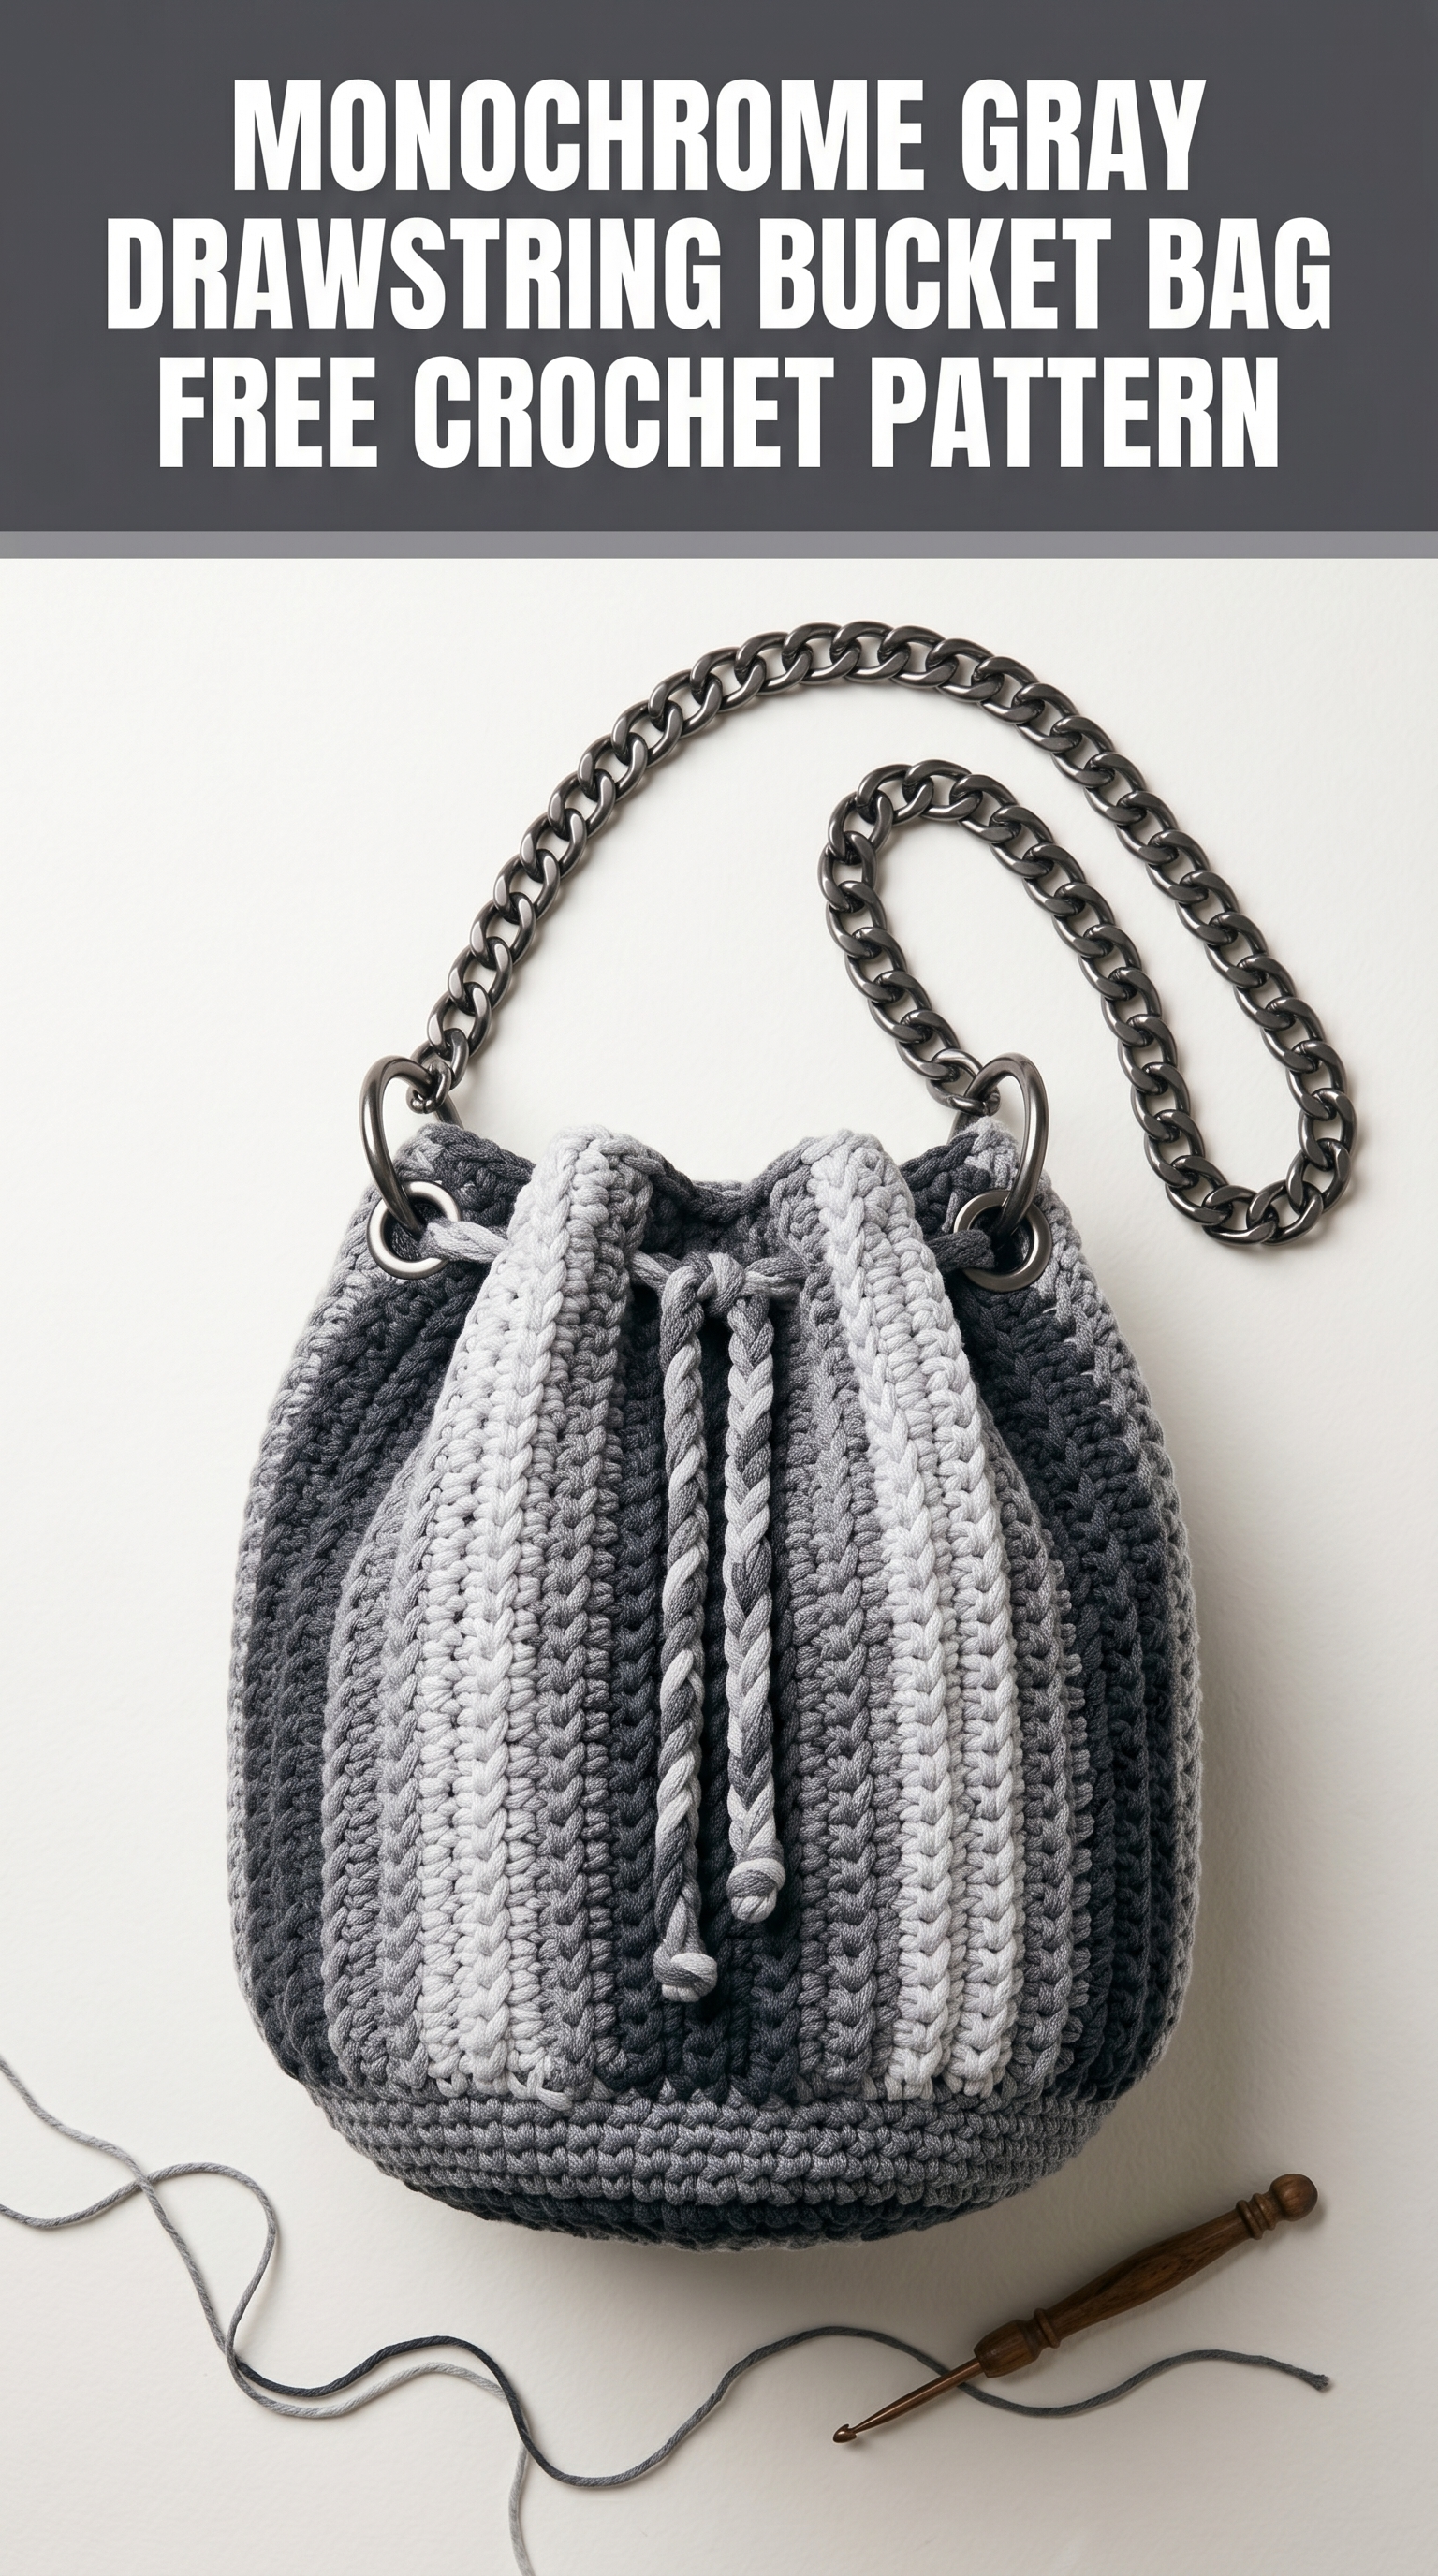
If you can work basic stitches in the round and follow a simple color pattern, you can absolutely make this bag. I designed it with vertical stripes that give it a modern, sophisticated look without any complicated colorwork. The whole thing works up in just a few evenings.
Let me walk you through everything you need to know to create your own crochet bucket bag from start to finish.
Why You Will Love This Crochet Bucket Bag Pattern
This is not your grandmother’s yarn bag. The vertical stripe design gives it a contemporary edge that pairs beautifully with everything from jeans to dresses. The combination of dark charcoal gray and soft light gray creates that perfect monochrome aesthetic that never goes out of style.
The bucket shape is forgiving and functional. It holds more than you would expect, the drawstring keeps everything secure, and the rounded silhouette looks intentional rather than saggy.
The hardware elevates everything. Metal rings and a chunky chain strap transform this from a cute craft project into something that genuinely looks store bought. People will ask where you got it. Trust me.
Materials Needed for Your Crochet Bucket Bag
Before you start, gather these supplies. Having everything ready makes the process so much smoother.
Yarn
- Bulky weight yarn (Category 5) in two colors
- Color A: Dark charcoal gray, approximately 150 yards
- Color B: Light silver gray, approximately 150 yards
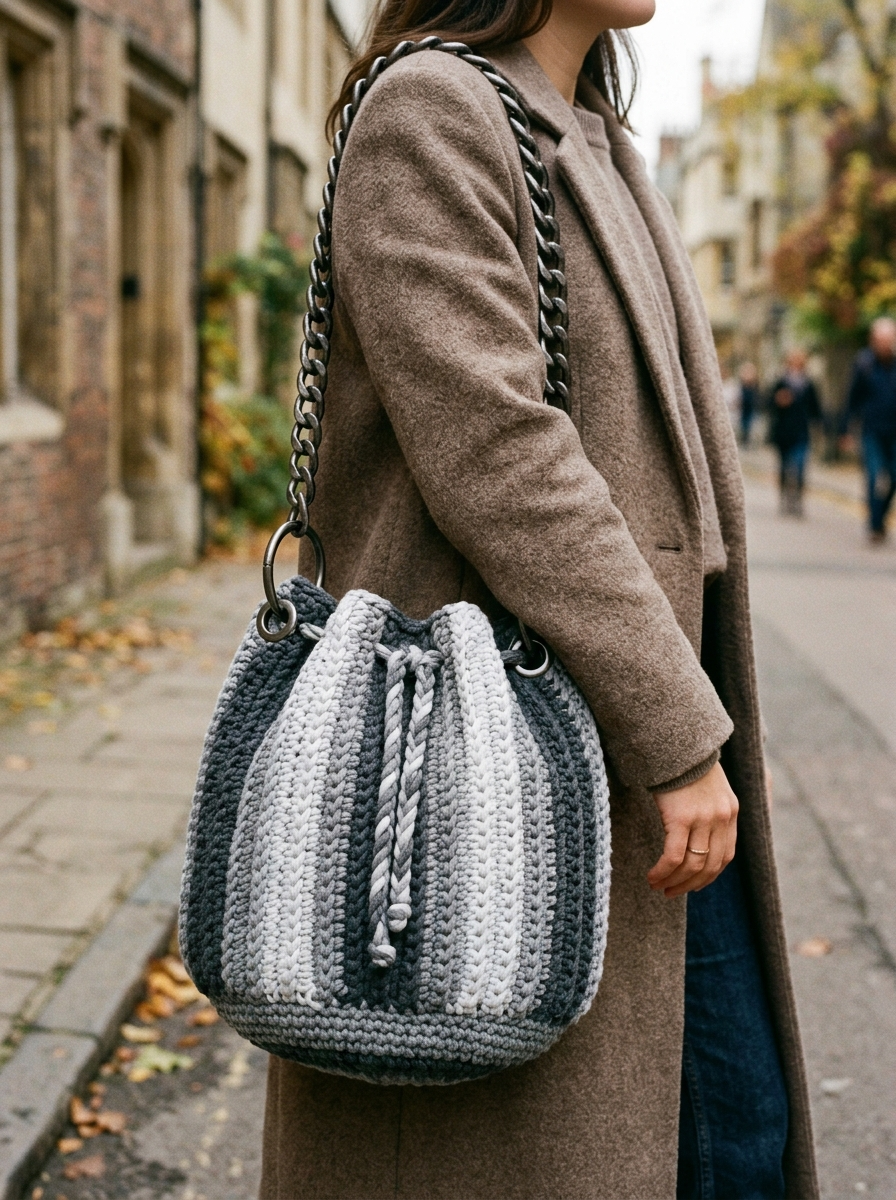
I recommend a cotton blend or tube yarn for this project. Cotton gives the bag structure and prevents stretching. Tube yarn or t-shirt yarn works beautifully and creates that smooth, professional finish you see in the photos.
Hook
- 8.0mm (L/11) crochet hook for the main bag
- 6.0mm (J/10) hook if your tension runs loose
Always make a gauge swatch first. Seriously. Bags need consistent tension to hold their shape.
Notions and Hardware
- 2 large metal O-rings (approximately 1.5 inches diameter)
- 1 chunky chain strap with lobster clasps (or make your own crochet strap)
- Yarn needle for weaving ends
- Stitch marker
- Scissors
Skill Level and Techniques
This crochet pattern is intermediate beginner friendly. If you have made a hat or worked anything in continuous rounds, you have the skills for this.
Techniques you will use:
- Magic ring (I will explain this below)
- Working in continuous spiral rounds
- Single crochet in back loop only
- Basic color changes
- Simple decreases
Nothing fancy. Nothing scary. Just straightforward stitches that create something beautiful.
Stitch Abbreviations and Definitions
Let me break down every stitch before we begin. If you already know these, skip ahead. If any feel unfamiliar, read through carefully.
Chain (ch): The foundation stitch. Yarn over, pull through the loop on your hook. Creates a chain link.
Slip Stitch (sl st): Insert hook, yarn over, pull through both loops at once. Used for joining and finishing.
Single Crochet (sc): Insert hook into stitch, yarn over and pull up a loop (2 loops on hook), yarn over and pull through both loops. This is your main stitch for the entire bag.
Single Crochet Back Loop Only (sc BLO): Work a regular single crochet, but insert your hook under only the back loop of the stitch below instead of both loops. This creates those beautiful horizontal ridges you see in the bag.
Increase (inc): Work 2 single crochet stitches into the same stitch. This adds one stitch to your count.
Decrease (dec): Insert hook into first stitch, pull up a loop, insert hook into next stitch, pull up a loop (3 loops on hook), yarn over and pull through all 3 loops. This removes one stitch from your count.
Magic Ring (MR): A way to start working in the round that creates a tight, closed center. If this intimidates you, chain 4 and slip stitch to join instead. It works just fine.
Gauge
With 8.0mm hook and bulky yarn:
10 sc x 12 rows = 4 inches (10cm)
Your gauge matters for bags. Too loose and your items will fall through the stitches. Too tight and your hands will hurt. Make a small swatch first and adjust your hook size as needed.
Finished Dimensions
- Height: approximately 10 inches (not including drawstring)
- Width at widest point: approximately 11 inches
- Base diameter: approximately 6 inches
Step by Step Crochet Pattern Instructions
Now for the fun part. We will work this bag in three sections: the base, the body with vertical stripes, and the finishing details.
Part 1: The Base
We start from the center and work outward in continuous spiral rounds. Place a stitch marker at the beginning of each round and move it up as you go.
Using Color A (dark charcoal):
Round 1: Make a magic ring, work 6 sc into the ring, pull tight. (6 sts)
Round 2: Inc in each stitch around. (12 sts)
Round 3: *Sc 1, inc* repeat around. (18 sts)
Round 4: *Sc 2, inc* repeat around. (24 sts)
Round 5: *Sc 3, inc* repeat around. (30 sts)
Round 6: *Sc 4, inc* repeat around. (36 sts)
Round 7: *Sc 5, inc* repeat around. (42 sts)
Round 8: *Sc 6, inc* repeat around. (48 sts)
Round 9: *Sc 7, inc* repeat around. (54 sts)
Round 10: *Sc 8, inc* repeat around. (60 sts)
Your base should measure approximately 6 inches across. If it seems too small, add another increase round. If too large, remove one.
Tip: Keep your stitches consistent and flat. The base should lie completely flat on a table without curling.
Part 2: Building the Sides
Here is where the magic happens. We will switch to working in the back loop only, which naturally turns the corner from base to sides and creates those gorgeous texture ridges.
Round 11: Working in BLO only, sc in each stitch around. Do not increase. (60 sts)
This round creates the defined edge between your base and walls.
Rounds 12 to 14: Continue working sc in BLO around. (60 sts each round)
Now we introduce the vertical stripes.
Part 3: Vertical Stripe Section
The vertical stripes are created by changing colors within each round. You will work 6 dark stripes and 6 light stripes, alternating around the bag.
Color Pattern per Round:
- Work 5 sc in Color A (dark gray)
- Change to Color B (light gray), work 5 sc
- Repeat this pattern around (6 sections of each color)
Tip for Clean Color Changes: When changing colors, complete your last stitch with the new color. Insert hook, pull up a loop with old color, then yarn over with new color to complete the stitch. This keeps your color transitions crisp.
Rounds 15 to 35: Following the color pattern above, sc in BLO for each round. (60 sts)
Continue carrying your unused color loosely along the inside of the work. Do not cut the yarn between color changes.
After 21 rounds of stripe pattern, your bag body should measure approximately 7 to 8 inches tall.
Part 4: Shaping the Top
Now we gently decrease to create that beautiful bucket curve.
Round 36: Following stripe pattern, *sc 8, dec* repeat around. (54 sts)
Round 37: Sc around in pattern. (54 sts)
Round 38: *Sc 7, dec* repeat around. (48 sts)
Round 39: Sc around in pattern. (48 sts)
Round 40: *Sc 6, dec* repeat around. (42 sts)
Rounds 41 to 43: Sc around in Color A only. (42 sts)
This solid band creates the drawstring channel area.
Part 5: Drawstring Channel
Round 44: *Ch 2, skip 2 sts, sc 5* repeat around. (6 holes created)
These chain spaces are where your drawstring will thread through.
Round 45: Sc in each stitch and chain space around. (42 sts)
Round 46: Sc around. (42 sts)
Slip stitch to join. Fasten off. Weave in ends.
Part 6: Making the Drawstring
Create a simple twisted cord or crochet a chain.
Chain Method:
Chain approximately 80 to 90 stitches using both colors held together. Slip stitch in second chain from hook and in each chain across. Fasten off.
This creates a sturdy, beautiful two-toned drawstring.
Twisted Cord Method:
Cut 4 strands of yarn, each about 60 inches long. Twist tightly in one direction until the cord wants to kink. Fold in half, let it twist back on itself. Knot the ends.
Thread your drawstring through the channel holes using a yarn needle or safety pin.
Part 7: Attaching Hardware
Adding O-Rings:
Using Color A, join yarn to the top edge of the bag at one side.
Ring Attachment (make 2):
- Ch 1, work 10 sc around the metal O-ring, sl st to join to the bag edge.
- Fasten off and weave in ends.
Space your rings evenly on opposite sides of the bag.
Clip your chain strap to the O-rings using the lobster clasps.
Finishing and Care Tips
Weave in all your ends securely. For extra durability, weave each tail through several stitches in different directions.
Optional: Add a fabric lining to prevent small items from poking through stitches. A simple drawstring pouch sewn inside works perfectly.
Care Instructions:
Hand wash in cool water with mild detergent. Reshape while damp and lay flat to dry. Cotton and tube yarns hold their shape well but may need occasional reshaping.
Customization Ideas
Make this crochet bucket bag pattern your own:
- Change the colorway: Try navy and cream, mustard and rust, or go bold with black and white
- Skip the chain: Crochet a long strap instead using single crochet rows
- Add texture: Try the waistcoat stitch or moss stitch for a different look
- Make it bigger: Add more increase rounds to the base and more height rounds to the body
Troubleshooting Common Issues
My stripes are not lining up: Count your stitches after every round. The stripe sections should stack directly on top of each other.
My bag is curling inward: Your tension may be too tight. Try going up a hook size.
The base is cupping: Too many increases. Remove a round and check your gauge.
Color changes look messy: Make sure you complete the final yarn over with the new color, not the old one.
Final Thoughts on This Crochet Bucket Bag Pattern
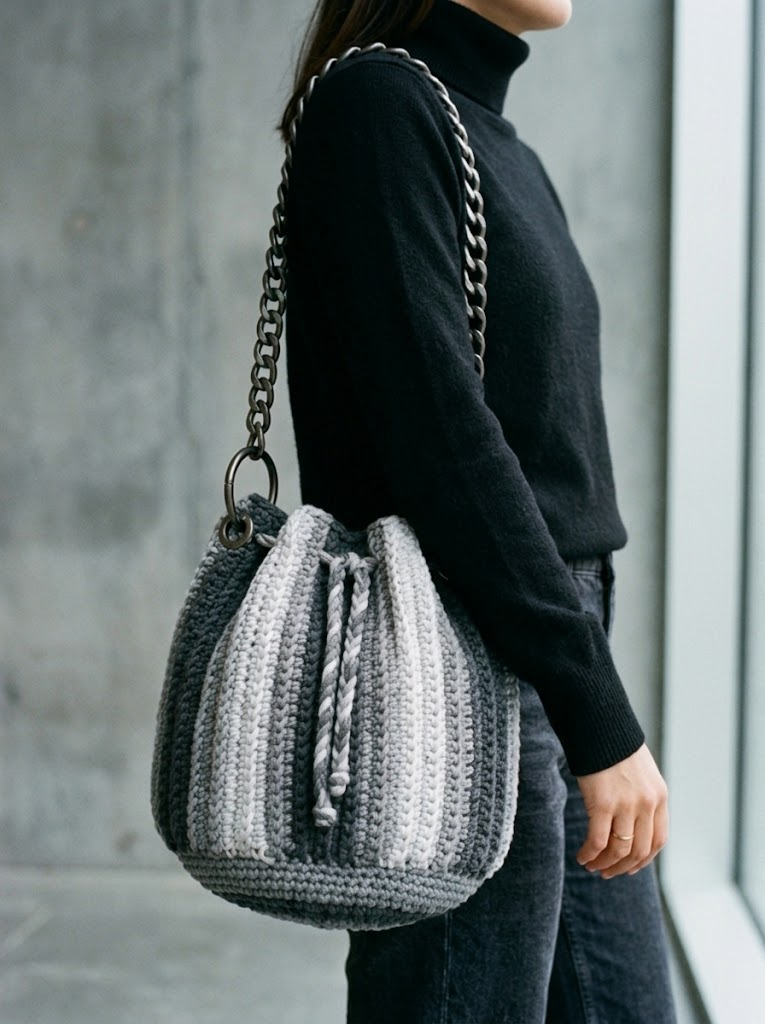
I genuinely love how this bag turned out. It is practical, beautiful, and has that effortlessly cool vibe that works year round. The monochrome gray palette goes with everything, and the chain strap adds just enough edge to make it interesting.
This crochet tutorial might look advanced, but you truly just need patience and basic skills. Take it one round at a time. Count your stitches. Trust the process.
Thank you so much for choosing this pattern. I hope you enjoy every stitch of it.
When you finish your bag, I would absolutely love to see it. Tag me on Instagram or share in my Facebook group. Seeing your creations genuinely makes my day.
Happy crocheting, friend. You have got this.