
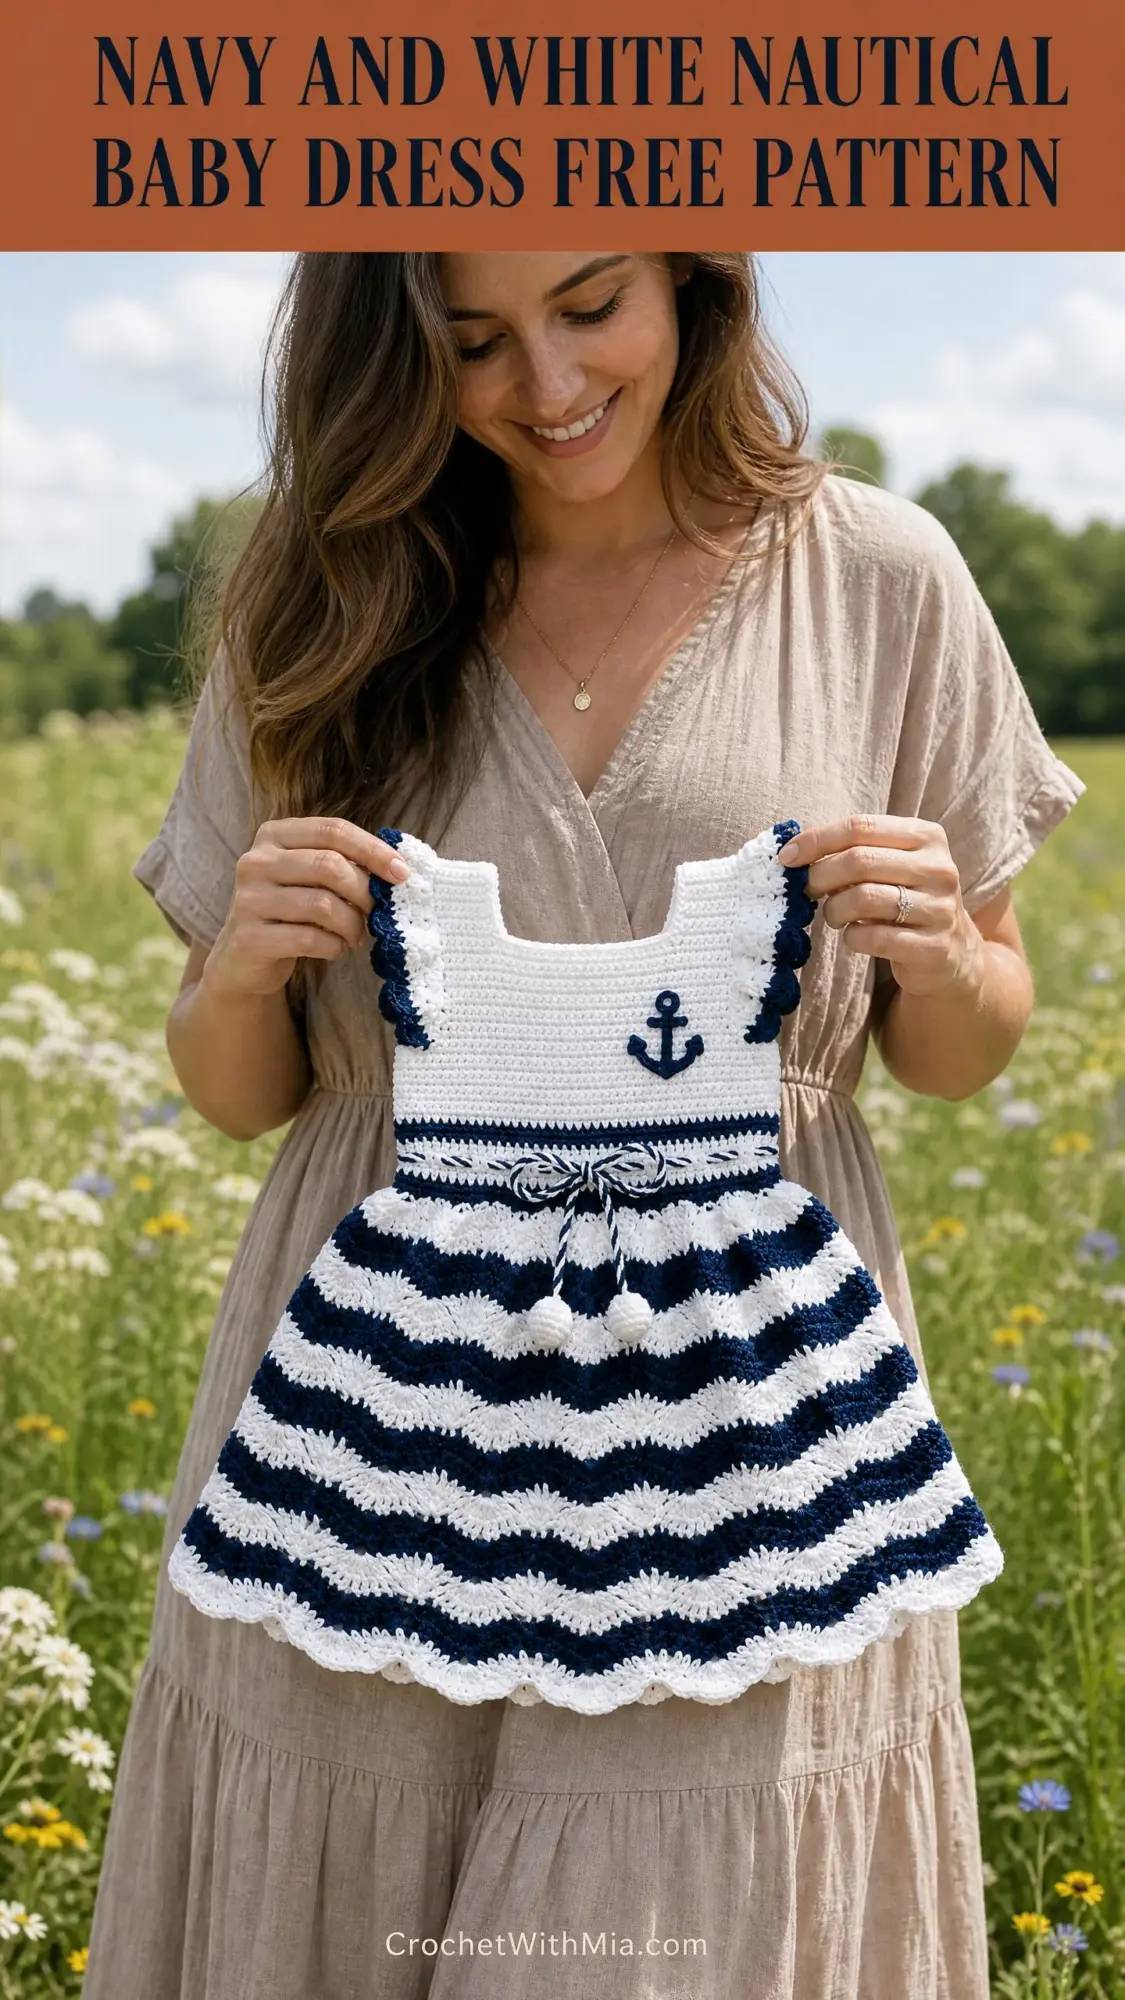
Looking for a sweet handmade baby gift that looks impressive but follows a logical construction? This nautical baby dress delivers exactly that. The fitted white bodice, wavy chevron skirt, and charming anchor applique combine to create a garment that photographs beautifully and actually fits a wiggly toddler.
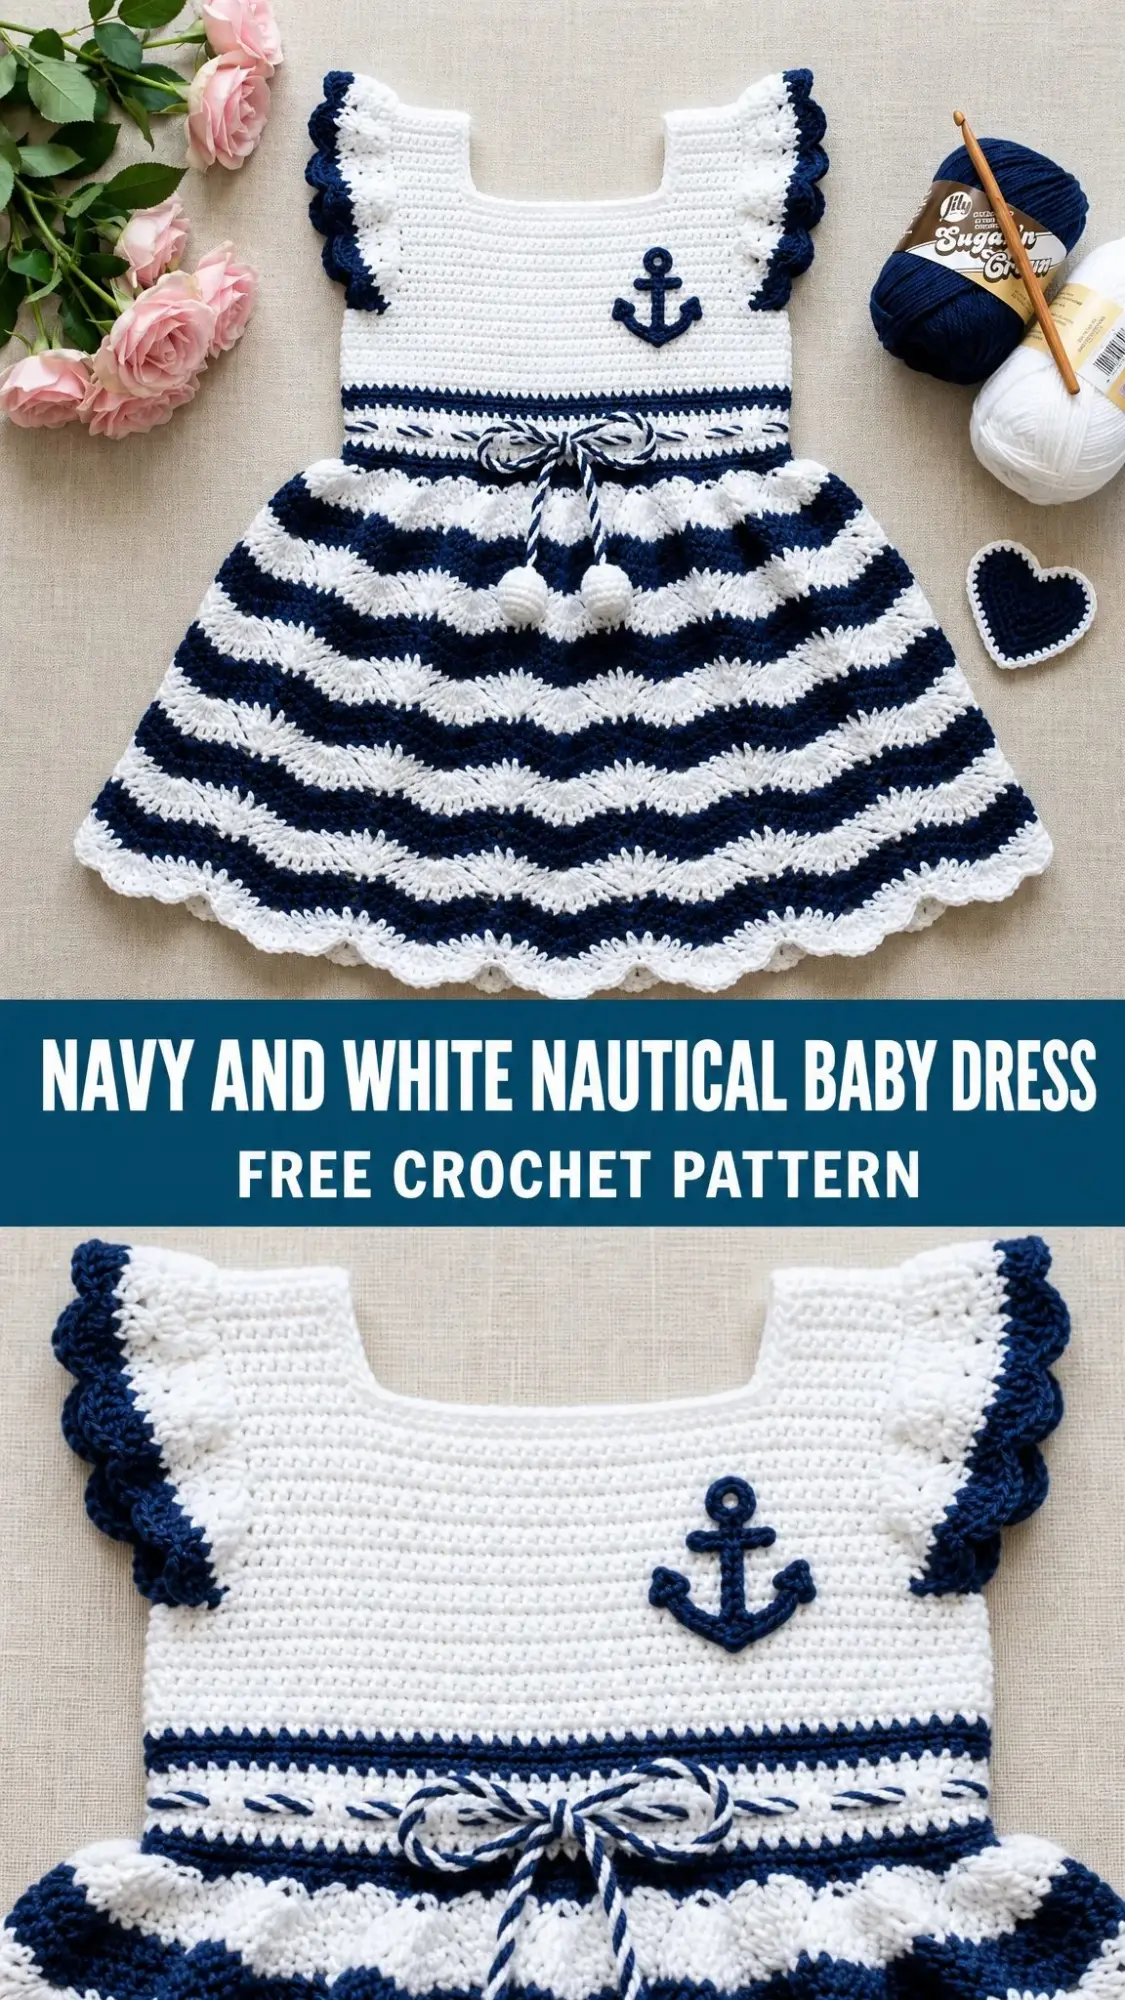
The dress uses familiar stitches throughout, including single crochet (sc) for the bodice and double crochet (dc) for the ripple skirt. It works up in worsted weight cotton, which means it is breathable for warm weather and machine washable for busy parents. The finished size fits babies 12 to 18 months, with customization tips included if you need to adjust.
This makes an unforgettable baby shower gift, birthday present, or special occasion outfit. The construction is top down, so you can try it on as you go if you have access to the little one. Plan for about 12 to 18 hours of crochet time depending on your experience level.
About This Nautical Baby Dress Crochet Pattern
This design features several distinct elements that come together into one cohesive garment. The bodice is worked flat in two pieces, then seamed at the shoulders and sides. Flutter sleeves with a navy picot ruffle edge the armholes. A small crocheted anchor applique sits at the center front of the bodice.
At the empire waistline, an eyelet row creates spaces for threading a twisted cord tie. White pom poms dangle from each end of the tie. Below the waistband, the skirt flows in alternating navy and white chevron stripes, finished with a scalloped hem.
The chevron ripple stitch creates those classic wave stripes you see in the photo. It looks complex but follows a simple rhythm once you understand the peak and valley system. I will walk you through every step.
Skill Level
This pattern is rated intermediate. You should be comfortable with basic crochet stitches, working flat pieces and seaming them, changing colors cleanly, and following a repeat pattern. If you have made a few garments before, you are ready for this dress.
The chevron section requires attention to stitch placement, but I have included detailed explanations to guide you through. Take your time on the first chevron round and the rest will flow naturally.
Finished Measurements
Size: 12 to 18 months
Materials Needed
Yarn:
Recommended Yarn: Lily Sugar’n Cream 100% Cotton in White and Indigo works beautifully for this project. Lion Brand 24/7 Cotton or Paintbox Yarns Simply DK held double are excellent alternatives.
Hook: US size G-6 / 4.0 mm crochet hook, or size needed to obtain gauge
Notions:
Gauge
18 sc x 20 rows = 4 inches (10 cm) in single crochet worked flat with Yarn A
16 stitches (one full chevron repeat) x 10 rows = 4 inches (10 cm) in chevron ripple pattern worked in the round
Gauge matters for garment fit. Please make a swatch before beginning.
Abbreviations and Stitch Definitions
Special Stitches
Chevron Ripple Stitch
This creates the wave pattern in the skirt. Each 12 stitch repeat produces one peak and one valley.
One 12-stitch repeat:
The increases at the peaks and decreases at the valleys cancel each other out, keeping your stitch count stable.
Scallop Edging
Skip 2 sts, work 5 dc in next st, skip 2 sts, sl st in next st. Repeat around.
Picot Ruffle Edging
Work 3 sc in next st, ch 3, sl st in first ch of ch-3 (picot made). Repeat around.
Pattern Instructions
Bodice Back Panel
With Yarn A and G-6 hook, ch 47.
Row 1 (RS): Sc in second ch from hook and in each ch across. Turn. (46 sc)
Row 2: Ch 1, sc in each st across. Turn. (46 sc)
Rows 3 through 14: Repeat Row 2. (46 sc each row)
At the end of Row 14, your panel measures approximately 2.75 inches (7 cm) tall.
Armhole Shaping for Bodice Back
Row 15 (RS): Ch 1, sl st across first 3 sts, ch 1, sc in next 40 sts, leave last 3 sts unworked. Turn. (40 sc)
Row 16: Ch 1, sc2tog, sc across to last 2 sts, sc2tog. Turn. (38 sc)
Row 17: Ch 1, sc2tog, sc across to last 2 sts, sc2tog. Turn. (36 sc)
Row 18: Ch 1, sc in each st across. Turn. (36 sc)
Rows 19 through 22: Repeat Row 18. (36 sc each row)
After Row 22, the bodice back measures approximately 4.5 inches (11.5 cm) tall from the foundation chain.
Back Neck and Shoulder Shaping
Left Shoulder:
Row 23 (RS): Ch 1, sc in first 10 sts. Turn. Leave remaining sts on hold. (10 sc)
Row 24: Ch 1, sc in each st across. Turn. (10 sc)
Row 25: Ch 1, sc in each st across. Turn. (10 sc)
Fasten off. Leave a long tail for seaming.
Right Shoulder:
With RS facing, skip center 16 sts (back neck), rejoin Yarn A to next st.
Row 23: Ch 1, sc in last 10 sts. Turn. (10 sc)
Row 24: Ch 1, sc in each st across. Turn. (10 sc)
Row 25: Ch 1, sc in each st across. Turn. (10 sc)
Fasten off. Leave a long tail for seaming.
Bodice Front Panel
With Yarn A and hook, ch 47.
Row 1 (RS): Sc in second ch from hook and in each ch across. Turn. (46 sc)
Rows 2 through 14: Ch 1, sc in each st across. Turn. (46 sc each row)
Armhole Shaping for Bodice Front
Row 15 (RS): Ch 1, sl st across first 3 sts, ch 1, sc in next 40 sts, leave last 3 sts unworked. Turn. (40 sc)
Row 16: Ch 1, sc2tog, sc across to last 2 sts, sc2tog. Turn. (38 sc)
Row 17: Ch 1, sc2tog, sc across to last 2 sts, sc2tog. Turn. (36 sc)
Row 18: Ch 1, sc in each st across. Turn. (36 sc)
Rows 19 through 20: Repeat Row 18. (36 sc each row)
Front Neck Shaping
Row 21 (RS): Ch 1, sc in first 12 sts. Turn. (12 sc) Leave remaining sts on hold.
Left Front Shoulder:
Row 22: Ch 1, sc2tog, sc in each st across. Turn. (11 sc)
Row 23: Ch 1, sc in each st to last 2 sts, sc2tog. Turn. (10 sc)
Row 24: Ch 1, sc in each st across. Turn. (10 sc)
Row 25: Ch 1, sc in each st across. Turn. (10 sc)
Fasten off. Leave a long tail for seaming.
Right Front Shoulder:
With RS facing, skip center 12 sts (front neck), rejoin Yarn A to next st.
Row 21: Ch 1, sc in last 12 sts. Turn. (12 sc)
Row 22: Ch 1, sc in each st to last 2 sts, sc2tog. Turn. (11 sc)
Row 23: Ch 1, sc2tog, sc in each st across. Turn. (10 sc)
Row 24: Ch 1, sc in each st across. Turn. (10 sc)
Row 25: Ch 1, sc in each st across. Turn. (10 sc)
Fasten off. Leave a long tail for seaming.
Assembling the Bodice
Pin the front and back bodice panels together with right sides facing.
Using the tapestry needle and the long yarn tails, seam the left shoulder and right shoulder using whipstitch or mattress stitch through the 10 matching shoulder stitches on each side.
Seam the side seams from underarm down to the bottom edge of the bodice (Row 1) using mattress stitch, matching rows evenly. Leave armhole openings and neckline open.
Checkpoint: After seaming, your bodice should measure approximately 6 inches (15 cm) from shoulder to lower edge, and approximately 10 inches (25.5 cm) in circumference at the lower edge.
Neckline Edging
Join Yarn B at any point along the neckline opening with RS facing.
Rnd 1: Ch 1, work 1 sc evenly in each st and row end around the entire neckline edge. Sl st to first sc to join. (approximately 48 sc)
Rnd 2: Ch 1, work picot ruffle edging around: work 3 sc in next st, ch 3, sl st in first ch made (picot). Repeat from beginning around, sl st to first sc. Fasten off Yarn B.
Flutter Sleeve Edging
Join Yarn A at the underarm point of one armhole with RS facing.
Rnd 1: Ch 1, work 1 sc in each available st and row end evenly around the armhole opening. Sl st to first sc to join. (approximately 32 sc)
Rnd 2: Join Yarn B. Ch 1, work picot ruffle edging around: work 3 sc in next st, ch 3, sl st in first ch made. Repeat from beginning around. Sl st to join. Fasten off Yarn B.
Repeat for the second armhole.
Waistband Eyelet Row
With RS facing, join Yarn B at the right side seam of the bodice, at the bottom edge.
Rnd 1 (Navy): Ch 1, sc in each st around, working sc2tog once at each side seam point. Sl st to join. (90 sc)
Rnd 2 (Eyelet row, Yarn B): Ch 3 (counts as dc), dc in next st, (ch 1, sk 1 st, dc in next 2 sts) 29 times, ch 1, sk 1 st, sl st to top of ch-3. (60 dc + 30 ch-1 sp = 90 sts)
Rnd 3 (Yarn B): Ch 1, sc in each dc and each ch-sp around. Sl st to join. (90 sc)
Skirt Increase Round
Rnd 4 (Yarn B): Ch 1, sc around, working 1 inc (2 sc in 1 st) evenly 6 times around (approximately every 15 sts). Sl st to join. (96 sc)
Place increases at approximately sts 8, 23, 38, 53, 68, and 83.
Skirt Chevron Section
The skirt uses 8 repeats of the 12-stitch chevron pattern. Stitch count remains 96 throughout.
For each chevron round: Ch 3 (counts as first dc). Work the following 8 times: dc in next 3 sts, 3 dc in next st (peak), dc in next 3 sts, dc3tog over next 3 sts, dc in next 2 sts. Sl st to top of ch-3 to join. (96 sts)
Color Stripe Sequence:
Carry the unused color up the inside of the work rather than cutting and rejoining. When changing colors, pull the new color through the final sl st that closes the round.
Hem Scallop Edging
Change to Yarn A.
Set-up round: Ch 1, sc in each st around. Sl st to join. (96 sc)
Scallop round (Yarn A): Ch 1, sl st in first st, (sk 2 sts, 5 dc in next st, sk 2 sts, sl st in next st) repeat 15 more times around for 16 scallops total. Sl st to join. Fasten off.
Waist Tie
Cut 12 strands of Yarn A and 12 strands of Yarn B, each 36 inches (91.5 cm) long. Divide into two groups of 12 (6 white and 6 navy each). Twist or braid each group tightly, then twist the two groups together to create a two-color twisted cord. Knot each end and trim to neaten, leaving a 1-inch tail beyond the knot.
Pom Poms: Make 2 small pom poms using Yarn A, approximately 1 inch (2.5 cm) in diameter. Attach one pom pom to each end of the waist tie.
Thread the waist tie through the ch-1 eyelet spaces of the waistband (Rnd 2), beginning and ending at the center front. Tie in a bow.
Anchor Applique
With Yarn B, make an adjustable ring.
Rnd 1: Ch 1, 6 sc in ring, sl st to first sc to join. Pull ring closed. (6 sc)
This forms the ring at the top of the anchor.
Ch 12. Sl st back along the chain: sl st in 2nd ch from hook and in each ch across. This forms the vertical bar of the anchor. (12 sl sts)
At the base of the chain, ch 4 for the left arm of the anchor: sl st in 2nd ch from hook and in each remaining ch across (3 sl sts). Sl st into the base of the vertical bar. Ch 4 for the right arm: sl st in 2nd ch from hook and in next 2 ch. Sl st back into the base.
Anchor crossbar: Return to the vertical bar, approximately 4 sl sts up from the base. Attach Yarn B at this point. Ch 4 to the left, sl st back along chain. Attach at same point. Ch 4 to the right, sl st back along chain. Fasten off leaving a long tail.
Sew the anchor to the center front of the bodice approximately 1.5 inches (4 cm) below the neckline using whipstitch around the entire perimeter.
Heart Applique (Optional)
With Yarn B, ch 2.
Row 1: 3 sc in second ch from hook. Turn. (3 sc)
Row 2: Ch 1, inc in first st, sc in next st, inc in last st. Turn. (5 sc)
Row 3: Ch 1, inc in first st, sc in next 3 sts, inc in last st. Turn. (7 sc)
Row 4: Ch 1, sc in each st across. Turn. (7 sc)
Divide for lobes:
Left lobe: Ch 1, sc in first 3 sts, sc2tog over next 2 sts. (4 sc) Work 3 sc in the next st at the top of the lobe. Join with sl st around the outside. Fasten off.
Right lobe: Rejoin to center st and mirror the left lobe. Fasten off.
Edge round (Yarn A): Join Yarn A anywhere on the heart outline. Ch 1, sc evenly around the entire heart perimeter. Sl st to join. Fasten off.
Sew to any desired location.
Size Customization Tips
To size up, add 6 to 8 stitches to the initial bodice chain (foundation chain of 53 or 55 instead of 47). Ensure the final working stitch count remains a multiple of 12 after the waistband increases for the chevron pattern to work correctly.
To size down, reduce the initial chain by 4 to 6 stitches and adjust the waistband accordingly.
Tips for Success
The bodice is straightforward single crochet, so use that section to get comfortable with the yarn and hook before tackling the chevron skirt.
When working the chevron rounds, place a stitch marker at the first peak of each round. This helps you keep track of where you are in the pattern and ensures your peaks and valleys align properly from round to round.
Block the finished dress gently by laying it flat on a towel and pinning it to shape. Let it air dry completely. This evens out the stitches and helps the chevron waves lay beautifully.
Cotton yarn tends to relax after washing, so the dress may grow slightly. Keep this in mind if you are between sizes.
Thank you so much for choosing this nautical baby dress crochet pattern for your next project. I genuinely hope you enjoy making it as much as I enjoyed designing it. The finished dress is absolutely darling, and whoever receives it is going to treasure it.
If you found this pattern helpful, I would love for you to save it to your Pinterest boards so you can find it easily later. And please drop a comment below if you make this dress. Seeing your finished projects truly makes my day!