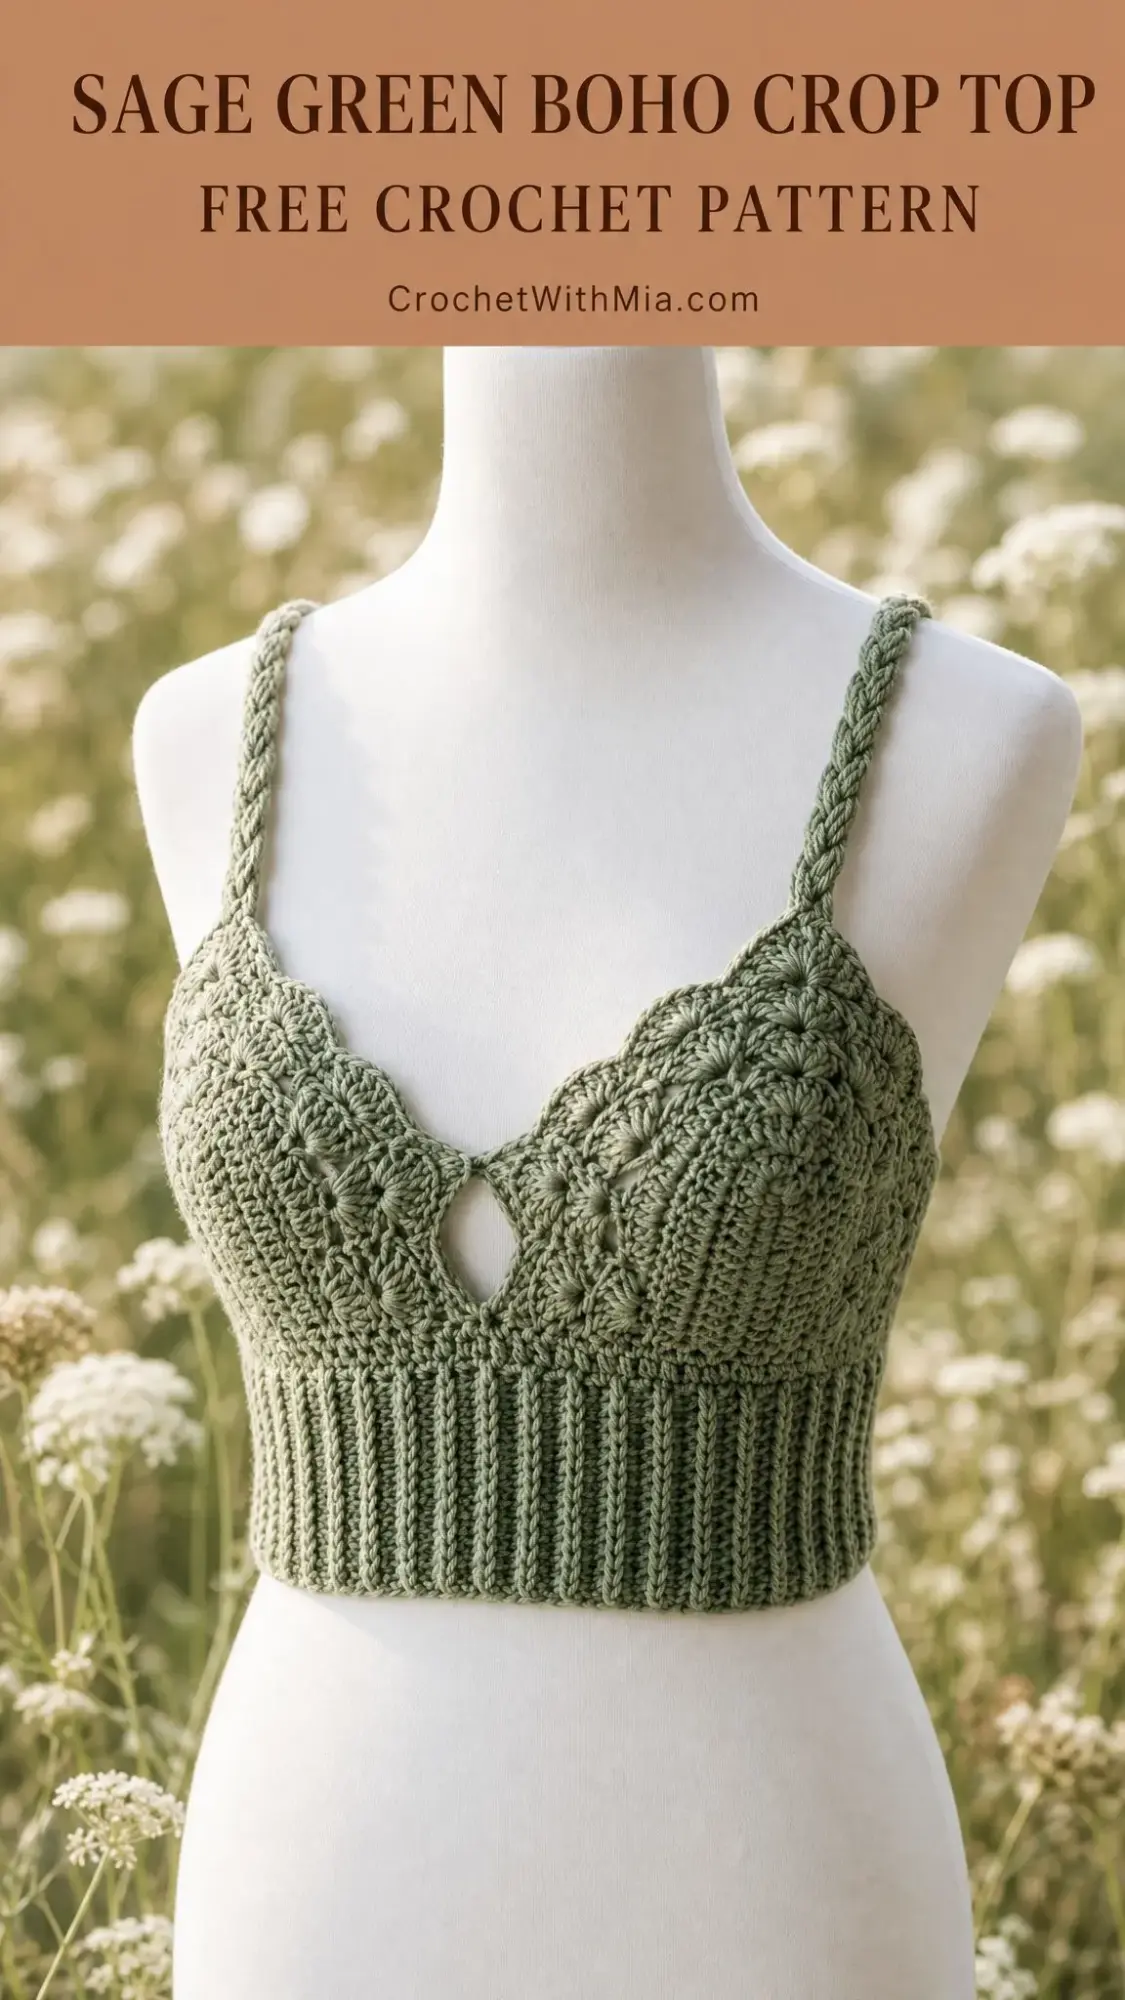
I don’t know about you, but I have a serious weakness for bralette-style crop tops. All the boho charm with none of the complicated construction headaches. This sage green beauty has been living rent-free in my head since I first sketched it out, and now I get to share it with you. The ribbed band stretches to hug your body just right, the cups shape themselves as you work, and those braided straps? Chef’s kiss.
Get the Ad-Free PDF Pattern
You can find the free pattern below, or you can purchase the ad-free printable PDF from my shop.
Get the Printable PDF →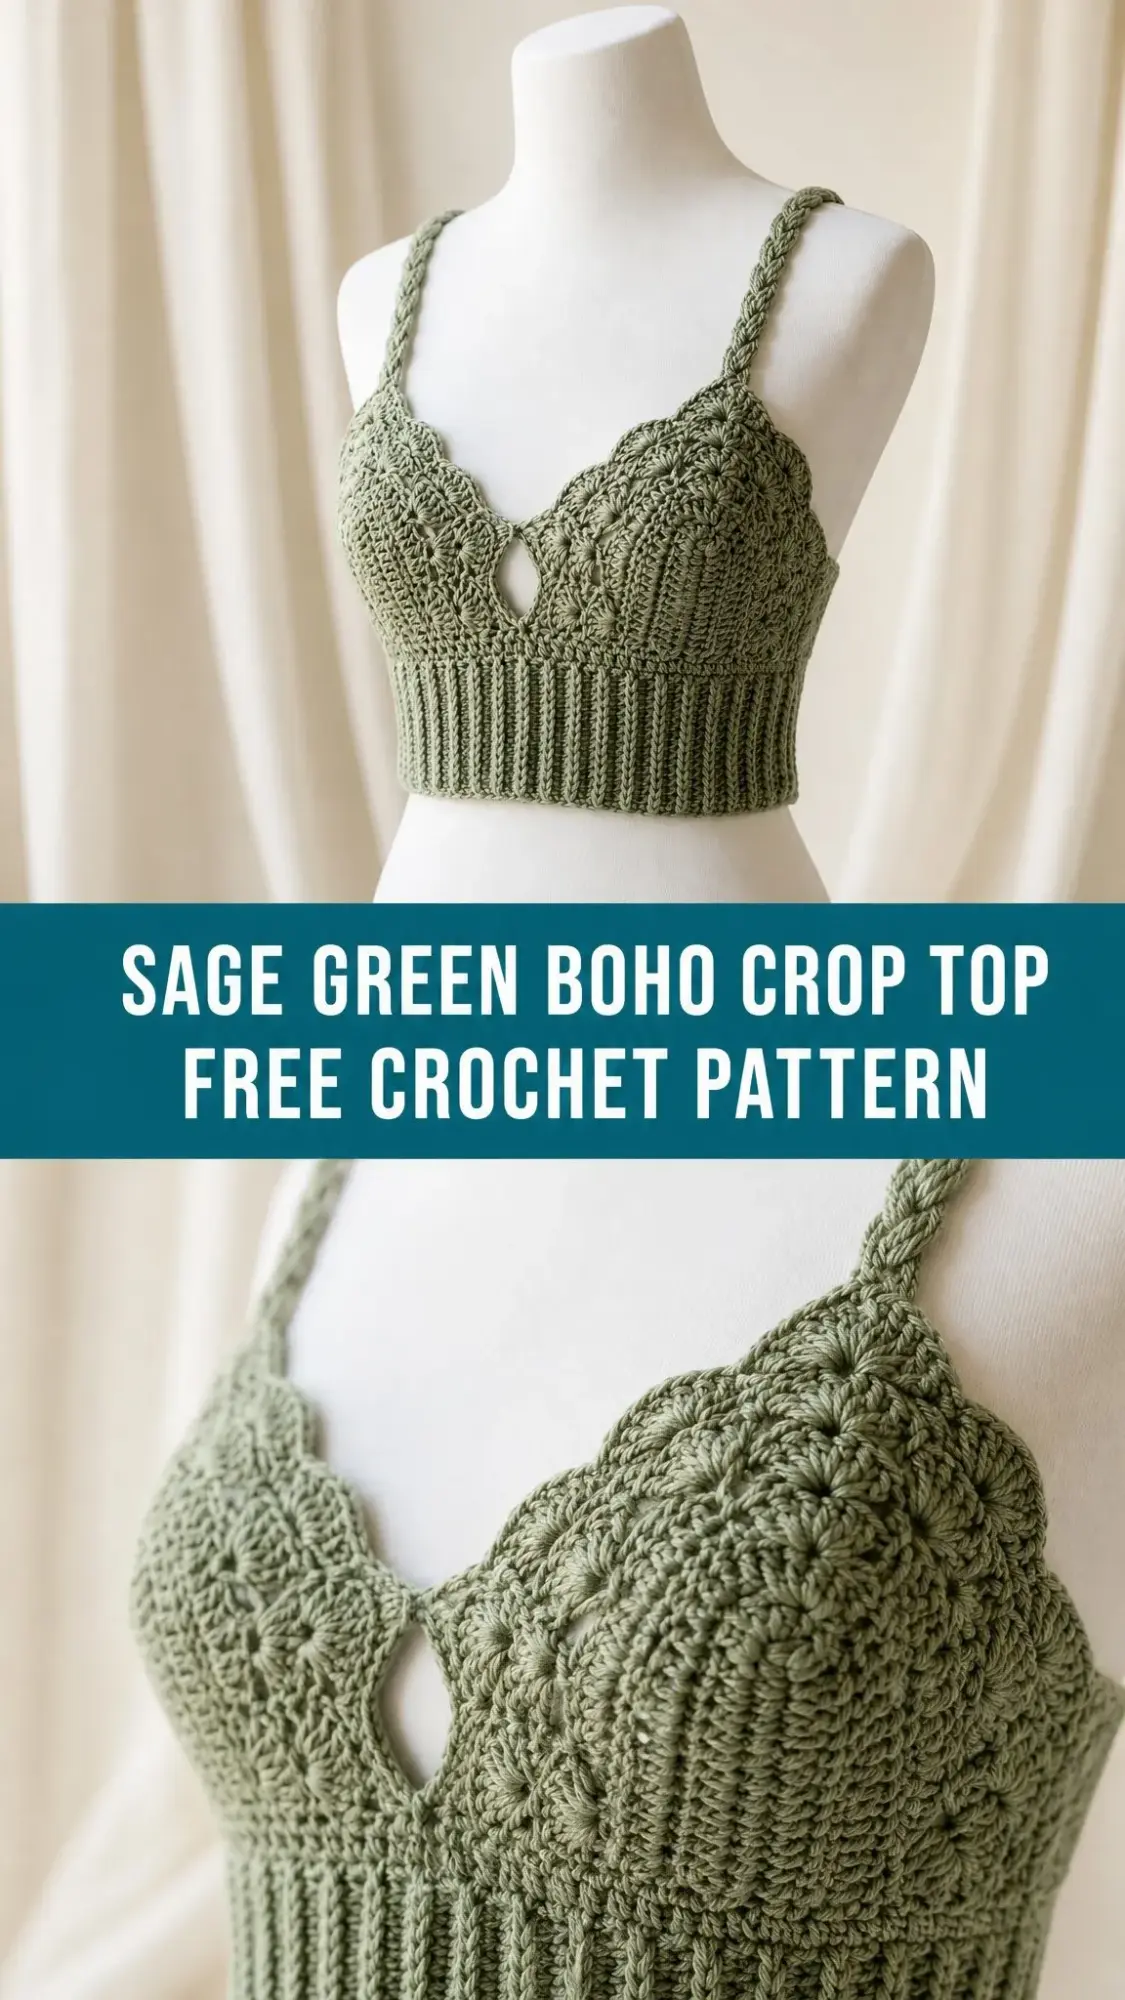
This textured crochet crop top brings together everything I love about bohemian style. You’ve got a stretchy ribbed hem that actually stays put, sculpted cups with sweet puff flower details, a flirty center keyhole, and the prettiest scalloped edging. It looks intricate, but I promise the construction is more logical than it appears.
About This Sage Green Boho Crop Top Pattern
This bralette-style crop top is worked from the bottom up. You’ll start with a ribbed lower band worked in short vertical rows, seam it into a stretchy ring, then build the upper body around the top edge. The front divides into two shaped cups with a small teardrop keyhole between them. Surface crochet ribs, puff flowers, and shell scallops add that gorgeous botanical texture.
Skill level: Intermediate. You should be comfortable working ribbing, joining a band, shaping mirrored cup pieces, placing decorative surface crochet, and finishing straps neatly. If you’ve never done surface slip stitches before, don’t worry. I’ll walk you through it, and they’re easier than they sound.
Finished Size and Fit
| Measurement | Size |
|---|---|
| Finished lower band, unstretched | 28 in / 71 cm around |
| Comfortable fit range | 32-34 in / 81-86.5 cm bust |
| Body length, excluding straps | 10.5 in / 26.5 cm |
| Cup width at base | 6.25 in / 16 cm each |
| Intended ease | Approx. 0 to 2 in / 0 to 5 cm negative ease at bust |
The negative ease is what makes this top fit so nicely. The ribbed band stretches to meet your body, so don’t panic if it looks small before you put it on.
Materials You’ll Need
Yarn: Approximately 260-310 yards / 238-284 meters of worsted or light aran weight cotton-blend yarn in sage green
Hook: US H/8 / 5 mm, or size needed to achieve gauge
Notions: Stitch markers, tapestry needle, scissors, pins, measuring tape
Optional: Removable bra cups or lining fabric for more coverage
Yarn Suggestions
Try Lion Brand 24/7 Cotton, WeCrochet Dishie, or Paintbox Yarns Cotton Aran. Choose a smooth yarn with good stitch definition so the raised ribs and puff flowers show clearly. When substituting yarn, match gauge and pick something that feels comfortable against your skin. This top sits right against your body, so softness matters.
Gauge
Rib gauge: 14 single crochet (sc) back loop only (BLO) rows = 4 in / 10 cm measured across the stretch direction of the band
Cup gauge: 14 double crochet (dc) stitches x 8 dc rows = 4 in / 10 cm, lightly blocked
Please swatch and match gauge before starting. The ribbed band relies on stretch, so check it around your body before seaming. This step saves heartache later, I promise.
Abbreviations and Special Stitches
ch = chain
sl st = slip stitch
sc = single crochet (insert hook, yarn over, pull up a loop, yarn over, pull through both loops)
hdc = half double crochet
dc = double crochet (yarn over, insert hook, pull up a loop, yarn over and pull through 2 loops, yarn over and pull through remaining 2 loops)
BLO = back loop only
FPdc = front post double crochet
st(s) = stitch(es)
RS = right side
WS = wrong side
rep = repeat
sk = skip
yo = yarn over
Special Stitches Explained
sc BLO: Insert your hook under the back loop only, yarn over and pull up a loop, yarn over and pull through 2 loops. This creates the stretchy ribbed texture.
dc2tog (double crochet two together): Yarn over, insert hook in next stitch, yarn over and pull up a loop, yarn over and pull through 2 loops. Then yarn over, insert hook in next stitch, yarn over and pull up a loop, yarn over and pull through 2 loops. Finally, yarn over and pull through all 3 loops on hook. This decreases one stitch and is how we shape the cups.
Surface sl st rib: Hold your yarn at the wrong side. Insert your hook from right side to wrong side, pull up a loop, then insert into the next row space and pull the new loop through the loop on your hook. Keep these stitches loose so they don’t pucker the fabric.
Puff flower petal: In the marked space, work [yarn over, insert hook, pull up a tall loop] 3 times, yarn over and pull through all loops, chain 1 to close. Work 5 petals in the same space to complete one flower.
Shell: Work 5 dc in the same stitch or space.
Pattern Notes
The chain 1 does not count as a stitch. The chain 2 does not count as a double crochet. Join rounds with a slip stitch unless stated otherwise. Place stitch markers before dividing the front. The band should stretch comfortably but not strain.
For UK crocheters: US single crochet equals UK double crochet, and US double crochet equals UK treble.
Left-handed note: Work the same instructions from left to right. Cup A and Cup B are mirrored by placement. Keep the center keyhole between them and place decorative ribs symmetrically.
Instructions: Ribbed Lower Band
Checkpoint before you begin: After 14 rib rows, your strip should measure about 4 in / 10 cm across its stretch direction.
Start: Chain 17.
Row 1: Single crochet in 2nd chain from hook and in each chain across. Turn. (16 sc)
Row 2: Chain 1, sc BLO in each stitch across. Turn. (16 sc)
Rows 3-98: Repeat Row 2. (16 sc each row)
Seam: With right sides together, slip stitch the first and last rib rows together through both loops. Turn right side out. Your band measures about 28 in / 71 cm unstretched and 4 in / 10 cm tall.
Upper Body Ring
Round 1: Chain 1, work 1 sc into the end of each rib row around. Join. (98 sc)
Round 2: Chain 1, hdc in each stitch around. Join. (98 hdc)
Round 3: Chain 1, hdc BLO in each stitch around. Join. (98 hdc)
Round 4: Repeat Round 3. (98 hdc)
Round 5: Chain 1, sc in each stitch around. Join. (98 sc)
Divide: Lay flat with the seam at center back. Mark 49 stitches for the front and 49 stitches for the back. On the front, mark Cup A over 22 stitches, center keyhole over 5 stitches, and Cup B over 22 stitches.
Checkpoint: Your body should measure about 6 in / 15 cm tall from the lower edge to the cup base, with a straight back edge and a marked 5-stitch center opening at the front.
Cups: Make 2 Mirrored Pieces
Work Cup A into the first 22 marked front stitches. Work Cup B into the second 22 marked front stitches, leaving the 5 center stitches unworked for the keyhole. Each cup is shaped by decreasing 1 stitch at each edge on every row.
Row 1: Join yarn at outer edge of 22-stitch cup section. Chain 2, dc in each of the 22 marked stitches. Turn. (22 dc)
Row 2: Chain 2, dc2tog, dc across to last 2 stitches, dc2tog. Turn. (20 dc)
Row 3: Repeat Row 2. (18 dc)
Row 4: Repeat Row 2. (16 dc)
Row 5: Repeat Row 2. (14 dc)
Row 6: Repeat Row 2. (12 dc)
Row 7: Repeat Row 2. (10 dc)
Row 8: Repeat Row 2. (8 dc)
Row 9: Repeat Row 2. (6 dc)
Row 10: Repeat Row 2. (4 dc)
Row 11: Chain 2, dc2tog twice. Turn. (2 dc)
Top tab: Chain 1, sc across the 2 stitches. Fasten off, leaving a tail for strap attachment. (2 sc)
Cup checkpoint: Each cup should measure about 6.25 in / 16 cm wide at the base and 5.5 in / 14 cm tall before edging. The two top tabs should sit evenly.
Center Keyhole
With right side facing, join yarn at the lower center of the 5 skipped stitches. Chain 1, single crochet around the opening, placing 2 sc in the lower point. Join and fasten off. Keep this edging snug so the opening stays teardrop-shaped. This little detail adds so much character to the finished top.
Texture and Edging
Now comes the fun part where your top transforms from simple to stunning.
Raised cup ribs: On each cup, surface slip stitch 5 vertical ribs from the cup base toward the top tab, spacing them evenly. Stop each rib 1 row before the tab.
Puff flowers: Place 4 puff flowers on each cup: 2 along the outer upper cup, 1 near the inner upper cup, and 1 near the lower inner cup. Work each as 5 puff petals in one space. These little botanical details are what give this top its boho soul.
Cup scallops: Join yarn at the outer upper cup edge. Work *sc, skip 1 row-end, shell in next row-end, skip 1 row-end; repeat along the neckline edge to the top tab and down the inner edge. Adjust by skipping one extra row-end if needed so scallops lie flat.
Back top edge: Single crochet evenly across the 49 back stitches once more for a clean straight edge. (49 sc)
Braided Straps
Make 2 straps. Chain 58, slip stitch in 2nd chain from hook and across loosely. Make 3 cords per strap, braid them together, and knot or stitch the ends flat. Finished strap length should be about 14 in / 35.5 cm after light stretching.
Attach one end of each strap to a cup top tab. Pin the other ends to the back edge about 4.5 in / 11.5 cm from the center back seam on each side. Try on, adjust for the perfect fit, then sew securely. The braids add such a pretty handmade touch.
Finishing and Blocking
Weave in all your ends thoroughly. Steam-block or wet-block lightly, shaping the scallops, puff flowers, and keyhole with pins. Do not overstretch the cups.
If you want more coverage, add optional lining or removable cups by hand-stitching only at the side and lower edges so the crochet can still stretch comfortably.
Size Customization Tips
Band circumference: Work rib rows until the strip measures 4-6 in / 10-15 cm smaller than the wearer’s bust, depending on desired stretch. Keep the total row count even.
Front division: After joining, pick up 1 stitch per rib row. Use half of the stitches for the front. Reserve about 5% of the total stitches for the keyhole, then split remaining front stitches evenly between cups.
Cup height: For more coverage, begin with 24 or 26 stitches per cup and continue decreasing 2 stitches per row to the 2-stitch top tab.
Strap length: Pin straps while worn. Shorten for lift, lengthen for a lower neckline. This is the easiest adjustment to get a perfect custom fit.
Troubleshooting Common Issues
Band too loose: Remove rib rows or use a smaller hook for the band only.
Cups gape: Shorten straps, add one extra sc edging round along the neckline, or block less aggressively.
Scallops ruffle: Skip one additional row-end between shells.
Keyhole pulls wide: Work the keyhole edging with a smaller hook and place 2 sc at the lower point only.
Care Instructions
Hand wash in cool water with mild soap. Press out moisture in a towel, reshape flat, and dry away from direct heat. Store folded rather than hanging to protect the straps. Cotton yarn holds up beautifully with proper care, and this top will last you many summers.
Final Thoughts on This Boho Crop Top Crochet Pattern
This sage green boho crop top has quickly become one of my favorite makes. The combination of the stretchy ribbed band, shaped cups, and delicate botanical details creates something truly special. Whether you’re wearing it to a music festival, layering it over a tank for brunch, or just feeling cute around the house, this top delivers.
The construction might seem complex at first glance, but once you understand that you’re building from the band up and shaping with simple decreases, it all clicks into place. Take your time with the surface crochet and puff flowers. Those finishing touches are what elevate this from a basic bralette to a statement piece.
Thank you so much for choosing this pattern. I hope you love making it as much as I loved designing it. If you create your own sage green boho crop top, I would absolutely love to see it! Tag me on Instagram or share in my Facebook group.
If this pattern caught your eye, save it to your Pinterest boards so you can find it when you’re ready to cast on. And please drop a comment below if you make one. I love hearing how your projects turn out and seeing the color variations you choose. Happy crocheting!
Want a Quick & Easy Printable Version?
Get a clean, beautifully formatted PDF of this pattern — easy to follow step by step, ready to print or save on any device. No scrolling, no distractions, just the pattern.
Get the Printable PDF →