
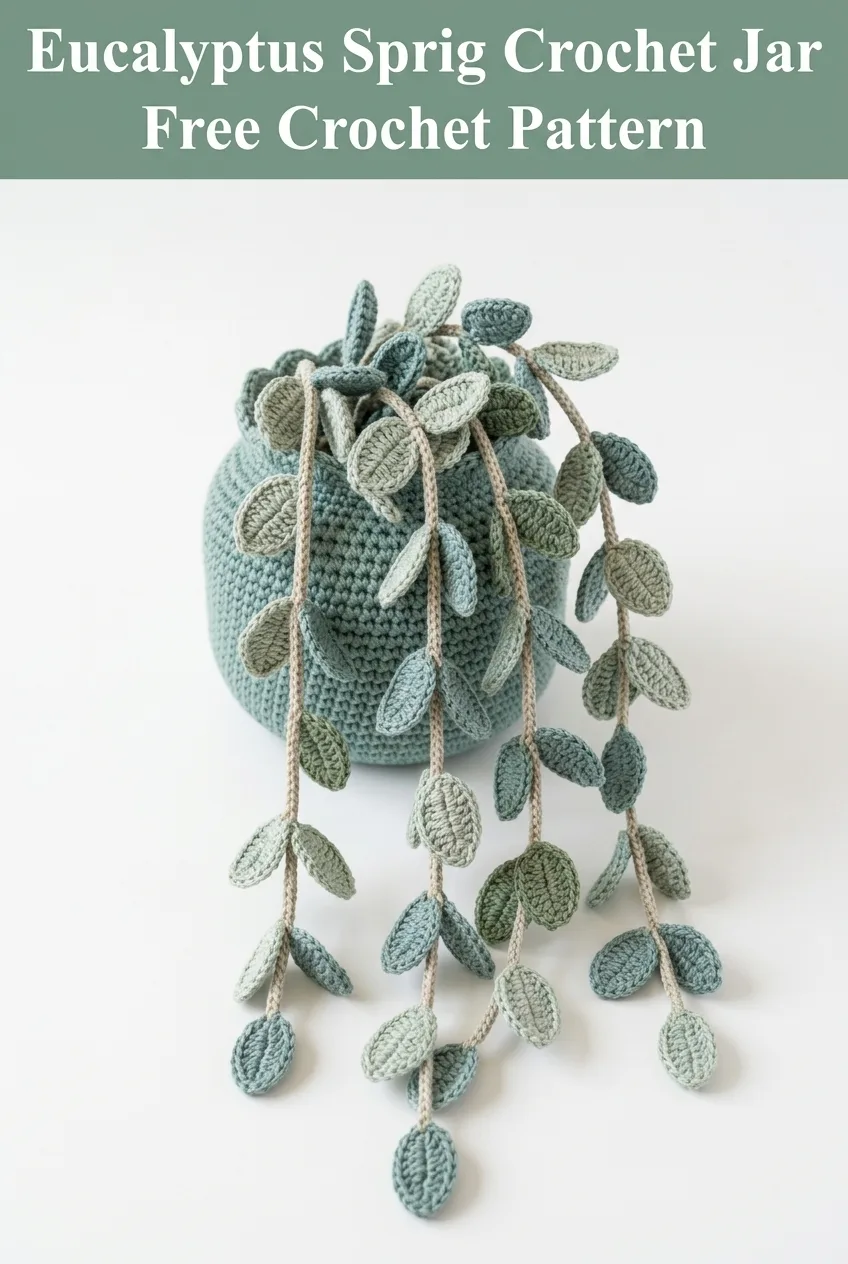
Let me guess. You saw this trailing eucalyptus jar and thought, "That looks way too complicated for me." I hear this all the time, and I’m here to tell you that you’re wrong in the best possible way. Those delicate little leaves? Basic oval shapes. That textured jar? Single crochet in the round. The trailing vines? Just chain stitches with leaves attached. If you can crochet a circle and make a simple leaf shape, you can absolutely create this stunning botanical piece. Beginners, this one is genuinely within your reach. Intermediate crocheters, you’ll fly through it. And experienced makers, this is your new favorite Netflix project.
Why This Eucalyptus Sprig Crochet Pattern Works So Well
This crochet eucalyptus jar combines two projects into one show-stopping home décor piece. You get a functional crocheted storage jar with a gently curved silhouette, plus cascading eucalyptus vines that trail beautifully over any surface. The effect looks incredibly realistic and artistic, but the techniques are surprisingly straightforward.
The jar itself uses single crochet (sc) worked in continuous rounds, which creates that smooth, dense fabric you see in the photo. The slight belly shape comes from strategic increases and decreases. Nothing fancy, just counting.
The eucalyptus sprigs use a simple leaf pattern repeated many times over. Each leaf takes only a few minutes once you get the rhythm down. You’ll attach these leaves to crocheted vine chains, then nestle everything into your finished jar.
This crochet tutorial breaks down every single step. By the end, you’ll have a gorgeous botanical centerpiece that looks like it belongs in a design magazine.
Materials You’ll Need
Yarn:
I recommend cotton yarn for this project because it holds its shape beautifully and gives the leaves that slightly stiff, realistic quality. Acrylic will work, but your leaves may be floppier.
Hook:
Using a slightly smaller hook for the leaves creates a tighter fabric that holds the leaf shape better.
Notions:
Skill Level
Beginner to Intermediate
If you’ve never crocheted before, I’d suggest practicing a basic circle first. But if you’ve made a hat, a coaster, or worked any project in the round, you have all the skills you need for this eucalyptus sprig crochet pattern.
Finished Dimensions
Gauge
14 single crochet stitches and 16 rows = 4 inches in single crochet using 4.0mm hook
Gauge matters more for the jar than the leaves. If your jar is coming out too stiff or too floppy, adjust your hook size.
Abbreviations and Stitch Definitions
Let me walk you through every stitch you’ll use. Even if you know these already, a quick refresher never hurts.
Ch = Chain. Wrap yarn over hook, pull through loop on hook. This is your foundation and also creates the vines.
Sl st = Slip stitch. Insert hook into stitch, yarn over, pull through both the stitch and the loop on your hook in one motion. Used to join and move across stitches invisibly.
Sc = Single crochet. Insert hook into stitch, yarn over and pull up a loop (two loops on hook), yarn over and pull through both loops. This is the main stitch for your jar and leaves.
Inc = Increase. Work two single crochet stitches into the same stitch. This makes your circle grow wider.
Dec = Decrease (invisible decrease preferred). Insert hook through front loops only of the next two stitches, yarn over, pull through both front loops, yarn over, pull through both loops on hook. This narrows your work without creating holes.
Hdc = Half double crochet. Yarn over, insert hook into stitch, yarn over and pull up a loop (three loops on hook), yarn over and pull through all three loops. Used for leaf shaping.
FLO = Front loop only. Work into just the front loop of the stitch instead of both loops.
The Crochet Jar Pattern
This jar is worked from the bottom up in continuous rounds. Don’t join at the end of each round. Instead, use a stitch marker to track where your rounds begin.
Base
Round 1: Using sage green yarn and 4.0mm hook, create a magic ring. Work 6 sc into the ring and pull tight. Place stitch marker. (6 sts)
Round 2: Inc in each st around. (12 sts)
Round 3: *Sc 1, inc* repeat around. (18 sts)
Round 4: *Sc 2, inc* repeat around. (24 sts)
Round 5: *Sc 3, inc* repeat around. (30 sts)
Round 6: *Sc 4, inc* repeat around. (36 sts)
Round 7: *Sc 5, inc* repeat around. (42 sts)
Round 8: *Sc 6, inc* repeat around. (48 sts)
Your base should measure approximately 4 inches across. If it’s smaller, try a larger hook. If it’s larger, try a smaller hook.
Sides
Here’s where we create that lovely curved belly shape.
Round 9: Working in FLO only, sc in each st around. (48 sts)
This front loop only round creates a sharp edge where the base meets the sides. It’s a small detail that makes a big difference.
Rounds 10-14: Sc in each st around. (48 sts)
Round 15: *Sc 7, inc* repeat around. (54 sts)
Rounds 16-20: Sc in each st around. (54 sts)
Round 21: *Sc 8, inc* repeat around. (60 sts)
Rounds 22-24: Sc in each st around. (60 sts)
Now we begin shaping inward for the jar opening.
Round 25: *Sc 8, dec* repeat around. (54 sts)
Round 26: Sc in each st around. (54 sts)
Round 27: *Sc 7, dec* repeat around. (48 sts)
Rounds 28-30: Sc in each st around. (48 sts)
Scalloped Edge
This decorative edge gives the jar that organic, handmade look.
Round 31: *Sc 1, skip 1, 5 hdc in next st, skip 1* repeat around. Sl st to first sc to join. Fasten off.
The five half double crochets clustered into one stitch create those pretty shell scallops you see along the top edge.
Weave in your ends thoroughly. The jar is complete.
Eucalyptus Leaf Pattern
Each leaf is worked in rows, back and forth. You’ll make approximately 40 to 60 leaves total, depending on how full you want your arrangement.
Don’t let that number scare you. Each leaf takes about 2 minutes once you find your rhythm. This is perfect for making a few at a time while watching TV.
Use your two shades of green randomly for natural variation.
Row 1: Using 3.5mm hook, ch 7. Starting in second ch from hook: sc 1, hdc 1, sc 3, work 3 sc in last ch. Now working along the opposite side of the foundation chain: sc 3, hdc 1, sc 1. Sl st to first sc to join. (16 sts total around the oval)
Row 2: Ch 1, sc 1, hdc 1, sc 4, hdc 1, sc 1. Leave remaining stitches unworked.
Fasten off, leaving a 6-inch tail for attaching to the vine.
Your finished leaf should be a slightly pointed oval shape, about 1 inch long.
Beginner tip: If your leaves are curling, try relaxing your tension slightly. Cotton yarn can be unforgiving if you crochet tightly.
Vine Pattern
The vines are simple chains with leaves attached at intervals.
Step 1: Using tan yarn and 3.5mm hook, ch 80 to 100 depending on how long you want your vine.
Step 2: Sl st in second ch from hook and in each ch across. Fasten off.
This creates a sturdy, slightly textured vine that looks remarkably like a real stem.
Make 4 to 6 vines of varying lengths for a natural look.
Attaching the Leaves
Thread your yarn needle with the tail from one leaf. Position the leaf along the vine where you want it. Stitch through the base of the leaf and wrap around the vine chain two or three times. Secure with a knot on the back and weave in the end.
Space your leaves approximately 1 to 2 inches apart along each vine. Vary the placement so some leaves face left and others face right. In nature, eucalyptus leaves don’t line up perfectly, so embrace the randomness.
Pro tip: Attach leaves in pairs, one on each side of the vine, for that authentic eucalyptus look.
Finishing Your Eucalyptus Sprig Crochet Jar
Once all your leaves are attached to the vines, arrange them inside the jar. You can simply drape them over the edge, or you can add a small amount of polyester fiberfill or tissue paper inside the jar first to give the vines something to rest on.
Adjust the trailing lengths so they cascade at different heights. Some shorter sprigs poking up from the jar add dimension, while the longer trails create that beautiful flowing effect.
If your leaves are too floppy, you can stiffen them with a light spray of fabric stiffener or a mixture of one part white glue to three parts water. Let them dry completely on a flat surface.
Styling Ideas
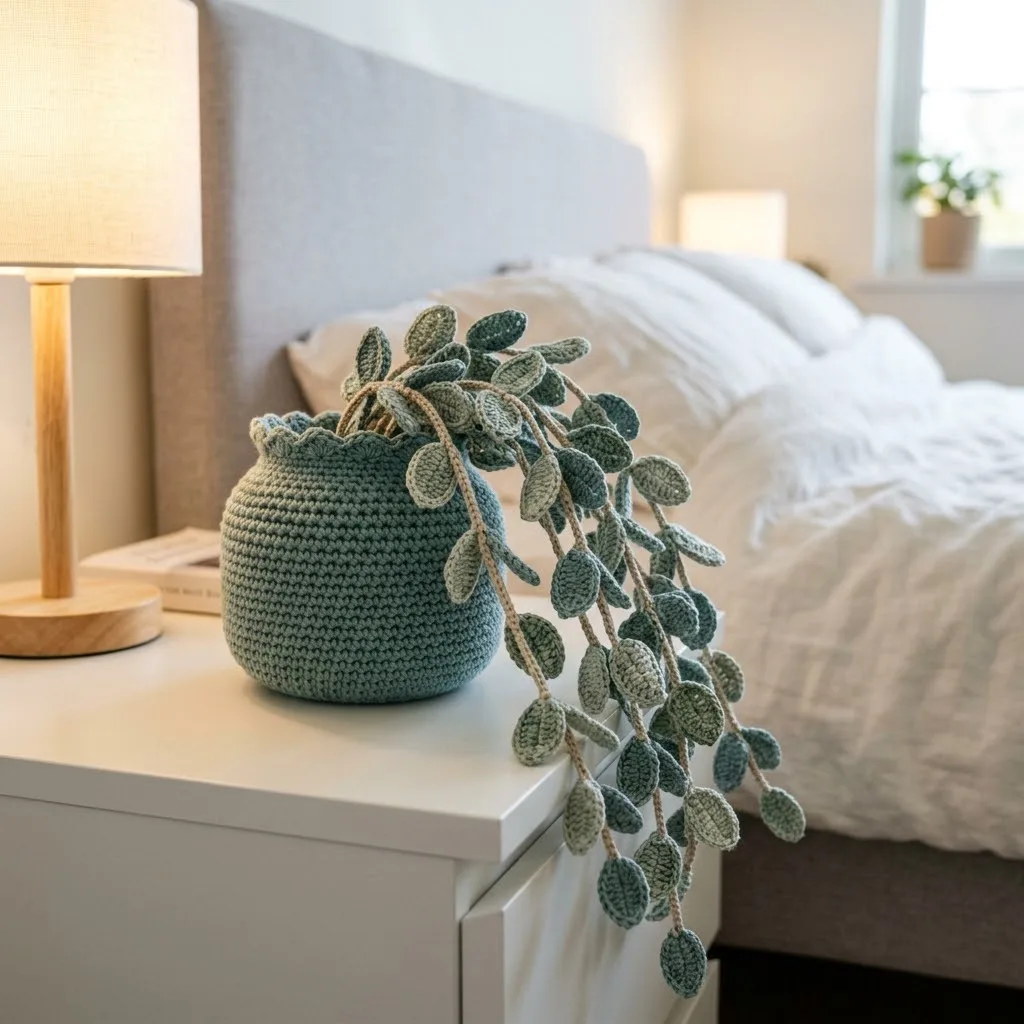
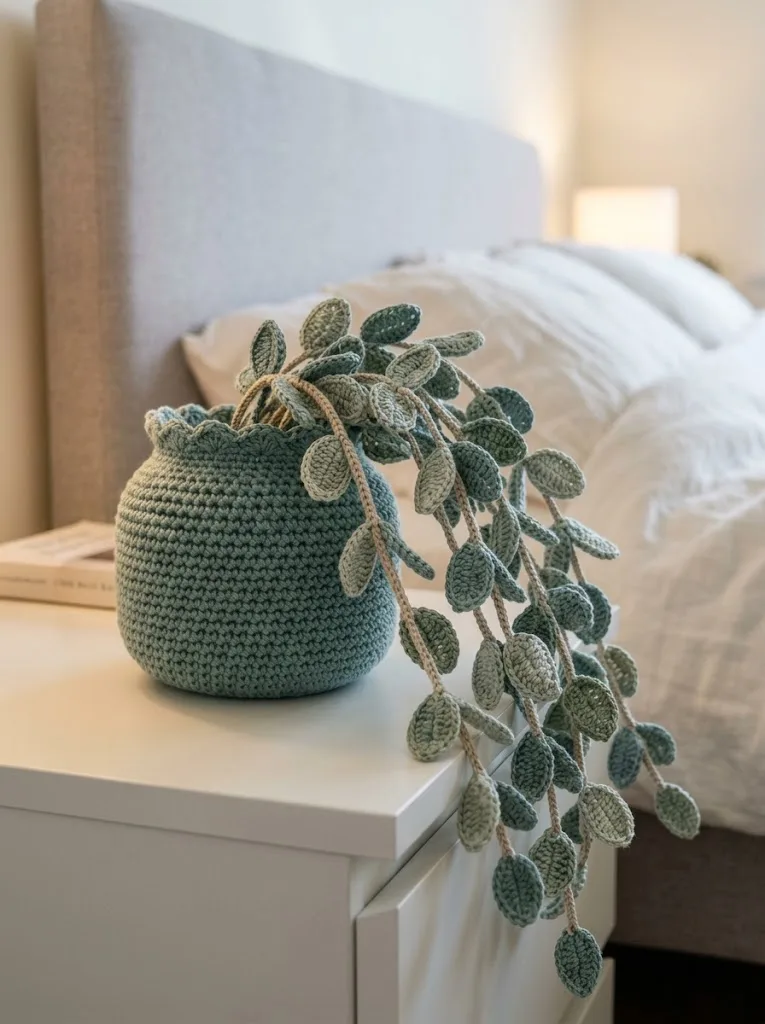
This crochet eucalyptus jar looks stunning on a nightstand, as shown in the photo. The soft sage green complements neutral bedding beautifully. But don’t stop there.
Try placing it on a bathroom shelf, a kitchen windowsill, or a home office desk. Unlike real plants, this one thrives in dark corners and never needs watering. It also makes a thoughtful handmade gift for housewarmings, birthdays, or anyone who loves plants but struggles to keep them alive.
Customization Options
Different plant styles: Use the same leaf pattern in deeper greens for a pothos look, or in variegated green and cream yarn for a more tropical vibe.
Jar variations: Make the jar taller by adding more rounds before the decrease section. Make it wider by adding another increase round to the base.
Leaf sizes: Chain 9 instead of 7 for larger leaves, or chain 5 for tiny trailing leaves like a string of pearls plant.
Troubleshooting Common Issues
Jar won’t stand up: Your stitches might be too loose. Try a smaller hook or tighter tension.
Leaves look lumpy: Make sure you’re working into the correct side of the foundation chain. The bottom of the chain should face you as you work Row 1.
Vines are too stiff or too floppy: Switch yarn types. Cotton blends offer more flexibility than pure cotton.
Scalloped edge is wonky: Count your stitches carefully in Round 30. You need exactly 48 stitches for the scallops to work out evenly.
Final Thoughts on This Step by Step Crochet Tutorial
I hope this eucalyptus sprig crochet pattern has shown you that beautiful botanical crochet doesn’t require advanced skills. The individual components are genuinely simple. It’s the assembly and styling that make this piece look so impressive.
Take your time with the leaves. Put on your favorite show and let your hands do the work. Before you know it, you’ll have a pile of sweet little eucalyptus leaves ready to become trailing vines.
This beginner friendly crochet pattern proves that sometimes the most stunning projects are just basic stitches repeated with intention. You’ve got this, and I cannot wait to see what you create.
Thank you so much for choosing this pattern. If you make your own eucalyptus jar, I would absolutely love to see it. Tag me on Instagram or share it in our Facebook group. Seeing your finished projects genuinely makes my day.
If this pattern inspired you, save it to your Pinterest boards so you can find it again when you’re ready to start. And please drop a comment below if you give it a try. I love hearing how projects turn out and answering any questions along the way. Happy crocheting, friend.