
THIS is one of those projects that looks incredibly impressive but works up faster than you’d expect! Seriously, if you want something that will make everyone ask "wait, you MADE that?" this crochet snake plant is your answer. The chevron colorwork looks advanced, but I promise it’s totally manageable once you get into the rhythm. You can finish the whole plant in a weekend, and it makes the most stunning gift for anyone who loves plants but maybe struggles to keep real ones alive. Trust me, this one never needs watering.
Why You’ll Love This Crochet Snake Plant Pattern
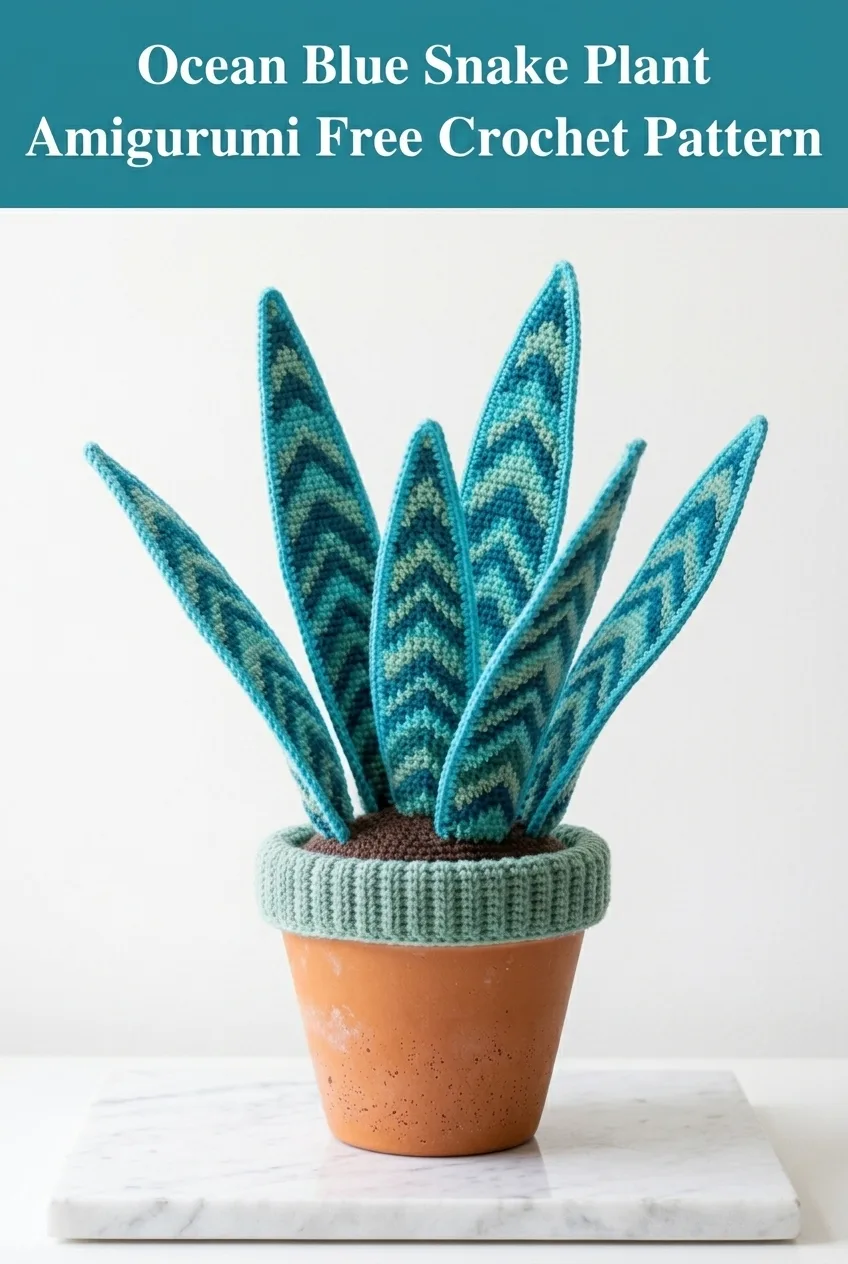
This amigurumi snake plant captures everything I adore about the real thing. Those dramatic pointed leaves reaching upward. The gorgeous variegated coloring. The architectural shape that looks perfect on any windowsill or shelf.
What makes this pattern special is the chevron colorwork on each leaf. You’re working with three shades of blue and teal to create those striking zigzag stripes. The technique isn’t as scary as it looks. You’ll be carrying yarn and changing colors, but once you complete one leaf, the rest fly by.
The finished plant sits in a real terracotta pot, which gives it such an authentic feel. The crocheted "soil" disc and ribbed pot rim cover the top beautifully. Nobody would guess this gorgeous houseplant is made entirely from yarn.
Skill Level
Intermediate. You should be comfortable with basic amigurumi techniques, working in the round, and simple colorwork. If you’ve never done chevron stripes before, don’t worry. I’ll walk you through it step by step.
Finished Measurements
The completed snake plant stands approximately 14 to 16 inches tall from the base of the pot to the tallest leaf tip. Individual leaves range from 8 to 12 inches in length. The design fits a standard 4 to 5 inch terracotta pot.
Materials Needed
Yarn:
I recommend a smooth cotton or cotton blend yarn for crisp stitch definition. Acrylic works beautifully too and holds its shape well for the leaves.
Tools:
Abbreviations and Stitch Definitions
Let me define every stitch you’ll need before we begin.
Ch = Chain. Wrap yarn over hook and pull through the loop on your hook. This creates the foundation for your work.
Sl st = Slip stitch. Insert hook into stitch, yarn over, pull through both the stitch and the loop on your hook in one motion. Used for joining rounds.
Sc = Single crochet. Insert hook into stitch, yarn over and pull up a loop (two loops on hook), yarn over and pull through both loops.
Sc2tog = Single crochet two together. A decrease stitch. Insert hook into first stitch, pull up a loop. Insert hook into next stitch, pull up a loop. Yarn over and pull through all three loops on your hook. This turns two stitches into one.
Inc = Increase. Work two single crochet stitches into the same stitch.
BLO = Back loop only. Instead of inserting your hook under both loops at the top of the stitch, insert it only under the back loop. This creates a ribbed texture.
FO = Fasten off. Cut your yarn and pull the tail through the last loop to secure it.
Pattern Notes
Read these tips before starting. They’ll save you confusion later.
Gauge: Exact gauge isn’t critical for amigurumi, but aim for a tight fabric with no gaps showing. If you see stuffing peeking through, try a smaller hook.
Colorwork method: You’ll be carrying unused colors along the back of your work and crocheting over them. This prevents cutting yarn at every color change and creates a neater finish.
Leaf construction: Each leaf is worked flat in rows, then folded in half lengthwise and seamed together with a border of single crochet. This creates the pointed, dimensional shape.
Working in continuous rounds: For the soil and pot rim, you’ll spiral continuously without joining each round. Use a stitch marker to track round beginnings.
Crochet Snake Plant Pattern Instructions
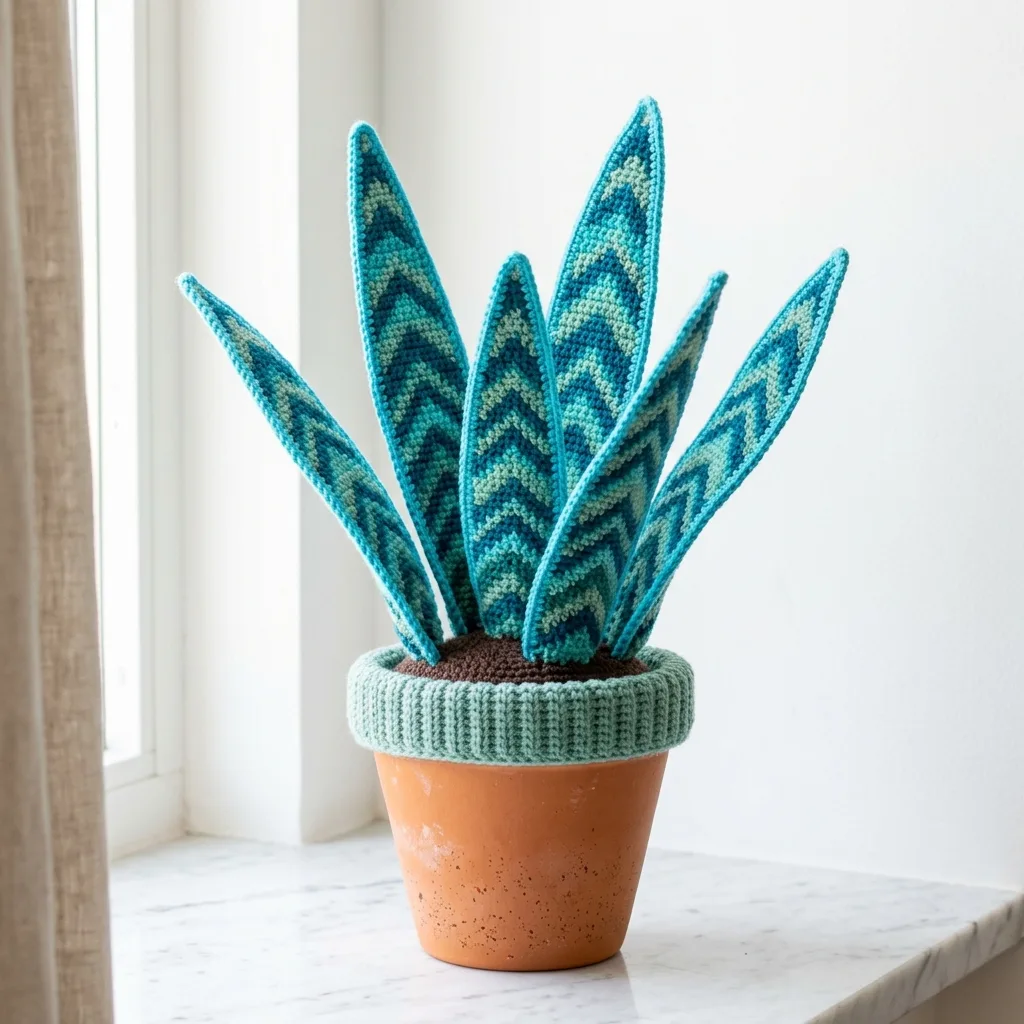
Chevron Leaves (Make 7 total: 3 large, 2 medium, 2 small)
The chevron pattern is the same for all leaves. Only the number of rows changes.
Large Leaf Foundation:
With Color A and 3.5mm hook, ch 27.
Row 1: Sc in 2nd ch from hook, sc in next 11 ch, 3 sc in next ch (this is your center point), sc in next 11 ch, 2 sc in last ch. Ch 1, turn. (28 sts)
Row 2: Sc2tog over first 2 sts, sc in next 11 sts, 3 sc in center st, sc in next 11 sts, sc2tog over last 2 sts. Ch 1, turn. (28 sts)
This is your chevron row. The decrease at each edge and increase at center creates the zigzag pattern.
Color Sequence:
Work Row 2 pattern continuously, changing colors every 2 rows in this order:
Repeat this 8 row color sequence.
Large Leaf: Work 40 total rows. FO with a long tail for seaming.
Medium Leaf: Ch 23 to start. Work 32 total rows following the same color sequence.
Shaping note for medium leaves: You’ll start with fewer chains, so work sc in next 9 sts (instead of 11) before and after your center point.
Small Leaf: Ch 19 to start. Work 24 total rows following the same color sequence.
Shaping note for small leaves: Work sc in next 7 sts before and after your center point.
Assembling Each Leaf
Once your leaf panel is complete, fold it in half lengthwise with wrong sides together. The chevron stripes should align.
With Color B and 3.5mm hook, join yarn at the bottom corner. Work a row of single crochet through both layers along the entire edge. This seams the leaf while creating a neat border.
When you reach the pointed top, work 3 sc into the tip to round it slightly. Continue down the other side.
Before closing completely, insert floral wire or a pipe cleaner for structure. This is optional but helps leaves stand upright. Stuff lightly with fiberfill for a plump look.
Close the bottom edge with slip stitches. Leave a long tail for attaching to the soil base.
Soil Disc
With Color E (Brown) and 3.5mm hook.
Round 1: Create a magic ring. Work 6 sc into the ring. Pull tight. (6 sts)
Round 2: Inc in each st around. (12 sts)
Round 3: *Sc 1, inc* repeat around. (18 sts)
Round 4: *Sc 2, inc* repeat around. (24 sts)
Round 5: *Sc 3, inc* repeat around. (30 sts)
Round 6: *Sc 4, inc* repeat around. (36 sts)
Round 7: *Sc 5, inc* repeat around. (42 sts)
Round 8: *Sc 6, inc* repeat around. (48 sts)
Round 9: *Sc 7, inc* repeat around. (54 sts)
Continue increasing in this pattern until your disc fits snugly inside your terracotta pot. For a 4 inch pot, work through Round 11 or 12.
Sl st to join. FO and weave in ends.
Pot Rim Cover
With Color D (Sage Green) and 4.0mm hook, ch 8.
Row 1: Sc in 2nd ch from hook and in each ch across. Ch 1, turn. (7 sts)
Row 2: Working in BLO only, sc in each st across. Ch 1, turn. (7 sts)
Repeat Row 2 until your strip wraps comfortably around the rim of your pot. This creates the ribbed texture you see in the finished piece.
Sl st the short ends together to form a ring. FO.
Assembly Instructions
Now comes the fun part. Putting your plant together!
Step 1: Place the soil disc inside the terracotta pot. It should sit just below the rim.
Step 2: Position the pot rim cover around the top edge of the pot. It should sit on top of the soil disc and cover the terracotta rim completely. Stitch it to the soil disc if needed for security.
Step 3: Arrange your leaves on the soil disc. Start with the three large leaves in the center, angling them outward at different heights. Add the medium leaves next, tucking them between the large ones. Finally, position the two small leaves at the outer edges.
Step 4: Using your tapestry needle and matching yarn, stitch each leaf base firmly to the soil disc. Take your time here. Secure stitching keeps everything in place.
Step 5: Adjust leaf angles until you’re happy with the arrangement. Bend the wire cores gently if needed to achieve that natural, slightly curved look.
Customization Ideas
Want to make this pattern your own? Here are some options.
Different colorways: Try greens and yellows for a more traditional snake plant look. Or go wild with pinks, purples, or rainbow gradients.
Leaf count: Add more leaves for a fuller plant, or fewer for a minimalist vibe.
Pot alternatives: Skip the terracotta and crochet an entire pot cover instead. Or use a decorative ceramic planter.
Size adjustments: Use bulky yarn and a larger hook for a dramatic oversized version. Or try fingering weight yarn for a tiny desk plant.
Troubleshooting Tips
Leaves won’t stand up: Make sure you’ve inserted wire or pipe cleaners for internal structure. Without support, the leaves may flop.
Chevron stripes look uneven: Check that you’re consistently working your center 3 sc increase and edge decreases on every row. Missing one throws off the entire pattern.
Colors showing through: You might be crocheting too loosely. Try going down a hook size for tighter fabric.
Soil disc too small or large: Simply add or remove increase rounds until it fits your specific pot.
Why This Snake Plant Makes a Perfect Gift
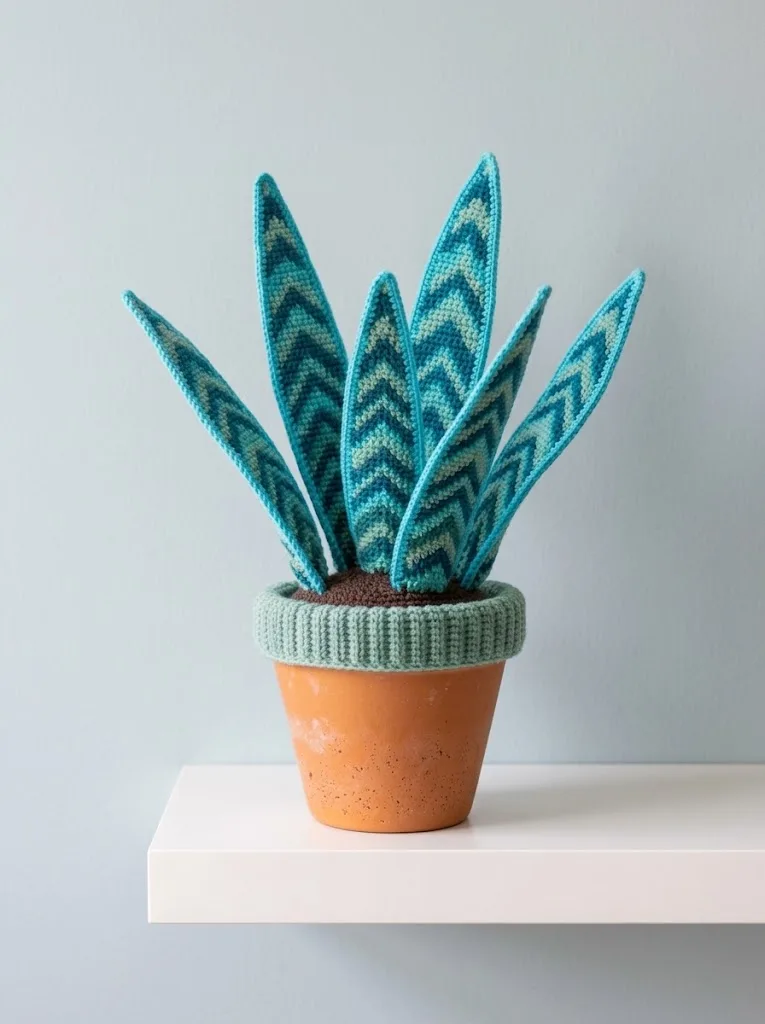
Think about it. A beautiful houseplant that requires zero care. No watering schedule to remember. No sunlight requirements. No risk of overwatering or root rot. Just gorgeous greenery that lasts forever.
This crochet snake plant works wonderfully for housewarmings, birthdays, teacher gifts, or just because. It’s especially thoughtful for friends who travel frequently or anyone who loves the look of plants without the maintenance.
Plus, making something by hand shows real care and effort. Every stitch represents time you spent thinking of that person.
I really hope you enjoy making this ocean blue snake plant amigurumi crochet pattern as much as I loved designing it. It’s such a satisfying project, and the finished piece always gets compliments. If you make one, I would absolutely love to see it! Tag me on Instagram or share a photo in my Facebook group.
If this pattern caught your eye, go ahead and save it to your Pinterest boards so you can find it when you’re ready to start. And please drop a comment below to let me know if you try it. I read every single one and it honestly makes my day to hear from you!