
I don’t know about you, but I have a serious soft spot for home decor that makes people smile. These candy-shaped bolster pillows give you all the whimsy of a giant wrapped sweet with none of the sugar crash. Plus, they’re basically just tubes with ruffles, so the wow factor far exceeds the effort involved.
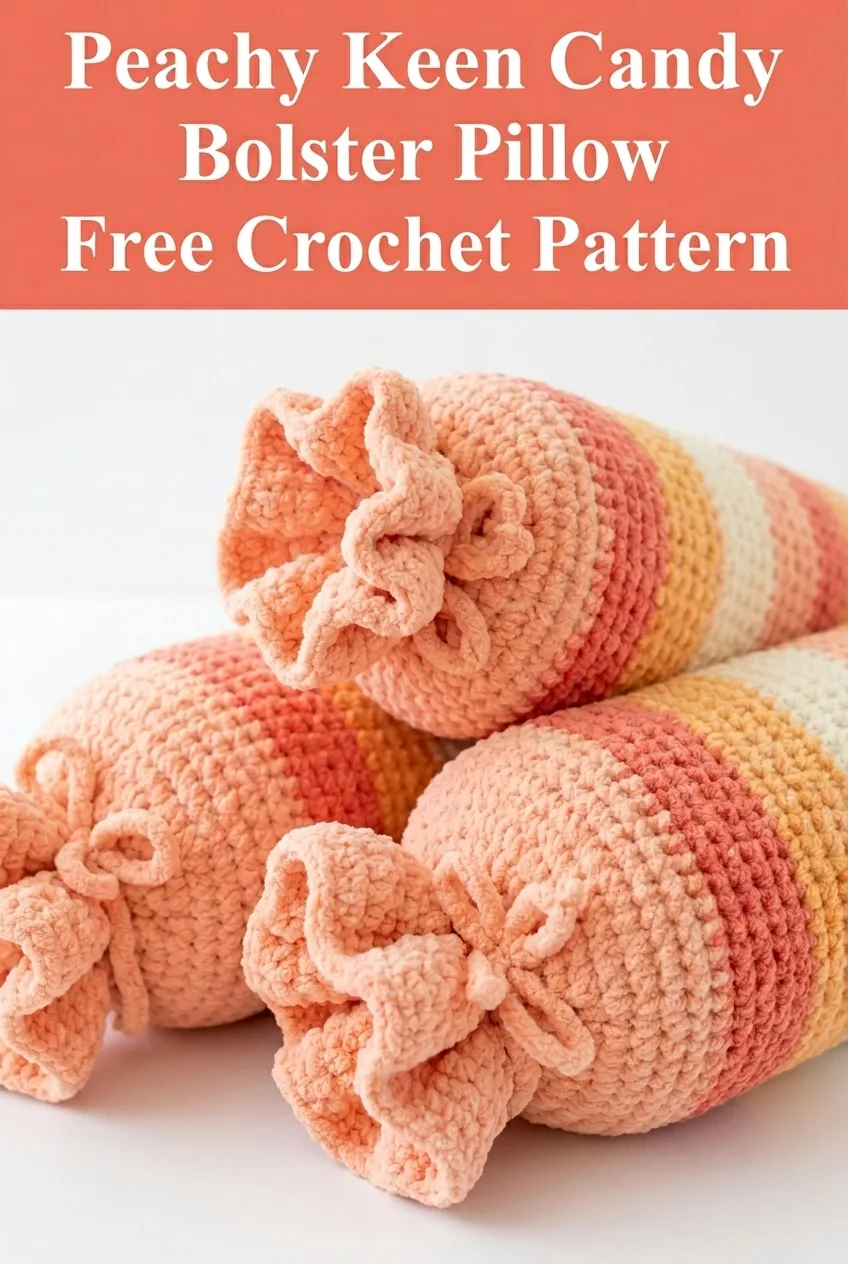
When I finished my first one, I immediately started a second. That’s always the sign of a winner pattern in my book.
Why You’ll Love This Crochet Candy Bolster Pillow Pattern
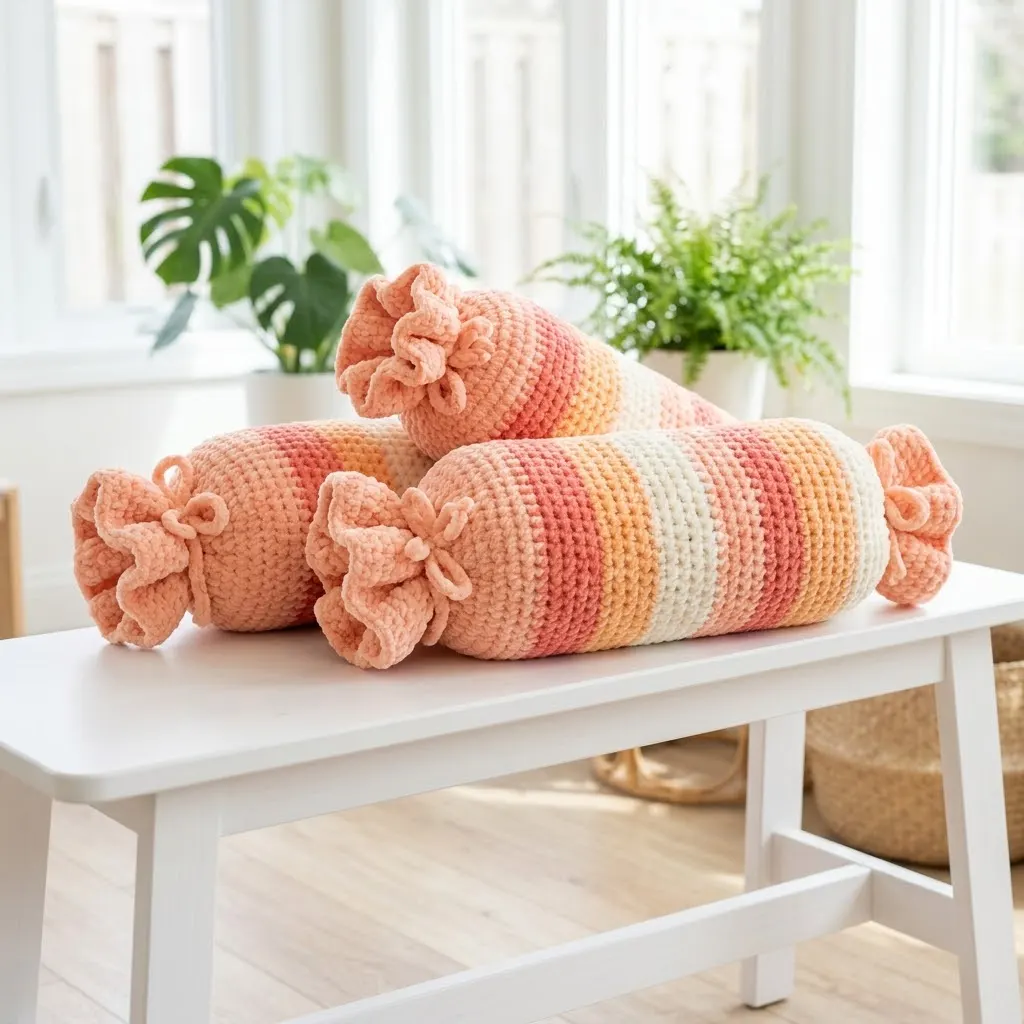
These adorable pillows look like oversized wrapped candies, complete with twisted wrapper ends that ruffle out like the real thing. The striped body gives you that classic candy aesthetic, and the peachy coral tones make them perfect for a cozy bedroom, playroom, or nursery.
What makes this crochet tutorial beginner friendly? You’re working almost entirely in single crochet stitches in the round. If you can crochet a tube, you can make this pillow. The stripes happen naturally as you change colors, and the ruffled ends are just chains attached to the edges. No complicated shaping. No confusing increases. Just satisfying, meditative stitching that builds into something genuinely impressive.
This pattern creates two sizes. The larger bolster works beautifully as a statement pillow on a bed or couch. The smaller version makes a perfect accent piece or a cuddly friend for little ones. Make a matching set for maximum visual impact.
Materials Needed for Your Candy Bolster Pillow
Yarn:
– Color A: Coral/Salmon (approximately 200 yards for large, 100 yards for small)
– Color B: Light Peach (approximately 150 yards for large, 75 yards for small)
– Color C: Cream/Off-White (approximately 150 yards for large, 75 yards for small)
– Color D: Dusty Rose/Deep Coral (approximately 150 yards for large, 75 yards for small)
– Color E: Peach for ruffle ends (approximately 100 yards for large, 50 yards for small)
I recommend a soft acrylic or cotton blend yarn. The finished pillows in the photos have a lovely matte texture that suggests a premium acrylic like Caron Simply Soft or similar. You want something with good stitch definition that will hold its shape.
Tools:
Gauge:
14 single crochet stitches and 16 rows = 4 inches in single crochet worked in the round
Gauge matters for this project because it determines your final pillow size. Take a few minutes to check yours before diving in.
Finished Dimensions
The ruffle ends add approximately 3 to 4 inches on each side.
Skill Level
Beginner to Easy Intermediate
If you’ve crocheted a hat or a simple amigurumi, you have all the skills you need. This step by step crochet pattern walks you through everything.
Abbreviations and Stitch Definitions
Let me define each abbreviation before we begin. Understanding these terms will help you follow along smoothly.
How to Crochet the Candy Bolster Pillow: Step by Step Pattern
This pattern is worked in continuous rounds. Do not join at the end of each round unless instructed. Use a stitch marker to track the beginning of each round.
Large Candy Bolster Body
Starting End (Color A):
Rnd 1: With Color A, create a magic ring. Work 6 sc into the ring. Pull tight. (6 sts)
Rnd 2: Inc in each st around. (12 sts)
Rnd 3: *Sc 1, inc* repeat around. (18 sts)
Rnd 4: *Sc 2, inc* repeat around. (24 sts)
Rnd 5: *Sc 3, inc* repeat around. (30 sts)
Rnd 6: *Sc 4, inc* repeat around. (36 sts)
Rnd 7: *Sc 5, inc* repeat around. (42 sts)
Rnd 8: *Sc 6, inc* repeat around. (48 sts)
Rnd 9: *Sc 7, inc* repeat around. (54 sts)
Rnd 10: *Sc 8, inc* repeat around. (60 sts)
You now have a flat circle approximately 5.5 to 6 inches in diameter. This forms one end of your candy shape.
Tip for beginners: If your circle is cupping or ruffling, check your tension. A flat circle should lay completely flat on your work surface.
Body Stripes:
Now you’ll work even rounds (no increases) to create the tube. Change colors as indicated to create the stripe pattern.
Rnds 11-18: Continue with Color A. Sc in each st around. (60 sts) – 8 rounds total
Rnds 19-26: Change to Color B. Sc in each st around. (60 sts) – 8 rounds total
Rnds 27-34: Change to Color C. Sc in each st around. (60 sts) – 8 rounds total
Rnds 35-42: Change to Color D. Sc in each st around. (60 sts) – 8 rounds total
Rnds 43-50: Change to Color B. Sc in each st around. (60 sts) – 8 rounds total
Rnds 51-58: Change to Color A. Sc in each st around. (60 sts) – 8 rounds total
Your tube should measure approximately 12 to 14 inches long at this point.
How to change colors cleanly: On the last stitch before the color change, work until you have 2 loops on your hook. Drop the old color, yarn over with the new color, and pull through both loops. Carry the unused yarn inside your work or cut and weave in later.
Closing End:
Rnd 59: *Sc 8, dec* repeat around. (54 sts)
Rnd 60: *Sc 7, dec* repeat around. (48 sts)
Rnd 61: *Sc 6, dec* repeat around. (42 sts)
Rnd 62: *Sc 5, dec* repeat around. (36 sts)
Rnd 63: *Sc 4, dec* repeat around. (30 sts)
Pause here to stuff your pillow! Add fiberfill firmly but not so tight that the stitches stretch. You want a nice plump cylinder.
Rnd 64: *Sc 3, dec* repeat around. (24 sts)
Rnd 65: *Sc 2, dec* repeat around. (18 sts)
Add more stuffing as needed before the opening gets too small.
Rnd 66: *Sc 1, dec* repeat around. (12 sts)
Rnd 67: Dec 6 times around. (6 sts)
Fasten off and close the hole. Thread your yarn tail through the remaining 6 stitches, pull tight, and weave in securely.
Ruffle Wrapper Ends (Make 2)
This is where the magic happens. The ruffles transform your simple tube into an adorable wrapped candy.
With Color E:
Rnd 1: Join Color E to the edge of either end of your bolster. Working into the edge stitches around the flat circle portion, sc evenly around the circumference. You should have approximately 60 sts. Join with sl st to first sc. (60 sts)
Rnd 2: Ch 3, *skip 1 st, sc in next st, ch 3* repeat around. Join with sl st. This creates the first layer of loops.
Rnd 3: Working into the skipped stitches from Rnd 2, *ch 4, sc* repeat around. Join with sl st.
Rnd 4: *Ch 5, sl st in next ch space* repeat around. Join and fasten off.
The chains naturally curl and twist, creating that perfect crinkled candy wrapper effect.
Gathering the ruffle: Thread a length of matching yarn through the base of the ruffle. Pull gently to gather the ruffle slightly, creating that pinched wrapper look. Tie off securely.
Repeat for the other end of your bolster.
Small Candy Bolster (Variation)
For the smaller version, follow the same construction with these modifications:
Finishing Your Crochet Candy Pillow
Weave in all ends carefully. For a polished look, weave each tail through several stitches in different directions before trimming.
Shape your ruffles by gently pulling and arranging the chain loops. They should fan out naturally with a little encouragement.
Optional: If your ruffle ends feel too floppy, you can lightly spray them with fabric stiffener. This is entirely personal preference.
Tips for Success with This Crochet Pattern
Tension consistency matters. Try to maintain the same tension throughout the body of your pillow. Uneven tension will create a lumpy cylinder.
Don’t understuff. A well-stuffed bolster looks professional. A limp one looks sad. Err on the side of more stuffing.
Color placement is flexible. I’ve shown a gradient peachy palette, but you could easily swap in bright rainbow stripes, monochromatic neutrals, or holiday colors. Make it yours.
This makes an incredible gift. Baby showers, housewarmings, birthdays for the candy lover in your life. The presentation factor is off the charts for the effort involved.
Troubleshooting Common Issues
My circle is cupping: You might be crocheting too tightly, or you may have missed an increase. Rip back and try again with a slightly looser grip.
My tube is spiraling: This is normal for continuous rounds. The "spiral" won’t affect the finished look since it’s a stuffed tube.
My ruffles are too stiff: Use a larger hook for the ruffle rounds, or work your chains more loosely.
My ruffles are too limp: Use a smaller hook, or add one more round of chains to create more volume.
Why This Candy Bolster Pillow Pattern Works
The genius of this design is the simplicity. You’re basically crocheting a stuffed tube with fancy ends. But those ruffled wrapper ends completely transform the project into something that looks intricate and clever.
The stripe sequence creates visual interest without requiring colorwork expertise. Each color change happens at the end of a round, so there’s no carrying yarn or reading charts.
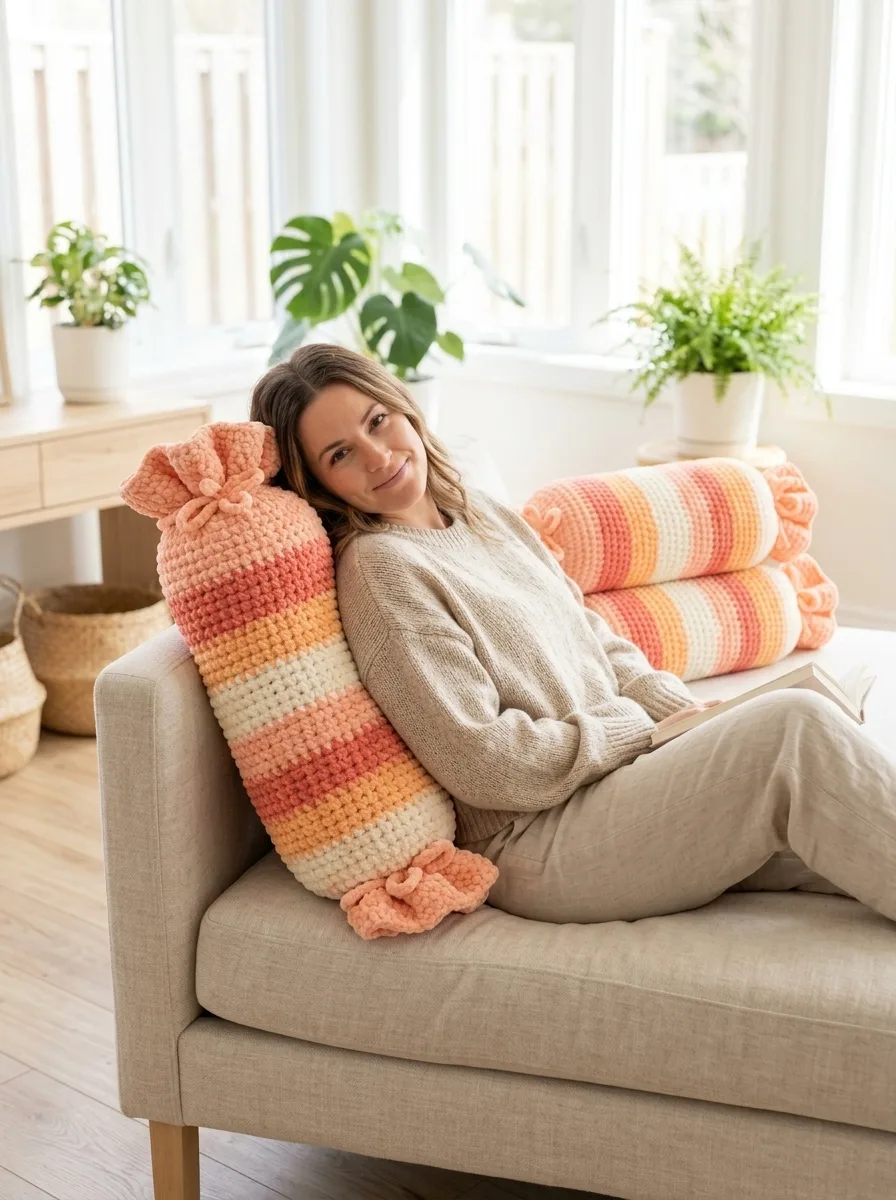
And let’s talk about the squishy factor. A well-made bolster pillow is incredibly satisfying to hug. It has that perfect combination of firm support and soft give.
I really hope you love making this Peachy Keen Candy Bolster Pillow as much as I loved designing it. There’s something deeply satisfying about creating home decor that brings genuine delight to everyone who sees it.
Thank you so much for choosing to make this pattern. Your creativity and time mean the world to me. If you make one of these sweet pillows, I would absolutely love to see it! Tag me on Instagram or share a photo in our Facebook group. Seeing your finished projects genuinely makes my day.
If this pattern is going on your "to make" list, go ahead and save it to your Pinterest boards so you can find it when you’re ready to start stitching. And please drop a comment below if you give it a try. I love hearing how your projects turn out and seeing the color combinations you choose!