
I found this design tucked away in an old notebook from a few years back. I had named it the "Sunshine Dress" and scribbled little daisies in the margins. I made the original for my friend’s baby shower, and she cried happy tears when she opened it.
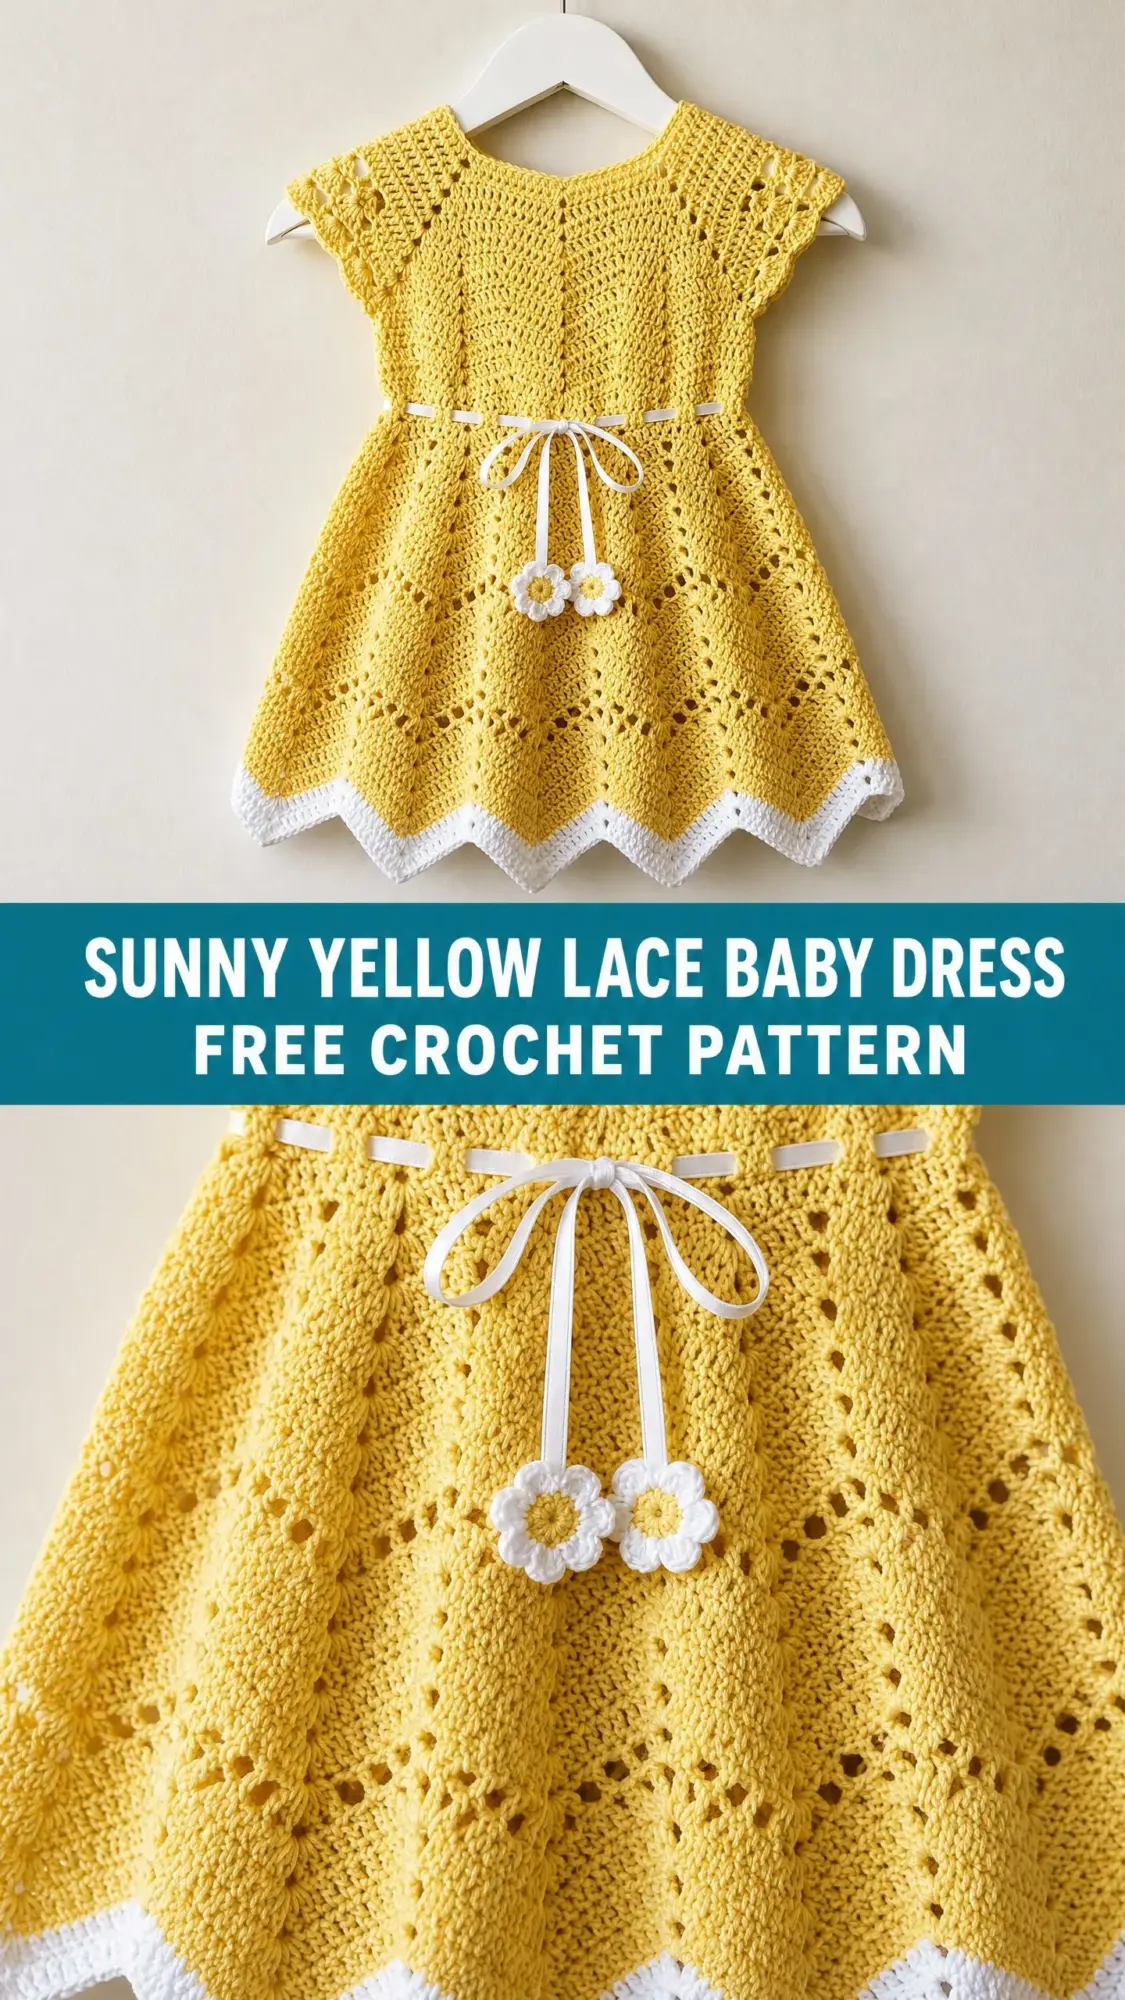
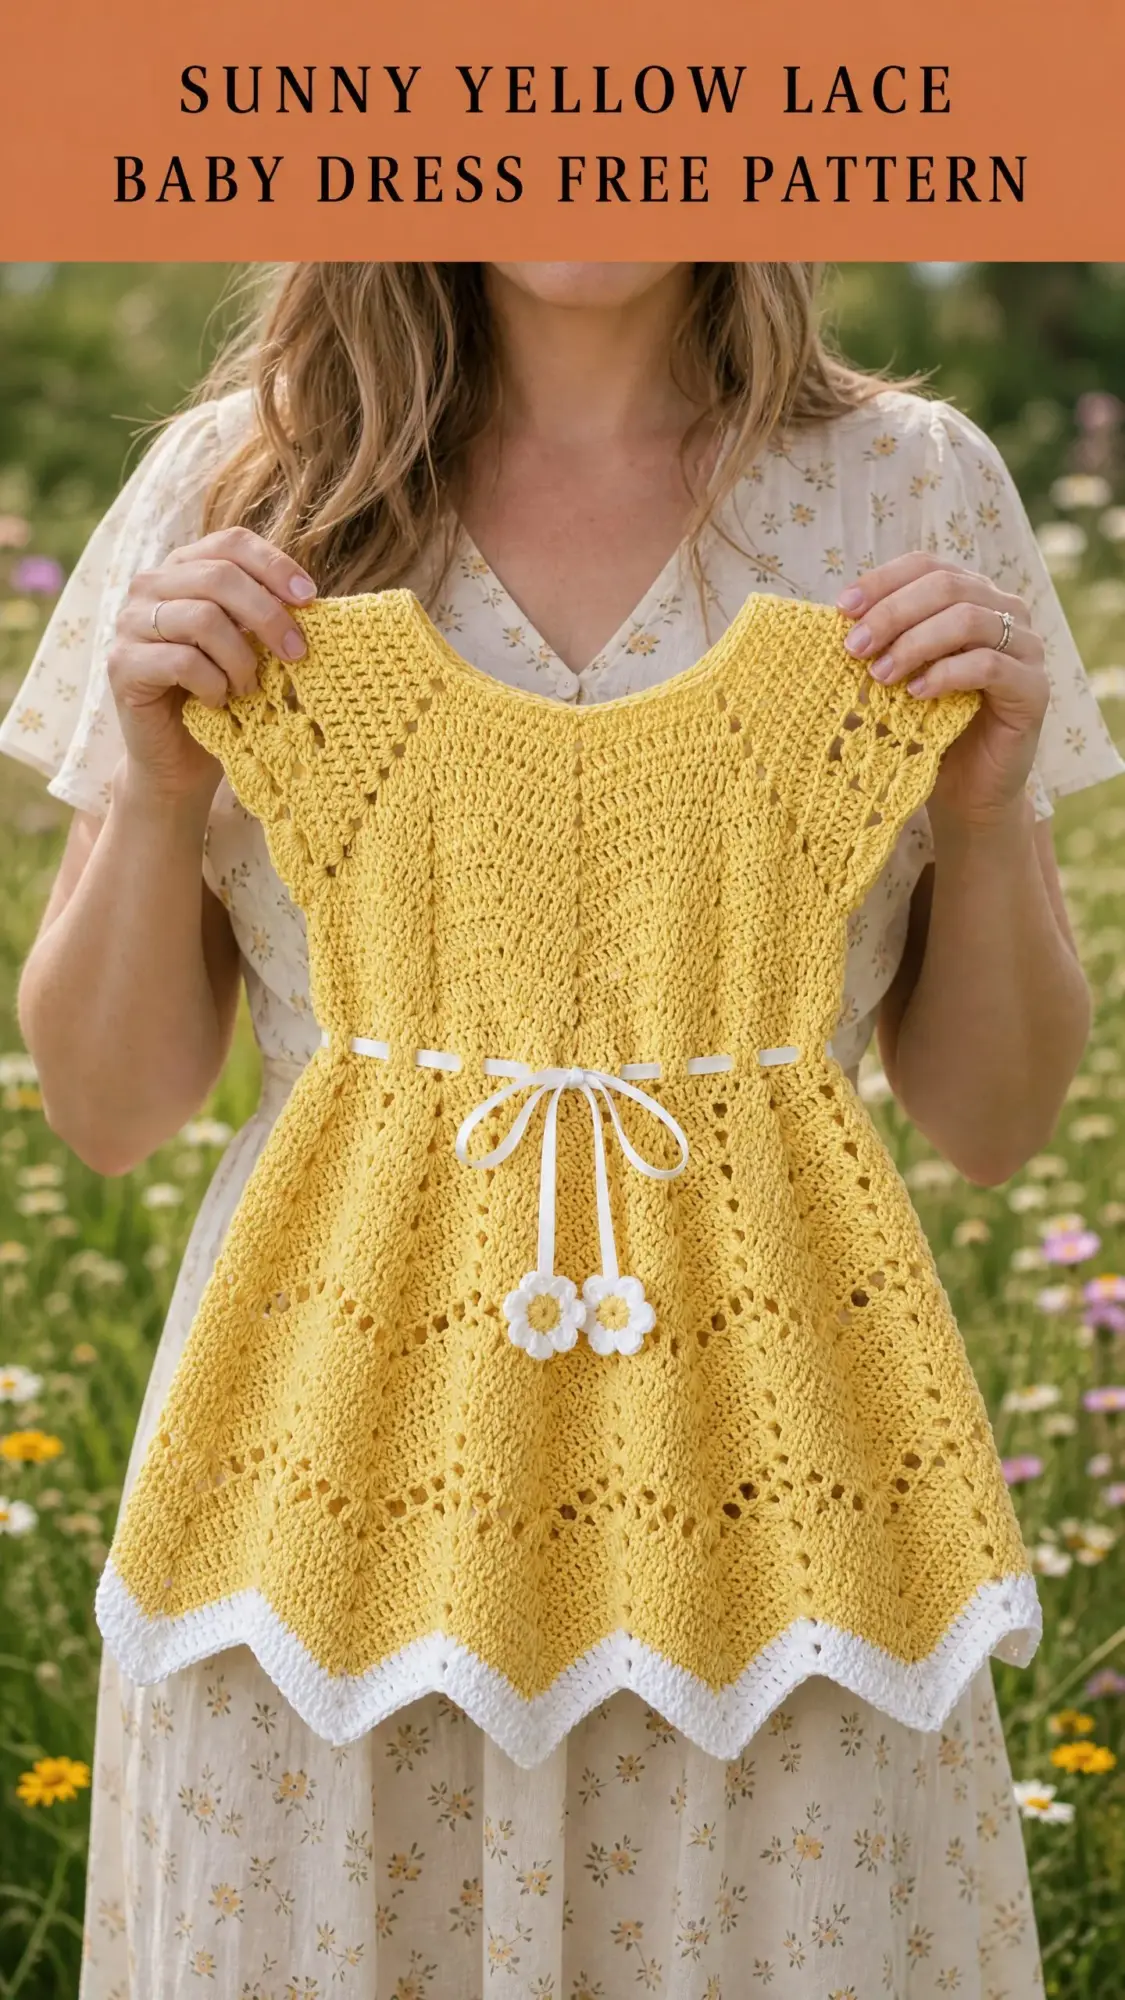
Now I finally get to share it with you. This sunny yellow lace baby dress combines a fitted yoke with a gorgeous chevron-fan skirt that swishes and swirls with every tiny movement. The white scalloped hem and sweet ribbon waist tie with crocheted daisy embellishments make it perfect for photos, special occasions, or just everyday sunshine.
The construction is top-down and worked in the round, which means minimal seaming and maximum satisfaction. If you have made a top-down sweater before, you will feel right at home here. If you have not, this is an excellent project to learn that technique with something small and manageable.
Why You Will Love This Crochet Baby Dress Pattern
This dress has everything I look for in a handmade baby garment. It looks intricate and impressive, but the construction is logical and repetitive once you get going. The yoke uses a raglan-style increase system with eight increase points, creating smooth cap sleeves without any complicated shaping. Once you reach the skirt, you will settle into a rhythmic chevron-fan pattern that practically works itself.
The chevron-fan lace stitch creates those beautiful zigzag points at the hem. Combined with the contrasting white border, it gives the dress a polished, heirloom quality. People will absolutely ask if you bought it from a boutique.
This pattern includes three sizes: 6 to 12 months, 12 to 18 months, and 2T. The instructions are written for the smallest size, with adjustments for larger sizes in brackets throughout.
Materials You Will Need
Yarn A (main color): Light worsted weight yarn, Category 3 DK or light worsted, in yellow
Yarn B (contrast color): Light worsted weight yarn, Category 3 DK or light worsted, in white
Hook: US size G-6 / 4.0 mm
Notions:
Yarn Recommendations
Paintbox Yarns Simply DK in Lemon Sherbet and White works beautifully for this project. It has excellent stitch definition for lace work and is machine washable, which parents will appreciate.
Lion Brand Pound of Love in Yellow and White offers a budget-friendly option with soft drape. The large skein size means you will have plenty left over for matching accessories.
Scheepjes Catona in Lemon Chiffon and White gives a crisp, heirloom look if you prefer cotton. Note that cotton has less stretch, so swatch carefully and consider going up half a hook size to US 7 / 4.5 mm.
Choose a smooth, plied yarn with good stitch definition. Avoid chenille, fuzzy, or highly textured yarns because they will obscure the pretty lace pattern.
Gauge
18 double crochet stitches = 4 inches / 10 cm
8 rows of double crochet = 4 inches / 10 cm
Measure your gauge in a blocked swatch worked in double crochet (dc), which means inserting your hook, yarning over, pulling up a loop, yarning over, pulling through two loops, then yarning over and pulling through the remaining two loops.
One 12-stitch chevron-fan repeat in the skirt measures approximately 2.7 inches wide when blocked.
Gauge matters for garments. Please take time to swatch and adjust your hook size if needed. Your baby deserves a dress that fits.
Finished Measurements
Size 6 to 12 months:
Size 12 to 18 months:
Size 2T:
Abbreviations and Stitch Definitions
Let me walk you through every stitch and abbreviation used in this pattern. Even if you are familiar with these terms, a quick refresher never hurts.
ch = chain: Yarn over, pull through the loop on your hook. This creates the foundation and is used for turning chains.
sl st = slip stitch: Insert hook, yarn over, pull through both the stitch and the loop on your hook in one motion. Used for joining rounds.
sc = single crochet: Insert hook, yarn over, pull up a loop (2 loops on hook), yarn over, pull through both loops.
dc = double crochet: Yarn over, insert hook, yarn over, pull up a loop (3 loops on hook), yarn over, pull through 2 loops, yarn over, pull through remaining 2 loops.
hdc = half double crochet: Yarn over, insert hook, yarn over, pull up a loop (3 loops on hook), yarn over, pull through all 3 loops at once.
dc2tog = double crochet two together (decrease): Yarn over, insert hook into next stitch, yarn over, pull up a loop, yarn over, draw through 2 loops (2 loops remain on hook). Yarn over, insert hook into following stitch, yarn over, pull up a loop, yarn over, draw through 2 loops (3 loops remain on hook). Yarn over, draw through all 3 loops. This counts as 1 stitch and creates the valleys in your chevron pattern.
inc = increase: Work 2 double crochet stitches into the same stitch.
sk = skip: Pass over the indicated stitch without working into it.
ch-sp = chain space: The gap created by a chain in the previous row. You work into this space rather than into a stitch.
RS = right side: The front of your work, the side that faces out.
WS = wrong side: The back of your work, the side that faces in.
Special Stitches for This Baby Dress Pattern
Shell: Work 5 double crochet stitches all into the same stitch or space. This creates the fan unit that gives the skirt its beautiful shape.
V-stitch: Work 1 double crochet, chain 2, then 1 double crochet all into the same stitch or space.
Picot: Chain 3, then slip stitch into the third chain from hook. This creates a tiny decorative bump, used in the neckline edging.
Eyelet Row: A round worked in the pattern of double crochet, chain 1, skip 1 stitch. This creates evenly spaced holes perfect for threading ribbon through.
Pattern Notes Before You Begin
Read through these notes before starting. They will save you confusion later.
1. This dress is worked from the top down in joined rounds. Join each round with a slip stitch to the top of the beginning chain unless noted otherwise.
2. The yoke uses raglan-style shaping with 8 increase points. This creates a smooth, circular yoke with natural cap sleeves.
3. Chain 3 at the beginning of a double crochet round counts as the first double crochet throughout the entire pattern.
4. Place stitch markers at each of the 8 raglan increase points and move them up each round.
5. The back neckline has a small opening of approximately 1.5 inches. This allows the dress to slip over baby’s head. A button or hook-and-eye closes this opening.
6. The right side is always facing unless a flat section is indicated.
7. The skirt uses a 12-stitch repeat. Your stitch count after joining the underarms must be divisible by 12.
Step-by-Step Crochet Instructions
Neckline and Back Opening
With Yarn A and your 4.0 mm hook, chain 61 [67 / 73].
Foundation Row (WS): Starting in the 4th chain from hook (the skipped 3 chains count as 1 dc), dc in each chain across. Turn. (59 [65 / 71] dc)
This flat section forms the back neckline opening. The two short ends will be joined after blocking, leaving a 1.5 inch opening at the center top for the button closure.
Row 2 (RS): Ch 3 (counts as dc), dc in next 6 [7 / 8] sts (right back). Place marker (raglan point 1). Dc in next 2 sts (right sleeve). Place marker (raglan point 2). Dc in next 6 [7 / 8] sts (right front shoulder). Place marker (raglan point 3). Dc in next 27 [31 / 35] sts (front panel). Place marker (raglan point 4). Dc in next 6 [7 / 8] sts (left front shoulder). Place marker (raglan point 5). Dc in next 2 sts (left sleeve). Place marker (raglan point 6). Dc in next 6 [7 / 8] sts (left back). Place marker (raglan point 7). (59 [65 / 71] dc)
Row 3 (WS): Ch 1, slip stitch the two short row-ends together at center back to close the neckline into a round. Be careful not to twist your work. From this point forward, you work in joined rounds.
Yoke Increase Rounds
The yoke has 8 raglan increase points. At each marked position, work 3 dc into that single stitch. This adds 2 stitches per point, giving you 16 additional stitches per round.
Yoke Round 1: Join yarn at center back seam with sl st. Ch 3 (counts as dc). Dc in each st to 1 st before first marker. Work 3 dc in marked st. Continue working dc to 1 st before next marker, work 3 dc in marked st. Repeat at each of the 8 markers. Sl st to top of beg ch-3 to join. (75 [81 / 87] sts)
Move your markers to the center stitch of each 3-dc group. This center stitch becomes the new marked stitch for the next round.
Yoke Round 2: Ch 3, dc in each st to 1 st before first marker, 3 dc in marked st, repeat at each of 8 markers. Join. (91 [97 / 103] sts)
Yoke Round 3: Ch 3, dc in each st to 1 st before first marker, 3 dc in marked st, repeat at 8 markers. Join. (107 [113 / 119] sts)
Yoke Round 4 (Lace Round): Ch 4 (counts as dc + ch 1). Skip 1 st, dc in next st, ch 1 repeat around, adjusting the final skip so the round joins evenly. Join with sl st to 3rd ch of beg ch-4. This round does NOT increase. (107 [113 / 119] dc)
This round creates a visual lace band across the upper yoke and shoulders, giving the cap sleeves their lovely definition.
Yoke Round 5: Ch 3. Dc in each ch-sp and each dc around. At each of the 8 raglan markers, work 3 dc in that stitch. Join. (123 [129 / 135] sts)
Yoke Round 6: Ch 3, dc in each st, working 3 dc in each of the 8 marked raglan sts. Join. (139 [145 / 151] sts)
Yoke Round 7: Ch 3, dc in each st, working 3 dc in each of the 8 marked raglan sts. Join. (155 [161 / 167] sts)
Checkpoint: Your piece should measure approximately 4.5 inches [5 inches / 5.5 inches] from the neckline edge to the current working round. The yoke should lay flat and smooth. The cap sleeves should be visible as shallow, slightly raised wings at the sides.
Underarm Separation
Now you will place the sleeve stitches on hold and join the body into a seamless tube.
Your stitch distribution is approximately:
Underarm Round: Ch 3. Dc across the back sts to the first sleeve marker. Chain 4. Skip all sleeve sts (place them on a stitch holder or scrap yarn). Dc across all front sts to the second sleeve marker. Chain 4. Skip all sleeve sts. Join with sl st to top of beg ch-3.
Adjustment Round: This round ensures your stitch count is divisible by 12 for the skirt pattern.
Size 6 to 12 months: Ch 3. Dc in each of the 57 back sts, then work 9 dc across the 4 underarm chain stitches (spacing evenly), dc in each of the 57 front sts, then work 9 dc across the remaining 4 underarm chain stitches. Join. (132 sts, 11 repeats of 12)
Size 12 to 18 months: Ch 3. Dc in 59 back sts and increase 1 (dc twice into one stitch) for 60 sts total. Work 12 dc across the 4 underarm chains. Dc in 59 front sts and increase 1 for 60 sts total. Work 12 dc across remaining 4 underarm chains. Join. (144 sts, 12 repeats of 12)
Size 2T: Ch 3. Dc in 61 back sts and increase 6 evenly for 67 sts total. Work 11 dc across 4 underarm chains. Dc in 61 front sts and increase 6 evenly for 67 sts total. Work 11 dc across remaining 4 underarm chains. Join. (156 sts, 13 repeats of 12)
Waist Transition Round
Work 1 round of dc evenly with no increases or decreases. Join. (132 [144 / 156] sts)
This round smooths the underarm join and creates a firm waist before the eyelet row.
Waist Eyelet Round
Eyelet Round: Ch 4 (counts as dc + ch 1). Skip 1 st, dc in next st, ch 1 repeat around, ending with sl st to 3rd ch of beg ch-4. (66 [72 / 78] dc and 66 [72 / 78] ch-1 spaces)
You will thread your ribbon through these eyelets after finishing the dress.
Skirt Setup Round
Skirt Setup Round: Ch 3. Working into the eyelet round, work 1 dc in each dc and 1 dc in each ch-1 space around. Join. (132 [144 / 156] dc)
Skirt Increase Round
Size 6 to 12 months: Dc in next 10 sts, 2 dc in next st repeat 12 times. Join. (144 sts, 12 repeats of 12)
Size 12 to 18 months: Dc in next 11 sts, 2 dc in next st repeat 12 times. Join. (156 sts, 13 repeats of 12)
Size 2T: Dc in next 12 sts, 2 dc in next st repeat 12 times. Join. (168 sts, 14 repeats of 12)
Chevron-Fan Skirt Pattern
Now for the beautiful part. The skirt uses a 12-stitch chevron-fan repeat that creates the gorgeous zigzag hem.
Pattern Repeat (12 sts): Dc2tog over next 2 sts, dc in next 2 sts, shell (5 dc) in next st, dc in next 2 sts, dc2tog over next 2 sts, dc in next st.
Work the chevron-fan pattern for approximately 12 to 15 rounds, or until skirt measures 8.5 inches [9.5 inches / 10.5 inches] from the waist eyelet round.
White Scallop Border
Join Yarn B at any point in the round.
Border Round 1: Ch 3, dc in each st around, maintaining the chevron shape. Join.
Border Round 2: Work another round of dc in the chevron pattern. Join.
Border Round 3 (Scallop Edge): Ch 1. Sc in next st, skip 2 sts, 5 dc in next st (shell), skip 2 sts repeat around. Join. Fasten off and weave in ends.
Crochet Daisy Flowers (Make 2)
These sweet little daisies attach to the ends of your ribbon for the perfect finishing touch.
Using Yarn B:
Round 1: Make a magic ring. Ch 1, work 10 sc into the ring. Sl st to first sc to join. (10 sc)
Round 2: Ch 5, sl st into next sc repeat 10 times. (10 petals)
Fasten off, leaving a 6-inch tail for attaching to the ribbon. Flatten the flower so the petals fan out evenly.
For the yellow center, weave a single length of Yarn A through the center stitches. Alternatively, use a small yellow button as the center.
Finishing Your Baby Dress
Neckline: Work a single round of sc around the neckline opening in Yarn A. Add picots evenly spaced if desired for a decorative edge.
Sleeves: Work a single round of sl st around each armhole opening to create a neat finished edge.
Back Closure: Attach your button to one side of the back opening. Create a small chain loop on the opposite side, or use a hook-and-eye set.
Ribbon: Thread your white satin ribbon through the eyelet holes at the waist, starting and ending at center front. Attach one daisy flower to each ribbon end. Tie in a bow.
Blocking: Wet block your finished dress by soaking it in cool water, gently squeezing out excess moisture, and laying flat to dry. Pin the chevron points at the hem to emphasize the zigzag shape.
Tips for Success
The raglan increases can feel confusing at first. Take your time placing those 8 markers and moving them up each round. Once you get into the rhythm, it becomes second nature.
If your yoke feels too tight or too loose, adjust your hook size. A tighter yoke needs a larger hook. A looser yoke needs a smaller hook.
The chevron-fan pattern has a learning curve for the first round or two. After that, you will recognize the valleys and peaks and cruise right through.
Do not skip the blocking step. Blocking opens up the lace pattern and evens out your stitches. It transforms the dress from handmade to heirloom.
You Did It
I hope you love making this sunny yellow lace baby dress as much as I loved designing it. There is something so satisfying about creating a garment from a simple ball of yarn. Seeing a tiny person wear something you made with your own hands never gets old.
Thank you for choosing this pattern for your next project. If you make this dress, I would absolutely love to see it. Tag me on Instagram or share a photo in my Facebook group. Seeing your creations genuinely makes my day.
If this pattern brought a little sunshine into your crafting time, please save it to your Pinterest boards so you can find it again later. And drop a comment below to let me know how your dress turned out. Happy crocheting, friend.