
This stunning crochet purse is about to become your favorite handmade accessory. The vertical stripe design creates such a sophisticated look, and the color palette feels fresh and modern. I am so excited to share this pattern with you today.
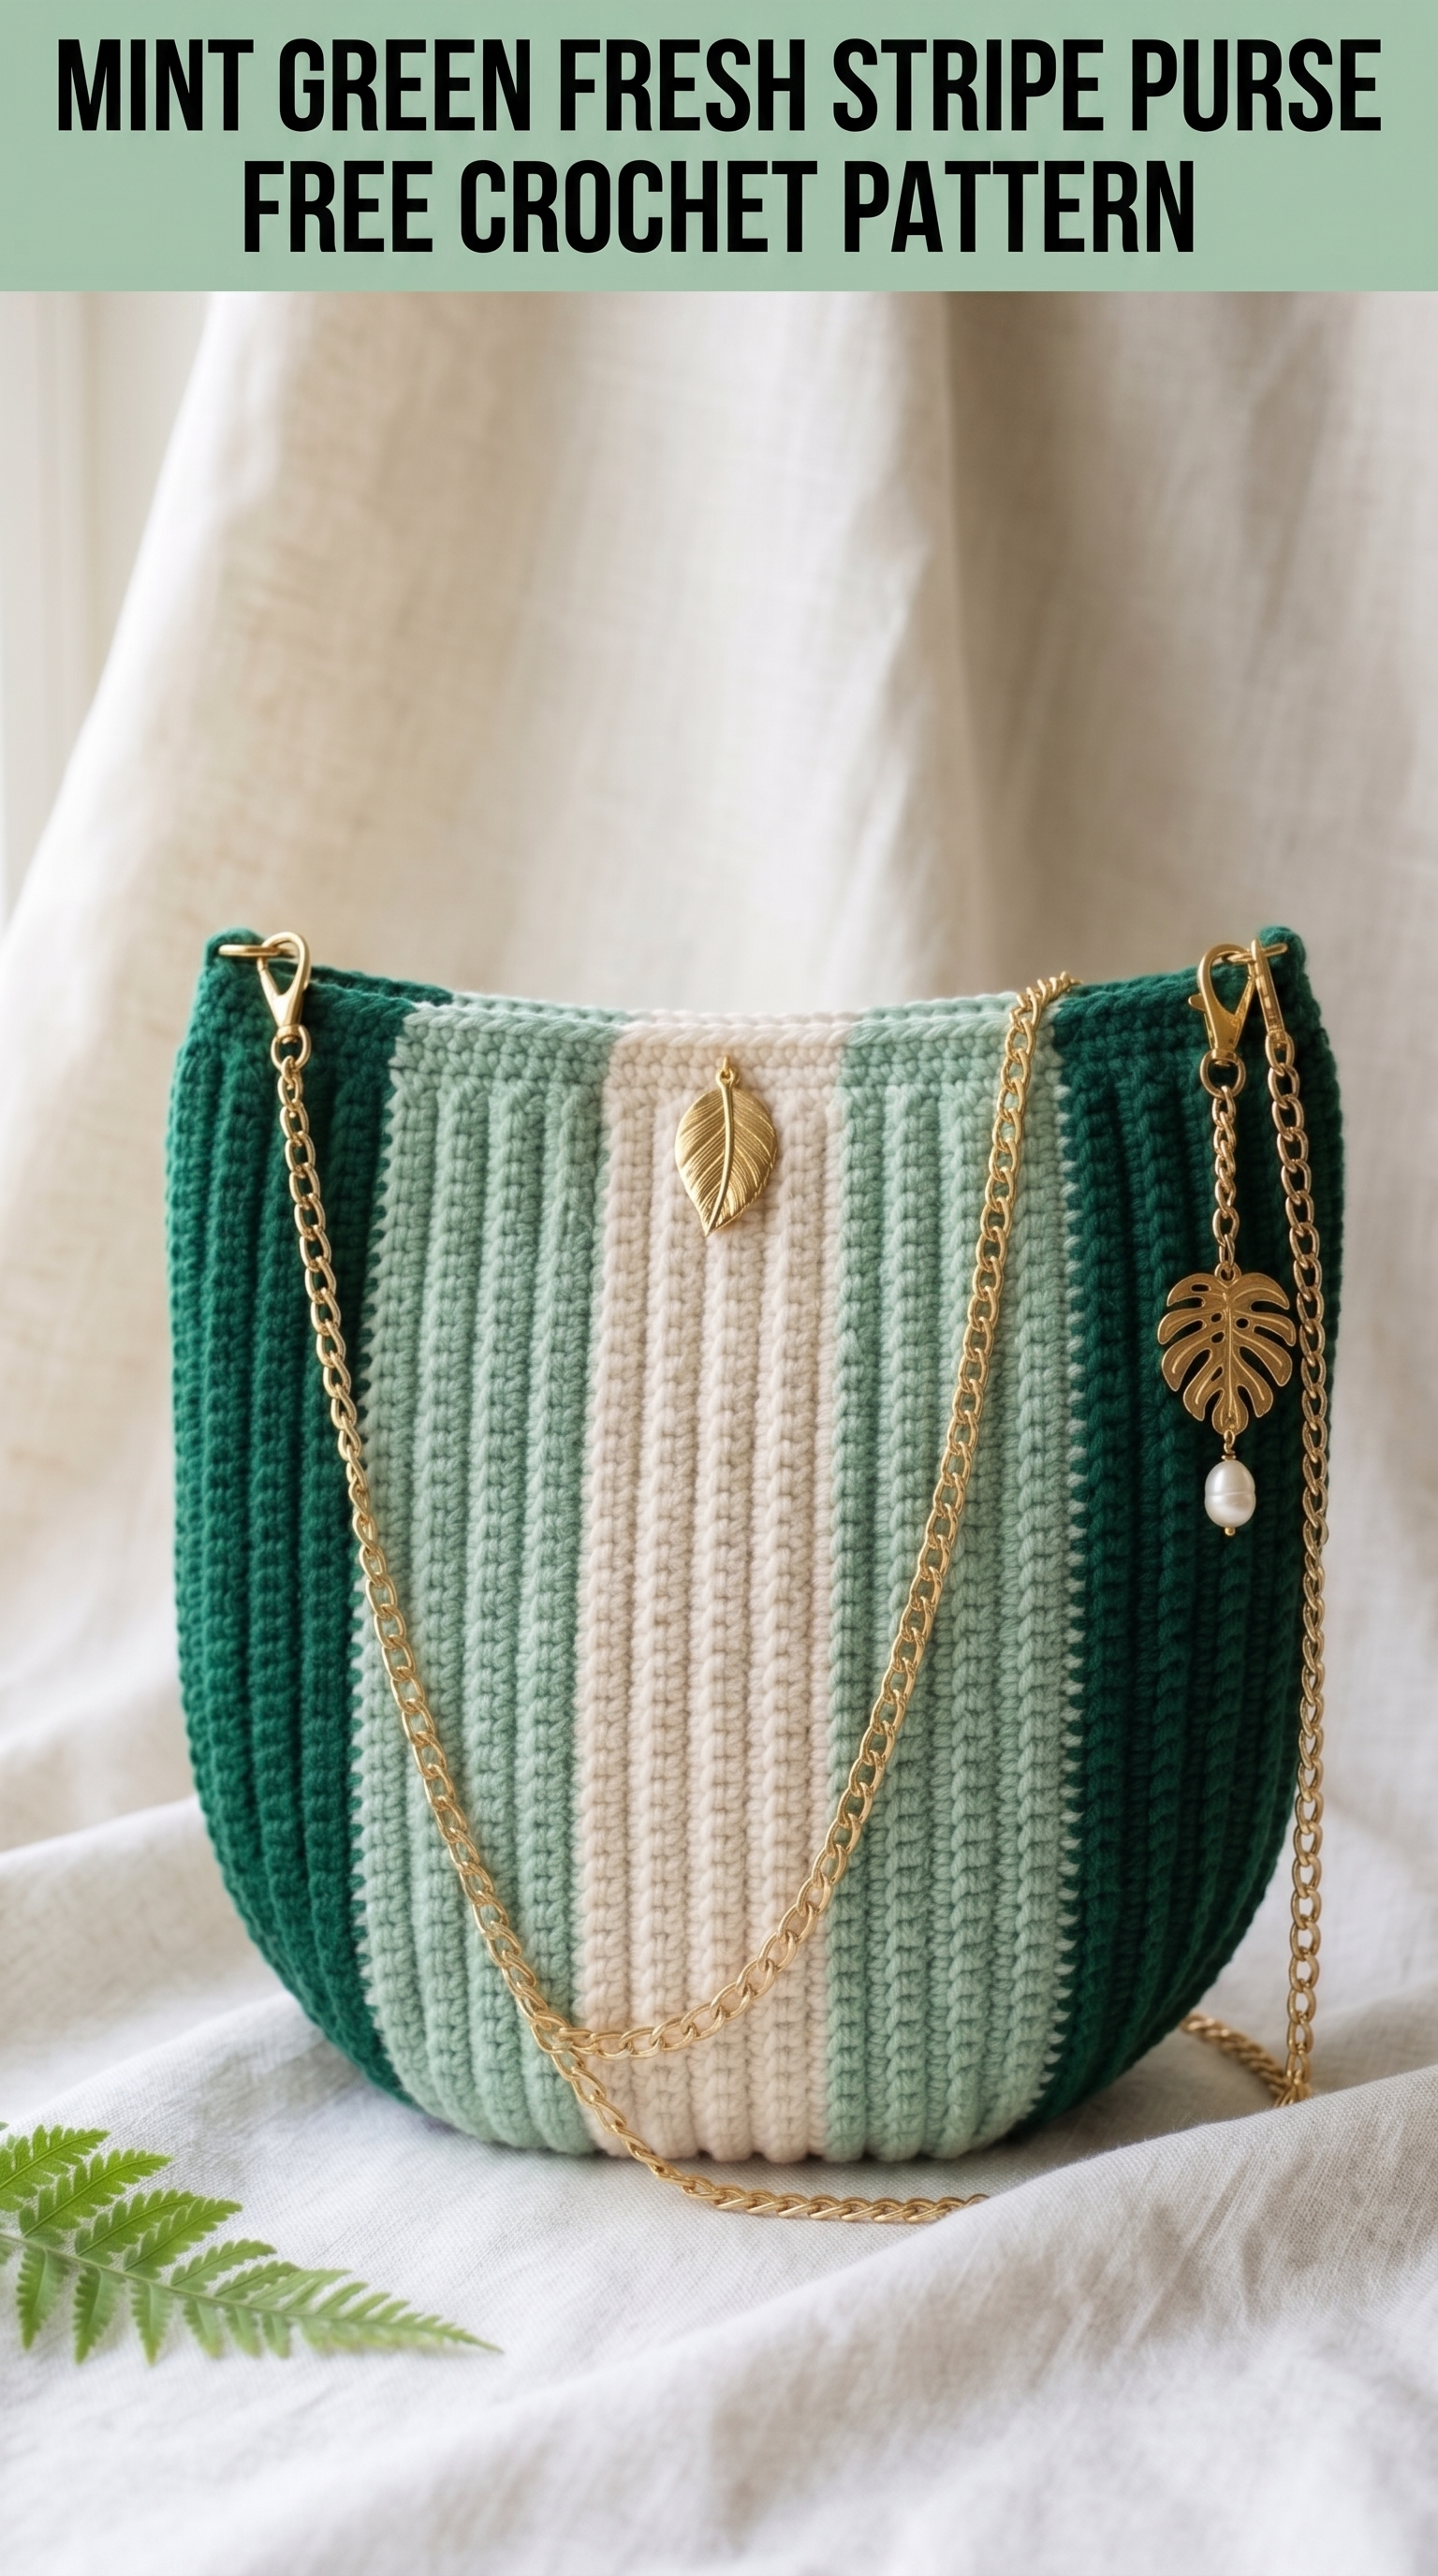
If you can work basic stitches in rows and know how to change colors, you can absolutely make this bag. The construction is straightforward, and I will walk you through every single step.
Why You Will Love This Crochet Purse Pattern
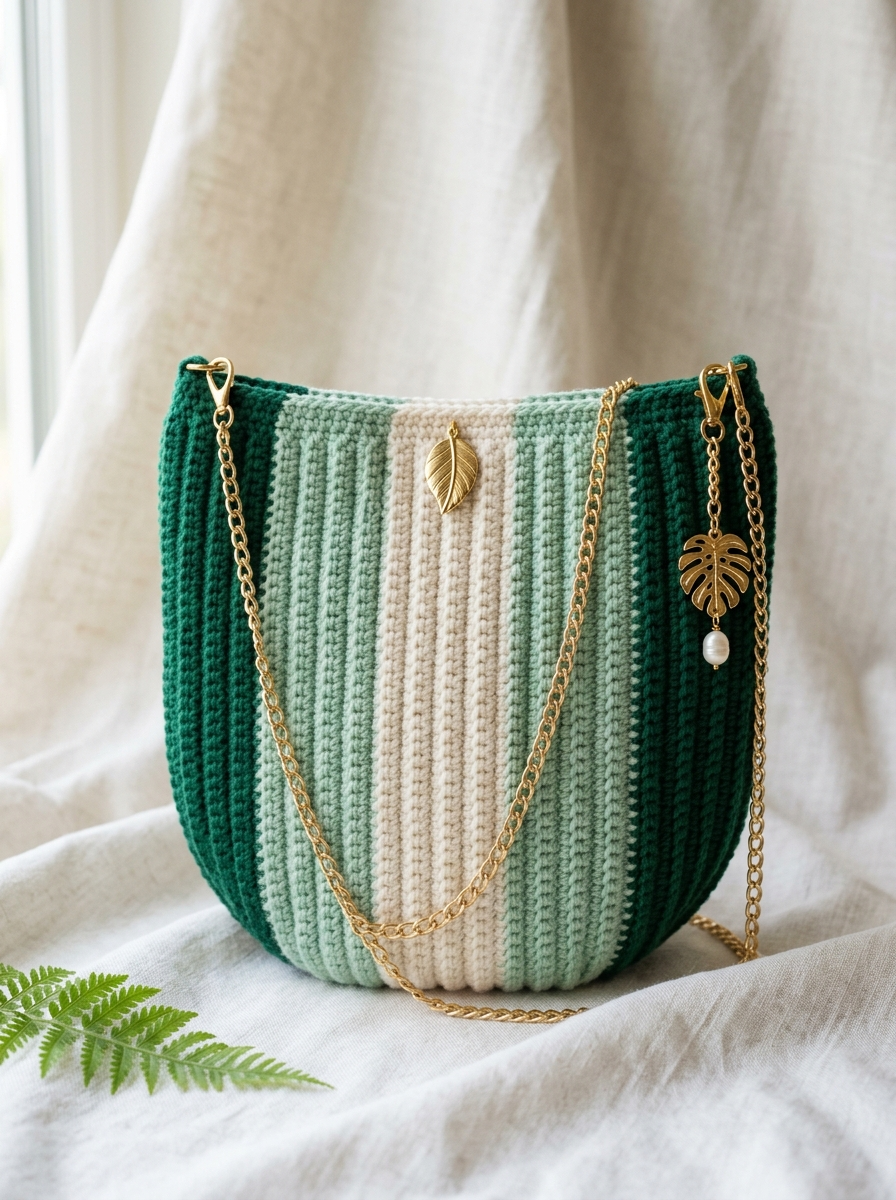
This is not your average crochet bag. The vertical ribbed texture gives it a tailored, almost knit appearance that looks incredibly polished. The gradient stripe effect, moving from deep emerald green through soft mint to creamy white, creates visual interest without overwhelming the design.
The finished purse has a lovely rounded bottom and structured sides. It is the perfect size for everyday essentials. Phone, wallet, keys, lip balm, and a small notebook all fit comfortably inside.
What makes this crochet tutorial special is the construction method. You will work the body in one piece using a technique that creates those beautiful vertical lines. The ribbed texture comes from working into the back loop only, which is easier than it sounds.
Skill Level
Confident Beginner to Intermediate
You should be comfortable with basic stitches and color changes. If you have made a few dishcloths or a simple scarf, you are ready for this project. I will explain everything along the way.
Finished Dimensions
Your gauge and tension may create slight variations, and that is perfectly fine.
Materials Needed
Yarn
You will need worsted weight yarn (also called medium weight or #4 weight) in three colors:
I recommend using a cotton or cotton blend yarn for this project. Cotton gives the bag structure and a lovely drape. Acrylic works too, but cotton holds its shape better for bags.
Yarn suggestions: Lion Brand 24/7 Cotton, Lily Sugar’n Cream, or any smooth worsted weight cotton.
Hook
Notions
Gauge
18 stitches and 20 rows = 4 inches (10 cm) in single crochet worked through back loop only
Gauge matters for this project because it affects the final size. Take a few minutes to make a small swatch. If your swatch is too big, try a smaller hook. If it is too small, go up a hook size.
Abbreviations and Stitch Definitions
Let me define every stitch you will use in this pattern:
Special Techniques
Working in Back Loop Only (BLO)
When you look at the top of a crochet stitch, you see two loops that form a V shape. The back loop is the one farthest from you. When you work into only this loop, the front loop remains visible and creates a raised horizontal ridge.
For this purse, working in BLO throughout creates vertical ribs when the piece is turned on its side. It sounds confusing now, but it will make sense once you start.
Color Changes
To change colors cleanly, work the last stitch of a section until you have 2 loops remaining on your hook. Then yarn over with the new color and pull through to complete the stitch. This places the new color exactly where it needs to be for the next stitch.
Do not cut your yarn at every color change within a row. Instead, carry the unused colors loosely along the top edge where they will be hidden.
Pattern Instructions
The Base
The base of this purse is an oval shape that forms the rounded bottom.
With Color A (Deep Emerald Green), ch 25.
Round 1: Sc in 2nd ch from hook and in each ch across to the last ch. In the last ch, work 3 sc. Now continue along the opposite side of the foundation chain, working 1 sc in each ch. In the final ch (where you started), work 2 sc. Join with sl st to first sc. (50 sts)
Round 2: Ch 1 (does not count as a stitch throughout). Sc in each st around, working 2 sc in each of the 3 corner stitches on both ends. Join with sl st. (56 sts)
Round 3: Ch 1. Sc in each st around, working 2 sc in the center stitch of each 3-stitch corner group on both ends. Join with sl st. (60 sts)
Round 4: Ch 1. Sc in each st around, continuing to increase at corners as established. Join with sl st. (64 sts)
Round 5: Ch 1. Sc in each st around without increases. Join with sl st. (64 sts)
Place a stitch marker here. You have completed the base.
The Body
Now you will build the sides of the purse. This is where the magic happens and those vertical stripes appear.
Round 6: Ch 1. Working in BLO only, sc in each st around. Join with sl st. (64 sts)
This round creates the sharp angle between the base and the sides.
Rounds 7 through 14: Ch 1. Sc in BLO of each st around. Join with sl st. (64 sts each round)
You now have about 2 inches of the body completed in deep emerald green.
Introducing the Stripe Pattern
Here is where the color magic begins. You will work flat panels that create the vertical stripe effect. The stripe sequence moves from Color A (emerald) on the sides, through Color B (mint), to Color C (cream) in the center.
The stripe color sequence for each round is:
Rounds 15 through 38: Continue working sc in BLO around, following the stripe color sequence above. Join with sl st at the end of each round. (64 sts each round)
Take your time with the color changes. They get easier after the first few rounds. You are doing great.
The Upper Edge
Rounds 39 through 42: With Color A only, ch 1. Sc in BLO of each st around. Join with sl st. (64 sts each round)
This creates a clean emerald border at the top.
Round 43 (Final Round): Ch 1. Sc in both loops of each st around. Join with sl st. Fasten off. (64 sts)
Working through both loops on this final round creates a finished, stable edge.
Finishing
Weave in Ends
You will have quite a few yarn tails from the color changes. Thread each tail onto your tapestry needle and weave it through several stitches on the wrong side of the fabric. Weave in one direction for about an inch, then reverse and weave back. Trim closely.
Blocking (Optional but Recommended)
Wet your finished purse and gently squeeze out excess water. Shape it by hand, stuffing the inside with plastic bags or towels to hold the shape while drying. Allow to dry completely.
Attaching Hardware
D-Rings or Bag Clips: Position your hardware at the top corners of the bag, about 1 inch from each side seam. You can attach them by crocheting a small loop through the top edge or by sewing securely with matching thread.
Chain Strap: Clip your gold chain onto the D-rings or clips. Adjust the length to your preference. A longer chain allows crossbody wear. A shorter length works as a shoulder bag.
Decorative Charms: These are completely optional but add such a lovely touch. Attach leaf charms and pearl dangles directly to the chain using small jump rings.
Adding a Fabric Lining (Optional)
A lining makes your purse more polished and protects the crochet fabric from wear. Cut two pieces of cotton fabric slightly larger than your purse panels. Sew them together along the sides and bottom, leaving the top open. Fold the top edge under and hand stitch the lining inside the purse, just below the top edge.
This step is entirely optional. The purse looks beautiful without it.
Tips for Success
Tension consistency matters. Try to keep your stitches even throughout. If your tension changes when you get tired, take a break.
Count your stitches at the end of each round, especially during the stripe section. Catching a mistake early saves frustration later.
Use stitch markers to mark the beginning of each round and to note where color changes should occur.
Do not pull the carried yarn too tight. When carrying colors along the top edge between color blocks, keep the yarn loose enough that the fabric does not pucker.
Customization Ideas
This crochet pattern is wonderfully adaptable. Here are some ideas:
Troubleshooting Common Issues
My stripes look wobbly. This usually means tension varies between colors. Practice keeping consistent tension regardless of which yarn you are holding.
The bag is too floppy. Try going down a hook size or adding a stiff interfacing inside before lining.
My color changes show bumps. Make sure you are completing the final yarn over of each stitch with the new color. The bump happens when the old color shows at the top of the stitch.
Wrapping Up Your Mint Green Fresh Stripe Purse
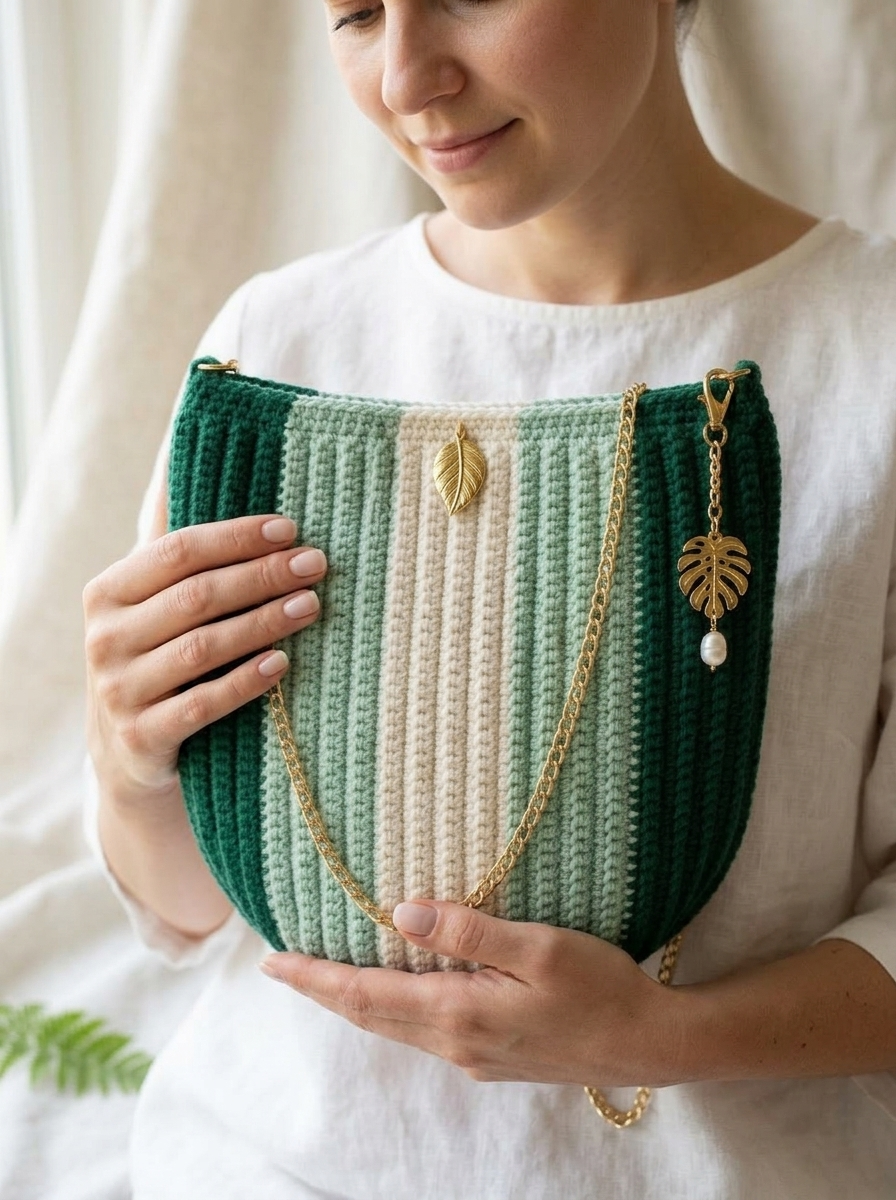
You did it. You created a gorgeous handmade accessory that looks like it came from a boutique. This crochet purse pattern combines simple stitches with clever construction to achieve professional results.
I hope you enjoyed working through this step by step tutorial. The vertical stripes, the fresh mint green palette, and those elegant gold accents make this bag truly special.
Thank you so much for choosing to make this pattern. It means the world to me when you trust my instructions to guide your creative time.
I would absolutely love to see your finished purse. Tag me on Instagram or share your photo in my Facebook group. Seeing your versions inspires me and helps other crocheters see what is possible.
Happy crocheting, friend. You have got this.