
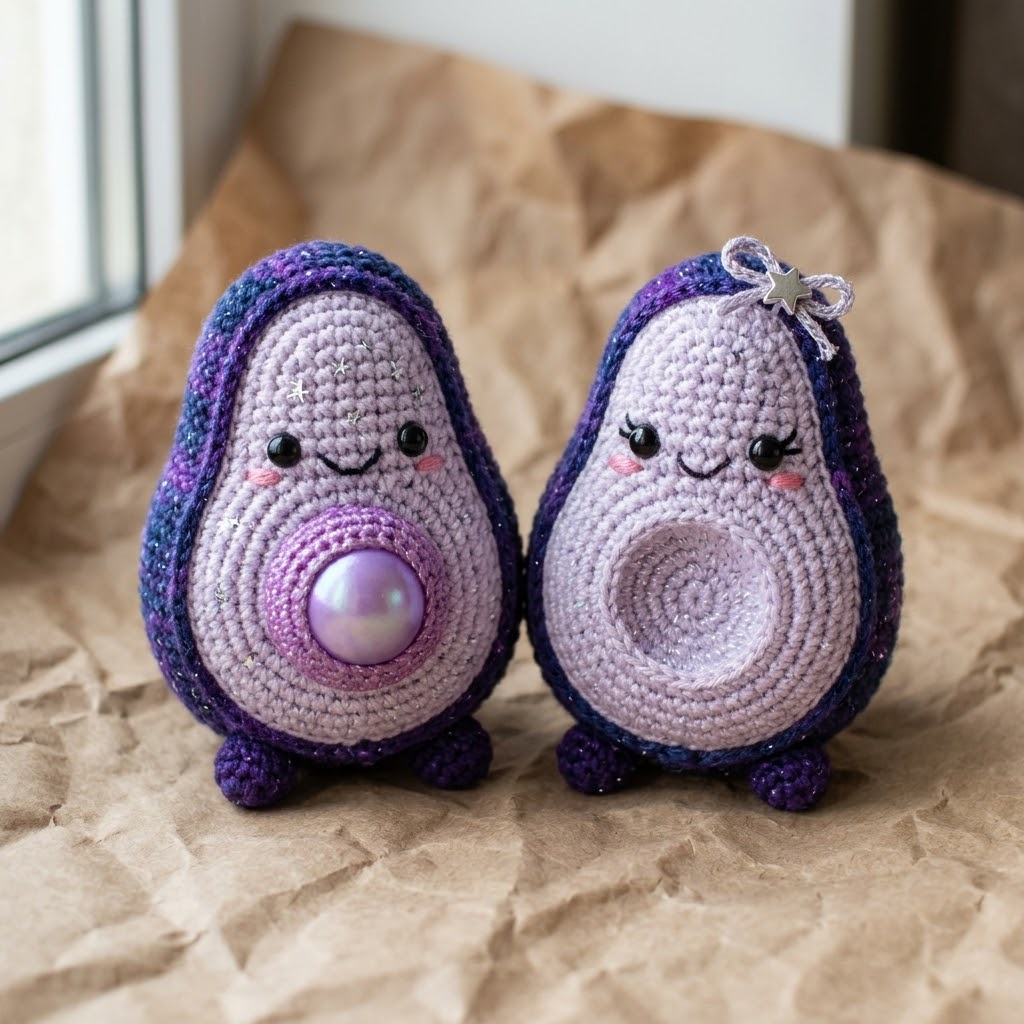
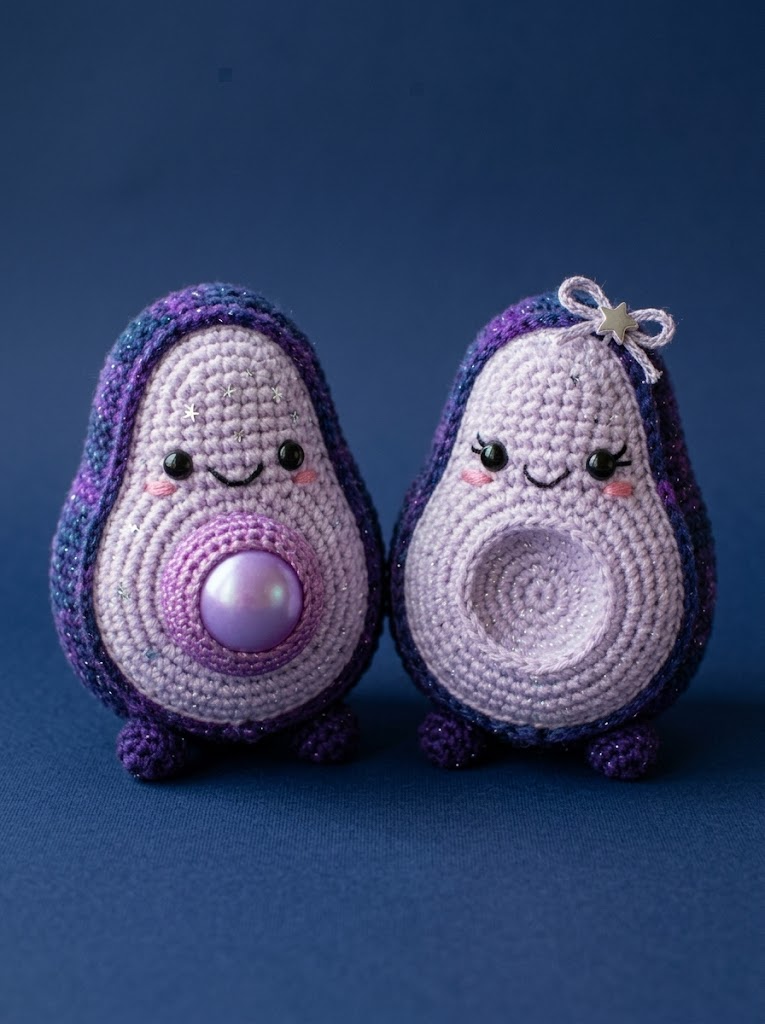
These little galaxy avocados might be the most magical thing I’ve ever crocheted. Picture a sweet kawaii avocado, but dressed up in sparkly cosmic purples and deep space blues. One holds a shimmery pearl pit, the other shows off a pretty spiral pit cavity. They’re whimsical, they’re cuddly, and honestly? They’re not as hard to make as they look.
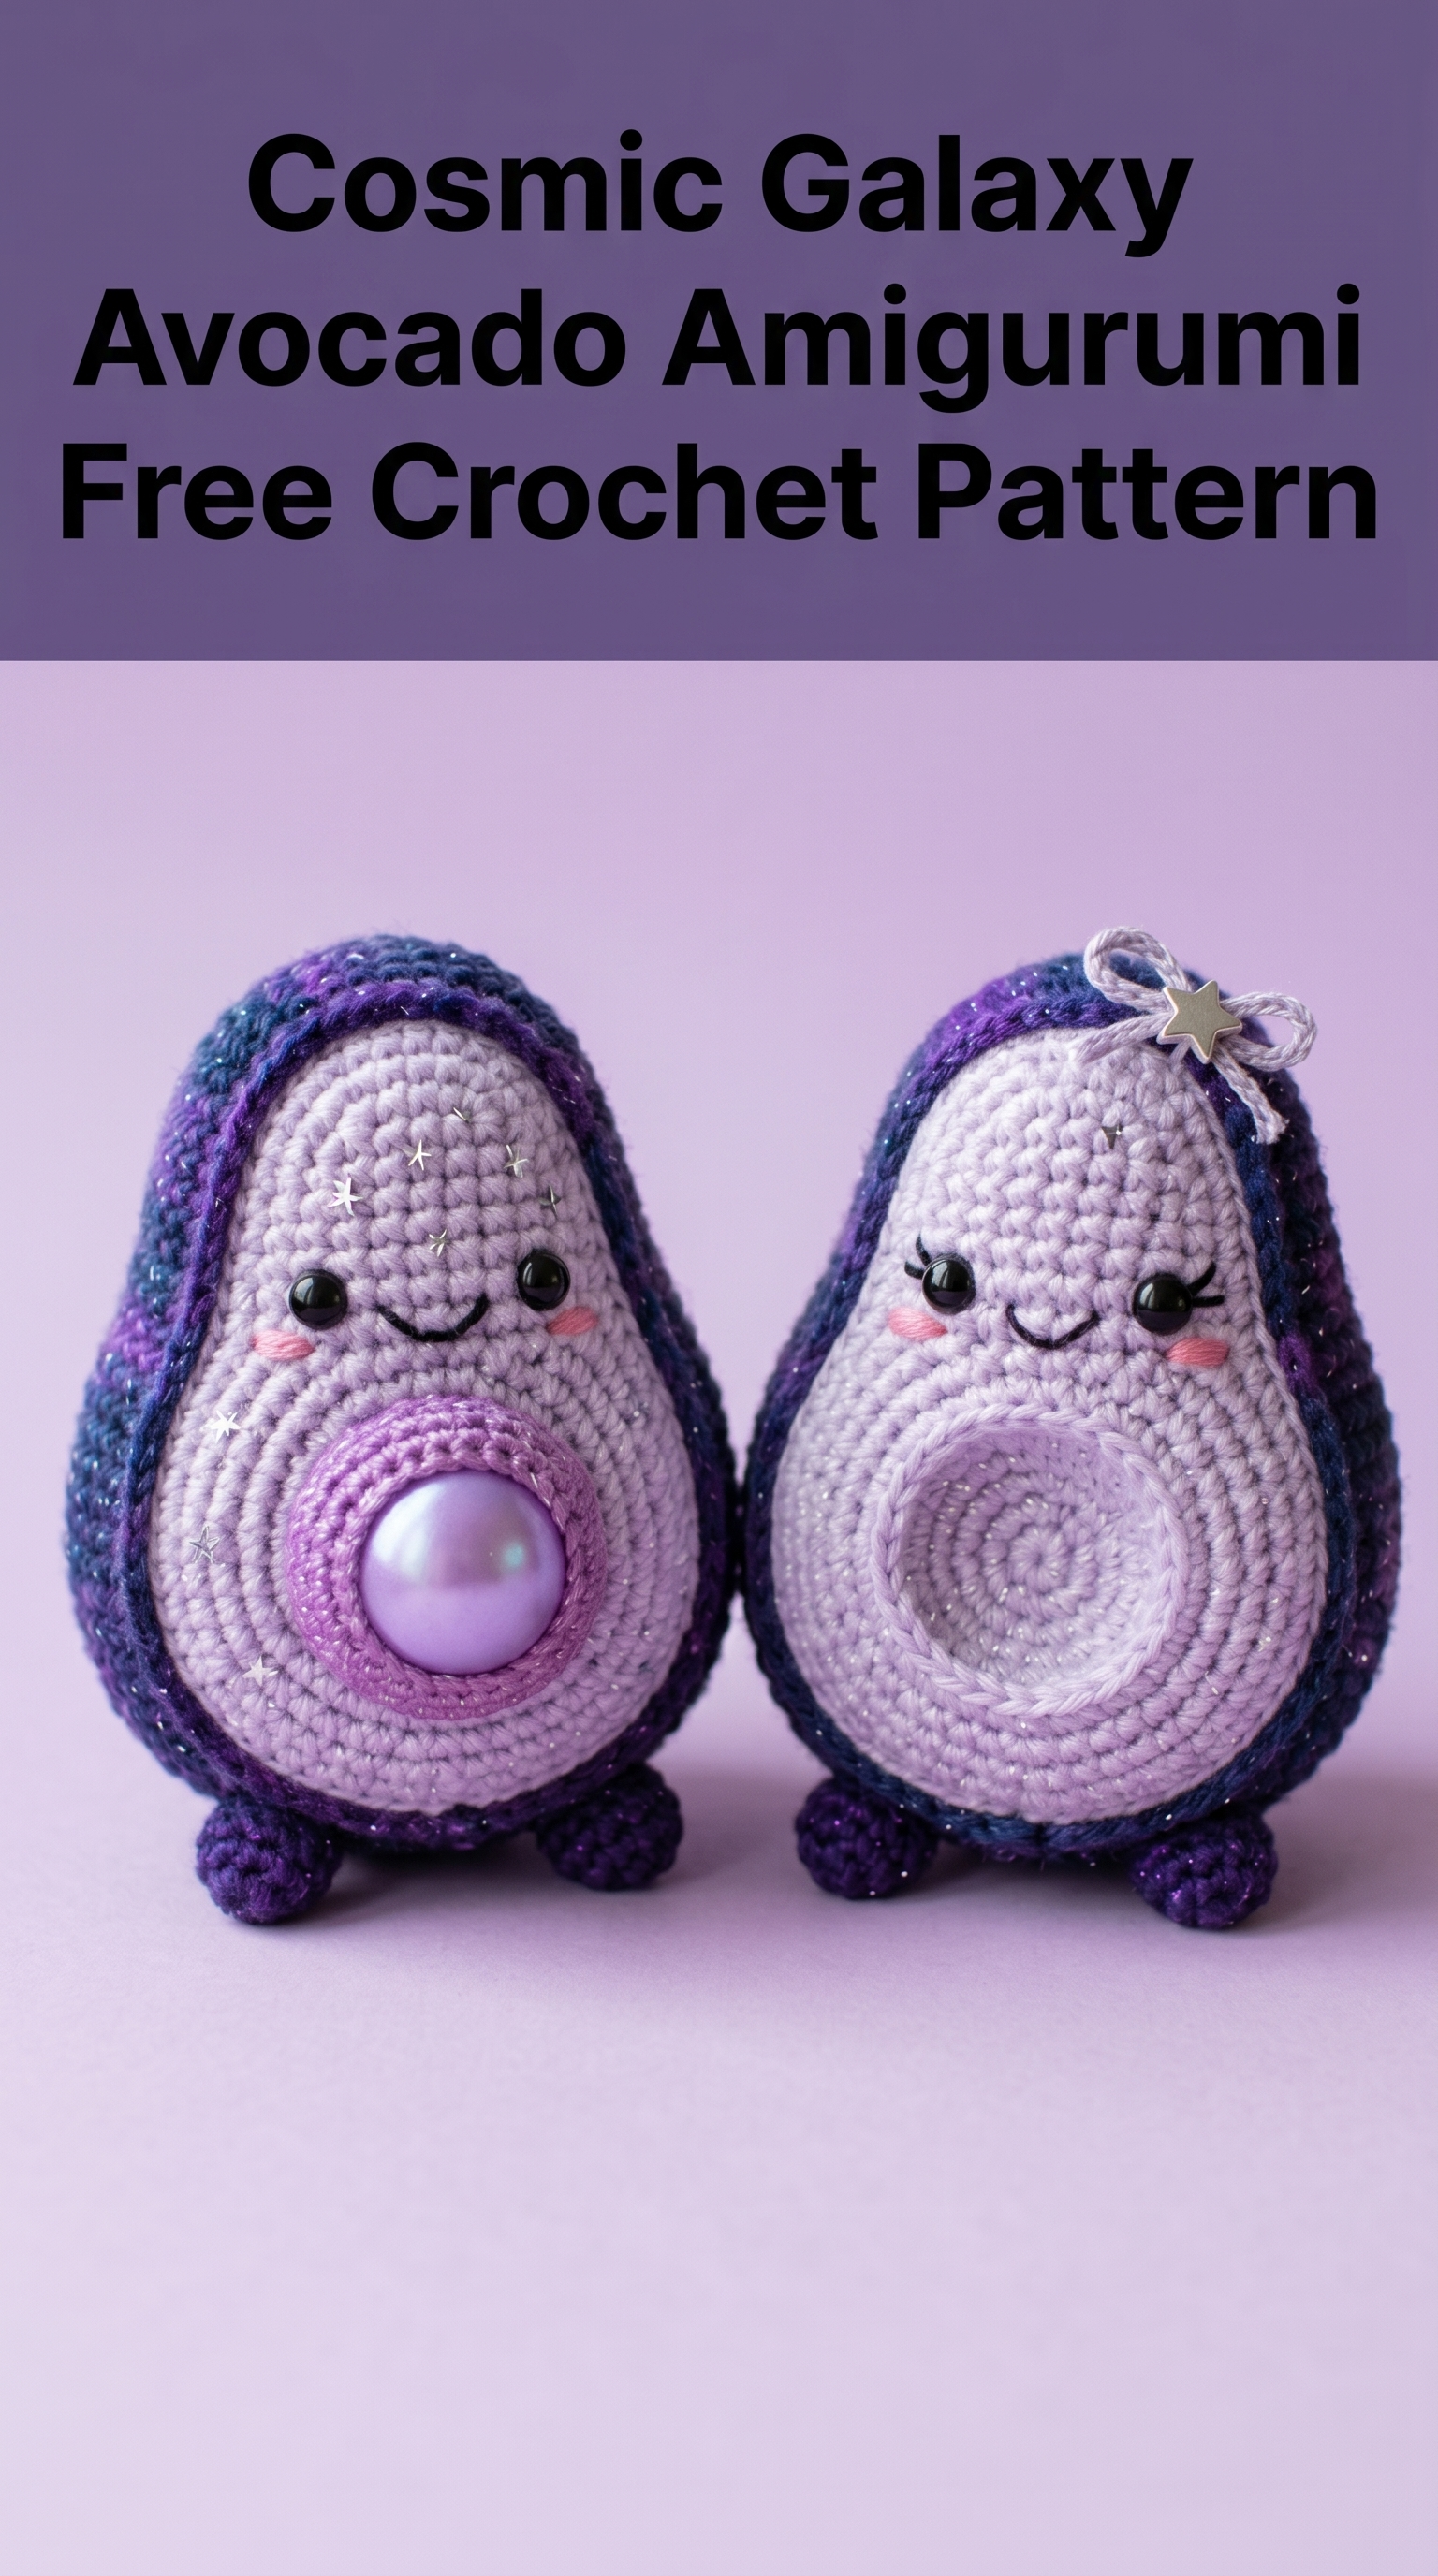
If you can crochet in the round and know your basic stitches, you can absolutely make this cosmic galaxy avocado amigurumi crochet pattern. I’ll walk you through every single step.
Why You’ll Love This Galaxy Avocado Crochet Pattern
These avocados stand about 4 to 5 inches tall, perfect for desk decor, nursery shelves, or gifting to your space-obsessed friends. The galaxy colorway transforms a trendy avocado shape into something truly unique. The sparkle yarn catches light beautifully, and those sleepy kawaii faces? Absolutely adorable.
What makes this step by step crochet tutorial special is the construction. You’ll create the outer skin, inner flesh, pit area, and tiny feet as separate pieces, then assemble everything into one cohesive amigurumi. It sounds like a lot, but each component is small and works up quickly.
Materials You’ll Need
Yarn:
I recommend looking for yarn with subtle metallic threading throughout. It gives that cosmic sparkle without being overwhelming. You’ll need approximately 50 grams of your main galaxy color and 30 grams each of the lavender and purple shades.
Tools:
Skill Level
This pattern is beginner friendly with some intermediate elements. If you’ve made a basic amigurumi ball before, you’re ready for this. The shaping uses only increases and decreases worked in continuous rounds.
The trickiest parts are sewing the pieces together neatly and embroidering the face. I’ll give you tips for both.
Abbreviations and Stitch Definitions
Let me break down every stitch you’ll use. Even if you know these, a quick refresher never hurts.
Magic Ring (MR): An adjustable starting loop that closes completely with no hole. You wrap yarn around your fingers, pull up a loop, then work your first round of stitches into that ring. Pull the tail to close it tight.
Chain (ch): The foundation stitch. Yarn over, pull through the loop on your hook. Creates one chain.
Single Crochet (sc): Insert hook into stitch, yarn over and pull up a loop (two loops on hook), yarn over and pull through both loops. One completed single crochet.
Increase (inc): Work two single crochet stitches into the same stitch. This adds one stitch to your count.
Invisible Decrease (invdec): Insert hook through front loops only of the next two stitches, yarn over and pull through both front loops, yarn over and pull through both loops on hook. Creates a neater decrease than the standard method.
Slip Stitch (sl st): Insert hook, yarn over, pull through stitch and loop on hook in one motion. Used to join or move position.
Front Loop Only (FLO): Work into only the front loop of the stitch, leaving the back loop unworked.
Back Loop Only (BLO): Work into only the back loop of the stitch.
The Complete Cosmic Galaxy Avocado Amigurumi Crochet Pattern
Part 1: Avocado Outer Skin (Galaxy Yarn)
You’ll work this piece flat as two mirrored halves, then seam them together. Think of it as the avocado peel that frames the lighter flesh.
Starting piece:
Row 1: Ch 2, work 4 sc in second ch from hook, ch 1, turn. (4 sts)
Row 2: Inc in first st, sc 2, inc in last st, ch 1, turn. (6 sts)
Row 3: Inc, sc 4, inc, ch 1, turn. (8 sts)
Row 4: Inc, sc 6, inc, ch 1, turn. (10 sts)
Row 5: Inc, sc 8, inc, ch 1, turn. (12 sts)
Rows 6 through 10: Sc across all stitches, ch 1, turn. (12 sts each row)
Row 11: Inc, sc 10, inc, ch 1, turn. (14 sts)
Rows 12 through 16: Sc across, ch 1, turn. (14 sts each row)
Row 17: Invdec, sc 10, invdec, ch 1, turn. (12 sts)
Row 18: Invdec, sc 8, invdec, ch 1, turn. (10 sts)
Row 19: Invdec, sc 6, invdec, ch 1, turn. (8 sts)
Row 20: Invdec, sc 4, invdec, ch 1, turn. (6 sts)
Row 21: Invdec, sc 2, invdec. (4 sts)
Fasten off, leaving a long tail. Make two identical pieces.
Part 2: Avocado Flesh (Light Lavender Yarn)
This creates the inner avocado body. Work in continuous rounds. Use a stitch marker to track your first stitch.
Round 1: MR, 6 sc into ring. (6 sts)
Round 2: Inc in each st around. (12 sts)
Round 3: *Sc 1, inc* repeat 6 times. (18 sts)
Round 4: *Sc 2, inc* repeat 6 times. (24 sts)
Round 5: *Sc 3, inc* repeat 6 times. (30 sts)
Round 6: *Sc 4, inc* repeat 6 times. (36 sts)
Round 7: *Sc 5, inc* repeat 6 times. (42 sts)
Rounds 8 through 14: Sc in each st around. (42 sts each round)
Round 15: *Sc 5, invdec* repeat 6 times. (36 sts)
Round 16: *Sc 4, invdec* repeat 6 times. (30 sts)
Round 17: *Sc 3, invdec* repeat 6 times. (24 sts)
Round 18: *Sc 2, invdec* repeat 6 times. (18 sts)
Begin stuffing firmly with fiberfill.
Round 19: *Sc 1, invdec* repeat 6 times. (12 sts)
Round 20: Invdec 6 times. (6 sts)
Finish stuffing. Fasten off, weave tail through remaining stitches, pull tight to close.
Part 3: Pit Ring (Medium Purple Yarn)
This frames where the pit sits. Make it slightly puffy.
Round 1: MR, 6 sc into ring. (6 sts)
Round 2: Inc in each st around. (12 sts)
Round 3: *Sc 1, inc* repeat 6 times. (18 sts)
Round 4: *Sc 2, inc* repeat 6 times. (24 sts)
Round 5: *Sc 3, inc* repeat 6 times. (30 sts)
Round 6: BLO sc in each st around. (30 sts)
Rounds 7 through 9: Sc in each st around. (30 sts each round)
Sl st to next st, fasten off leaving a long tail for sewing.
Part 4: Pit Cavity or Pearl Pit
For the spiral cavity version (Light Purple Sparkle Yarn):
Round 1: MR, 6 sc into ring. (6 sts)
Round 2: Inc in each st around. (12 sts)
Round 3: *Sc 1, inc* repeat 6 times. (18 sts)
Round 4: *Sc 2, inc* repeat 6 times. (24 sts)
Sl st, fasten off. Leave the spiral pattern visible from the front. The magic ring center creates a natural spiral effect.
For the pearl pit version:
Follow the same instructions for the pit ring, but before fastening off, insert and secure a 15mm pearl bead in the center. You can glue it or sew it in place. The pearl should sit snugly within the ring, creating that gorgeous dimensional pit.
Part 5: Feet (Galaxy Yarn)
Make 2 per avocado, so 4 total for a pair.
Round 1: MR, 6 sc into ring. (6 sts)
Round 2: Inc in each st around. (12 sts)
Rounds 3 through 5: Sc in each st around. (12 sts each round)
Sl st, fasten off leaving a tail. Stuff lightly.
Assembly Instructions
This is where your avocado comes to life. Take your time here.
Step 1: Position the pit ring (or pit cavity) on the front center of your flesh body, slightly below center. Pin in place. Whip stitch around the edge using matching yarn.
Step 2: If using the pearl version, ensure the pearl is secured before attaching the ring to the body.
Step 3: Take your two outer skin pieces. Position them around the flesh body like a frame, with the curved edges meeting at the back. The skin should border the lavender flesh, creating that classic avocado look. Pin everything in place.
Step 4: Using galaxy yarn, whip stitch or mattress stitch the skin pieces to each other along the back seam. Then stitch the inner edges to the flesh body.
Step 5: Attach the feet to the bottom front of the avocado. Position them so the avocado can stand upright. Sew securely.
Face Embroidery and Details
Safety Eyes: Position the 8mm black safety eyes above the pit area, spacing them about 8 to 10 stitches apart. Insert them between rounds and secure with washers on the inside before you fully close any openings.
Eyelashes: Using black embroidery floss, stitch 2 or 3 small straight stitches above each eye, angling outward slightly.
Mouth: Embroider a small curved line or gentle smile using black floss. Keep it simple and sweet.
Cheeks: Using pink embroidery floss, create small oval blush marks below and to the outside of each eye. Use satin stitch or small straight stitches clustered together.
Star Details: This is what makes them cosmic. Using metallic silver or white floss, embroider tiny star shapes scattered across the forehead area. Simple cross stitches with a vertical line through the center work perfectly. Add 3 to 5 stars per avocado.
Optional Embellishments: For the version with the bow, tie a small yarn bow using pale purple or silver yarn. Attach a tiny star charm to the center. Sew to the top of the avocado head.
Tips for Success
Tension matters. For amigurumi, you want tight stitches so stuffing doesn’t show through. If you can see white fiberfill peeking out, try going down a hook size.
The invisible decrease is your friend. It prevents those little holes that regular decreases can leave. Worth the extra effort.
Stuff as you go. Once you start decreasing, add stuffing gradually. It’s much harder to stuff through a tiny hole at the end.
Galaxy yarn can be tricky. The variegation and sparkle threads sometimes catch on your hook. Work slowly and gently tug any caught fibers free.
Pin before sewing. Seriously. Positioning all your pieces with pins first saves so much frustration. Step back and look at the overall shape before you commit to stitching.
Customization Ideas
Want to make this cosmic galaxy avocado amigurumi pattern your own? Here are some variations:
Final Thoughts
Making these cosmic galaxy avocados was such a joyful project. There’s something wonderful about taking a simple avocado shape and transforming it into something sparkly and magical. The construction teaches you valuable skills, the finished pieces are genuinely useful as gifts or decor, and every time you look at them, those sweet sleeping faces make you smile.
I hope this crochet pattern brings you as much happiness as it brought me. Take your time with the assembly, don’t stress about perfection, and remember that handmade things carry love in every stitch.
Thank you so much for choosing to make this pattern. I genuinely appreciate you being here.
If you make your own cosmic avocados, I would absolutely love to see them. Tag me on Instagram or share in my Facebook group. Seeing your creations is the best part of sharing patterns.
Happy crocheting, friend. You’ve got this.