
I designed this little dress with one goal in mind: create something that looks heirloom-worthy but works up faster than you’d expect. The tiered skirt gave me the vintage feel I was after, and the shell stitch layers add that beautiful movement without complicated techniques. I am SO pleased with how it turned out. Honestly, I keep picking it up just to admire those scalloped edges.
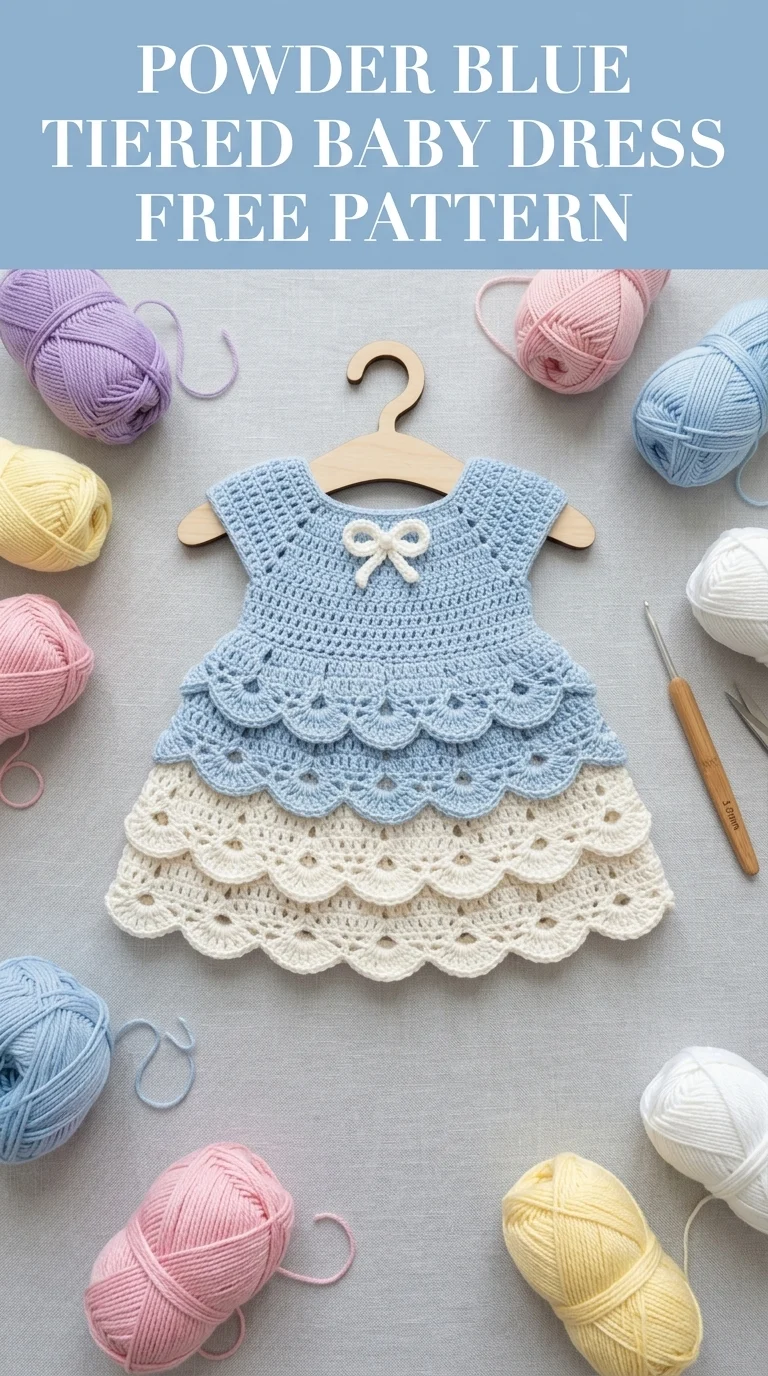
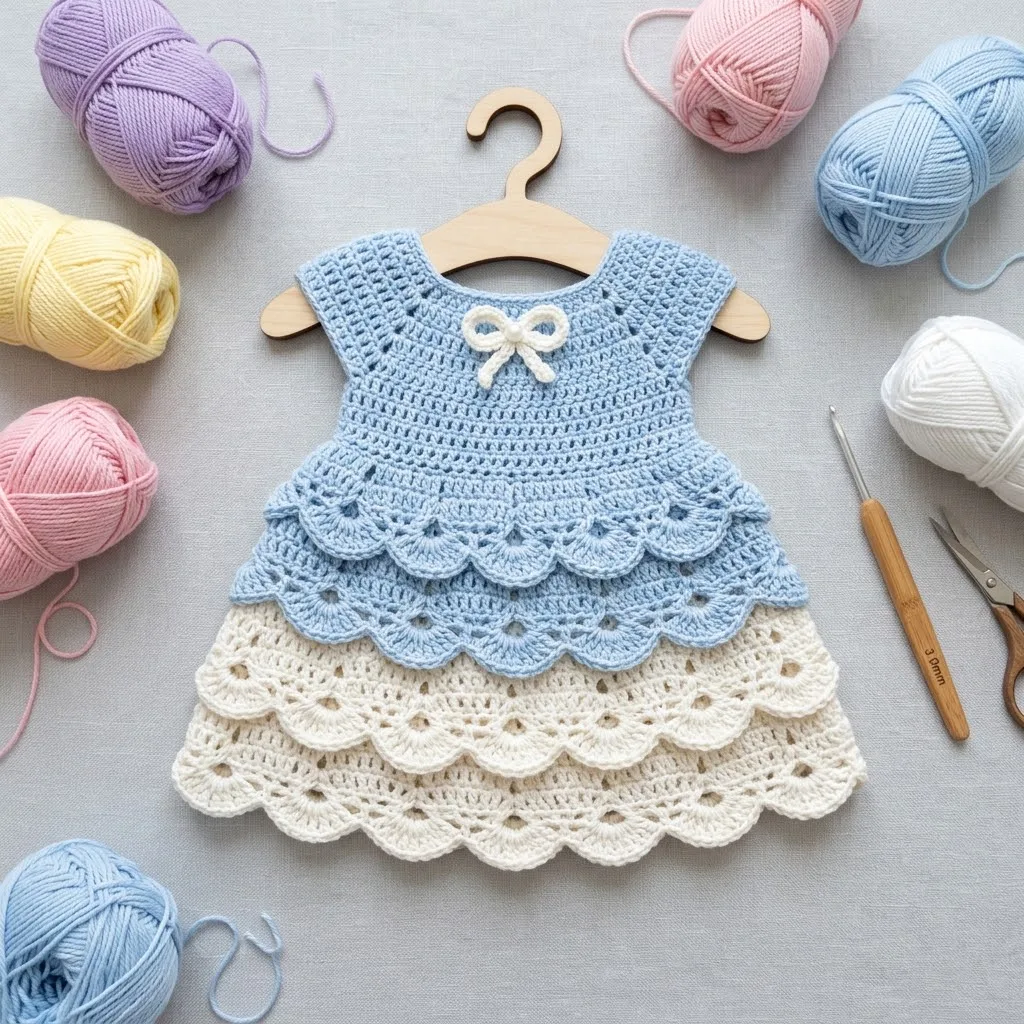
This powder blue tiered baby dress crochet pattern combines simple bodice construction with a flowing layered skirt that swishes with every tiny movement. The two-tone color blocking at the hem adds visual interest while keeping the overall look soft and classic. Whether you’re making this for a baby shower gift, a special occasion, or just because you found the perfect shade of blue in your stash, this dress will become one of your favorite makes.
About This Crochet Baby Dress Pattern
This adorable baby dress features a fitted yoke bodice that transitions into cascading tiers of shell stitches. The construction is top-down, meaning you’ll start at the neckline and work your way to the hem. No seaming the bodice to the skirt. No fussy assembly. Just continuous rounds that flow naturally from one section to the next.
The shell stitch creates those gorgeous scalloped layers you see in the skirt. If you’ve never worked shells before, don’t worry. A shell is simply a group of stitches worked into the same stitch or space, fanning out to create a decorative fan shape. Once you get the rhythm, you’ll fly through these tiers.
Skill level: Intermediate beginner. If you can work in the round and you’re comfortable with double crochet, you can absolutely make this dress. The shell stitch sections might feel unfamiliar at first, but I’ll walk you through every step.
Materials Needed
Yarn:
I recommend a soft cotton or cotton blend for baby items. Cotton breathes well against delicate skin and washes beautifully. Acrylic works too if you prefer something machine washable and budget-friendly. Look for yarns labeled "baby" or "soft" for the gentlest feel.
Hook:
Notions:
Gauge
18 stitches and 10 rows = 4 inches in double crochet
Gauge matters for fit, especially in garments. Take a few minutes to make a swatch. If your swatch is too big, go down a hook size. Too small? Go up a hook size.
Finished Measurements
This pattern is written for size 6 to 12 months.
Abbreviations and Stitch Definitions
Let me break down every stitch you’ll need for this project.
Ch = Chain. Wrap yarn over hook, pull through loop on hook. This creates the foundation for your work.
Sl st = Slip stitch. Insert hook, yarn over, pull through stitch AND loop on hook in one motion. Used for joining rounds.
Sc = Single crochet. Insert hook, yarn over, pull up a loop (2 loops on hook), yarn over, pull through both loops.
Hdc = Half double crochet. Yarn over, insert hook, yarn over, pull up a loop (3 loops on hook), yarn over, pull through all 3 loops.
Dc = Double crochet. Yarn over, insert hook, yarn over, pull up a loop (3 loops on hook), yarn over, pull through 2 loops (2 loops remain), yarn over, pull through remaining 2 loops.
Shell = 5 dc worked into the same stitch or space. This creates the fan-shaped scallop effect.
Sk = Skip. Pass over the indicated number of stitches without working into them.
St(s) = Stitch(es)
Rep = Repeat
Pattern Notes Before You Begin
This dress is worked in joined rounds from the top down. You’ll begin with the neckline, shape the yoke, create the bodice, then work the tiered skirt sections.
The back of the dress has a small opening at the top for easy dressing. You can add a button loop closure or leave it as is.
When changing colors for the cream tier, carry the blue yarn loosely up the inside if you plan to add more blue rows, or cut and weave in ends for a cleaner finish.
Count your stitches at the end of each round. I know it feels tedious, but it prevents frogging later. Trust me on this one.
Powder Blue Tiered Baby Dress Crochet Pattern Instructions
Neckline and Yoke
With MC (powder blue), ch 72. Join with sl st to first ch to form a ring, being careful not to twist.
Round 1: Ch 3 (counts as dc here and throughout), dc in each ch around. Sl st to top of ch-3 to join. (72 dc)
Round 2: Ch 3, dc in same st, 2 dc in each st around. Sl st to join. (144 dc)
This might feel like a lot of stitches, but the doubling creates the fullness needed for the yoke shaping.
Round 3: Ch 3, dc in next st, *2 dc in next st, dc in next 2 sts*, rep from * around, adjusting at end to complete round evenly. Sl st to join. (approximately 192 dc)
Round 4: Ch 3, dc in each st around. Sl st to join. (192 dc)
Rounds 5 through 8: Rep Round 4. This creates the depth of the yoke.
Dividing for Armholes
This is where the bodice takes shape. You’ll separate the front and back, leaving gaps for the armholes.
Round 9: Ch 3, dc in next 47 sts (front), ch 8, sk 48 sts (first armhole), dc in next 48 sts (back), ch 8, sk 48 sts (second armhole). Sl st to first dc to join.
Round 10: Ch 3, dc in next 47 dc, dc in each of 8 ch sts, dc in next 48 dc, dc in each of 8 ch sts. Sl st to join. (112 dc)
Bodice
Now you’ll work even rounds to create the fitted bodice section above the waist.
Rounds 11 through 16: Ch 3, dc in each st around. Sl st to join. (112 dc)
At the end of Round 16, your bodice should measure approximately 3 to 4 inches from the underarm. Adjust by adding or removing rounds if needed for your preferred length.
First Skirt Tier (Blue Shell Layer)
Here’s where the magic happens. The shell stitch creates those beautiful scalloped layers.
Round 17 (Increase Round): Ch 3, dc in same st, 2 dc in each st around. Sl st to join. (224 dc)
Round 18 (Shell Setup): Ch 1, sc in same st, *sk 2 sts, shell (5 dc) in next st, sk 2 sts, sc in next st*, rep from * around. Sl st to first sc to join.
Count your shells. You should have approximately 37 shells around.
Round 19: Ch 3, 2 dc in same st, *sc in center dc of shell below, shell in next sc*, rep from * around, ending with 2 dc in first st. Sl st to join.
Rounds 20 through 22: Rep Round 19.
Your first tier is complete. See how those shells stack and create the layered scallop effect? Beautiful.
Second Skirt Tier (Blue Shell Layer)
Round 23: Working in the sc stitches between shells, ch 3, dc in same st, 2 dc in each sc around. Sl st to join.
Rounds 24 through 27: Rep Rounds 18 through 22 shell pattern.
Third Skirt Tier (Cream Shell Layer)
Change to CC (cream).
Round 28: With CC, ch 3, dc in same st, 2 dc in each sc around. Sl st to join.
Rounds 29 through 32: Rep shell pattern as established in Rounds 18 through 22.
Fourth Skirt Tier (Cream Shell Layer)
Round 33: Ch 3, dc in same st, 2 dc in each sc around. Sl st to join.
Rounds 34 through 38: Rep shell pattern as established.
Round 39 (Final Edging): Ch 1, sc in each st around, working 3 sc in the center dc of each shell to maintain the scalloped edge. Sl st to join. Fasten off.
Sleeve Edging
Join MC to underarm with sl st.
Round 1: Ch 1, sc evenly around armhole opening, approximately 48 sc. Sl st to join.
Round 2: Ch 1, *sc in next st, sk 1 st, 5 dc in next st, sk 1 st*, rep from * around. Sl st to join.
Fasten off. Rep for second sleeve.
Neckline Edging
Join MC to back neck opening with sl st.
Row 1: Ch 1, sc evenly around entire neckline. Do not join. Turn.
Row 2: Ch 1, working left to right (reverse sc), sc in each st around for a corded edge.
Fasten off.
Bow Detail
With white yarn, ch 30.
Row 1: Sc in 2nd ch from hook, sc in each ch across. (29 sc)
Fasten off, leaving a long tail. Tie the strip into a small bow. Use the tail to secure the bow to the center front bodice, just below the neckline.
Finishing Your Baby Dress
Weave in all ends securely. For baby items, I like to weave each end through at least 2 inches of stitches, then back in the opposite direction. This prevents ends from working loose during washing.
Block gently if desired. Lay flat on a towel, spritz with water, and pat into shape. Let dry completely before moving.
Add a small button and loop at the back neck opening if you prefer a closure. To make a button loop, simply chain 8 to 10 stitches and attach to the opposite side of the opening.
Tips for Success with This Baby Dress Pattern
If your yoke seems too tight: Add another increase round before dividing for armholes. Every baby is different, and a little extra room never hurts.
If your shells look uneven: Make sure you’re working your shell into the sc between shells on the row below, and your sc into the center (third) dc of the shell below. This stacking is what creates the neat alignment.
Want to adjust the length? Simply add or remove tier sections. Each full tier adds approximately 2 inches to the overall length.
Making this for a newborn? Reduce the starting chain to 60 and decrease all stitch counts proportionally. You may also want to eliminate one tier from the skirt.
Why This Dress Makes a Perfect Gift
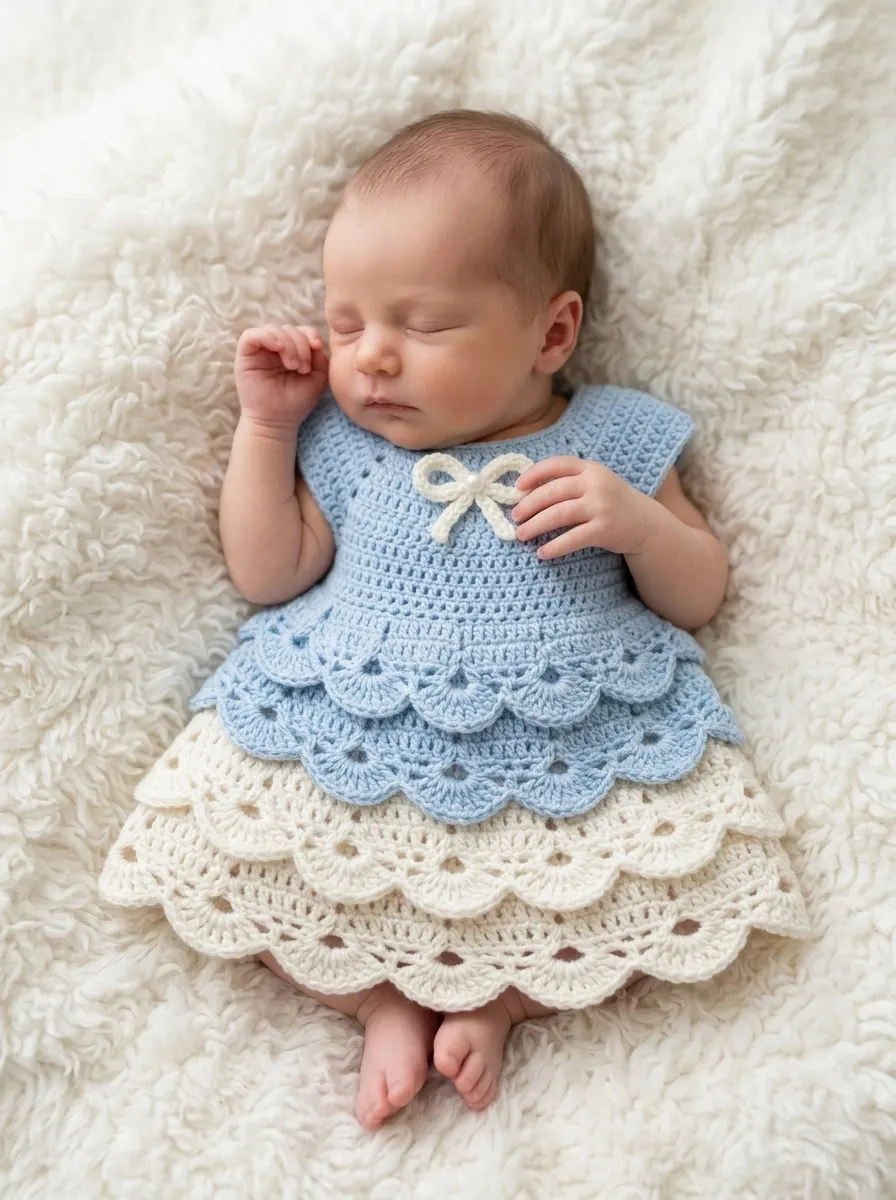
Handmade baby clothes carry so much meaning. This crochet baby dress pattern creates something truly special, the kind of piece parents save long after baby outgrows it. The classic silhouette works for photos, special occasions, or everyday wear. The tiered skirt adds movement and whimsy without being too fussy.
The step by step instructions in this crochet tutorial make it achievable even if you’ve never made a garment before. And because it works up relatively quickly, you can finish it in time for that baby shower you forgot was next weekend. We’ve all been there.
I really hope you love making this powder blue tiered baby dress as much as I loved designing it. If you give it a try, I’d absolutely love to see your finished project. Tag me on Instagram or share a photo in my Facebook group. There’s nothing better than seeing these patterns come to life in your hands.
Save this pattern to your Pinterest boards so you can find it when you’re ready to start, and please leave a comment below if you make one. I read every single comment and love hearing which colors you chose and who the lucky little one is. Happy crocheting, friend.