
This is hands down one of the EASIEST statement pieces you can crochet, and it looks absolutely STUNNING. I’m talking about a gorgeous lacy shrug that works up faster than you’d expect and makes you look like you spent weeks on it. The open mesh design means your hook practically flies through each row. Whether you’re making this for yourself, a bride-to-be, or anyone who loves romantic layering pieces, you can finish this beauty in a weekend. It’s the kind of project that makes people gasp and ask "you MADE that?" Trust me, this one’s going straight to the top of your project list.
Why You’ll Love This Crochet Bell Sleeve Shrug Pattern
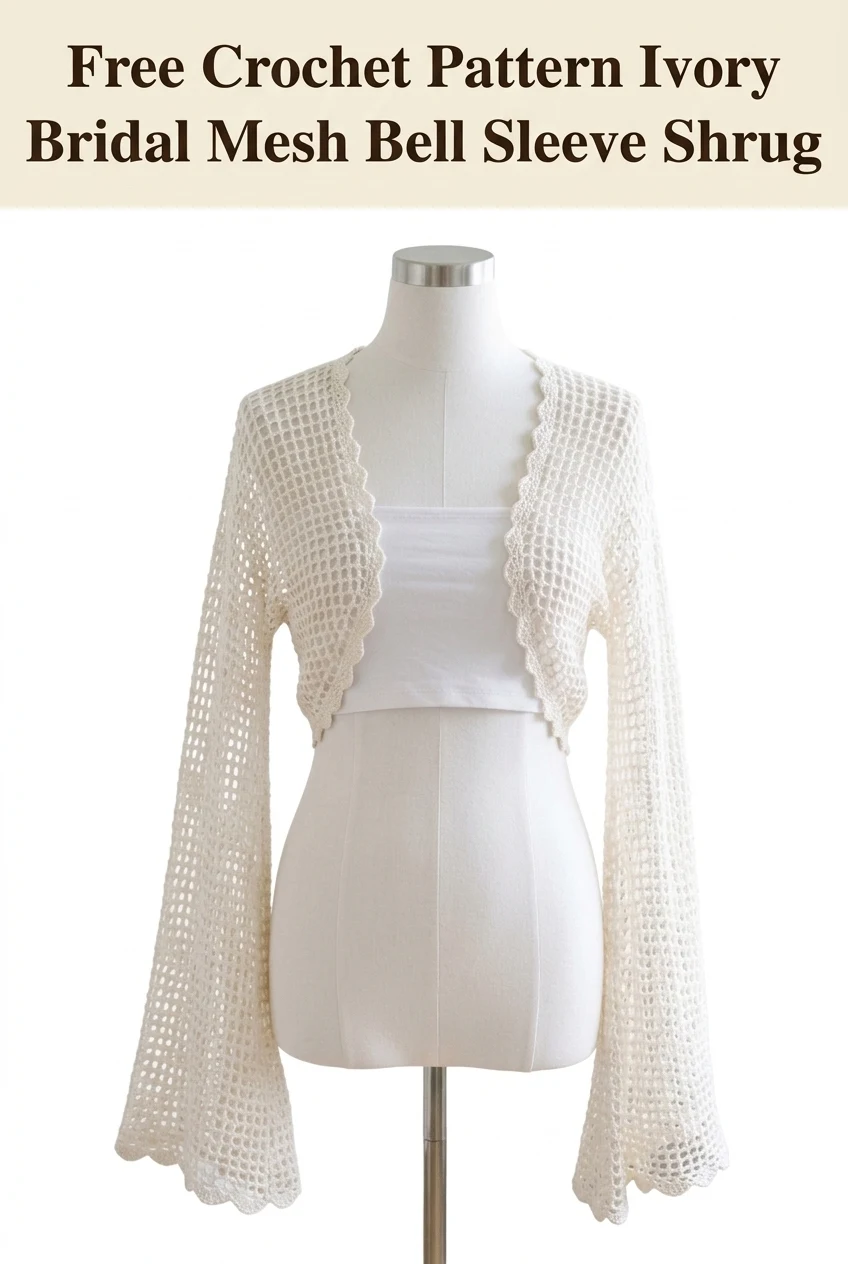
This ivory bridal mesh crochet bell sleeve shrug hits all the right notes. The construction is simpler than it looks because you’re working with basic stitches in a repetitive pattern. Once you get the rhythm down, you can crochet while watching your favorite show without missing a beat.
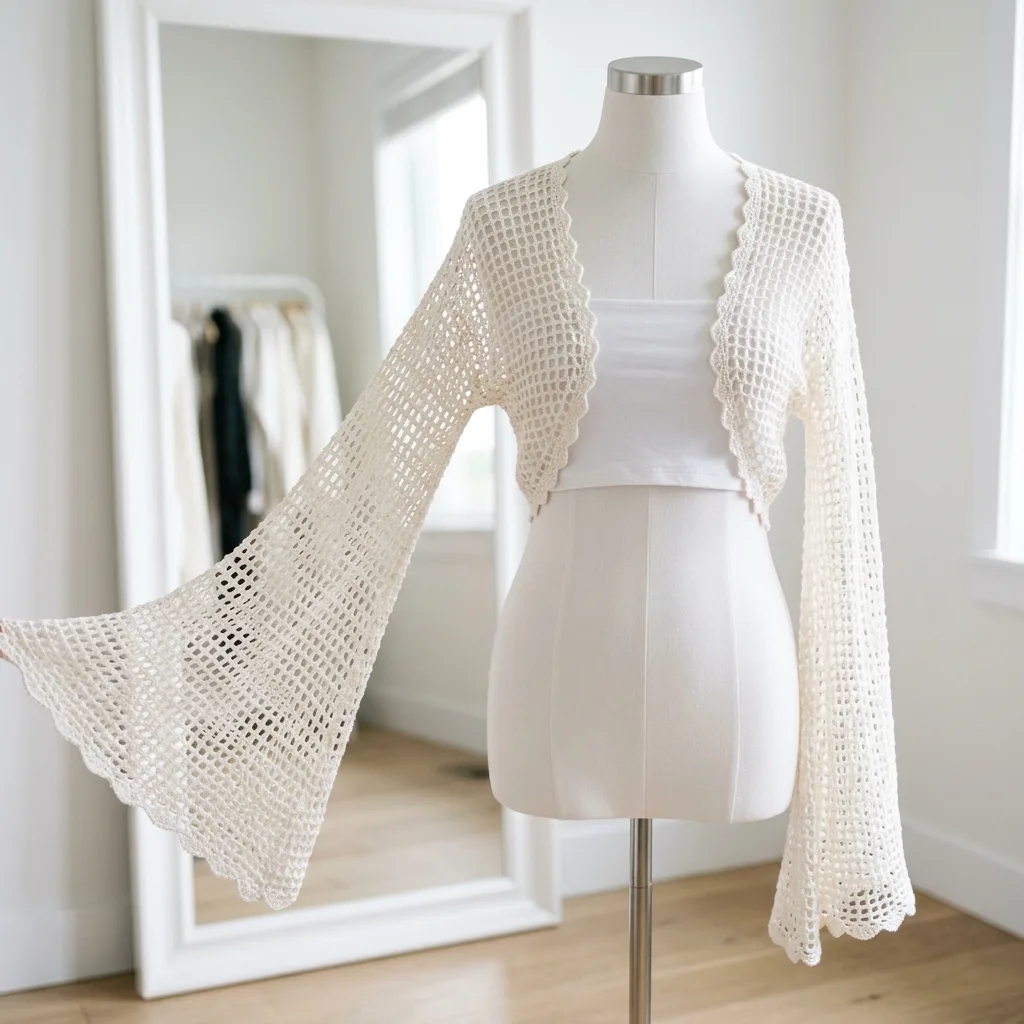
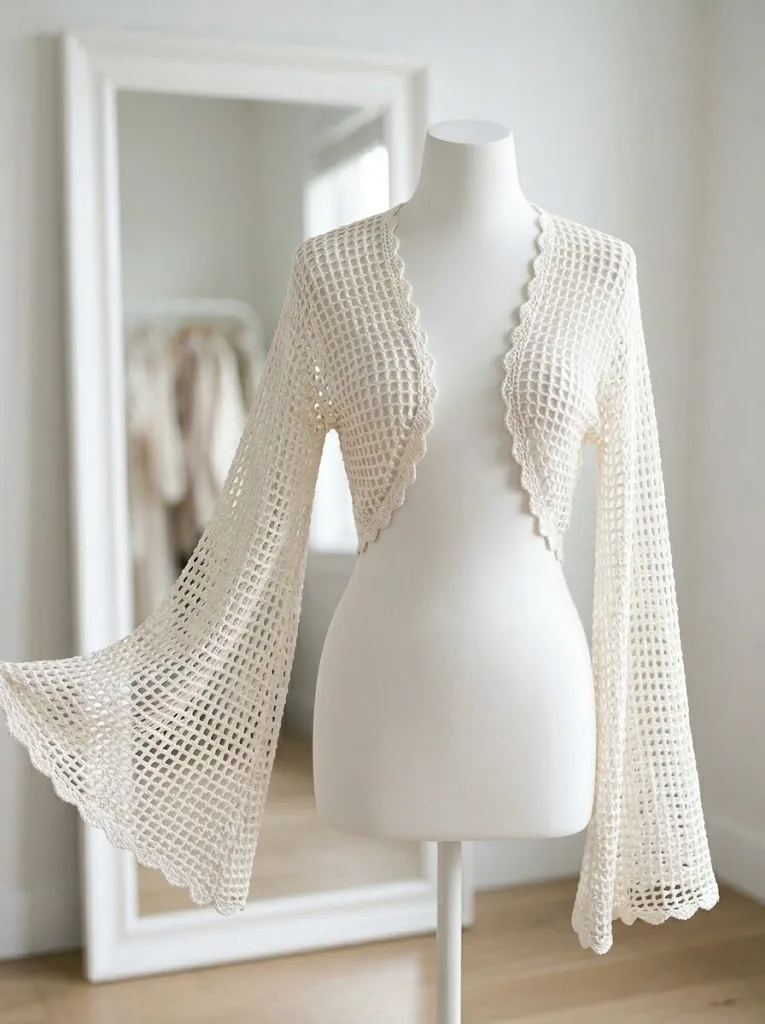
The open mesh design creates that dreamy, romantic vibe perfect for weddings, date nights, or layering over summer dresses. The dramatic bell sleeves add serious vintage flair without any complicated shaping. And because mesh uses less yarn than solid stitches, this project is surprisingly lightweight and affordable to make.
I designed this shrug to sit cropped at the natural waist, covering just the shoulders and upper back. It’s meant to be worn open in the front, framing whatever you wear underneath. The scalloped edging along all the borders gives it a polished, finished look that elevates the whole piece.
Materials You’ll Need
Before you start, gather these supplies:
Yarn:
Hook:
Notions:
Gauge:
Skill Level
This crochet pattern is intermediate beginner friendly. If you can chain, double crochet, and count stitches, you can make this shrug. The mesh pattern is a simple two-row repeat, and once you understand it, the whole project becomes almost meditative.
Stitches and Techniques Used:
Abbreviations and Definitions
Let me break down every stitch you’ll need:
Chain (ch): The foundation of most crochet projects. Yarn over, pull through the loop on your hook. If you chain 50, you’ll have 50 little V-shaped links.
Double crochet (dc): A taller stitch that creates height quickly. Yarn over, insert hook into stitch, yarn over and pull up a loop (3 loops on hook), yarn over and pull through 2 loops (2 loops remain), yarn over and pull through last 2 loops. One double crochet complete.
Single crochet (sc): A short, tight stitch. Insert hook into stitch, yarn over and pull up a loop (2 loops on hook), yarn over and pull through both loops.
Slip stitch (sl st): Used for joining and moving across stitches without adding height. Insert hook, yarn over, pull through both the stitch and the loop on your hook in one motion.
Chain space (ch-sp): The gap or hole created by chains in the previous row. You’ll work into these spaces, not into the chains themselves.
Understanding the Mesh Pattern
The mesh in this shrug uses a classic filet-style construction. Here’s how it works:
Mesh Pattern (worked flat):
That’s it. The entire body of this shrug uses this simple repeat. The ch-1 spaces and skipped stitches create the open grid pattern. Each "box" in your mesh is formed by one double crochet, one chain, and the space beneath.
Shrug Construction Overview
This shrug is constructed in pieces, then seamed together:
1. Back Panel (one rectangle)
2. Left Front Panel (one rectangle)
3. Right Front Panel (one rectangle)
4. Sleeves (two tubes worked in the round)
5. Scalloped Edging (added last)
The back and front panels are seamed at the shoulders and sides, leaving openings for the armholes. Sleeves are worked separately and attached. Finally, a delicate scallop border finishes all edges.
Step by Step Crochet Pattern
Back Panel
Foundation: Ch 82.
Row 1: Dc in 5th ch from hook (skipped chains count as dc + ch 1), *ch 1, skip 1 ch, dc in next ch*, repeat across. (40 dc, 39 ch-1 spaces)
Row 2: Ch 4 (counts as dc + ch 1), turn, dc in next dc, *ch 1, dc in next dc*, repeat across. (40 dc, 39 ch-1 spaces)
Rows 3 through 30: Repeat Row 2.
Your back panel should measure approximately 16 inches wide and 12 inches tall. Fasten off and weave in ends.
Left Front Panel
Foundation: Ch 42.
Row 1: Dc in 5th ch from hook, *ch 1, skip 1 ch, dc in next ch*, repeat across. (20 dc, 19 ch-1 spaces)
Row 2: Ch 4, turn, dc in next dc, *ch 1, dc in next dc*, repeat across. (20 dc, 19 ch-1 spaces)
Rows 3 through 30: Repeat Row 2.
Your left front panel should measure approximately 8 inches wide and 12 inches tall. Fasten off.
Right Front Panel
Work exactly as the Left Front Panel. You’ll have two identical front pieces.
Seaming the Body
Now let’s put it together. Lay your pieces flat with right sides facing up.
Shoulder Seams:
1. Place the back panel in the center.
2. Position the left front panel along the left edge, aligning the top corners.
3. Using a tapestry needle and yarn, whipstitch or mattress stitch the top 3 inches of each front panel to the corresponding 3 inches of the back panel. This creates your shoulder seams.
4. Leave the center 10 inches of the back open for the neck.
5. Repeat for the right front panel.
Side Seams:
1. Align the side edges of front and back panels.
2. Starting from the bottom, seam 5 inches up each side.
3. Leave 7 inches open for the armholes.
4. The shoulders are already connected, so this completes the body.
Try the body on at this point. The front panels should hang open, and you should have clear armhole openings on each side.
Bell Sleeves (Make 2)
The sleeves are worked in the round, starting at the shoulder and flaring out toward the wrist. This creates that gorgeous bell shape.
Foundation: Ch 48, sl st to first ch to form a ring. Be careful not to twist.
Round 1: Ch 4 (counts as dc + ch 1), skip 1 ch, dc in next ch, *ch 1, skip 1 ch, dc in next ch*, repeat around, ch 1, sl st to 3rd ch of beginning ch-4 to join. (24 dc, 24 ch-1 spaces)
Round 2: Ch 4, dc in next dc, *ch 1, dc in next dc*, repeat around, ch 1, sl st to 3rd ch of beginning ch-4. (24 dc, 24 ch-1 spaces)
Rounds 3 through 8: Repeat Round 2.
Now we’ll add gradual increases to create the bell flare.
Round 9 (Increase Round): Ch 4, dc in same st, ch 1, dc in next dc, *ch 1, dc in next dc*, repeat around to last dc, ch 1, 2 dc in last dc, ch 1, sl st to join. (26 dc)
Rounds 10 through 12: Work even in mesh pattern. (26 dc, 26 ch-1 spaces)
Round 13 (Increase Round): Ch 4, dc in same st, *ch 1, dc in next dc*, repeat around, working 2 dc in the last dc, ch 1, sl st to join. (28 dc)
Rounds 14 through 16: Work even. (28 dc, 28 ch-1 spaces)
Round 17 (Increase Round): Increase as before. (30 dc)
Rounds 18 through 20: Work even. (30 dc, 30 ch-1 spaces)
Round 21 (Increase Round): Increase as before. (32 dc)
Rounds 22 through 26: Work even. (32 dc, 32 ch-1 spaces)
Round 27 (Increase Round): Increase as before. (34 dc)
Rounds 28 through 30: Work even. (34 dc, 34 ch-1 spaces)
Your sleeve should measure approximately 15 inches from shoulder to wrist, with noticeable flare at the cuff. Fasten off, leaving a long tail for attaching to the body.
Attaching the Sleeves
1. Turn the body inside out.
2. Pin the top of one sleeve (Round 1) around one armhole opening, matching the underarm of the sleeve to the side seam.
3. Whipstitch the sleeve to the armhole, easing any extra fabric as needed.
4. Repeat for the second sleeve.
5. Turn right side out and try it on.
Scalloped Edging
This delicate border elevates the entire piece. You’ll work it along the front opening, around the neckline, down the other front edge, and along the bottom hem. Work the same edging around each sleeve cuff.
Join yarn at the bottom right front corner with a sl st.
Edging Row: *Sc in next st or space, skip 1 st, 5 dc in next st (shell made), skip 1 st*, repeat around entire outer edge, sl st to first sc to join. Fasten off.
Sleeve Cuff Edging: Join yarn at the underarm of one sleeve. Work the same scallop pattern around the cuff opening, sl st to join, fasten off. Repeat for second sleeve.
Finishing Your Shrug
Weave in all ends using your tapestry needle. This is important with lace projects because loose ends really show.
Blocking is essential for this piece. Wet blocking works beautifully:
1. Soak the finished shrug in lukewarm water with a drop of wool wash for 15 minutes.
2. Gently squeeze out excess water (don’t wring).
3. Lay flat on blocking mats or towels.
4. Pin the mesh open, stretching gently to open up the lacework.
5. Shape the bell sleeves so they flare evenly.
6. Let dry completely, usually 24 to 48 hours.
Blocking transforms mesh projects. The stitches relax, the pattern opens up, and everything looks more professional.
Sizing Adjustments
For a smaller size: Reduce your foundation chains by 10 stitches on each panel. This will make the shrug about 2 inches narrower overall.
For a larger size: Add 10 stitches to each foundation chain. Work 2 to 4 additional rows for more length.
For longer sleeves: Continue working even rounds after Round 30, adding increases every 4 rounds if you want more flare.
For less dramatic bell: Skip one or two of the increase rounds in the sleeve section.
Styling Your Ivory Bridal Mesh Shrug
This piece is incredibly versatile:
The open front design means it won’t compete with what you’re wearing underneath. It simply adds that romantic, handcrafted touch.
Tips for Success
Keep your tension consistent. Mesh shows every inconsistency, so try to maintain even stitches throughout.
Count your stitches at the end of every few rows, especially on the body panels. It’s easier to fix mistakes early.
Use stitch markers at the beginning of rounds when working the sleeves. This helps you keep track of where each round starts.
Don’t skip blocking. I know I mentioned this already, but truly, blocking makes a dramatic difference with this pattern.
Make It Your Own
While ivory is classic for bridal wear, this shrug looks stunning in any color. Consider dusty rose for a romantic feel, sage green for an earthy vibe, or black for dramatic evening wear. You could even add subtle sparkle by holding a strand of metallic thread alongside your yarn.
Thank you so much for choosing this pattern for your next project. I genuinely hope you love making it as much as I loved designing it. If you give this ivory bridal mesh crochet bell sleeve shrug a try, I would absolutely love to see your finished piece. Tag me on Instagram or share a photo in my Facebook group. Seeing your creations makes my whole day.
If you loved this crochet tutorial and want to find it easily later, go ahead and save it to your Pinterest boards. And please drop a comment below if you make one. I read every single comment and love hearing how your projects turn out.