
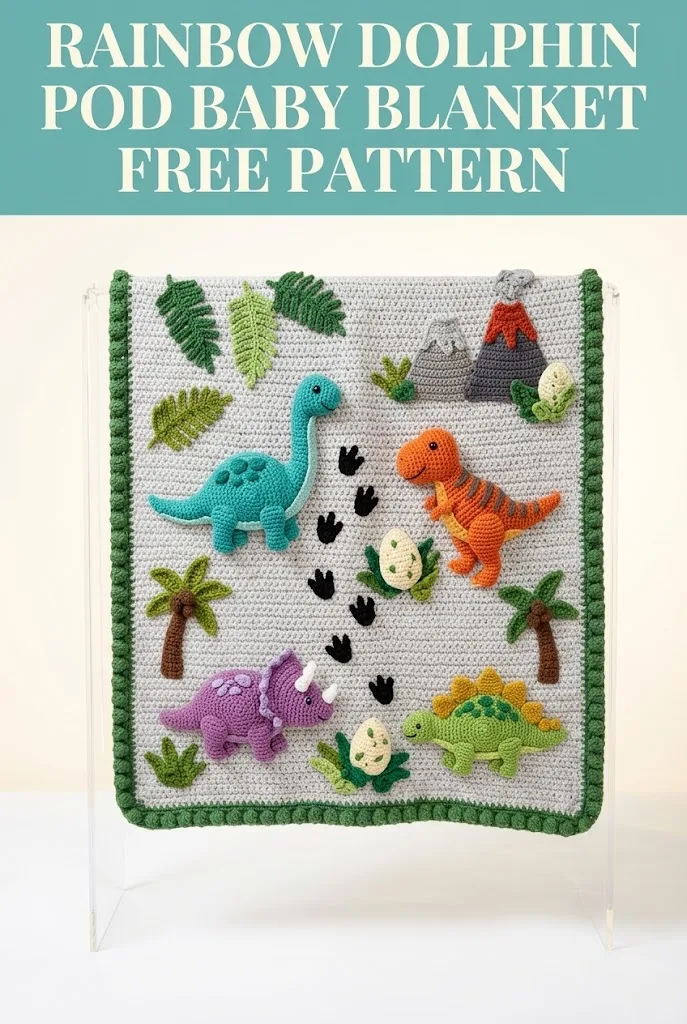
Looking for a show-stopping baby gift that will actually get used? This dinosaur-themed baby blanket works up beautifully using basic stitches and simple appliqué techniques. The single crochet base creates a sturdy, washable blanket perfect for tummy time, stroller rides, or snuggling. With four adorable dinosaurs, prehistoric plants, a volcano, and sweet little eggs, this blanket makes an unforgettable present for any dino-loving family. It works up faster than you might expect and uses worsted weight yarn from your stash.
Why This Dinosaur Baby Blanket Pattern Works
I designed this blanket with busy crafters in mind. The base is straightforward single crochet in a neutral gray, which lets those colorful appliqués really pop. Each dinosaur element gets sewn on separately, so you can customize placement or even make extras as standalone toys.
The bobble border adds just enough texture and visual interest without overwhelming the design. And because everything attaches after the base is complete, you can adjust the layout before committing to final placement.
Skill level: Intermediate. You should be comfortable with basic stitches, working in the round for amigurumi elements, and simple sewing techniques for assembly.
Materials You Will Need
Yarn:
I recommend a soft acrylic like Lion Brand Pound of Love or Caron Simply Soft for the base. These wash beautifully and hold up to baby use.
Tools:
Gauge
With 5.0mm hook and worsted weight yarn:
14 single crochet stitches and 16 rows = 4 inches square
Check your gauge before starting. A blanket that is too loose will have gaps, and too tight will make a stiff fabric.
Finished Dimensions
Approximately 30 inches wide by 36 inches tall, perfect for a crib or stroller blanket.
Abbreviations and Stitch Definitions
ch = chain: Wrap yarn over hook, pull through loop on hook. Creates foundation or adds height.
sc = single crochet: Insert hook into stitch, yarn over, pull up a loop (two loops on hook), yarn over, pull through both loops.
inc = increase: Work two single crochet stitches into the same stitch. This adds one stitch to your count.
dec = decrease (invisible decrease): Insert hook through front loops only of next two stitches, yarn over, pull through both front loops, yarn over, pull through both loops on hook.
sl st = slip stitch: Insert hook into stitch, yarn over, pull through stitch and loop on hook in one motion. Used for joining or moving across stitches without adding height.
hdc = half double crochet: Yarn over, insert hook into stitch, yarn over, pull up a loop (three loops on hook), yarn over, pull through all three loops.
dc = double crochet: Yarn over, insert hook into stitch, yarn over, pull up a loop, yarn over, pull through two loops, yarn over, pull through remaining two loops.
bobble = Yarn over, insert hook, pull up loop, yarn over, pull through two loops. Repeat four more times in same stitch (six loops on hook). Yarn over, pull through all six loops. Push bobble to front of work.
FLO = front loop only: Work into the loop closest to you instead of both loops.
BLO = back loop only: Work into the loop farthest from you.
magic ring = Adjustable starting ring for working in the round. Make a loop with yarn tail behind working yarn, insert hook, pull up loop, chain one, work stitches into ring, then pull tail tight to close.
Blanket Base Pattern
This crochet tutorial walks you through creating the foundation first, then adding all the fun details.
Foundation Row: With light gray yarn and 5.0mm hook, ch 106.
Row 1: Sc in second ch from hook and in each ch across. (105 sc)
Row 2: Ch 1, turn. Sc in each st across. (105 sc)
Rows 3 through 144: Repeat Row 2.
Your blanket base should measure approximately 30 inches wide by 36 inches tall. Fasten off and weave in ends.
Helpful Tips for the Base
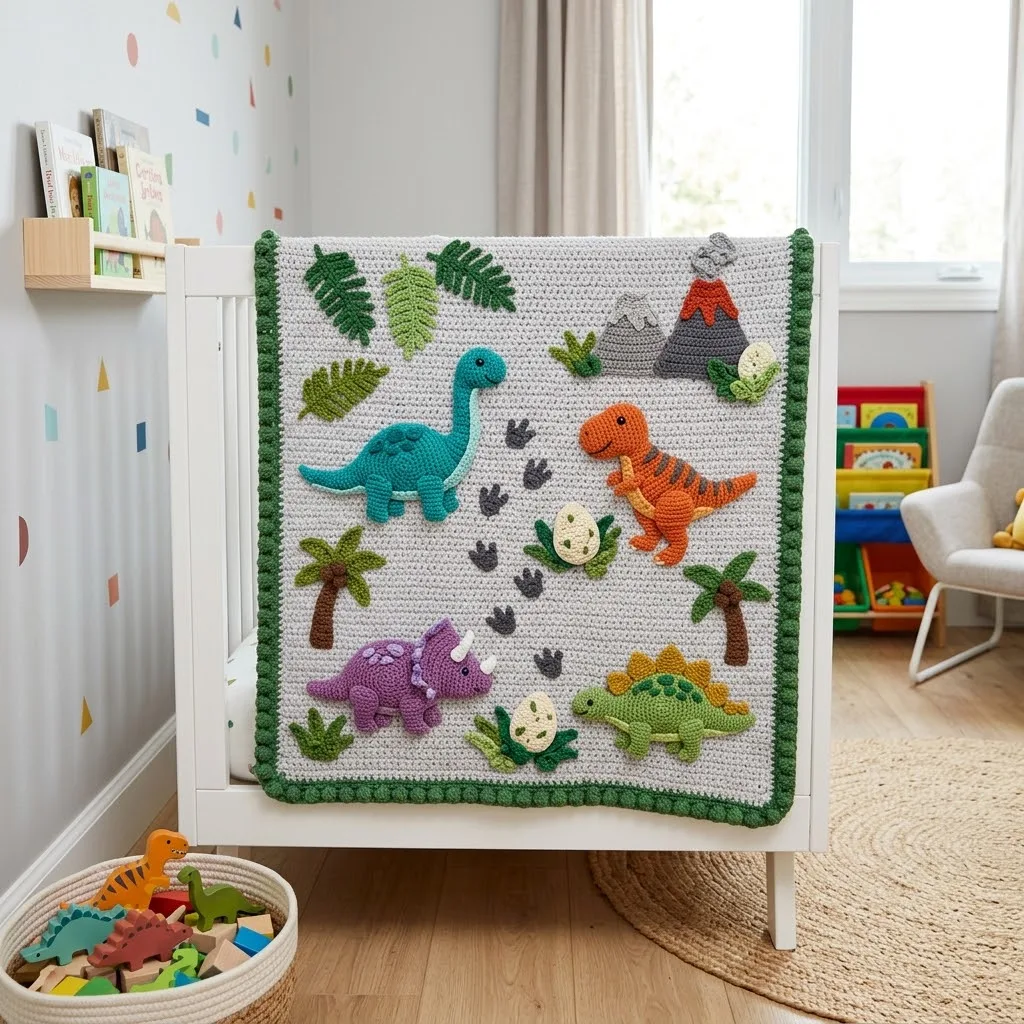
If this seems like a lot of rows, you are right. But single crochet creates the perfect sturdy canvas for appliqués. The tight fabric prevents stuffing from poking through and gives you a smooth surface for sewing.
I like to place a stitch marker every 25 rows to track progress. Trust me, counting to 144 gets tricky around row 87.
Bobble Border Pattern
The border frames everything beautifully with that chunky green texture you see in the photo.
Round 1: Join dark green yarn in any corner with a standing sc. Work sc evenly around entire blanket, placing 3 sc in each corner. Join with sl st to first sc.
For the sides, work approximately 1 sc per row. For top and bottom edges, work 1 sc per stitch. Adjust as needed to keep edges flat.
Round 2: Ch 1, sc in same st. *Skip 1 st, work bobble in next st, skip 1 st, sc in next st.* Repeat from * to * around, working (sc, bobble, sc) in each corner. Join with sl st.
Round 3: Ch 1, sc in each st and bobble around, working 3 sc in each corner. Join and fasten off.
Weave in all ends securely.
Dinosaur Appliqué Patterns
Now for the fun part. Each dinosaur works up as a flat or lightly stuffed piece. Use your smaller 3.5mm hook for all appliqués to create tight stitches that hold their shape.
Brachiosaurus (Long Neck Dinosaur)
Body (make 1 in teal):
Row 1: Ch 12, sc in second ch from hook and next 10 ch. (11 sc)
Rows 2 through 8: Ch 1, turn, sc across. (11 sc)
Row 9: Ch 1, turn, dec, sc in next 7 sts, dec. (9 sc)
Row 10: Ch 1, turn, dec, sc in next 5 sts, dec. (7 sc)
Fasten off.
Neck:
Row 1: Join teal in corner of body, ch 1, sc in next 4 sts along top edge. (4 sc)
Rows 2 through 12: Ch 1, turn, sc across. (4 sc)
Row 13: Ch 1, turn, dec twice. (2 sc)
Fasten off.
Head:
Magic ring, 6 sc in ring. (6 sc)
Round 2: Inc in each st. (12 sc)
Round 3: Sc in each st. (12 sc)
Round 4: *Sc 1, dec* four times. (8 sc)
Stuff lightly, close opening, and sew to top of neck.
Legs (make 4):
Ch 5, sc in second ch from hook and next 3 ch. (4 sc)
Rows 2 through 4: Ch 1, turn, sc across. (4 sc)
Fasten off and sew to body bottom.
Spots (make 3 to 5 in turquoise):
Magic ring, 6 sc in ring, sl st to join, fasten off. Sew randomly on body.
T-Rex
Body (make 1 in orange):
Row 1: Ch 10, sc in second ch from hook and across. (9 sc)
Rows 2 through 7: Ch 1, turn, sc across. (9 sc)
Fasten off.
Head:
Magic ring, 6 sc in ring. (6 sc)
Round 2: Inc in each st. (12 sc)
Rounds 3 and 4: Sc around. (12 sc)
Round 5: *Sc 1, dec* four times. (8 sc)
Stuff lightly and sew to body.
Tail:
Ch 8, sc in second ch from hook, hdc in next 2 ch, dc in next 2 ch, hdc in next ch, sc in last ch. Fasten off and sew to body back.
Legs (make 2):
Ch 6, sc in second ch from hook and next 4 ch. (5 sc)
Rows 2 and 3: Ch 1, turn, sc across. Fasten off.
Arms (make 2):
Ch 4, sc in second ch from hook and next 2 ch. Fasten off.
Stripes: Using darker orange or brown, embroider 3 to 4 horizontal lines across body with backstitch.
Triceratops
Body (make 1 in purple):
Row 1: Ch 11, sc in second ch from hook and across. (10 sc)
Rows 2 through 6: Ch 1, turn, sc across. (10 sc)
Fasten off.
Head Frill:
Ch 8, sc in second ch from hook and next 6 ch. (7 sc)
Row 2: Ch 1, turn, inc, sc 5, inc. (9 sc)
Row 3: Ch 1, turn, sc across. (9 sc)
Fasten off.
Face:
Magic ring, 6 sc in ring. (6 sc)
Round 2: Inc in each st. (12 sc)
Round 3: Sc around. (12 sc)
Stuff lightly, sew to frill bottom, then attach entire head assembly to body.
Horns (make 3 in white):
Ch 4, sl st in second ch from hook, sc in next ch, hdc in last ch. Fasten off.
Sew one horn on nose, two on top of frill.
Legs (make 4):
Ch 4, sc in second ch from hook and next 2 ch. Work 2 more rows of 3 sc. Fasten off.
Spots: Add light purple French knots or small circles on body.
Stegosaurus
Body (make 1 in green):
Row 1: Ch 12, sc in second ch from hook and across. (11 sc)
Rows 2 through 5: Ch 1, turn, sc across. (11 sc)
Fasten off.
Back Plates (make 5 in yellow-green):
Ch 3, 2 dc in third ch from hook, ch 2, sl st in same ch. Fasten off.
Sew along top of body in a row.
Tail Spikes (make 4 in yellow-green):
Ch 4, sl st in second ch from hook, sc, hdc. Fasten off.
Sew two on each side of tail end.
Legs (make 4):
Ch 4, sc in second ch from hook and next 2 ch. Work 2 rows. Fasten off.
Head:
Ch 6, sc in second ch from hook and next 4 ch. Work 2 more rows, decreasing on last row. Sew to body front.
Additional Appliqués
Palm Trees (make 2)
Trunk (brown):
Ch 10, sc in second ch from hook and across. (9 sc)
Work 3 rows total. Fasten off.
Fronds (make 3 to 4 per tree in green):
Ch 8. In second ch from hook: *sc, ch 2, sl st in same ch.* Repeat in each ch across for a feathered look.
Sew fronds to trunk top.
Tropical Leaves (make assorted)
Large Leaf:
Ch 12. Sc in second ch from hook. *Ch 3, sl st in same ch, sc in next ch.* Repeat to create frond effect. Fasten off.
Small Leaf:
Ch 8, work same technique as above.
Make 5 to 7 leaves in varying greens.
Volcano
Mountain (gray):
Ch 15, sc in second ch from hook and across. (14 sc)
Row 2: Ch 1, turn, dec, sc 10, dec. (12 sc)
Row 3: Ch 1, turn, dec, sc 8, dec. (10 sc)
Continue decreasing each row until 2 sts remain. Fasten off.
Lava (orange-red):
Ch 5, work wavy sc across top of volcano. Add small drips by chaining 3 and sl st back.
Smoke (light gray):
Make 2 to 3 small puffs using magic ring with 6 sc, inc round, fasten off. Sew above volcano.
Dinosaur Eggs (make 2 to 3)
Egg (cream):
Magic ring, 6 sc. (6 sc)
Round 2: Inc in each st. (12 sc)
Rounds 3 and 4: Sc around. (12 sc)
Round 5: *Sc 1, dec* around. (8 sc)
Stuff lightly, close opening.
Cracked Egg: Work same as above but leave top open. Add zigzag edge with sl st and ch 1 around opening. Insert tiny dinosaur head peeking out if desired.
Add spots with duplicate stitch or French knots.
Footprints (make 4 to 6 in black)
Ch 4, sc in second ch from hook, hdc, dc. Fasten off.
For toes, make 3 tiny chains of 2, sl st to attach above main print.
Assembly Instructions
This is where your blanket comes together. Take your time with placement.
1. Layout first. Pin all pieces to the blanket base without sewing. Step back and look at the arrangement. The photo shows dinosaurs scattered with the brachiosaurus upper left, t-rex upper right, triceratops lower left, and stegosaurus lower right.
2. Background elements first. Sew palm trees, leaves, and volcano before dinosaurs. These sit behind the main characters.
3. Dinosaurs next. Using matching yarn and a tapestry needle, whip stitch around each piece. Catch just the outer edge of the appliqué and a small bit of the blanket base with each stitch.
4. Small details last. Add footprints, eggs, and any remaining leaves.
5. Secure all ends. Weave every tail through several stitches on the back. For a baby item, double check that nothing can come loose.
Care Instructions
Machine wash cold on gentle cycle. Tumble dry low or lay flat to dry. The acrylic yarn holds up beautifully to regular washing, which is essential for anything baby-related.
Customization Ideas
This step by step crochet pattern adapts easily to your preferences.
Different colors: Try a cream or white base for a softer look. The dinosaurs could be all one color family for a more modern aesthetic.
Fewer elements: Short on time? Make just two dinosaurs and a few leaves. The blanket still looks charming.
Add names: Embroider baby’s name along the bottom border using chain stitch or backstitch.
Size adjustments: For a larger blanket, add chains in multiples of 2 to your foundation and work more rows. Adjust border accordingly.
Troubleshooting Common Issues
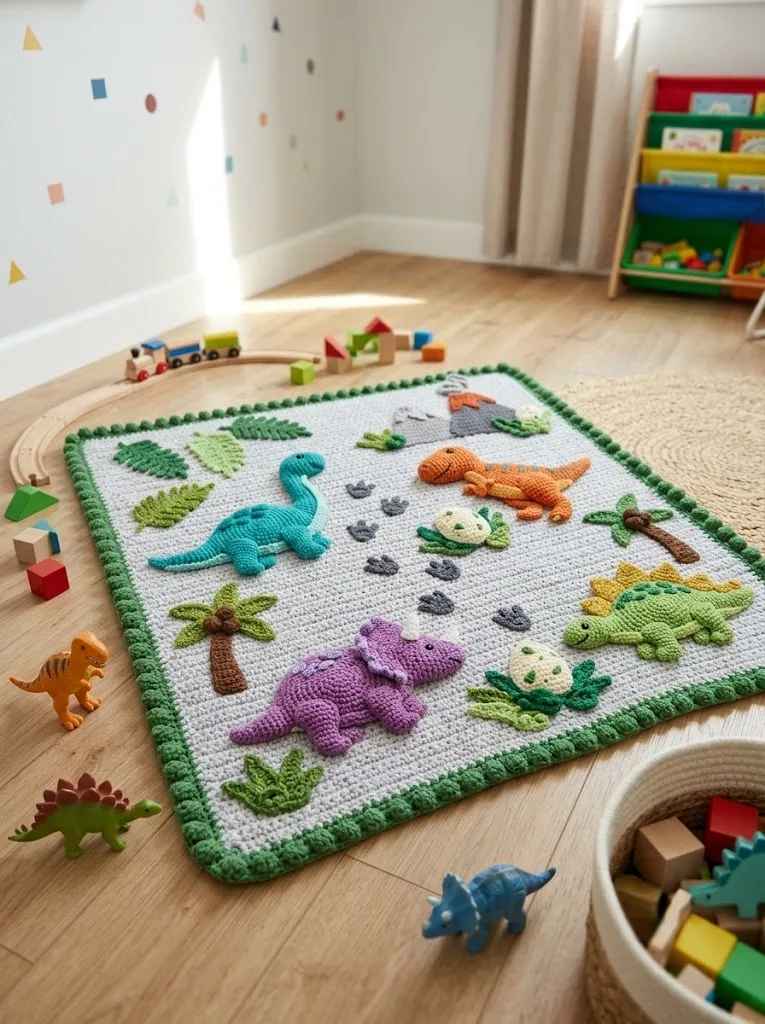
Blanket curling: This happens with tight single crochet. Block your finished base before adding appliqués. Wet blocking works well, just soak the piece, squeeze out water, and pin flat to dry.
Appliqués puckering: Make sure you are not pulling your sewing yarn too tight. The pieces should sit flat against the blanket.
Uneven edges: Count your stitches every few rows. Losing or gaining stitches creates wonky edges.
Bobbles not popping: Push each bobble firmly to the right side as you work. They naturally want to go to the back, so give them a little encouragement.
I really hope you love making this dinosaur baby blanket as much as I enjoyed designing it. Those little dinos have so much personality, and the finished blanket always gets the best reactions at baby showers.
If you found this crochet pattern helpful, I would love for you to save it to your Pinterest boards so you can find it easily later. And please drop a comment below if you make one. Seeing your finished projects absolutely makes my day.