
I sketched this mermaid doll in my notebook last spring, right when the cherry blossoms were blooming outside my window. I wanted to capture that soft pink, dreamy feeling in yarn form. Something whimsical but still huggable. After dozens of swatches and three complete tail redesigns, she finally came to life. I named her Sakura, and honestly? She might be my favorite amigurumi I have ever designed.
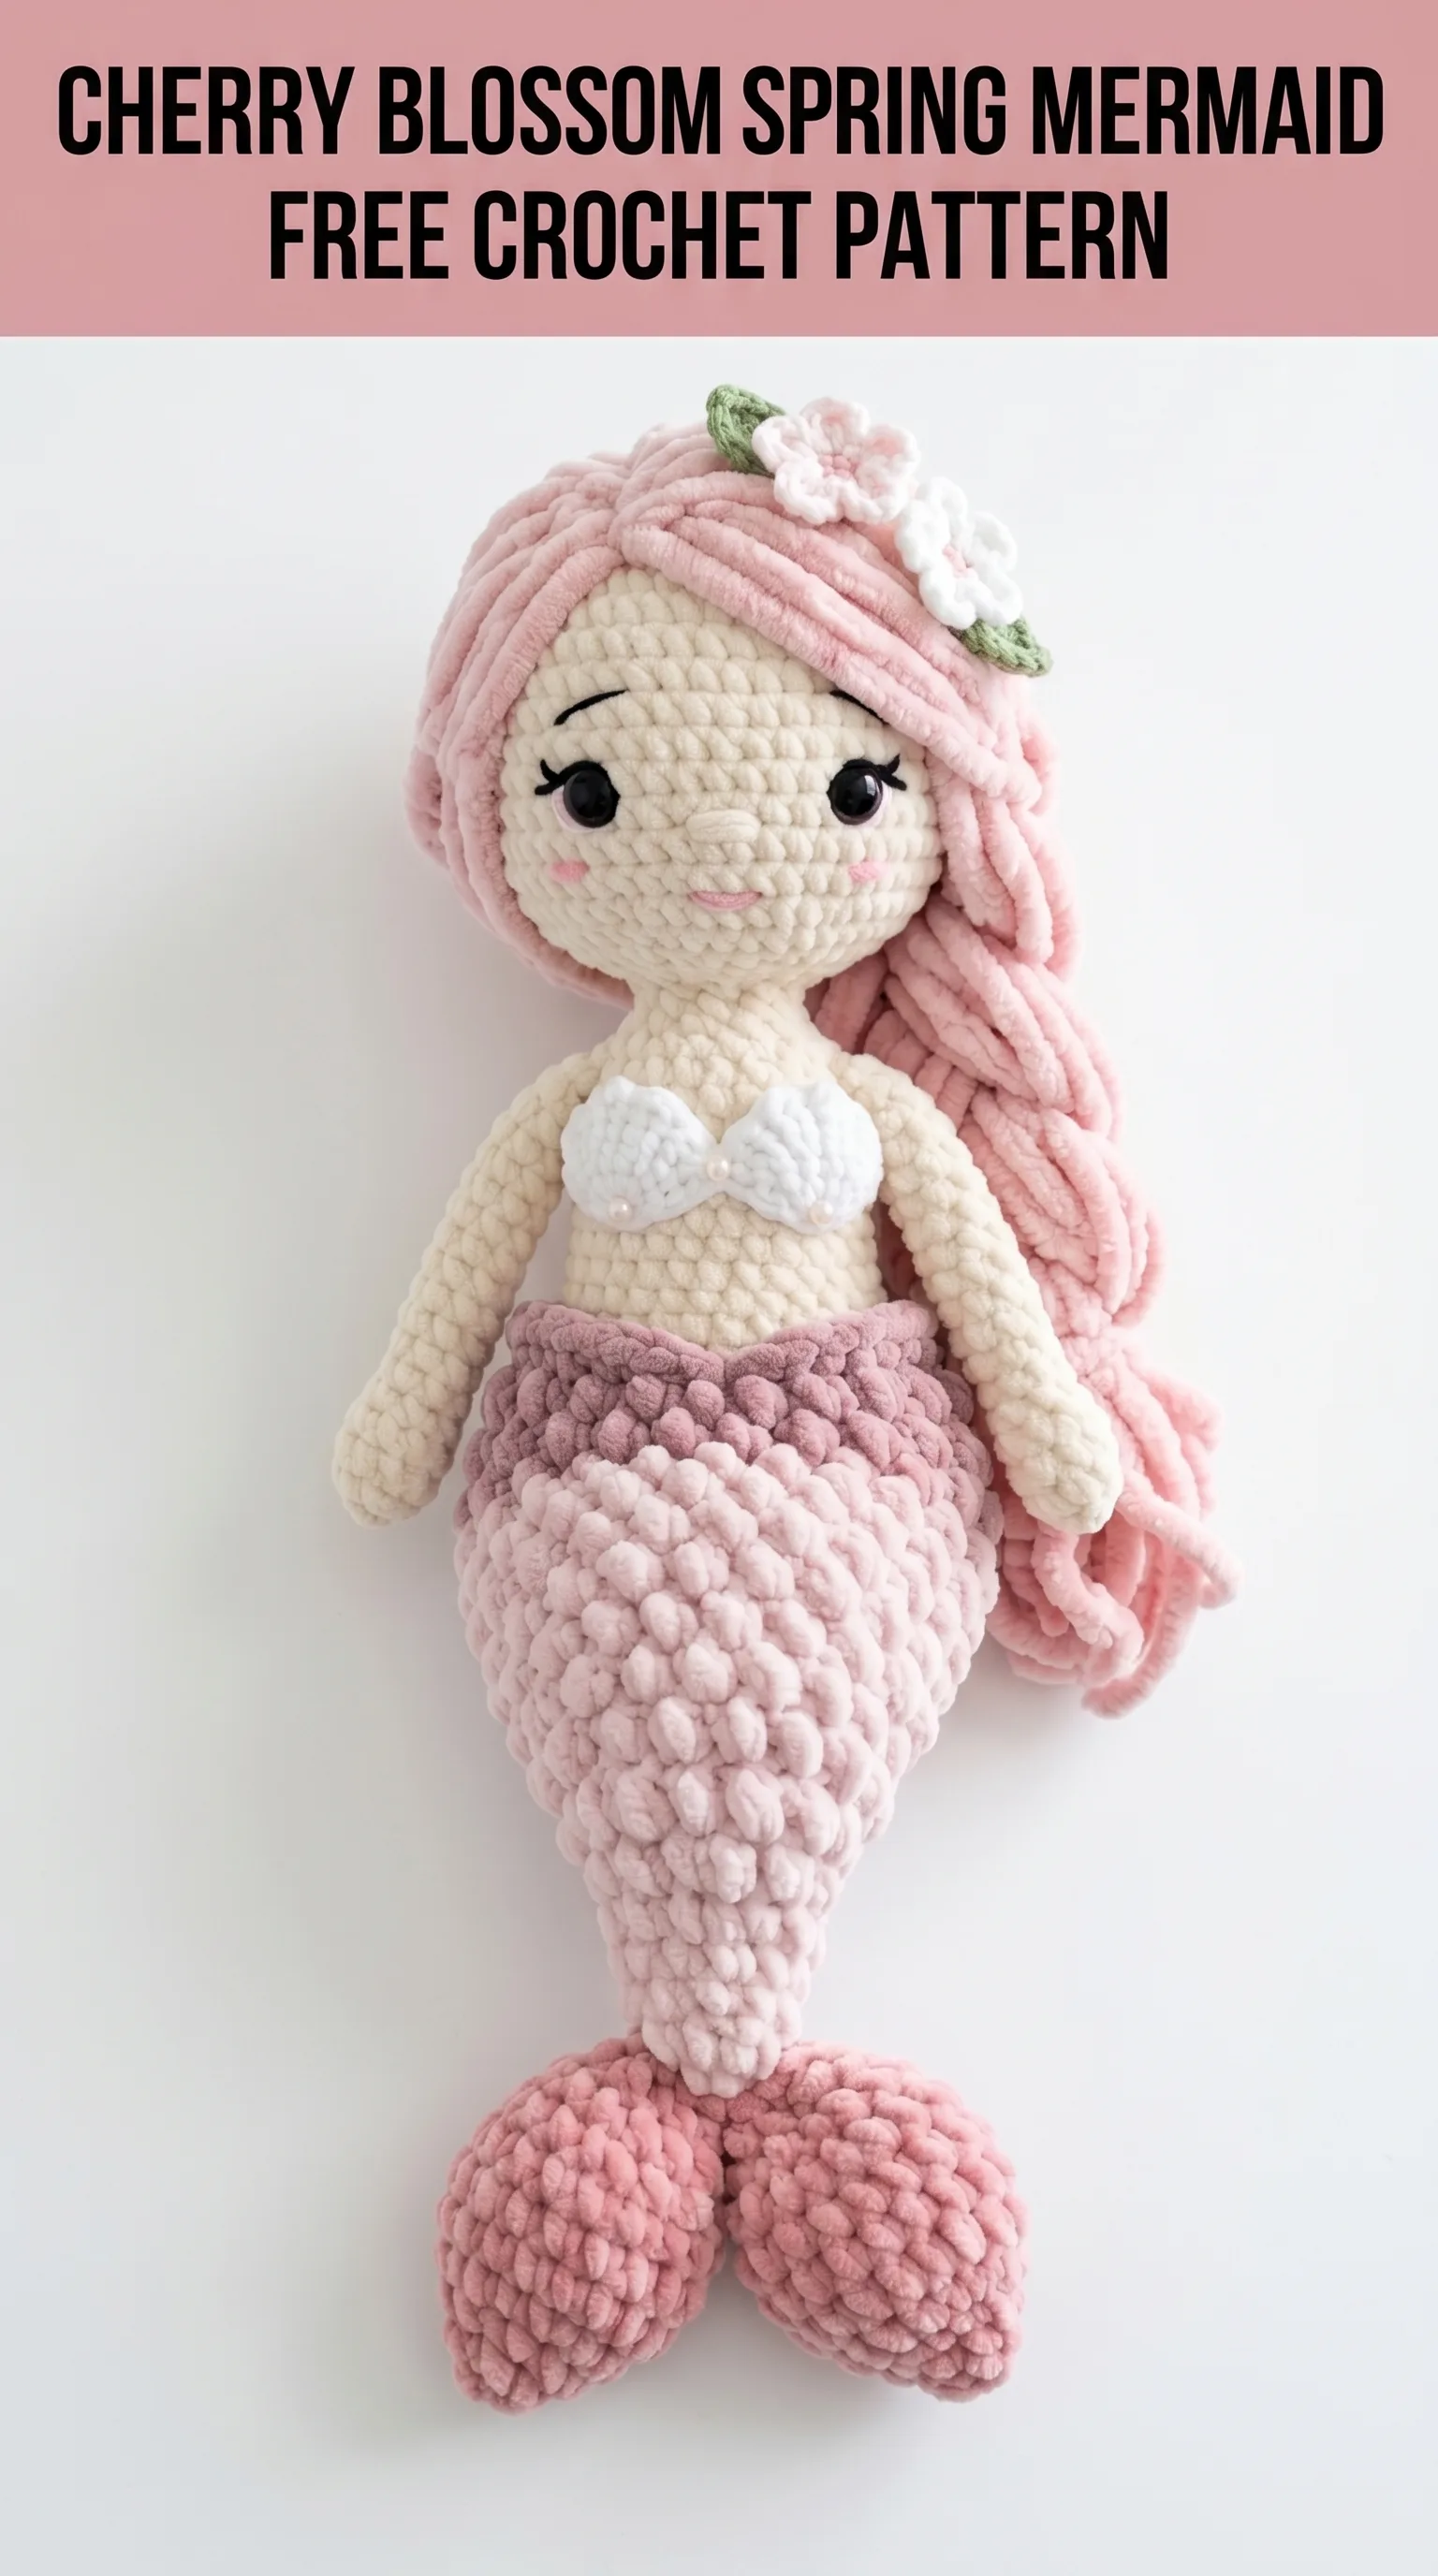
This Cherry Blossom Spring Mermaid crochet pattern creates an enchanting doll that stands approximately 14 to 16 inches tall when finished. She features a beautifully textured scaled tail, flowing velvet yarn hair, delicate shell-shaped bikini top, and a sweet flower accent. The combination of chunky velvet yarn and standard worsted weight creates that irresistible squishy texture you see in the photos.
Why You Will Love This Mermaid Crochet Pattern
This mermaid doll makes an absolutely stunning gift for little ones, nursery decor, or even yourself. Let’s be honest, adults deserve cute handmade things too.
The construction uses basic amigurumi techniques throughout. If you can crochet in continuous rounds and know how to increase and decrease, you can absolutely make this mermaid. The scaled texture on the tail looks incredibly impressive but comes from a simple repeated stitch pattern that you will pick up quickly.
Working time runs about 8 to 12 hours depending on your pace. I suggest breaking this project into sections across several evenings. She is definitely a labor of love, but every single stitch is worth it when you see that sweet face come together.
Materials Needed for Your Mermaid Doll
Before diving in, gather everything you need. Nothing worse than stopping mid-project for a supply run.
Yarn Requirements:
Tools:
Gauge: Gauge is not critical for amigurumi, but your stitches should be tight enough that stuffing does not show through. If you see gaps, go down a hook size.
Abbreviations and Stitch Definitions
Let me walk you through every stitch abbreviation before we begin. Even if you know these, a quick refresher never hurts.
Magic Ring (MR): An adjustable starting circle that closes completely with no hole in the center. You wrap yarn around your fingers, pull up a loop, and work your first round of stitches into that ring before pulling it tight.
Chain (ch): The foundation stitch. Yarn over, pull through the loop on your hook. That is one chain.
Single Crochet (sc): Insert hook into stitch, yarn over and pull up a loop (two loops on hook), yarn over and pull through both loops. This is your workhorse stitch for amigurumi.
Increase (inc): Work two single crochet stitches into the same stitch. This adds one stitch to your round.
Invisible Decrease (invdec): Insert hook through the front loops only of the next two stitches, yarn over and pull through both front loops (two loops on hook), yarn over and pull through both. Creates a neater decrease than the standard method.
Slip Stitch (sl st): Insert hook, yarn over, pull through stitch and loop on hook in one motion. Used for joining and finishing.
Half Double Crochet (hdc): Yarn over, insert hook into stitch, yarn over and pull up a loop (three loops on hook), yarn over and pull through all three loops.
Double Crochet (dc): Yarn over, insert hook into stitch, yarn over and pull up a loop (three loops on hook), yarn over and pull through two loops, yarn over and pull through remaining two loops.
Pattern Notes Before You Start
This mermaid is worked in continuous rounds unless otherwise noted. Do not join rounds with a slip stitch unless the pattern specifically tells you to. Use a stitch marker to track the beginning of each round and move it up as you go.
Stuffing tip: Add fiberfill as you work, especially before closing sections. It is much harder to stuff properly once pieces are complete. Stuff firmly but not so tight that the fabric stretches and shows the filling.
Velvet yarn warning: This yarn is slippery and harder to see your stitches. Work slowly and count often. Using a stitch marker every 6 to 10 stitches can save your sanity. Trust me on this one.
All pieces are worked separately and assembled at the end.
Head and Body
Using cream yarn and 4.0mm hook.
Round 1: 6 sc in magic ring (6 sts)
Round 2: Inc in each st around (12 sts)
Round 3: *Sc 1, inc* repeat around (18 sts)
Round 4: *Sc 2, inc* repeat around (24 sts)
Round 5: *Sc 3, inc* repeat around (30 sts)
Round 6: *Sc 4, inc* repeat around (36 sts)
Rounds 7 to 14: Sc in each st around (36 sts) for 8 rounds
Insert safety eyes between rounds 9 and 10, approximately 8 stitches apart. Make sure they are secure before continuing. This is the point of no return for eye placement.
Round 15: *Sc 4, invdec* repeat around (30 sts)
Round 16: *Sc 3, invdec* repeat around (24 sts)
Round 17: *Sc 2, invdec* repeat around (18 sts)
Stuff the head firmly now. Shape it nice and round.
Round 18: Sc in each st around (18 sts)
Round 19: *Sc 2, inc* repeat around (24 sts)
Round 20: Sc in each st around (24 sts)
Round 21: *Sc 3, inc* repeat around (30 sts)
Rounds 22 to 30: Sc in each st around (30 sts) for 9 rounds
Round 31: *Sc 3, invdec* repeat around (24 sts)
Round 32: *Sc 2, invdec* repeat around (18 sts)
Stuff the body firmly. The body should be slightly smaller than the head for that cute amigurumi proportion.
Round 33: *Sc 1, invdec* repeat around (12 sts)
Do not fasten off. Continue directly to the tail.
Mermaid Tail
Switch to light pink chunky velvet yarn and 5.0mm hook.
Round 34: Sc in each st around (12 sts)
Round 35: Working in back loops only, *sc 1, inc* repeat around (18 sts)
Round 36: Working in back loops only, *sc 2, inc* repeat around (24 sts)
Round 37: Working in back loops only, sc in each st around (24 sts)
Round 38: Working in back loops only, *sc 3, inc* repeat around (30 sts)
Rounds 39 to 42: Working in back loops only, sc in each st around (30 sts) for 4 rounds
The back loop only technique creates those gorgeous horizontal ridges that look like scales. Keep consistent with this throughout the tail.
Round 43: Working in back loops only, *sc 3, invdec* repeat around (24 sts)
Rounds 44 to 46: Working in back loops only, sc in each st around (24 sts) for 3 rounds
Switch to medium rose pink velvet yarn.
Round 47: Working in back loops only, *sc 2, invdec* repeat around (18 sts)
Rounds 48 to 50: Working in back loops only, sc in each st around (18 sts) for 3 rounds
Stuff the tail as you go. Do not overstuff or it will lose that natural curve.
Round 51: Working in back loops only, *sc 1, invdec* repeat around (12 sts)
Round 52: Working in back loops only, sc in each st around (12 sts)
Round 53: Invdec around (6 sts)
Fasten off, leaving a long tail for sewing. Close the hole and weave in the end.
Tail Fins (Make 2)
Using medium rose pink velvet yarn and 5.0mm hook.
Round 1: 6 sc in magic ring (6 sts)
Round 2: Inc in each st around (12 sts)
Round 3: *Sc 1, inc* repeat around (18 sts)
Round 4: *Sc 2, inc* repeat around (24 sts)
Rounds 5 to 8: Sc in each st around (24 sts) for 4 rounds
Round 9: *Sc 2, invdec* repeat around (18 sts)
Round 10: *Sc 1, invdec* repeat around (12 sts)
Stuff lightly. The fins should be slightly puffy but flexible.
Round 11: Invdec around (6 sts)
Fasten off, leaving a long tail. Pinch the opening flat and sew closed. Attach both fins to the bottom of the tail, angling them outward like a real mermaid tail.
Arms (Make 2)
Using cream yarn and 4.0mm hook.
Round 1: 6 sc in magic ring (6 sts)
Round 2: *Sc 1, inc* repeat around (9 sts)
Rounds 3 to 15: Sc in each st around (9 sts) for 13 rounds
Do not stuff the arms, or stuff only the hand portion very lightly. Floppy arms look more natural on dolls.
Fasten off, leaving a long tail for sewing. Flatten the opening and sew to the body at round 19, just below where the neck narrows.
Shell Top (Make 2)
Using white yarn and 4.0mm hook.
Row 1: Ch 5, sc in 2nd ch from hook and each ch across, turn (4 sts)
Row 2: Ch 1, inc, sc 2, inc, turn (6 sts)
Row 3: Ch 1, inc, sc 4, inc, turn (8 sts)
Row 4: Ch 1, sc in each st across, turn (8 sts)
Row 5: Ch 1, invdec, sc 4, invdec (6 sts)
Do not turn. Continue around the entire edge of the shell with sc, working 3 sc into each corner point to create the scalloped shell shape.
Sl st to join. Fasten off, leaving a tail for sewing.
Sew both shell pieces to the front of the body, positioned at chest level. A few small stitches through the center will secure them nicely.
Hair
The flowing hair is what makes this mermaid truly magical. Cut approximately 40 to 50 strands of dusty rose super chunky velvet yarn, each about 18 to 20 inches long.
Fold each strand in half. Using your crochet hook, pull the folded loop through a stitch on the head, then pull the ends through the loop. This is the same technique as adding fringe to a scarf.
Start at the back of the head around round 5 and work your way up and around. Cover the entire back and sides of the head, leaving the face clear. Layer the strands for fullness.
You can trim the hair to your preferred length after attaching. I left mine long and flowing, but a shorter bob would be equally adorable.
Flower and Leaf Accent
Small Flower:
Using pink yarn and 4.0mm hook.
Ch 4, sl st to form ring.
*Ch 3, dc in ring, ch 3, sl st in ring* repeat 5 times for 5 petals.
Fasten off and weave in ends.
Leaves (Make 2):
Using green yarn and 4.0mm hook.
Ch 6, sl st in 2nd ch from hook, sc, hdc, dc, 5 dc in last ch. Working along the other side of the chain, dc, hdc, sc, sl st.
Fasten off.
Arrange the flower with leaves tucked underneath and sew to the side of the head, nestled into the hair.
Face Details
Using pink embroidery floss and a needle, embroider a small curved line for the mouth. I placed mine between rounds 11 and 12, centered below the eyes.
For the eyebrows, use a small piece of brown or cream yarn. Make two small straight stitches above each eye, slightly angled for expression.
Take your time with the face. It is what gives your mermaid her personality. If you are nervous, practice on a scrap piece first.
Assembly Tips
Sew all pieces securely using a whip stitch or mattress stitch. I recommend pinning everything in place first and checking proportions before committing.
Order of assembly:
1. Attach safety eyes and embroider face
2. Sew fins to tail bottom
3. Attach arms to body sides
4. Sew shell top pieces to chest
5. Add hair
6. Attach flower accent
Weave in all ends thoroughly. Velvet yarn ends especially like to work loose, so I recommend weaving through several stitches and even adding a tiny dot of fabric glue if this will be a child’s toy.
Final Thoughts on This Mermaid Crochet Pattern
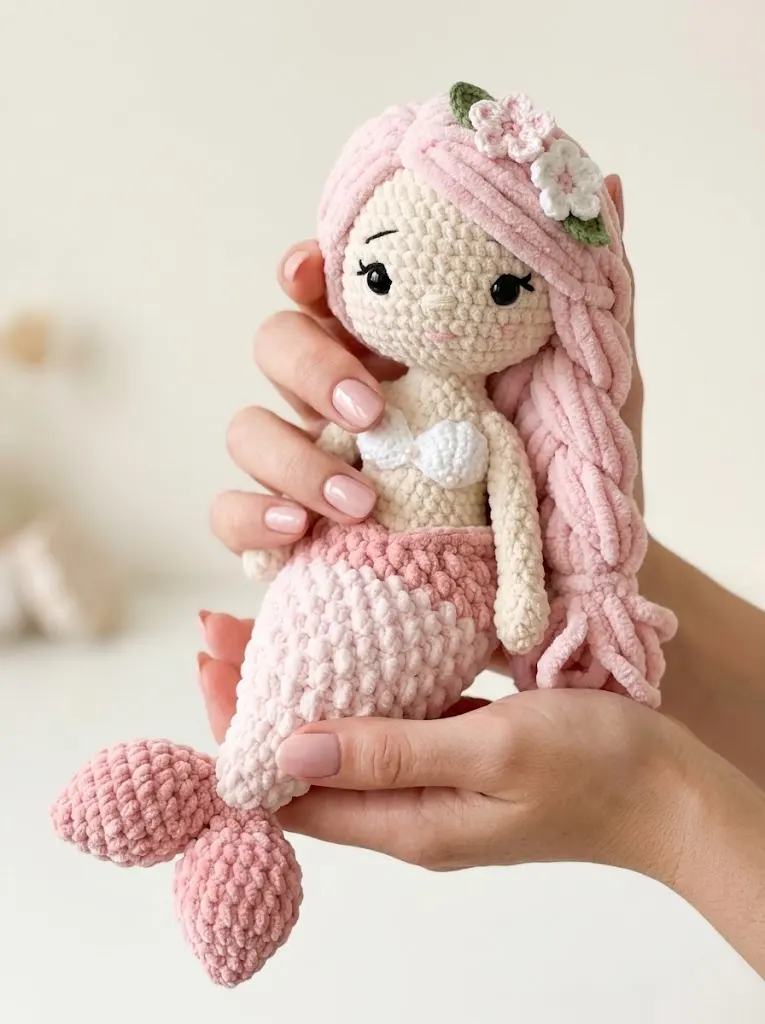
This Cherry Blossom Spring Mermaid crochet pattern brings together so many techniques I love. The textured tail, the flowing hair, that sweet little face. She is a project you will be genuinely proud to display or gift.
If you are new to amigurumi, this step by step crochet tutorial walks you through everything. Take your time with each section and do not rush the finishing details. Those little touches are what transform yarn into something truly special.
I hope you love making Sakura as much as I loved designing her. Thank you so much for choosing this pattern and trusting me to guide you through the process. I would absolutely love to see your finished mermaid. Tag me on Instagram or share in my Facebook group so I can cheer you on.
If this pattern inspired you, go ahead and save it to your Pinterest boards so you can find it easily when you are ready to start. And please drop a comment below if you make her. I read every single one, and your photos genuinely make my day.