
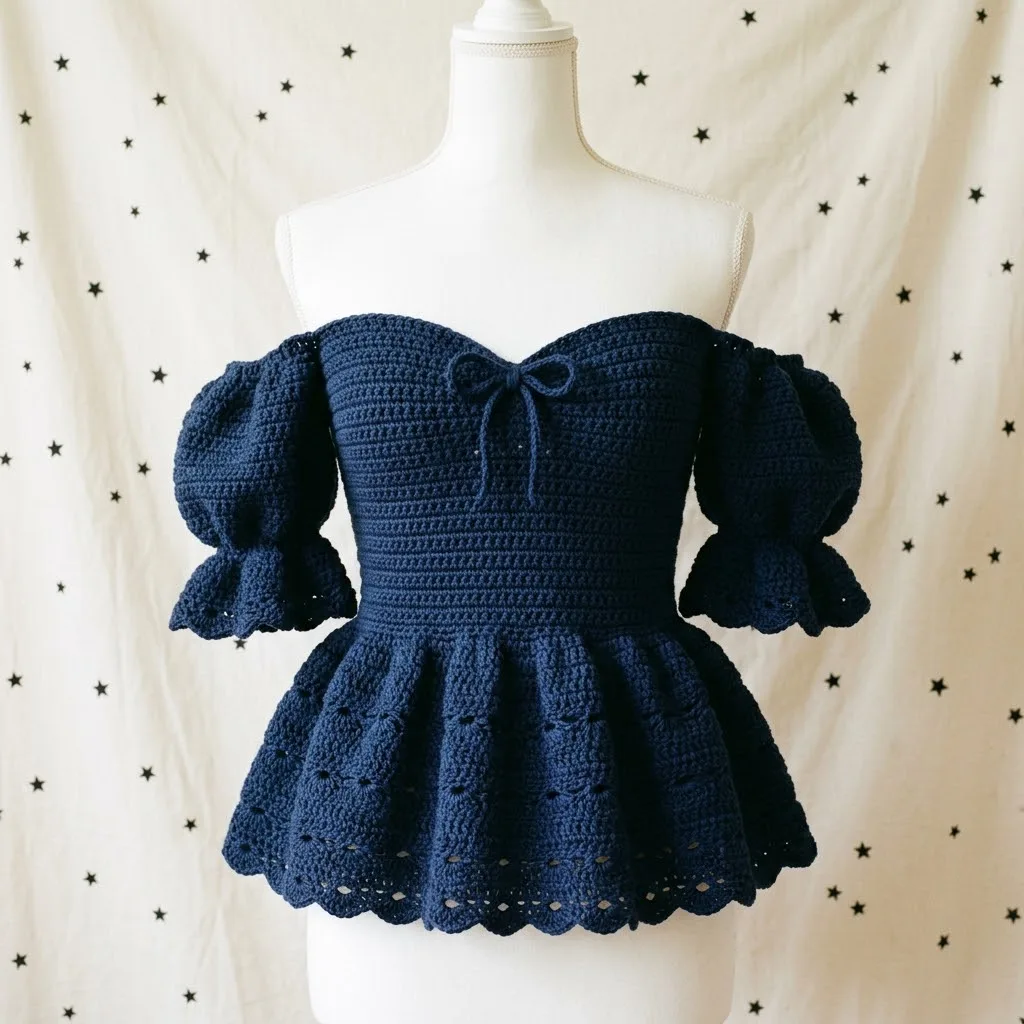
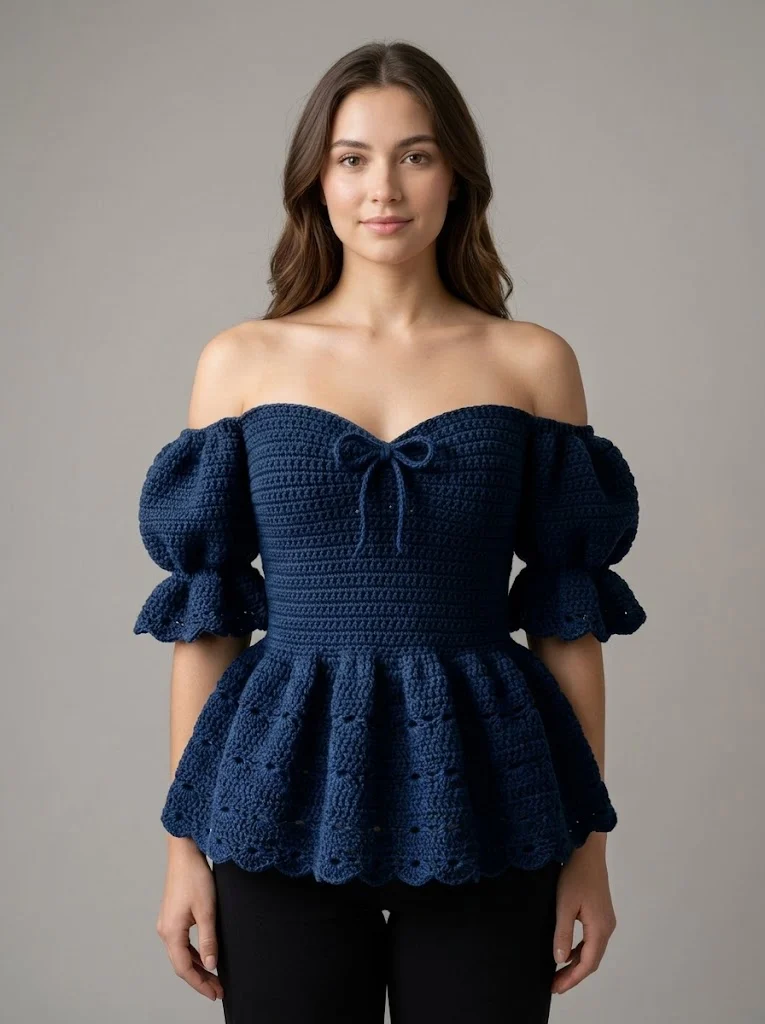
This crochet peplum top features a sweetheart neckline, off-shoulder puff sleeves, and a flared scalloped hem. The construction uses basic stitches throughout. You will work the bodice flat, create gathered puff sleeves separately, and finish with a dramatic peplum skirt worked in the round.
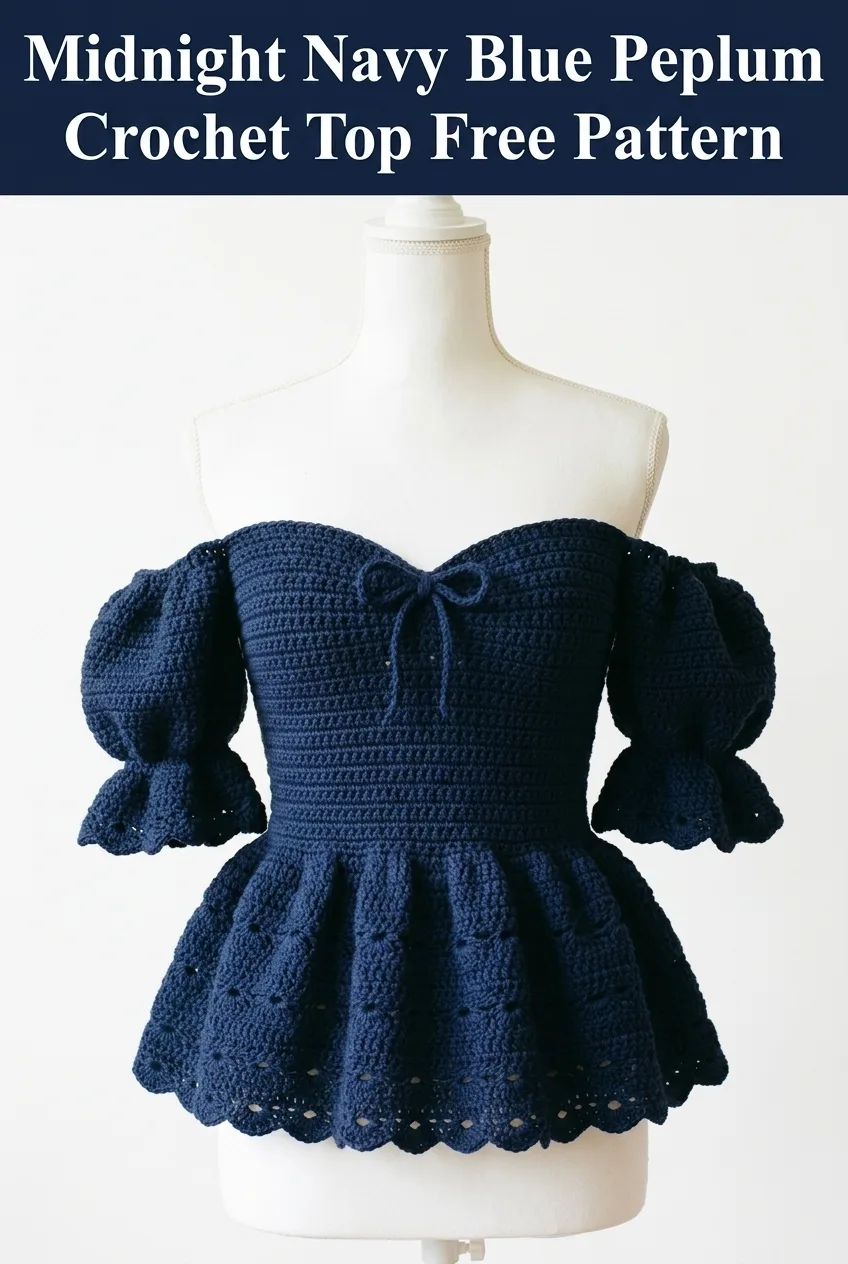
I designed this top for summer evenings and special occasions when you want something handmade that feels truly elevated. The structured bodice creates a flattering silhouette, while the puff sleeves add romantic volume without overwhelming the design. Working with a deep navy yarn gives this piece versatility. Pair it with high-waisted jeans for brunch or a midi skirt for date night.
Why You Will Love This Crochet Top Pattern
This midnight navy peplum top combines vintage romance with modern wearability. The sweetheart neckline frames your collarbone beautifully. The off-shoulder sleeves stay put thanks to internal elastic channels. And that peplum? It creates gorgeous movement when you walk.
What makes this crochet pattern special is the construction method. Rather than working complicated shaping into a single piece, you create modular sections and join them. This approach makes fitting adjustments much easier. If you need a longer bodice, simply add rows. Want more sleeve volume? Increase your puff sections.
The stitch work looks intricate but relies on stitches you already know. The textured bodice rows alternate between single crochet and half double crochet to create subtle horizontal ribbing. The peplum features an eyelet pattern that adds visual interest without complex technique.
Materials Needed
Yarn: Worsted weight cotton or cotton blend yarn in navy blue. You will need approximately 600 to 800 yards depending on your size. I recommend a yarn with good stitch definition like Drops Paris, Lion Brand 24/7 Cotton, or Paintbox Cotton DK. Cotton holds structure better than acrylic for fitted garments.
Hook: 4.0mm (G/6) for the bodice and sleeves. 4.5mm (7) for the peplum section. Having two hook sizes helps control gauge in different sections.
Notions:
Gauge: 16 stitches and 18 rows equals 4 inches in single crochet with 4.0mm hook. Check your gauge before starting. A too-loose gauge will result in a floppy bodice that lacks structure.
Skill Level
This crochet top pattern is intermediate level. You should feel comfortable with:
If you have made a fitted garment before, you are ready for this project. If this is your first wearable, consider practicing the bodice section first to check your tension.
Abbreviations and Stitch Definitions
Ch = Chain. Wrap yarn over hook, pull through loop on hook. This creates the foundation for most crochet work.
Sl st = Slip stitch. Insert hook into stitch, yarn over, pull through both loops on hook. Used for joining rounds and creating invisible seams.
Sc = Single crochet. Insert hook into stitch, yarn over, pull up loop (2 loops on hook), yarn over, pull through both loops. Creates a short, dense stitch.
Hdc = Half double crochet. Yarn over, insert hook into stitch, yarn over, pull up loop (3 loops on hook), yarn over, pull through all 3 loops. Slightly taller than single crochet with nice drape.
Dc = Double crochet. Yarn over, insert hook into stitch, yarn over, pull up loop (3 loops on hook), yarn over, pull through 2 loops, yarn over, pull through remaining 2 loops. Creates an open, taller stitch.
Inc = Increase. Work 2 stitches into the same stitch.
Dec = Decrease. Work 2 stitches together as one.
Sk = Skip. Miss the indicated stitch and work into the next one.
BLO = Back loop only. Work into only the back loop of the stitch, leaving the front loop unworked. Creates ribbed texture.
Size and Measurements
This pattern is written for size Small with adjustments noted for Medium, Large, and XL in parentheses.
Finished Bust: 32 (36, 40, 44) inches
Bodice Length: 10 (10.5, 11, 11.5) inches from top edge to waist
Peplum Length: 7 inches from waist
The bodice has minimal stretch. Measure your bust and choose a size with 1 to 2 inches of positive ease for comfort. The peplum flares dramatically and fits all hip sizes once attached to the bodice.
The Bodice Panel (Make 2)
The bodice consists of a front and back panel worked flat, then seamed at the sides. Both panels start identically. The front panel receives sweetheart shaping at the top.
Foundation and Body
Row 1: With 4.0mm hook, ch 65 (73, 81, 89). Sc in 2nd ch from hook and in each ch across. Turn. (64, 72, 80, 88 sts)
Row 2: Ch 1 (does not count as stitch here and throughout), hdc in BLO of each st across. Turn. (64, 72, 80, 88 sts)
Row 3: Ch 1, sc in BLO of each st across. Turn. (64, 72, 80, 88 sts)
Repeat Rows 2 and 3 until piece measures 9 (9.5, 10, 10.5) inches from foundation, ending with a Row 3.
This alternating stitch pattern creates the subtle horizontal texture visible in the design. Working in back loops only gives the ribbed appearance.
Waistband
The waistband uses tighter tension to cinch the waist.
Waistband Row 1: Ch 1, sc in each st across, pulling yarn slightly tighter than usual. Turn. (64, 72, 80, 88 sts)
Repeat Waistband Row 1 for 5 more rows (6 waistband rows total). The waistband should measure approximately 1 inch.
For the back panel, fasten off here. Weave in ends.
Front Panel Sweetheart Shaping
Continue on the front panel only.
Shaping Row 1: Ch 1, sc in first 28 (32, 36, 40) sts. Turn, leaving remaining sts unworked. You are now working the left cup.
Shaping Row 2: Ch 1, sk first st, sc in each st to last 2 sts, sc2tog. Turn. (26, 30, 34, 38 sts)
Shaping Rows 3 to 6: Repeat Shaping Row 2. (18, 22, 26, 30 sts after Row 6)
Shaping Rows 7 to 10: Ch 1, sc in each st across. Turn. (18, 22, 26, 30 sts)
Fasten off.
Rejoin yarn to the right side of the front panel to work the right cup. Skip the center 8 sts (these create the sweetheart dip).
Work Shaping Rows 1 through 10 in mirror image, decreasing at the opposite edges.
Fasten off and weave in ends.
The Puff Sleeves (Make 2)
These sleeves attach at the side edges of the bodice and sit off the shoulder.
Sleeve Body
Round 1: With 4.0mm hook, ch 50 (54, 58, 62). Being careful not to twist, sl st to first ch to form a ring. Ch 1, sc in each ch around. Sl st to first sc to join. (50, 54, 58, 62 sts)
Rounds 2 to 4: Ch 1, sc in each st around. Sl st to join. (50, 54, 58, 62 sts)
Round 5 (Increase Round): Ch 1, *sc in next 4 sts, inc in next st* around. Sl st to join. (60, 65, 70, 75 sts)
Rounds 6 to 8: Ch 2 (counts as hdc), hdc in each st around. Sl st to top of ch-2 to join.
Round 9 (Increase Round): Ch 2, *hdc in next 5 sts, inc in next st* around. Sl st to join. (70, 76, 82, 88 sts)
Rounds 10 to 14: Ch 2, hdc in each st around. Sl st to join. (70, 76, 82, 88 sts)
This is the fullest point of the puff.
Round 15 (Decrease Round): Ch 1, *sc in next 5 sts, sc2tog* around. Sl st to join. (60, 65, 70, 75 sts)
Rounds 16 to 18: Ch 1, sc in each st around. Sl st to join.
Scallop Edging
Round 19: Ch 1, *sc in next st, sk 1 st, 5 dc in next st, sk 1 st* around. Sl st to join. Fasten off.
The increases and decreases create the balloon shape. The scalloped edge adds feminine detail at the elbow.
Elastic Channel
At Round 1 of each sleeve, you will weave elastic through to keep sleeves positioned on your arms. Leave this step until assembly.
The Peplum Skirt
The peplum works from the waist down in the round, increasing to create dramatic flare.
Setup: Place front and back bodice panels with wrong sides facing. Using 4.5mm hook, join yarn at one side seam at the bottom of the waistband.
Round 1: Ch 1, sc evenly around the entire bottom edge of both bodice panels, working through both layers at side seams. Place marker at beginning of round. (128, 144, 160, 176 sts approximately)
Adjust your stitch count on this round to reach a multiple of 8.
Rounds 2 to 4: Ch 1, sc in each st around. Do not join. Work in continuous rounds, moving marker up.
Round 5 (First Increase): *Sc in next 7 sts, inc in next st* around. (144, 162, 180, 198 sts)
Rounds 6 to 8: Sc in each st around.
Round 9 (Second Increase): *Sc in next 8 sts, inc in next st* around. (160, 180, 200, 220 sts)
Rounds 10 to 12: Sc in each st around.
Eyelet Section
This creates the decorative holes visible in the design.
Round 13: *Sc in next 3 sts, ch 2, sk 2 sts, sc in next 3 sts* around.
Round 14: *Sc in next 3 sts, 2 sc in ch-2 space, sc in next 3 sts* around.
Rounds 15 to 18: Sc in each st around.
Round 19: Repeat Round 13.
Round 20: Repeat Round 14.
Rounds 21 to 24: Sc in each st around.
Scallop Hem
Round 25: *Sc in next st, sk 1 st, 5 dc in next st, sk 1 st* around. Sl st to first sc. Fasten off.
The eyelet rows create the decorative pattern while maintaining structure. The scallop hem mirrors the sleeve edging for cohesive design.
Assembly Instructions
Seaming the Bodice
Place front and back panels with right sides together. Using tapestry needle and matching yarn, whip stitch side seams from bottom of waistband to approximately 2 inches below the top edge. Leave armhole openings.
Attaching Sleeves
Position each sleeve at the armhole opening. The sleeve seam should align with the bodice side seam. Pin in place.
Using yarn and tapestry needle, whip stitch the top edge of each sleeve to the armhole opening. Distribute fullness evenly around the armhole curve.
Finishing the Neckline
Join yarn at center back of neckline. Sc evenly around entire top edge of bodice, including along the sweetheart curves. Work 3 sc in each corner point for smooth curves. Sl st to join. Fasten off.
Adding the Bow
Chain 120. Starting in 2nd ch from hook, sl st in each ch across. Fasten off.
Thread tie through the center front at the sweetheart point. Tie in a bow.
Sleeve Elastic
Cut two pieces of elastic, each measuring your upper arm circumference minus 1 inch.
Thread elastic through Round 1 of each sleeve using a safety pin. Overlap ends and stitch securely. This keeps sleeves in place without digging into skin.
Styling Your Peplum Top
This crochet top works beautifully for summer events, beach vacations, and warm weather date nights. The navy color pairs with white pants for nautical vibes, or with denim for everyday elegance.
For weddings and formal events, style with a midi skirt and heels. The structured bodice photographs beautifully, making this a wonderful choice for milestone celebrations.
Care for your finished top by hand washing in cool water and laying flat to dry. Cotton yarn holds its shape well with proper care. Store folded rather than hung to prevent stretching at the shoulders.
Customization Ideas
Longer Peplum: Add additional rounds before the eyelet section for a more dramatic length.
Strapless Option: Skip the sleeves entirely for a true strapless top. Add extra elastic at the top edge for security.
Color Variations: This pattern works beautifully in white, blush pink, or forest green. Choose any solid color for best stitch definition.
Lining: For additional support, sew a tube top inside the bodice before wearing.
This pattern creates a statement piece you will reach for all season. The construction teaches transferable skills for future garment making, and the modular approach means you can adjust fit without starting over.
I hope you love making this peplum top as much as I loved designing it. Thank you for trusting me with your time and yarn. I would absolutely love to see your finished projects! Share your photos on Instagram or tag me on Facebook so I can celebrate your work.
If this crochet pattern inspired you, save it to your Pinterest boards so you can find it whenever you are ready to start. And please drop a comment below when you finish yours. Seeing your creations genuinely makes my day, and I always love hearing which color combinations you choose!