
I don’t know about you, but I absolutely melt over coordinated baby sets. There is just something about a matching romper, bonnet, and booties that makes my crafter heart sing. All the cozy, all the cuteness, none of the guesswork about what goes together. This oatmeal beige baby romper set has been living rent free in my head since I finished it, and I cannot wait to walk you through every stitch.
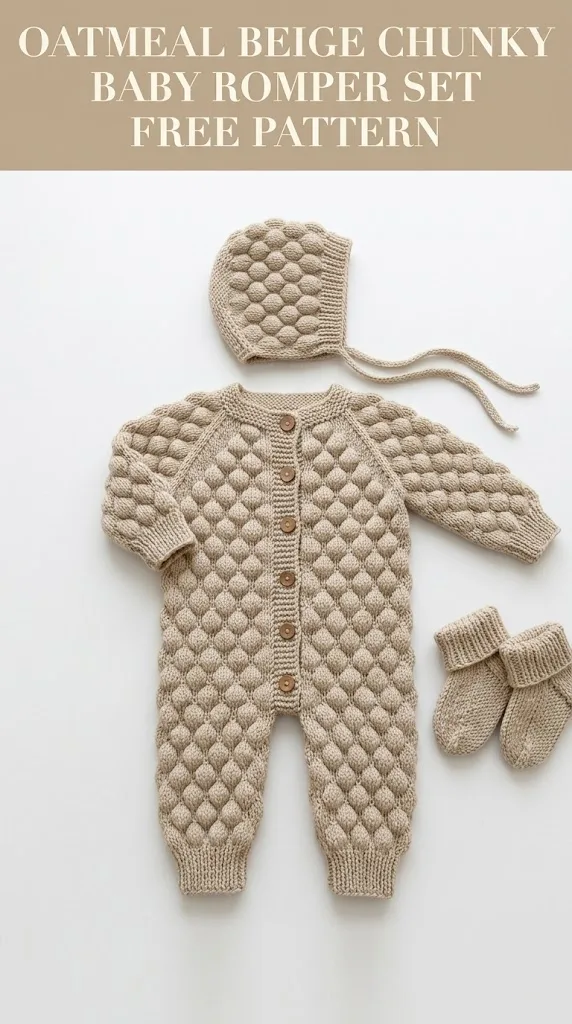
This complete layette set features a stunning bubble stitch texture that looks incredibly impressive but works up in a satisfying, almost meditative rhythm. The neutral oatmeal shade works beautifully for any baby, makes a gorgeous baby shower gift, and photographs like a dream. Whether you are making this for your own little one or stitching it up for someone special, this set is going to become one of your proudest makes.
Why This Baby Romper Set Works So Well
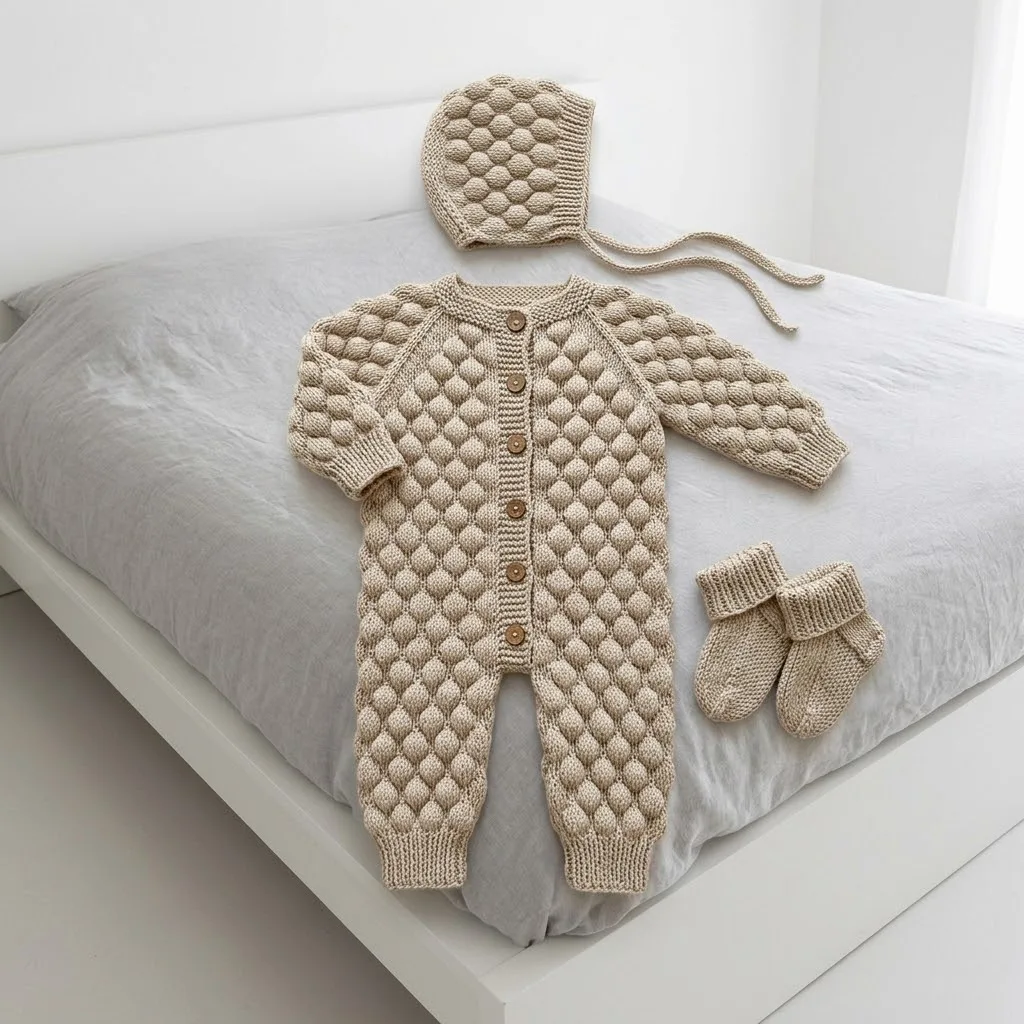
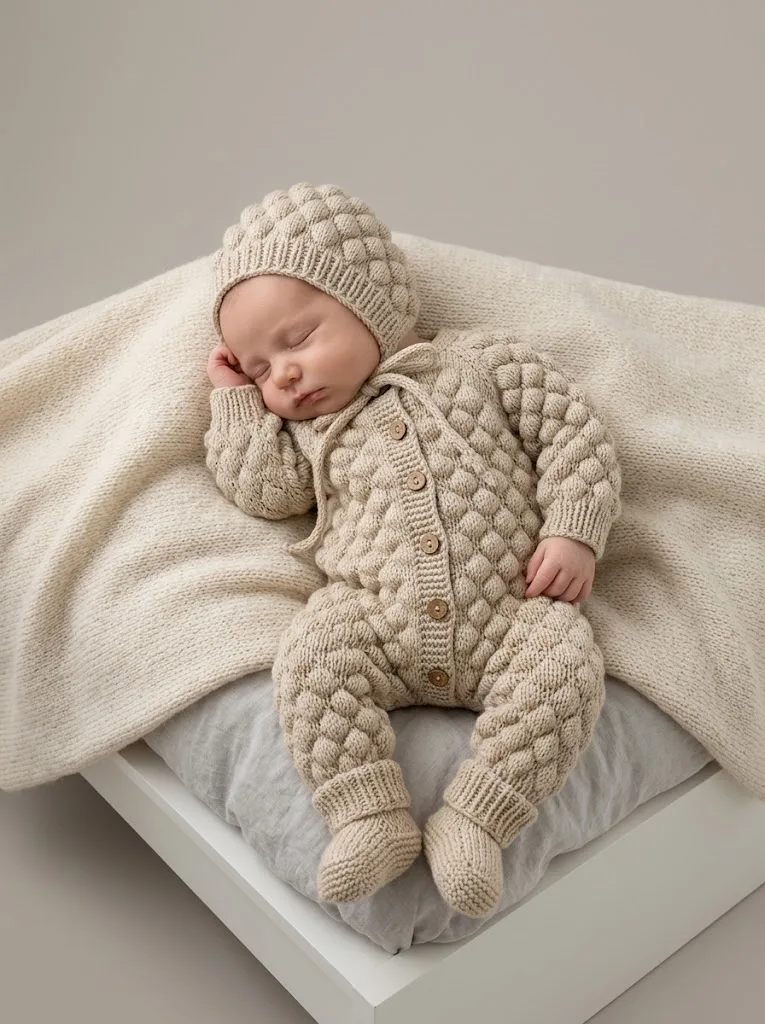
Let me tell you what makes this pattern special. The bubble stitch creates those beautiful raised puffs you see across the body, sleeves, legs, and bonnet. It gives incredible texture and warmth without adding bulk. The romper features a practical button front closure with wooden buttons, making diaper changes so much easier for tired parents.
The ribbed edges at the neckline, cuffs, and ankles give the whole set a polished, professional finish. These details make your handmade gift look store bought, but with infinitely more love stitched into every row.
This crochet pattern is suited for intermediate crocheters who are comfortable with basic stitches and ready to try something with a bit more texture. If you have never done a bubble stitch before, do not worry. I will walk you through it completely.
Materials You Will Need
Before we dive into the step by step instructions, gather these supplies:
Yarn:
Hook:
Notions:
Gauge:
14 stitches and 10 rows = 4 inches in bubble stitch pattern using larger hook
Always check your gauge before beginning. This ensures your finished romper fits properly.
Sizing Information
This pattern is written for size 3 to 6 months. Finished measurements are approximately:
Stitch Abbreviations and Definitions
Let me break down every stitch you will use in this crochet tutorial:
Ch = Chain: Yarn over, pull through loop on hook. This creates your foundation.
Sl st = Slip stitch: Insert hook, yarn over, pull through both loops at once. Used for joining and low profile stitches.
Sc = Single crochet: Insert hook, yarn over, pull up a loop (2 loops on hook), yarn over, pull through both loops. For example, "sc 10" means make 10 single crochets in a row.
Dc = Double crochet: Yarn over, insert hook, yarn over, pull up a loop (3 loops on hook), yarn over, pull through 2 loops, yarn over, pull through remaining 2 loops.
Hdc = Half double crochet: Yarn over, insert hook, yarn over, pull up a loop (3 loops on hook), yarn over, pull through all 3 loops at once.
BPsc = Back post single crochet: Insert hook from back to front to back around the post of the stitch below, complete as a regular sc. This creates ribbing texture.
FPsc = Front post single crochet: Insert hook from front to back to front around the post of the stitch below, complete as a regular sc.
Bubble Stitch = Work 5 dc into the same stitch, remove hook from loop, insert hook into the first dc of the group, grab the dropped loop, pull through to close the bubble. This creates those gorgeous raised puffs.
Special Technique: The Bubble Stitch
This is where the magic happens, so let me walk you through it slowly.
1. Work 5 double crochets into a single stitch
2. Carefully remove your hook from the working loop (do not let it unravel)
3. Insert your hook from front to back through the top of the first dc you made
4. Pick up that dropped loop
5. Pull it through to close the bubble
6. Chain 1 to secure
The bubble pops forward toward you, creating that dimensional texture. Practice this a few times on a swatch before starting your romper. Once it clicks, you will find it incredibly satisfying.
How to Crochet the Baby Romper: Step by Step
Back Panel
Using larger hook, ch 33.
Row 1: Sc in 2nd ch from hook and in each ch across, turn. (32 sts)
Row 2: Ch 1, sc in first st, *bubble stitch in next st, sc in next st* repeat across, turn. (32 sts, 16 bubbles)
Row 3: Ch 1, sc in each st across, turn. (32 sts)
Row 4: Ch 1, sc in first 2 sts, *bubble stitch in next st, sc in next st* repeat to last st, sc in last st, turn. (32 sts, 15 bubbles)
Row 5: Ch 1, sc in each st across, turn. (32 sts)
Repeat Rows 2 through 5 for the bubble stitch pattern. Continue until piece measures 12 inches from beginning, ending on a Row 3 or Row 5.
Leg Openings
Next Row: Ch 1, sc in first 10 sts, ch 12, skip next 12 sts (leg opening created), sc in remaining 10 sts, turn. (20 sc, 12 ch)
Following Row: Ch 1, sc in each st and ch across, turn. (32 sts)
Continue in bubble stitch pattern for 6 more inches, creating second leg opening on opposite side following the same method.
Front Panels (Make 2)
Using larger hook, ch 18.
Row 1: Sc in 2nd ch from hook and in each ch across, turn. (17 sts)
Continue in bubble stitch pattern as established on back panel until piece measures same length as back panel.
Button Band: On one front panel only, add 5 rows of sc along the center front edge. Mark button placement evenly spaced.
Buttonhole Band: On opposite front panel, work 5 rows of sc, creating buttonholes on row 3 by working "ch 2, skip 2 sts" at each marked button position.
Sleeves (Make 2)
Using larger hook, ch 26.
Row 1: Sc in 2nd ch from hook and in each ch across, turn. (25 sts)
Work in bubble stitch pattern for 5 inches.
Cuff Ribbing: Switch to smaller hook.
Row 1: Ch 6, sc in 2nd ch from hook and in each ch across, sl st to first st of sleeve edge, turn. (5 sts)
Row 2: Skip sl st, BPsc in each sc across, turn. (5 sts)
Repeat Row 2 around entire cuff opening, join with sl st to first row. Fasten off.
Seam sleeve into a tube. Set aside.
Neckline Ribbing
Switch to smaller hook. Join yarn at center back neck.
Row 1: Ch 7, sc in 2nd ch from hook and in each ch across, sl st to neck edge, turn. (6 sts)
Row 2: Skip sl st, BPsc in each sc across, turn. (6 sts)
Continue around entire neckline, join to beginning. Fasten off.
Assembly
1. Sew front panels to back panel at shoulders
2. Attach sleeves to armhole openings
3. Sew side seams from underarm to leg opening
4. Sew inner leg seams
5. Sew buttons to button band opposite buttonholes
Ankle Ribbing
Work same as cuff ribbing around each ankle opening.
How to Crochet the Matching Bonnet
Using larger hook, ch 4, join with sl st to form a ring.
Round 1: Ch 1, 8 sc into ring, join. (8 sts)
Round 2: Ch 1, 2 sc in each st around, join. (16 sts)
Round 3: Ch 1, *sc in next st, 2 sc in next st* repeat around, join. (24 sts)
Round 4: Ch 1, *sc in next 2 sts, 2 sc in next st* repeat around, join. (32 sts)
Continue increasing by 8 sts every other round until bonnet measures 5 inches in diameter.
Begin working in bubble stitch pattern in rows (not rounds) to create the bonnet back.
Work even in bubble stitch pattern for 3 inches.
Face Ribbing: Switch to smaller hook and work ribbing around face opening as done for neckline.
Ties: Ch 60 on each side of the bonnet at the chin. Sl st in each ch back to bonnet. Fasten off.
How to Crochet the Baby Booties
Sole: Using larger hook, ch 10.
Round 1: Sc in 2nd ch from hook, sc in next 7 ch, 3 sc in last ch, working on opposite side of foundation ch, sc in next 7 sts, 2 sc in last st, join. (20 sts)
Round 2: Ch 1, 2 sc in first st, sc in next 7 sts, 2 sc in each of next 3 sts, sc in next 7 sts, 2 sc in each of last 2 sts, join. (26 sts)
Round 3: Ch 1, sc in each st around, join. (26 sts)
Rounds 4 through 6: Work in bubble stitch pattern around sides of bootie.
Toe Shaping: Sc2tog across toe area (front 8 sts), sc in remaining sts around. (22 sts)
Continue decreasing at toe until opening is comfortable for baby’s ankle, approximately 14 sts remaining.
Cuff: Work 6 rounds of *FPsc, BPsc* ribbing. Fasten off.
Repeat for second bootie.
Finishing Your Baby Romper Set
Weave in all ends securely using your yarn needle. For baby items, I recommend weaving each tail through at least 2 inches of fabric and doubling back.
Block your finished pieces gently by laying flat on a towel, spritzing with water, and allowing to dry completely. This evens out your stitches and helps the bubble texture pop beautifully.
Sew on all buttons securely with matching thread, going through each buttonhole multiple times for safety.
Care Instructions
This handmade baby set deserves gentle care. Wash on delicate cycle in cold water or hand wash. Lay flat to dry to maintain the beautiful bubble texture. If using acrylic yarn, you can tumble dry on low, but always check your yarn label first.
Tips for Success
If your bubbles look flat: Make sure you are working all 5 dc into the same stitch and pulling the closing loop snugly.
If your gauge is off: Go up or down a hook size. Larger hook equals bigger stitches, smaller hook equals tighter fabric.
If the ribbing feels too tight: Use a slightly larger hook for the ribbed sections only.
For a larger size: Add multiples of 2 stitches to your foundation chain and adjust pattern length accordingly.
This crochet pattern makes an absolutely stunning baby shower gift that any new parent would treasure. The coordinated set looks incredibly professional, and no one needs to know how relaxing those bubble stitch rows actually are to work.
I really hope you love making this oatmeal beige baby romper set as much as I loved designing it. If this pattern inspired you, save it to your Pinterest boards so you can find it when you are ready to start stitching. And please, if you make this set, drop a comment below or tag me in your photos. I would absolutely love to see your finished creations and hear which colors you chose.