
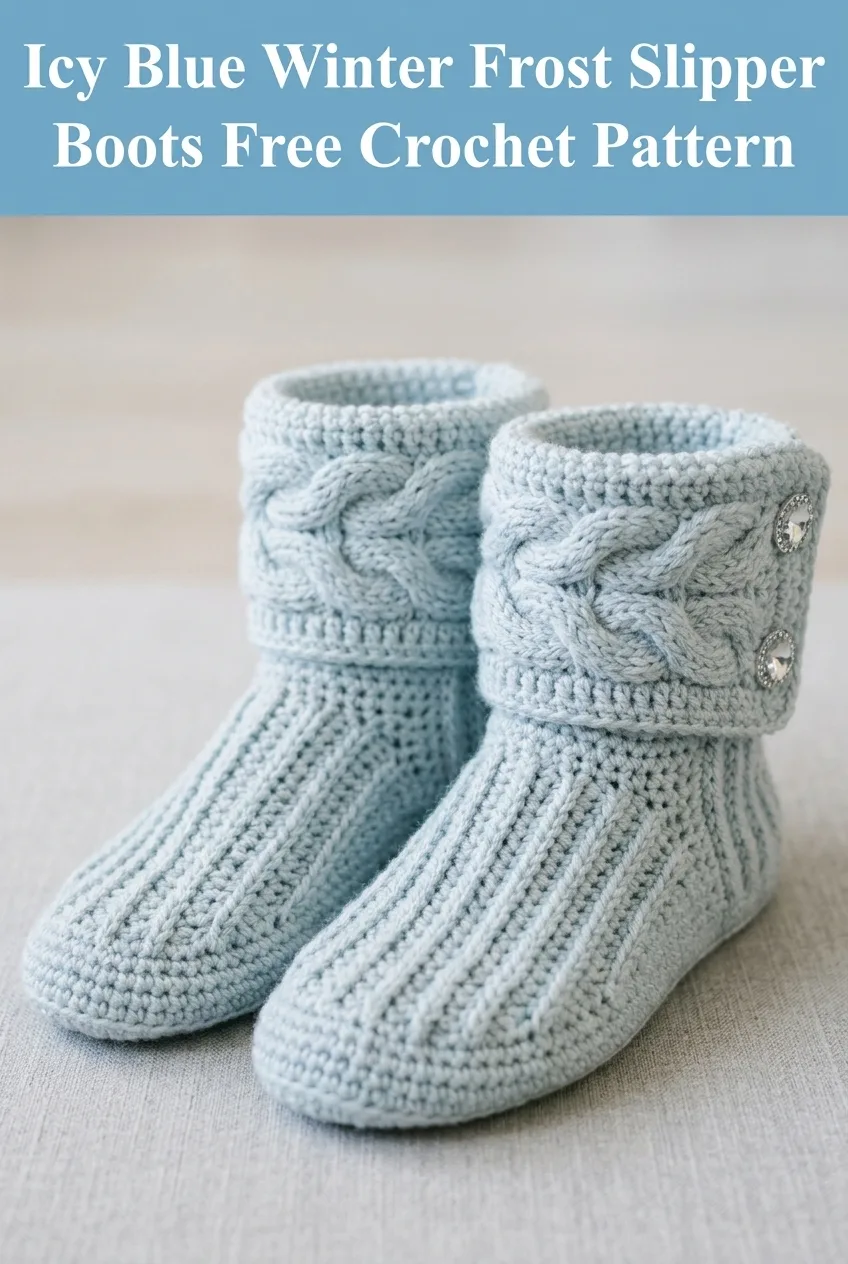
These cozy crochet slipper boots work up in worsted weight yarn using basic single crochet and a simple braided cable cuff. The construction is straightforward. You will make the sole first, build up the foot, add ribbing for stretch, then finish with that gorgeous cable detail and two sparkly buttons.
Why You Will Love This Slipper Boot Pattern
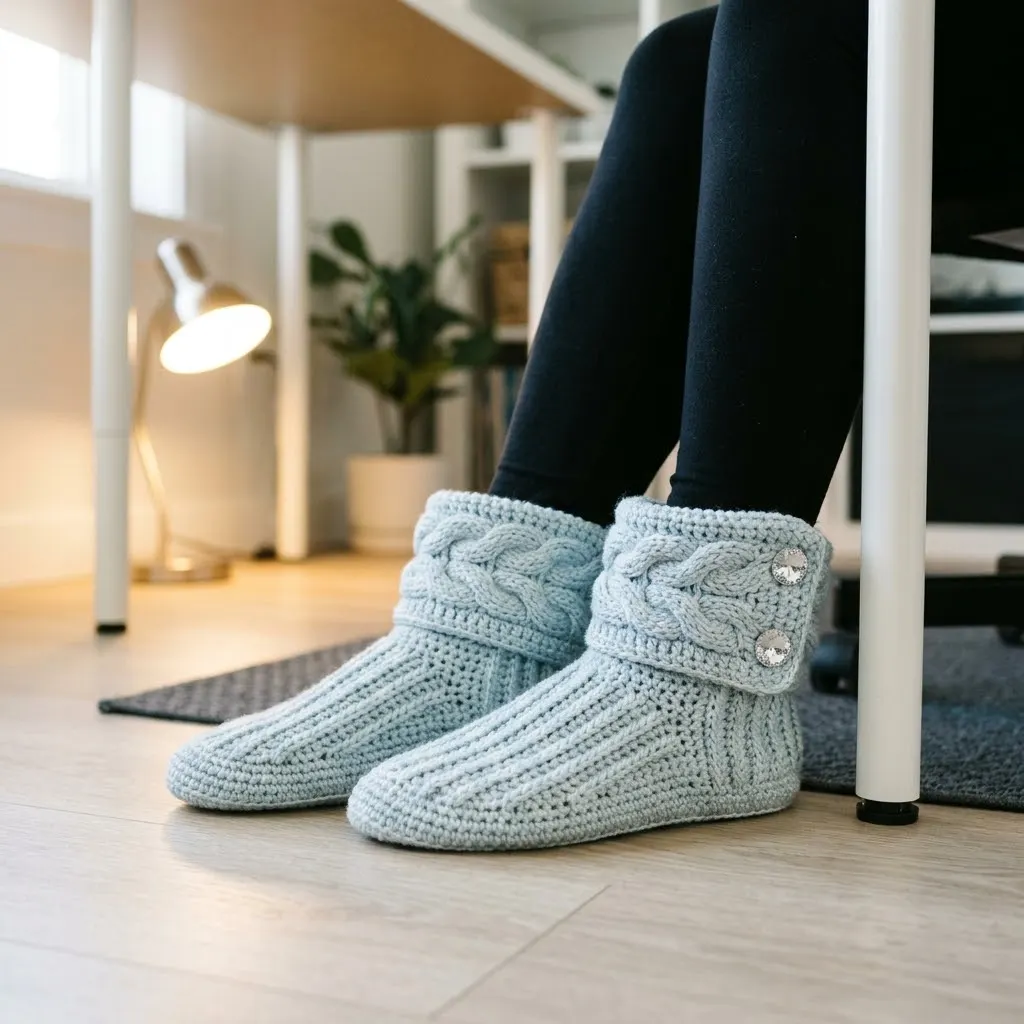
I have been wearing these around my home office for weeks now, and my feet have never been happier. The dense single crochet body keeps drafts out while the fold-over cuff adds extra warmth around the ankle. That braided cable detail looks intricate, but I promise it is much easier than it appears. You are essentially crocheting three separate strips and weaving them together. No advanced cable knowledge required.
The icy blue color gives these boots a fresh winter look, but they would be stunning in any solid or heathered yarn. Picture them in cream, charcoal, burgundy, or forest green. This crochet pattern makes a thoughtful handmade gift for anyone who appreciates cozy feet.
Skill Level
Intermediate beginner. If you can single crochet, work in rows, and follow a simple repeat, you can absolutely make these slipper boots. The cable cuff section involves a technique that might be new to you, but I will walk you through every step.
Finished Measurements
These instructions create a women’s medium slipper boot fitting approximately a US size 7 to 8 foot.
Sole length: 9.5 inches
Foot height: 4 inches
Total height with cuff folded: 6 inches
For sizing up or down, add or subtract chains in multiples of 2 for the sole, and adjust the foot rounds accordingly. I recommend measuring against a favorite pair of socks or slippers for comparison.
Materials Needed
Yarn: Approximately 250 yards of worsted weight yarn, category 4. I used a soft acrylic blend in a pale icy blue. Look for yarn with good stitch definition so your cables really pop. Wool blends work beautifully here too.
Hook: 5.0 mm (US H/8) crochet hook. You may need to adjust your hook size to match gauge.
Notions:
Optional: Non-slip fabric paint or puffy paint for the soles if you plan to wear these on hard floors.
Gauge
14 single crochet stitches and 16 rows equals 4 inches in single crochet worked flat. Check your gauge before starting. A tighter gauge makes sturdier slippers that hold their shape better.
Abbreviations and Stitch Definitions
ch = chain: Yarn over, pull through loop on hook.
sl st = slip stitch: Insert hook, yarn over, pull through both the stitch and the loop on your hook in one motion.
sc = single crochet: Insert hook into stitch, yarn over and pull up a loop (2 loops on hook), yarn over and pull through both loops.
sc2tog = single crochet two together (a decrease): Insert hook into first stitch, pull up a loop, insert hook into next stitch, pull up a loop (3 loops on hook), yarn over and pull through all 3 loops. This turns 2 stitches into 1.
hdc = half double crochet: Yarn over, insert hook into stitch, yarn over and pull up a loop (3 loops on hook), yarn over and pull through all 3 loops.
BLO = back loop only: Work into only the back loop of the stitch instead of both loops. This creates the ribbed texture you see on the foot portion.
Pattern Notes
Read through the entire pattern before beginning. The slipper boots are worked in several sections: sole, foot body, ribbed ankle, cable cuff panel, and finishing. Each boot is identical, so make two.
The sole is worked in continuous rounds with increases at the toe and heel. The foot body builds straight up from the sole. The ribbed section creates stretch for easy on and off. The cable cuff is worked separately as a flat panel, then the strips are braided and the panel is attached.
Crochet Pattern Instructions
Sole (Make 2)
The sole is worked in an oval shape using continuous rounds. Use a stitch marker to track the beginning of each round.
Foundation: Ch 13.
Round 1: Starting in the 2nd ch from hook, sc in each of the next 11 ch. In the last ch, work 3 sc to create the turn. Now working along the opposite side of the foundation chain, sc in each of the next 10 sts. Work 2 sc in the last st. Do not join. (26 sc)
Round 2: Sc in the next 11 sts. Work 2 sc in each of the next 3 sts (this is your toe shaping). Sc in the next 11 sts. Work 2 sc in the last st. (31 sc)
Round 3: Sc in the next 11 sts. [Sc 1, 2 sc in next st] 3 times. Sc in the next 11 sts. 2 sc in next st, sc 1. (35 sc)
Round 4: Sc in the next 12 sts. [Sc 1, 2 sc in next st] 3 times. Sc in the next 12 sts. [Sc 1, 2 sc in next st] 2 times. (40 sc)
Round 5: Sc evenly around all 40 sts. (40 sc)
Sl st to the next st to join. Fasten off and weave in the end, or continue directly to the foot body.
Foot Body (Worked Upward from Sole)
You will now build the sides of the slipper straight up from the sole edge.
Round 1: Join yarn to the back center of the sole (heel area). Working in BLO for this round only, sc in each st around. Join with sl st. (40 sc)
Working in BLO on this first round creates a nice defined edge where the sole meets the sides.
Rounds 2 through 8: Ch 1, sc in each st around. Join with sl st. (40 sc per round)
Your foot body should now measure approximately 2 inches tall.
Toe Shaping
Now you will decrease at the front to shape the toe. Locate the center front of your slipper, which is the rounded toe end of the sole.
Round 9: Ch 1, sc in the next 14 sts, sc2tog, sc2tog, sc2tog, sc2tog, sc in the remaining 18 sts. Join. (36 sc)
Round 10: Ch 1, sc in the next 12 sts, sc2tog, sc2tog, sc2tog, sc2tog, sc in the remaining 16 sts. Join. (32 sc)
Round 11: Ch 1, sc in each st around. Join. (32 sc)
The toe should now have a gentle sloped shape.
Ribbed Ankle Section
This section creates the stretchy ribbed texture visible on the finished boots. You will work in BLO for every round in this section.
Rounds 12 through 22: Ch 1, working in BLO, sc in each st around. Join with sl st. (32 sc per round)
You should have 11 rounds of ribbing. The ankle section will measure approximately 2.5 inches. The BLO technique creates horizontal ridges that stretch nicely when you pull the boot on.
Fasten off and weave in ends.
Cable Cuff Panel (Make 2)
This is where the magic happens. You will create three separate strips, braid them together, then attach the panel to the boot opening.
Strip A (Make 3 per boot, so 6 total):
Ch 41.
Row 1: Sc in the 2nd ch from hook and in each ch across. (40 sc)
Fasten off, leaving a 6 inch tail on each strip.
Assembling the Braid:
Lay your three strips parallel on a flat surface. Using a yarn needle and matching yarn, stitch the three strips together at one short end, catching just a few stitches from each strip. This secures them before braiding.
Now braid the strips: cross the right strip over the center, then cross the left strip over the new center. Continue this pattern until you reach the bottom. The braid should be approximately 12 to 13 inches long.
Stitch the bottom ends together just as you did the top, securing all three strips.
Attaching the Cuff:
With the right side of the boot facing you, position the braided panel around the outside of the ankle opening. The braid should wrap around with the ends meeting at the outer side of the ankle.
Using a yarn needle and matching yarn, whip stitch the top edge of the cuff to the top edge of the ribbed section. Work all the way around, then secure the overlapping ends of the braid together.
Fold the cuff down so it creates the folded look shown in the photos.
Button Placement
Position your two decorative buttons on the outer ankle area where the cuff ends overlap. Using a yarn needle and thread, sew each button securely through all layers. The sparkly rhinestone buttons add a lovely finishing touch, but any decorative buttons work well here.
Finishing
Weave in all remaining yarn tails. Give your slippers a gentle steam blocking if needed, being careful not to flatten the cable texture.
For non-slip soles, turn the slippers over and apply fabric paint or puffy paint in dots or lines across the bottom. Let dry completely before wearing.
Tips for Success
Tension matters. Keep your stitches firm and consistent, especially on the sole and foot body. Loose stitches create a floppy slipper that will not hold up well.
Try them on as you go. After completing the foot body, slip the slipper onto your foot to check the fit before continuing with the ankle.
The braid takes patience. Work slowly when braiding your strips to keep the tension even. An uneven braid will twist or curl when attached.
Make both at once. I like to complete each section on both boots before moving to the next section. This helps me stay consistent and keeps the sizing matched.
Customization Ideas
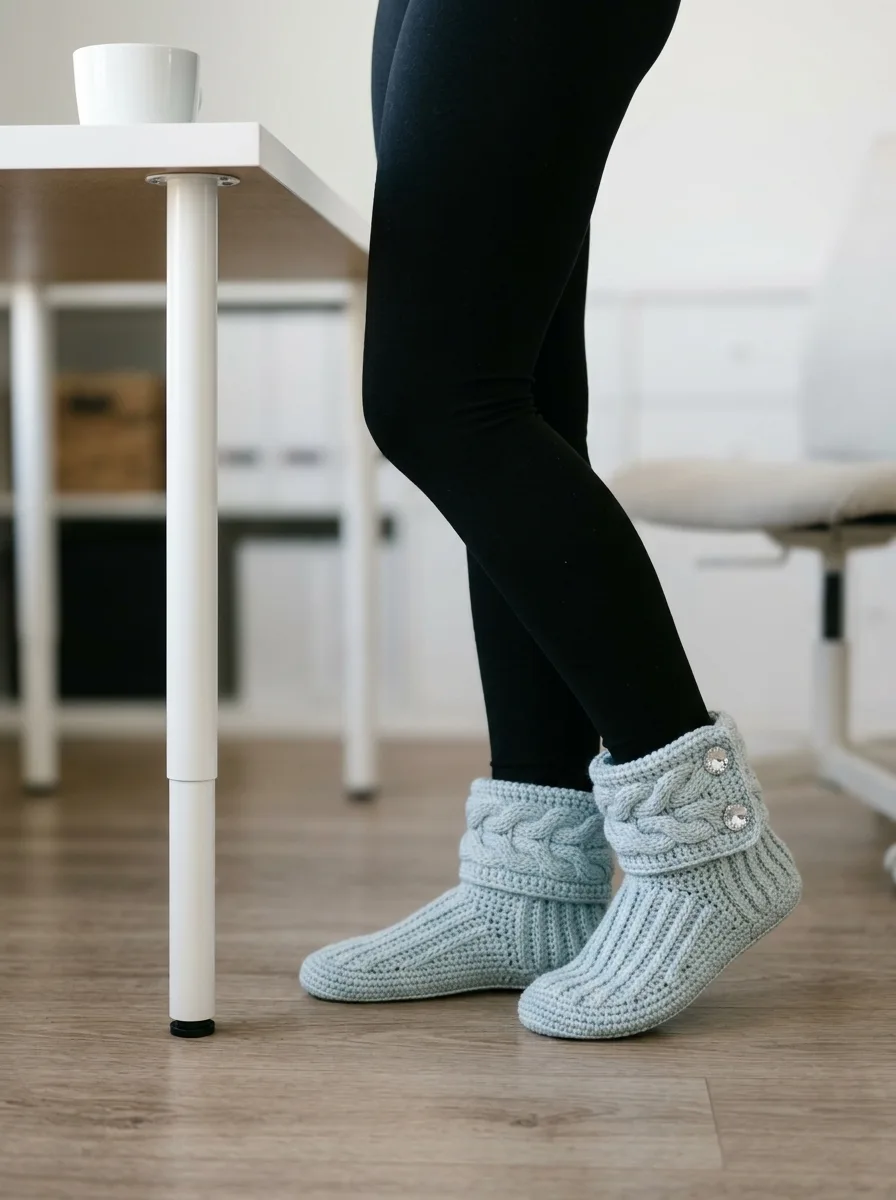
Add a pompom to each button for extra whimsy. Substitute the braided cable for a simple ribbed cuff if you prefer a quicker finish. Work the sole in a contrasting color for a fun two-tone look. Add a thin felt insole inside for extra cushion and warmth.
I really hope you enjoy making these cozy slipper boots as much as I enjoyed designing them. They make wonderful gifts and are perfect for keeping your own feet toasty through the cold months ahead. If you make a pair, I would absolutely love to see them. Tag me on Instagram or share a photo on Facebook so I can admire your work.
Do not forget to save this pattern to your Pinterest boards so you can find it when you are ready to cast on. And if you have any questions or want to share how yours turned out, drop a comment below. I always love hearing from you.