
I don’t know about you, but I have been obsessed with finding a way to combine my love of crochet with actual wearable summer fashion. Not just beach cover-ups or floppy sun hats, but something with real style that makes people stop and ask where you got them. These nautical striped platform wedge sandals are exactly that. All the preppy coastal charm with none of the "homemade craft project" vibes.
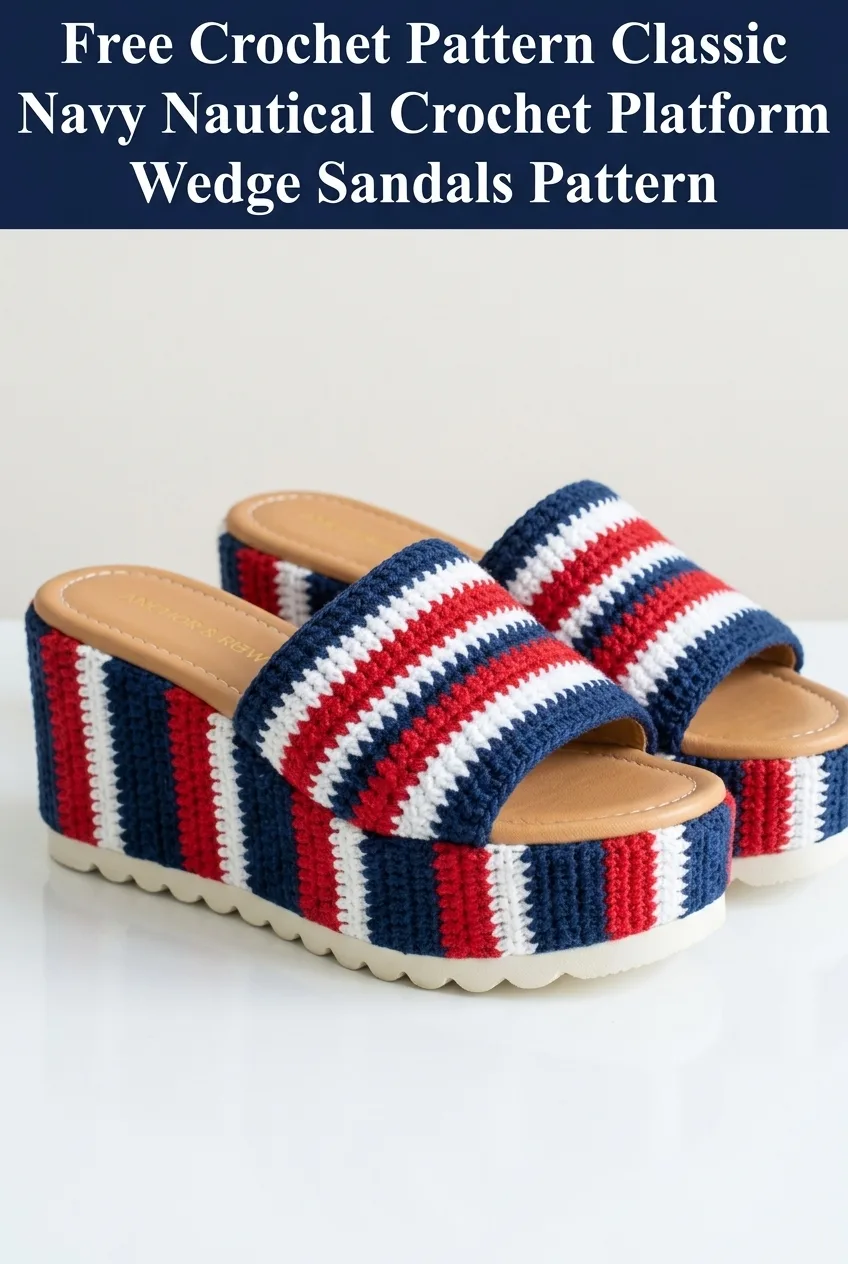
When I first saw platform sandals with crocheted uppers hitting designer runways, I knew I had to figure out how to make my own version. The classic red, white, and navy stripe combination feels timeless and patriotic without being over the top. These work just as beautifully at a Fourth of July barbecue as they do on a casual beach vacation or a weekend brunch.
Why You’ll Love This Crochet Platform Wedge Sandal Pattern
This crochet tutorial combines traditional stitchwork with modern footwear construction. The result is a genuinely wearable shoe that looks like it belongs in a boutique window. The vertical stripes on the platform create visual height and interest, while the horizontal stripes on the toe strap tie everything together beautifully.
What makes this pattern special:
The construction method involves creating crocheted panels that you attach to a pre-made platform sandal base. This approach gives you the durability of commercial footwear with the custom, handcrafted beauty of crochet. Trust me, this is much easier than it sounds.
Materials Needed for Your Nautical Wedge Sandals
Yarn:
Why cotton? Cotton yarn holds its shape beautifully, doesn’t stretch out with wear, and can be spot cleaned easily. Mercerized cotton has a slight sheen that elevates the finished look. Avoid acrylic for this project as it tends to pill and won’t hold up to the wear and friction of footwear.
Hook:
Additional Supplies:
About Platform Sandal Blanks: Look for foam platform sandals with a smooth surface and a leather or faux leather footbed. The platform should be approximately 2 inches high. Many craft suppliers sell unfinished platform bases specifically for customization projects like this one.
Gauge and Sizing Information
Gauge: 18 stitches and 20 rows = 4 inches in single crochet
Checking your gauge matters for this pattern because the crocheted panels need to fit snugly around your specific sandal base. Too loose and the fabric will look sloppy. Too tight and you won’t be able to wrap it smoothly.
Sizing: This crochet pattern is written for a women’s size 7-8 sandal base. I’ll include notes throughout for adjusting to smaller or larger sizes.
Stitches Used in This Pattern
Let me walk you through each stitch before we begin. Even if you know these well, a quick refresher never hurts.
Chain (ch): The foundation stitch. Yarn over, pull through the loop on your hook. This creates the starting row for most crochet projects.
Single Crochet (sc): Insert your hook into the stitch, yarn over and pull up a loop (two loops on hook), yarn over and pull through both loops. This creates a tight, dense fabric perfect for structured projects.
Slip Stitch (sl st): Insert hook into stitch, yarn over and pull through both the stitch and the loop on your hook in one motion. Used primarily for joining and finishing.
Back Loop Only (BLO): Instead of inserting your hook under both loops at the top of the stitch, you only go through the back loop. This creates the ribbed texture you see on the platform panels.
Step-by-Step Crochet Pattern for Platform Wedge Sandals
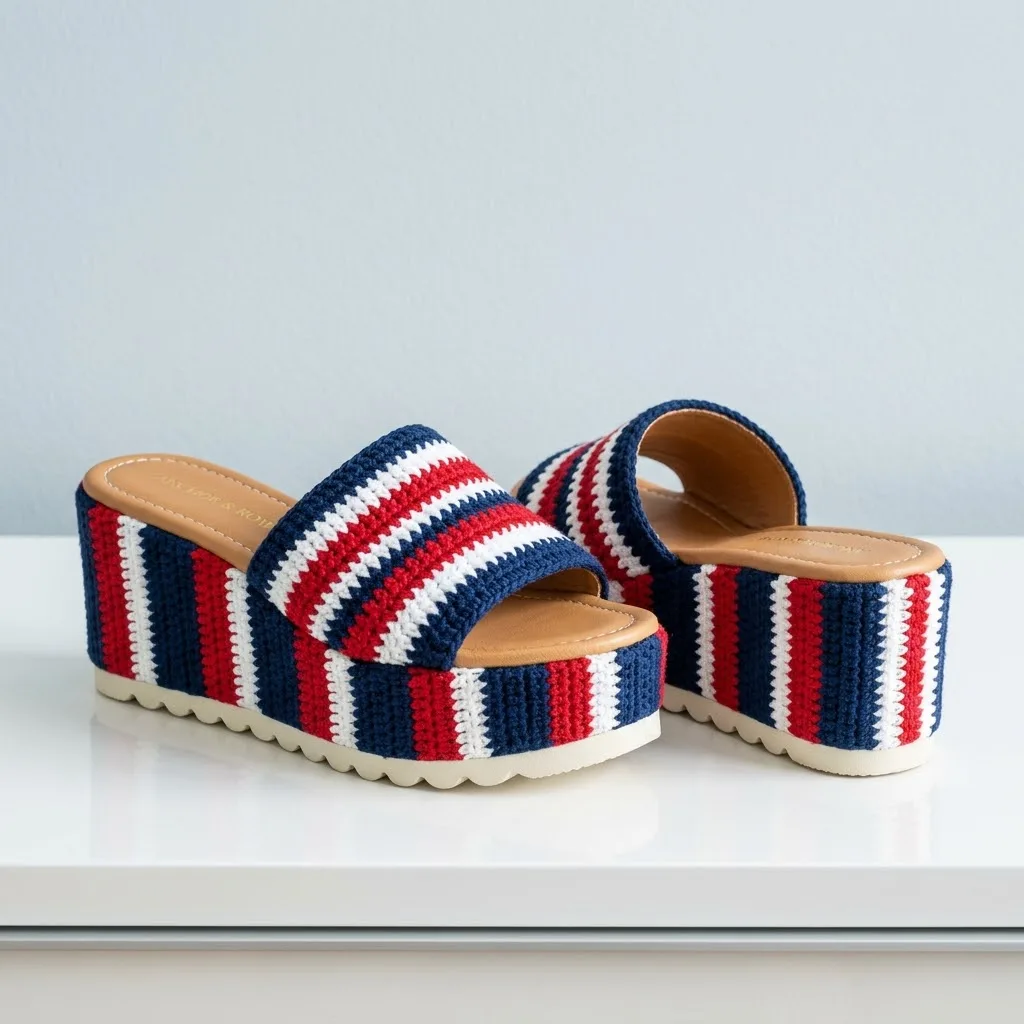
Platform Side Panels (Make 4 total, 2 per sandal)
The vertical stripes on the platform are created by working in rows and changing colors. Each panel wraps around one side of the platform base.
Color Sequence: Navy, White, Red, White, Navy, White, Red, White, Navy
This nine-stripe sequence creates the balanced nautical look. You’ll repeat this sequence as needed based on your platform’s circumference.
Starting with Navy:
Row 1: Ch 12, sc in second ch from hook and in each ch across, turn. (11 sc)
Row 2: Ch 1, sc in BLO of each st across, turn. (11 sc)
Rows 3-4: Repeat Row 2. (11 sc)
Change to White at the end of Row 4 by completing the last yarn over of your final stitch with the new color.
Rows 5-6: With White, ch 1, sc in BLO of each st across, turn. (11 sc)
Change to Red.
Rows 7-10: With Red, ch 1, sc in BLO of each st across, turn. (11 sc)
Change to White.
Rows 11-12: With White, ch 1, sc in BLO of each st across, turn. (11 sc)
Change to Navy.
Rows 13-16: With Navy, ch 1, sc in BLO of each st across, turn. (11 sc)
Continue this stripe sequence until your panel measures approximately 6 inches wide (or half the circumference of your platform base).
A note on measuring: Wrap your panel around one side of the platform as you work. The fabric should fit snugly without stretching or bunching. Add or subtract rows as needed for your specific sandal size.
Fasten off and weave in all ends securely. Loose ends can work themselves free with wear, so take extra care here.
Toe Strap Panels (Make 2 total, 1 per sandal)
The toe strap features horizontal stripes and a slightly different construction to create that wide band that sits across your foot.
Color Sequence for Toe Strap: Navy, White, Red, Red, White, Navy
With Navy:
Row 1: Ch 31 (or enough to span across the width of your sandal’s toe area plus 1 inch on each side for attachment), sc in second ch from hook and in each ch across, turn. (30 sc)
Rows 2-4: Ch 1, sc in each st across, turn. (30 sc)
Change to White.
Rows 5-6: With White, ch 1, sc in each st across, turn. (30 sc)
Change to Red.
Rows 7-10: With Red, ch 1, sc in each st across, turn. (30 sc)
Change to White.
Rows 11-12: With White, ch 1, sc in each st across, turn. (30 sc)
Change to Navy.
Rows 13-16: With Navy, ch 1, sc in each st across, turn. (30 sc)
Fasten off and weave in all ends.
The finished toe strap should measure approximately 6.5 inches long and 3 inches wide. This creates a substantial band that sits comfortably across the top of your foot.
Sizing adjustment tip: For smaller feet, reduce your starting chain by 4-6 stitches. For larger feet, add 4-6 stitches. The strap should wrap from one side of the footbed to the other with about an inch of overlap on each side for secure attachment.
Assembly and Finishing
This is where your crochet pieces transform into actual wearable sandals. Take your time here. Rushing the assembly can affect both the look and the durability of your finished shoes.
Step 1: Prepare Your Platform Base
Clean the surface of your platform sandal blanks with a damp cloth to remove any dust or residue. Allow to dry completely. If your blanks have a smooth or slippery surface, lightly sand them with fine-grit sandpaper to help the adhesive bond better.
Step 2: Attach the Side Panels
Working with one sandal at a time, position your crocheted side panels around the platform edge. The panels should meet at the back (heel area) and front (toe area) of the platform. Use straight pins or clips to hold them in place while you check the fit.
Apply a thin, even layer of fabric adhesive to the back of one panel. Press firmly against the platform, smoothing out any bubbles or wrinkles. Hold in place for 30-60 seconds until the initial bond sets.
Repeat with the second panel on the opposite side. Where the panels meet, apply a small amount of adhesive to join the edges together seamlessly.
Allow to cure for at least 2 hours before moving to the next step.
Step 3: Attach the Toe Strap
Position the toe strap across the front portion of the sandal, approximately 1-2 inches back from the toe edge. The strap should curve slightly to follow the natural shape of your foot.
Fold the side edges of the strap under the footbed and secure with adhesive. You may also hand-stitch through the strap and into the footbed material for extra security if your sandal base allows.
Apply adhesive along the bottom edge of the strap where it meets the platform to create a clean, finished look.
Step 4: Final Curing
Allow your completed sandals to cure for 24 hours before wearing. This ensures all bonds are fully set and your sandals will hold up to regular use.
Care Instructions for Your Crochet Sandals
Your handmade nautical wedge sandals deserve proper care to keep them looking beautiful season after season.
Tips for Crochet Sandal Success
Working with multiple colors: Keep your yarn organized as you work by placing each color in a small bowl or yarn holder. This prevents tangling and makes color changes smoother.
Consistent tension matters: Because these panels will be visible from all angles when worn, try to keep your tension as even as possible throughout. If you notice your gauge changing as you work, take a break and come back fresh.
Test your adhesive first: Before committing to your final sandals, test your chosen adhesive on a scrap of crocheted fabric and a similar surface. Some adhesives work better with cotton yarn than others.
Make a practice panel: If you’re nervous about the color changes or the BLO technique, make a small practice swatch first. Better to troubleshoot on a test piece than on your final project.
Final Thoughts on This Nautical Crochet Platform Wedge Sandals Pattern
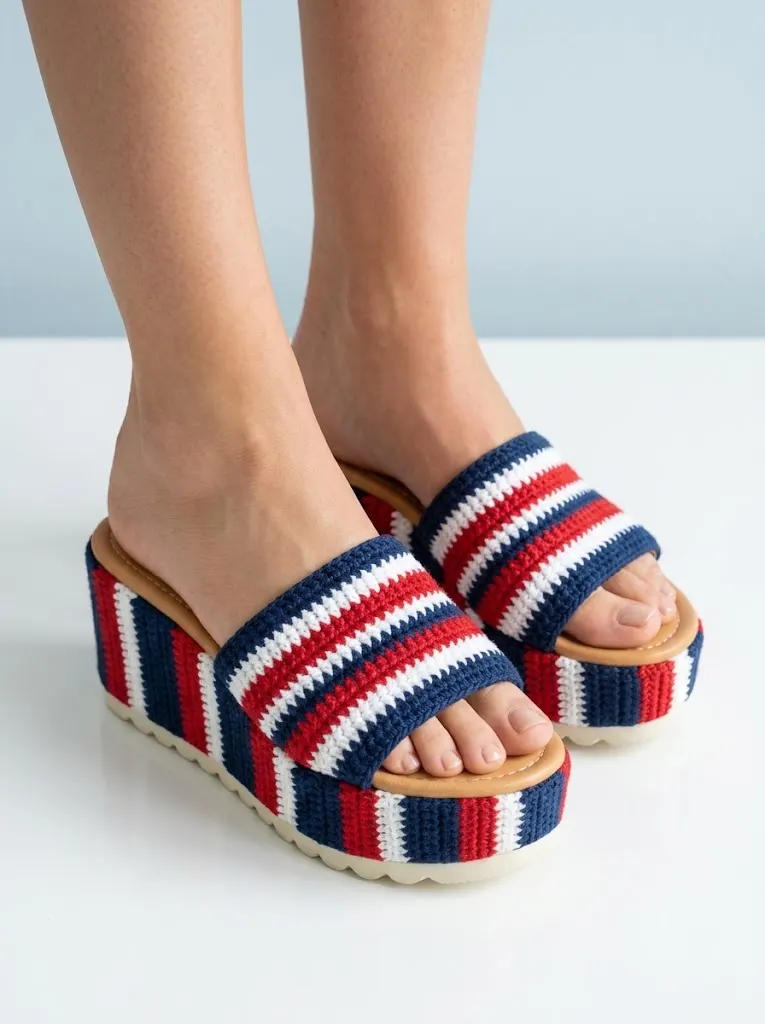
Creating your own designer-inspired footwear is incredibly satisfying. These nautical striped platform sandals combine classic crochet techniques with modern fashion in a way that feels fresh and exciting. Every time you slip them on, you’ll feel that little spark of pride knowing you made something beautiful and wearable with your own two hands.
This beginner friendly crochet pattern proves that handmade doesn’t have to mean frumpy or old-fashioned. With the right construction method and quality materials, your crochet projects can absolutely hold their own against anything you’d find in a store.
I hope this step by step tutorial gives you all the confidence you need to tackle this project. The stripes are forgiving, the stitches are straightforward, and the finished result is absolutely stunning. Whether you’re making these for yourself or as a thoughtful handmade gift, they’re sure to be a conversation starter.
Thank you so much for choosing this pattern and trusting me to guide you through it. I genuinely love seeing what you create, so please tag me on Instagram or share your finished sandals in my Facebook group. Your versions always inspire me and other makers in our community.
If this crochet platform wedge sandal pattern caught your eye, go ahead and save it to your Pinterest boards so you can find it when you’re ready to start. And if you do make a pair, I would absolutely love to hear about it in the comments below. Tell me what colors you chose, how the fit turned out, or just say hello. I read every single comment and it truly makes my day.