
I’ve been looking for the perfect cozy sock pattern for ages, and this one has become my absolute favourite. The ribbed cuff, the sturdy heel construction, the way they actually stay on your feet. This is the pattern I keep coming back to when I want something practical and beautiful at the same time.
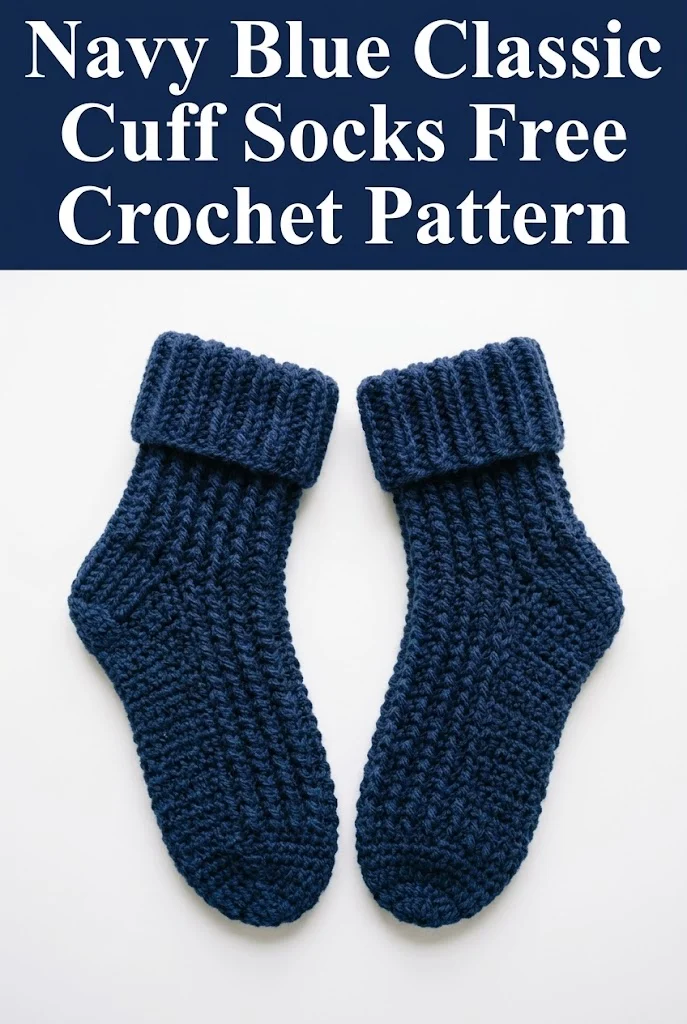
These navy blue classic cuff socks work up faster than you might expect, and the construction is surprisingly straightforward once you understand the flow. If you’ve been nervous about trying crochet socks, this is the pattern that will change your mind.
Why You’ll Love This Crochet Sock Pattern
Let me be honest with you. Crochet socks can feel intimidating. The heel shaping, the toe decreases, getting the fit just right. It all sounds complicated until you actually sit down and work through it step by step.
This pattern uses familiar stitches in smart ways. The body of the sock relies on single crochet (sc) and half double crochet (hdc) worked in continuous rounds, which creates that lovely dense fabric you can see in the photos. The cuff features back loop only (BLO) ribbing that gives you that classic stretchy look without any fancy techniques.
The construction starts at the cuff and works down to the toe. You’ll shape the heel using short rows, which sounds fancy but really just means you turn your work partway through a round. Once you get the rhythm, it makes perfect sense.
Skill Level
This pattern is rated intermediate. You should be comfortable with working in the round, increasing and decreasing, and following row by row instructions. If you’ve made a hat or a bag before, you have the skills for this.
That said, I’ve written this tutorial to walk you through the trickier parts. Don’t let the skill level scare you off if you’re a confident beginner ready for a challenge.
Finished Measurements
These socks are written for Women’s US size 7 to 9 (approximately a 9 inch foot length).
Finished dimensions:
The ribbed cuff stretches significantly, so these will fit a range of ankle sizes comfortably.
Materials Needed
Yarn:
Hook:
Notions:
Gauge
16 stitches and 18 rows = 4 inches in single crochet worked in continuous rounds.
Please check your gauge. Socks need to fit properly, and gauge matters more here than in most projects. If your gauge is off, go up or down a hook size until you match.
Abbreviations and Stitch Definitions
Let me walk you through every stitch you’ll need. Even if you know these already, a quick refresher never hurts.
Ch = Chain. Wrap yarn over hook, pull through loop on hook. This creates the foundation for most crochet work.
Sl st = Slip stitch. Insert hook into stitch, yarn over, pull through both the stitch and the loop on your hook in one motion. Used for joining and moving across stitches without adding height.
Sc = Single crochet. Insert hook into stitch, yarn over, pull up a loop (2 loops on hook), yarn over, pull through both loops. This is your basic building block stitch.
Hdc = Half double crochet. Yarn over, insert hook into stitch, yarn over, pull up a loop (3 loops on hook), yarn over, pull through all 3 loops at once. Slightly taller than single crochet with a nice drape.
Sc2tog = Single crochet two together (decrease). Insert hook into first stitch, yarn over, pull up a loop. Insert hook into next stitch, yarn over, pull up a loop (3 loops on hook). Yarn over, pull through all 3 loops. This turns 2 stitches into 1.
BLO = Back loop only. Instead of inserting your hook under both loops at the top of the stitch, insert it under only the back loop (the one farthest from you). This creates ribbed texture.
FLO = Front loop only. Insert hook under only the front loop (the one closest to you).
Pattern Notes Before You Begin
A few things to keep in mind as you work:
1. The cuff is worked flat in rows, then joined to form a tube. This creates the stretchy ribbed band.
2. The foot is worked in continuous spiral rounds. Do not join at the end of each round unless the pattern specifically tells you to. Use your stitch marker to track where each round begins.
3. Move your stitch marker up at the start of every round. This is crucial for keeping your place.
4. Work tightly but not too tightly. Socks take some abuse, so you want a dense fabric. But if you’re struggling to insert your hook, loosen up a bit.
5. Make both socks at the same time if you have two balls of yarn. This helps ensure they match and prevents second sock syndrome.
Crochet Sock Pattern Instructions
Ribbed Cuff
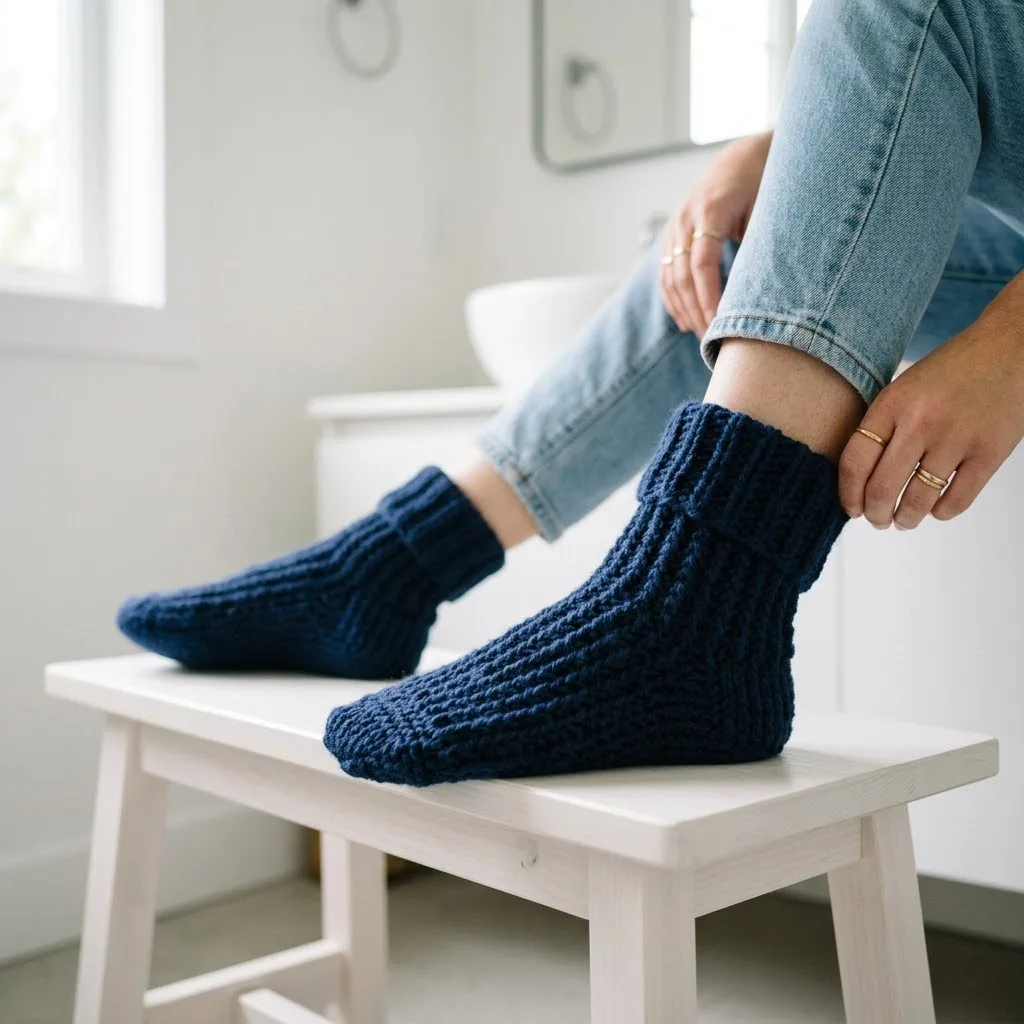
The cuff is worked flat in rows, then seamed and joined to begin the leg.
Using your smaller hook (4.5mm) or main hook if you prefer a looser cuff:
Foundation: Ch 11.
Row 1: Sc in 2nd ch from hook and in each ch across. Turn. (10 sts)
Row 2: Ch 1 (does not count as a stitch here and throughout), sc BLO in each st across. Turn. (10 sts)
Rows 3 through 32: Repeat Row 2. (10 sts per row)
You should now have a ribbed rectangle approximately 3.5 inches wide and 8 inches long.
Joining the cuff: Fold the rectangle so the short ends meet. Using a sl st or whip stitch, sew the short ends together to form a tube. The ribbing should run horizontally around your ankle.
Transition round: Switch to your larger hook (5.0mm). Working along one long edge of the cuff tube, join yarn with a sl st. Ch 1, work 32 sc evenly around the edge. Join with sl st to first sc. (32 sts)
Place your stitch marker in the first stitch. From here, you’ll work in continuous rounds.
Leg
Now we build the leg portion down toward the heel.
Rounds 1 through 8: Sc in each st around. Do not join. Move marker up each round. (32 sts)
After Round 8, your leg should measure approximately 2 inches from the cuff join.
Heel Setup
The heel is worked flat over half of your stitches. The other half will wait while you shape the heel.
Heel Flap:
You’ll work back and forth over 16 stitches.
Row 1: Sc in next 16 sts. Turn. Leave remaining 16 sts unworked. (16 sts)
Row 2: Ch 1, sl st in first st, sc in each st across to last st, sl st in last st. Turn. (14 sc plus 2 sl sts = 16 sts total)
Rows 3 through 14: Repeat Row 2. (16 sts)
The slip stitches at each edge create a nice chain selvage that makes picking up stitches easier later.
Heel Turn
This is where the magic happens. Short rows shape the cup of the heel.
Row 1: Ch 1, sc in first 10 sts, sc2tog, sc in next st. Turn. Leave remaining sts unworked. (12 sts worked)
Row 2: Ch 1, skip first st, sc in next 5 sts, sc2tog, sc in next st. Turn. (7 sts worked)
Row 3: Ch 1, skip first st, sc in next 3 sts, sc2tog, sc in next st. Turn. (5 sts worked)
Row 4: Ch 1, skip first st, sc in next 3 sts, sc2tog. Do not turn. (5 sts remain in heel center)
Gusset
Now you’ll pick up stitches along the heel flap sides and rejoin to work in the round.
Setup round:
Place marker. You should have 37 stitches total.
Gusset decrease rounds:
Round 1: Sc in first 4 sts, sc2tog, sc in next 16 sts (instep), sc2tog, sc to end of round. (35 sts)
Round 2: Sc in each st around. (35 sts)
Round 3: Sc in first 3 sts, sc2tog, sc in next 16 sts, sc2tog, sc to end of round. (33 sts)
Round 4: Sc in each st around. (33 sts)
Round 5: Sc in first 2 sts, sc2tog, sc in next 16 sts, sc2tog, sc to end of round. (31 sts)
Continue alternating decrease rounds and plain rounds until you have 32 stitches remaining.
Foot
Rounds 1 through 20: Sc in each st around. (32 sts)
Try the sock on as you go. The foot should reach to the base of your big toe before you begin the toe shaping. Add or remove rounds as needed for your foot length.
Toe Shaping
Round 1: *Sc in next 6 sts, sc2tog* repeat around. (28 sts)
Round 2: Sc in each st around. (28 sts)
Round 3: *Sc in next 5 sts, sc2tog* repeat around. (24 sts)
Round 4: Sc in each st around. (24 sts)
Round 5: *Sc in next 4 sts, sc2tog* repeat around. (20 sts)
Round 6: *Sc in next 3 sts, sc2tog* repeat around. (16 sts)
Round 7: *Sc in next 2 sts, sc2tog* repeat around. (12 sts)
Round 8: *Sc in next st, sc2tog* repeat around. (8 sts)
Fasten off, leaving a 6 inch tail.
Finishing
Thread your tapestry needle with the tail. Weave through the front loops of all 8 remaining stitches. Pull tight to close the toe. Weave in the end securely on the inside of the sock.
Weave in all other ends, especially at the cuff seam. Block lightly if desired by wetting the socks and laying flat to dry.
Make a second sock identical to the first. Trust me, you’ll want the pair.
Tips for Success
Yarn choice matters. A wool blend with nylon content will last longer and keep its shape better than pure cotton or acrylic. The warmth of wool is also unbeatable for cozy socks.
Try them on as you go. Crochet fabric doesn’t stretch as much as knitted fabric, so checking the fit throughout prevents disappointment at the end.
Don’t stress about perfection. Your first sock might look a little different from your second. That’s completely normal, and honestly, nobody but you will ever notice.
Consider adding non slip dots. If you plan to wear these on hard floors, fabric paint or puffy paint dots on the sole will keep you from sliding.
Customization Ideas
Want to make these your own? Here are some easy modifications:
Longer cuff: Work more rows in the cuff section for a slouchy boot sock look. Add 10 to 20 rows for a mid calf height.
Striped version: Change colors every few rounds in the foot section for a cheerful striped effect.
Different sizes: For smaller feet, reduce the starting chain by 2 and work fewer rounds in the foot. For larger feet, add 2 to the starting chain and extend the foot length.
Contrast heel and toe: Use a coordinating color for the heel flap, heel turn, and toe sections. This looks intentional and also helps you see where the high wear areas are.
Thank you so much for choosing this pattern for your next cozy project. I truly hope you love making these socks as much as I loved designing them. If you give them a try, I would absolutely love to see your finished pair. Tag me on Instagram or share a photo in my Facebook group. Nothing makes my day like seeing your beautiful creations.
If this pattern is calling your name, go ahead and save it to your Pinterest boards so you can find it whenever you’re ready to cast on. And please drop a comment below if you make these. I read every single one, and I’m always cheering you on.