
This is a long, cozy crochet robe featuring sunflower granny squares and classic granny stripe construction. You will use double crochet clusters, chain spaces, and basic seaming throughout. The stitches are repetitive and straightforward once you get going.
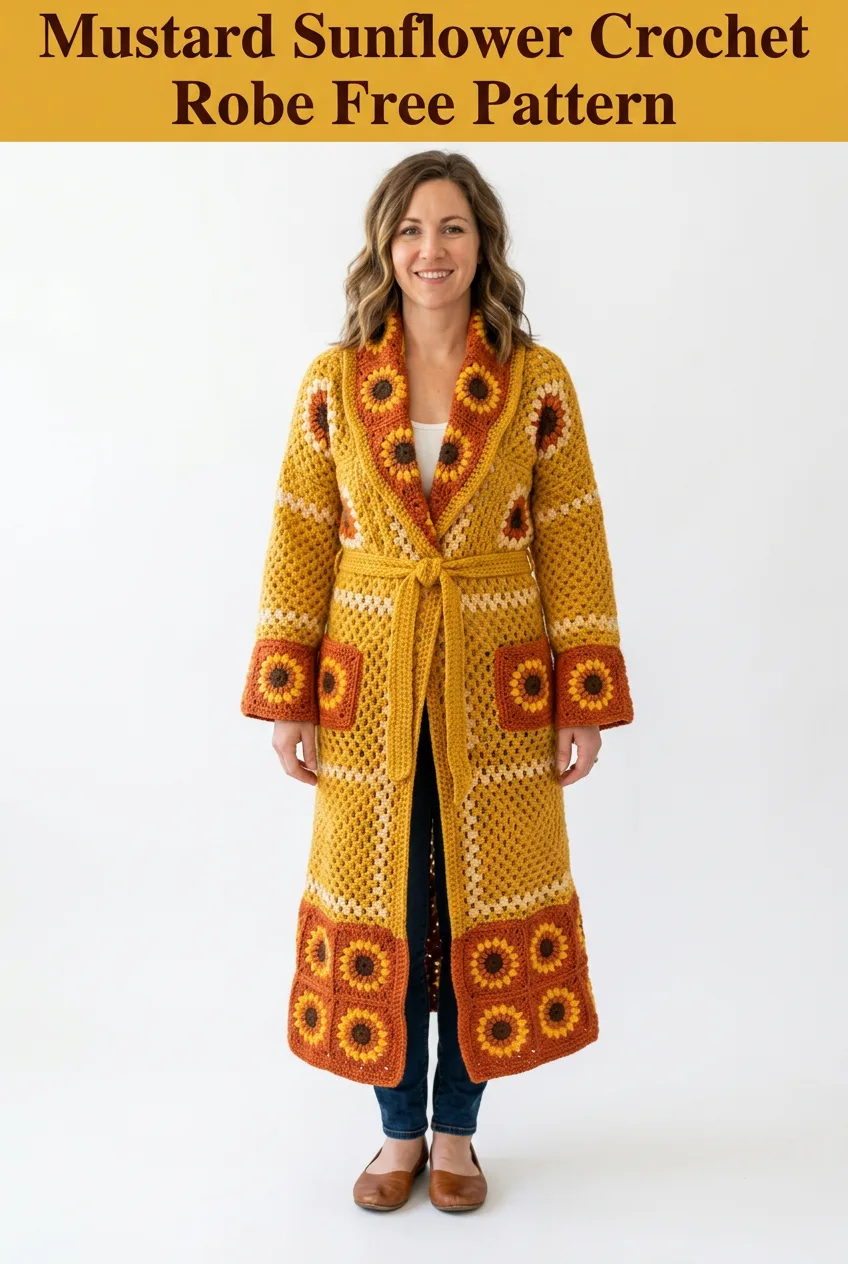
I designed this robe to feel like a wearable blanket with serious style. The sunflower motifs add a cheerful pop of color against the warm mustard background, and the construction breaks down into manageable pieces you can work on anywhere. If you can make a granny square and crochet in rows, you can absolutely make this robe.
About This Mustard Sunflower Crochet Robe Pattern
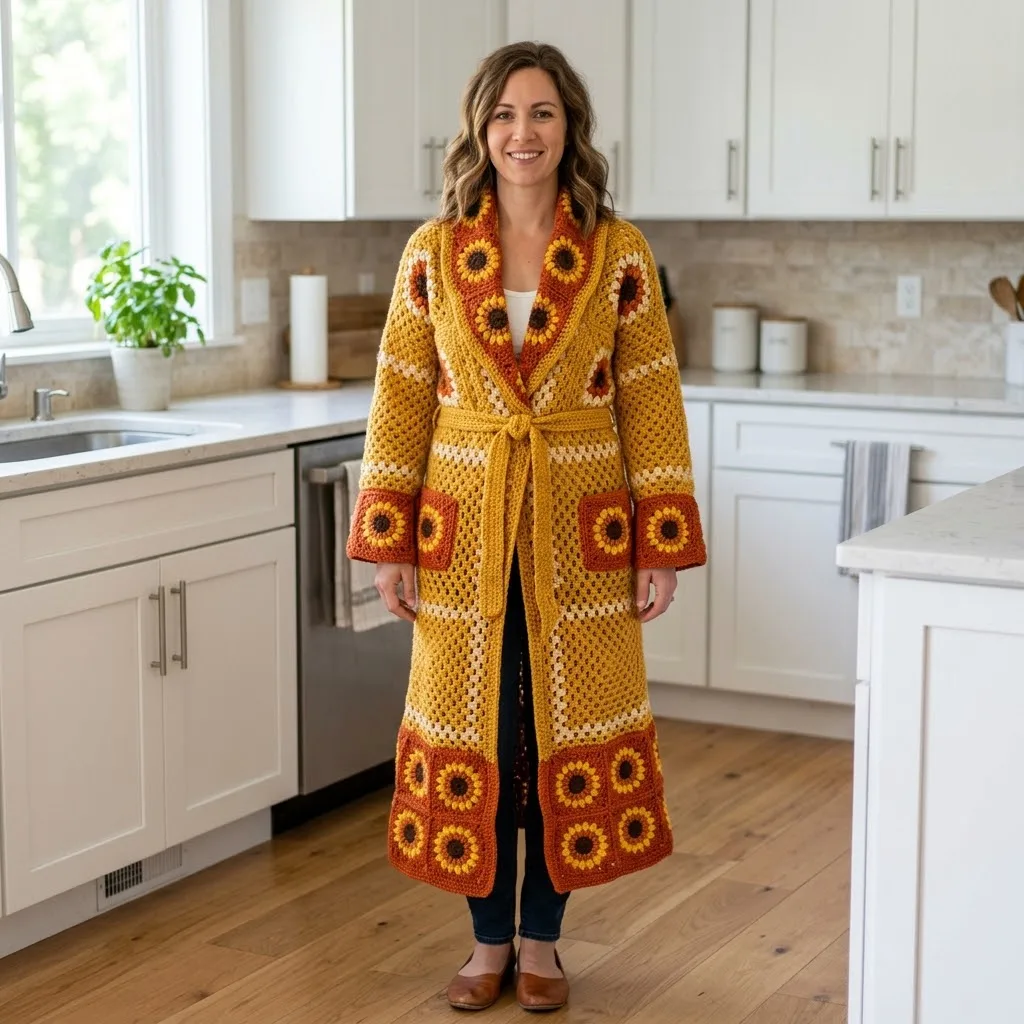
This statement piece combines two beloved crochet techniques: the traditional granny square and the granny stripe. The body panels feature alternating stripes in mustard gold, cream, and burnt orange. Sunflower granny squares accent the shawl collar, sleeve cuffs, pockets, and hem border, creating a cohesive and eye-catching design.
The robe reaches approximately knee to mid-calf length depending on your height. It features an open front design with a shawl collar that wraps elegantly, plus a simple crocheted belt to cinch at the waist. The sleeves are full length with turned-back cuffs showcasing those gorgeous sunflower squares.
Skill level: Intermediate. You should be comfortable with granny squares, working in rows, seaming panels together, and basic garment construction.
Finished measurements: This pattern is written for size Medium, fitting approximately 36 to 40 inch bust. The finished robe measures about 48 inches from shoulder to hem, with sleeves measuring 22 inches from shoulder seam to cuff edge.
Materials Needed
Yarn:
I recommend using a soft acrylic or acrylic blend for easy care and drape. Cotton blends work well too but will create a heavier garment.
Hook: 5.5mm (US I/9) crochet hook, or size needed to obtain gauge
Notions:
Gauge
Granny stripe gauge: 3 clusters and 6 rows = 4 inches square
Sunflower square gauge: One completed square measures 6 inches x 6 inches after blocking
Gauge matters for wearable garments. Please take time to make a swatch and adjust your hook size if needed.
Abbreviations and Stitch Definitions
Special Techniques
Granny cluster: This is the building block of both the stripes and squares. Work 3 dc into the same space, creating a small fan of stitches. These clusters are separated by chain stitches.
Color changes: When changing colors, complete the final yarn over of your last stitch with the new color. This creates clean color transitions on the right side of your work.
Joining squares: You will use a whip stitch or mattress stitch to join your sunflower squares to the main panels. Work through back loops only for a flatter seam.
Sunflower Granny Square Pattern
You will need 16 sunflower squares total: 4 for the collar, 4 for sleeve cuffs (2 per sleeve), 2 for pockets, and 6 for the bottom border.
Round 1: Brown Center
With Color D (Brown), make a magic ring.
Round 1: Ch 3 (counts as first dc), work 11 dc into ring, sl st to top of ch-3 to join. (12 dc)
Pull magic ring closed tightly. FO Color D.
Round 2: Yellow Petals
Join Color A (Mustard Gold) in any stitch.
Round 2: Ch 1, working in front loops only: *sc in first st, ch 5, sc in same st* repeat around each stitch. Sl st to first sc to join. (12 petals)
These chains create the sunflower petals that pop forward from the center. FO Color A.
Round 3: Orange Background
Join Color C (Burnt Orange) in any back loop from Round 1 (behind the petals).
Round 3: Ch 3 (counts as dc), 2 dc in same st, ch 1, *3dc-cl in next back loop, ch 1* repeat around. Sl st to top of ch-3. (12 clusters)
Round 4: First Granny Round
Round 4: Sl st to first ch-1 sp. Ch 3, 2 dc in same sp, ch 1, 3dc-cl in same sp (corner made), ch 1, *3dc-cl in next sp, ch 1, (3dc-cl, ch 2, 3dc-cl) in next sp for corner, ch 1* repeat around, ending with sl st to top of ch-3. (4 corners, 8 side clusters)
Round 5: Final Square Round
Continue with Color C or switch to Color A for contrast.
Round 5: Sl st to corner ch-2 sp. Ch 3, 2 dc, ch 2, 3dc-cl in same corner sp, *ch 1, 3dc-cl in next ch-1 sp, ch 1, (3dc-cl, ch 2, 3dc-cl) in corner sp* repeat around. Sl st to join. FO. (4 corners, 12 side clusters)
Weave in ends. Block squares to 6 inches.
Back Panel
The back is worked in one piece from bottom to top using granny stripes.
With Color A (Mustard Gold), ch 75.
Row 1: 3dc-cl in 4th ch from hook, *ch 1, sk 2 ch, 3dc-cl in next ch* repeat across. Turn. (24 clusters)
Row 2: Ch 3, 3dc-cl in first ch-1 sp, *ch 1, 3dc-cl in next ch-1 sp* repeat across, ending with 1 dc in top of turning ch. Turn.
Repeat Row 2 for the stripe pattern.
Color Sequence for Back Panel
Work the following stripe pattern, changing colors as indicated:
Continue until back panel measures approximately 36 inches from bottom edge. FO.
Front Panels (Make 2)
Each front panel is slightly narrower than half the back to allow for the front opening.
With Color A, ch 39.
Row 1: 3dc-cl in 4th ch from hook, *ch 1, sk 2 ch, 3dc-cl in next ch* repeat across. Turn. (12 clusters)
Work same stripe color sequence as back panel until front panels match back panel length. FO.
Sleeves (Make 2)
Sleeves are worked flat and seamed.
With Color A, ch 51.
Row 1: 3dc-cl in 4th ch from hook, *ch 1, sk 2 ch, 3dc-cl in next ch* repeat across. Turn. (16 clusters)
Continue in granny stripe pattern for 40 rows or until sleeve measures approximately 18 inches before adding cuff squares.
FO and set aside.
Shawl Collar
The collar is worked separately and attached during assembly.
With Color A, ch 147.
Work in granny stripe pattern for 8 rows. This creates a long strip that will wrap around the neckline and down the front opening.
FO.
Belt
With Color A, ch 200.
Row 1: Sc in 2nd ch from hook and each ch across. Turn. (199 sc)
Row 2: Ch 1, sc in each st across. Turn.
Rows 3 through 4: Repeat Row 2.
FO. The belt should measure approximately 60 inches long.
Assembly Instructions
Step 1: Join Shoulder Seams
Place back panel and front panels right sides together. Seam shoulders using whip stitch, leaving approximately 10 inches open at center back for neckline.
Step 2: Attach Sleeves
Find the center of each sleeve top edge. Match to shoulder seam. Pin sleeves to armhole openings, easing fullness as needed. Whip stitch in place.
Step 3: Seam Sides and Sleeves
Working from underarm to hem on body and from underarm to cuff on sleeves, seam each side closed using mattress stitch or whip stitch.
Step 4: Attach Sunflower Squares to Collar
Lay out 4 sunflower squares in a row. Join squares side by side using whip stitch through back loops. Sew this strip centered along the collar, creating the decorative sunflower accent visible when worn.
Step 5: Attach Collar to Robe
Pin collar strip to neckline, starting at bottom right front, up around the back neck, and down to bottom left front. The collar should form a gentle shawl shape. Whip stitch in place, easing around curves.
Step 6: Add Sleeve Cuffs
For each sleeve, join 2 sunflower squares side by side. Attach this strip to the bottom edge of each sleeve, creating a decorative cuff. The cuff can be folded back for a turned-up look.
Step 7: Bottom Border
Join 6 sunflower squares in a row (3 for each front panel bottom). Attach 3 squares to each front panel bottom edge.
Step 8: Pockets
Attach one sunflower square to each front panel at hip level, approximately 20 inches up from hem. Sew along three sides, leaving top open for pocket function.
Step 9: Belt Loops (Optional)
With Color A, ch 15, sl st back across chain. FO. Make 2 loops and attach to side seams at waist level for threading the belt.
Finishing
Weave in all remaining ends. Block the completed robe by laying flat on towels, misting with water, and allowing to dry completely. This evens out your stitches and helps the granny squares lay flat.
Helpful Tips for This Crochet Tutorial
Working with multiple colors: Wind small balls of each color before starting. This prevents tangles and makes color changes smoother.
Blocking matters: Sunflower squares especially benefit from blocking. Steam blocking works well for acrylic yarn. Pin squares to a foam mat and hover a steam iron over them without touching.
Seaming takes time: Set aside a dedicated session just for seaming. Put on a podcast or audiobook. Rushing this step shows in the finished garment.
Customizing length: Add or remove stripe rows to adjust the robe length. Each row adds approximately half an inch.
Size adjustments: For a larger size, add 6 chains to your foundation chain (creates 2 more clusters). For smaller, subtract 6 chains.
Why This Step by Step Crochet Pattern Works
The beauty of this design comes from combining simple techniques in an elevated way. Granny stripes are forgiving and rhythmic to work. You will find yourself falling into a meditative flow as the fabric grows. The sunflower squares add visual interest without complicating the overall construction.
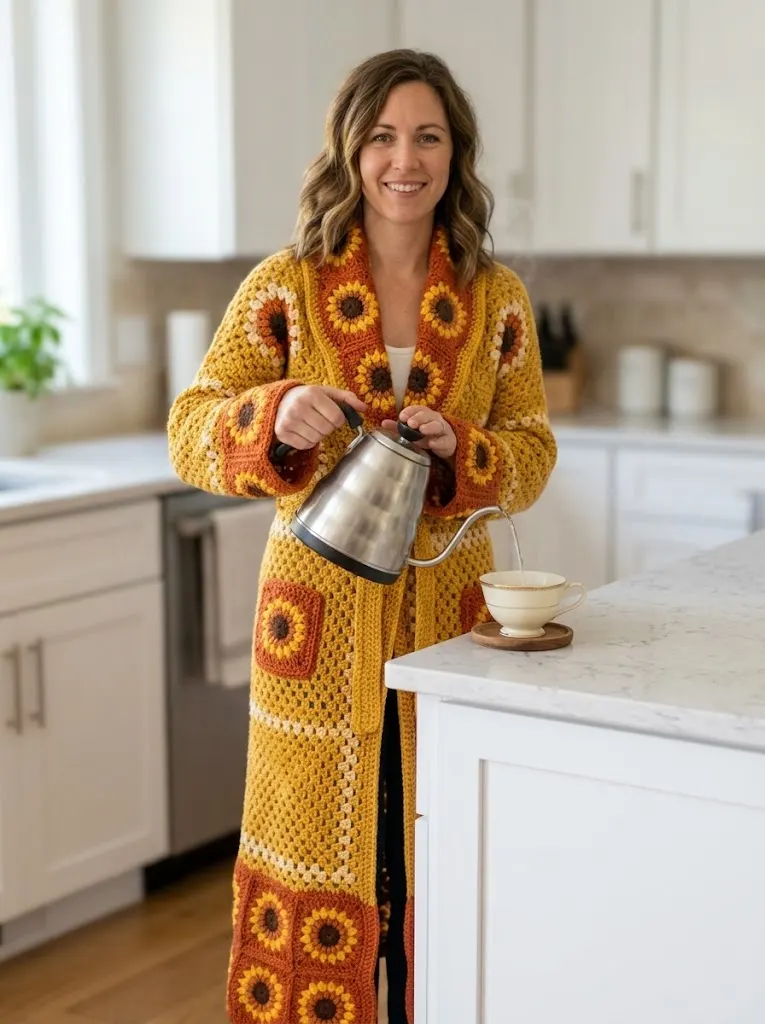
This makes an incredible gift for someone who appreciates handmade clothing. It also works wonderfully as a cozy housecoat, a beach cover-up, or a dramatic layering piece over simple outfits.
Final Thoughts on the Mustard Sunflower Crochet Robe Pattern
Thank you so much for choosing this pattern. I hope you love making your robe as much as I loved designing it. This project is truly a labor of love, and the finished result is absolutely worth every stitch.
I would be thrilled to see your finished robe. Tag me on Instagram or share your project photo in my Facebook group. Seeing your makes genuinely brightens my day, and it helps other crocheters see what is possible.
If you loved this mustard sunflower crochet robe pattern, save it to your Pinterest boards so you can find it when you are ready to start. And please drop a comment below if you make this or have any questions along the way. I read every single one and love connecting with you.