
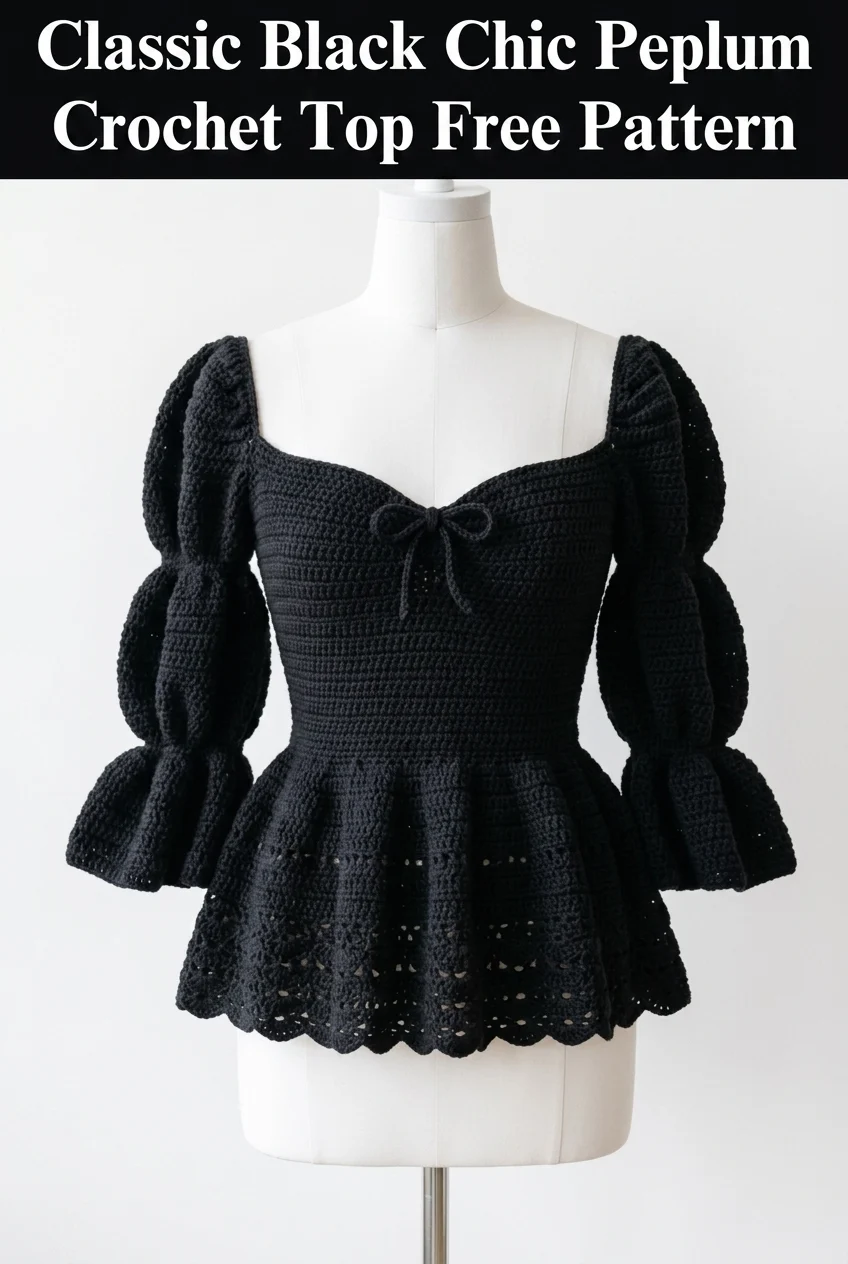
Go dig through your yarn stash right now because I know you have been saving that gorgeous black yarn for something special. This is the project. The Classic Black Chic Peplum Crochet Top combines romantic sweetheart neckline shaping, dramatic puff sleeves, and a flirty peplum hem into one stunning garment. The construction is more approachable than it looks. You will work the fitted bodice first, then add the sleeves and peplum as separate components. I will be honest with you though. This is an intermediate to advanced pattern. If you have tackled garment construction before and feel comfortable with shaping, you are absolutely ready for this beauty.
Why This Crochet Top Pattern Stands Out
This peplum crochet top has serious runway energy. The silhouette flatters so many body types because the fitted bodice cinches at the waist while the peplum skims over the hips. Those tiered puff sleeves? They add drama without overwhelming the design. The scalloped lace detail along the hem brings a feminine finishing touch that elevates the entire piece.
What I love most about this crochet tutorial is how each element works together. The horizontal ribbing on the bodice creates visual structure and helps the fabric hug your curves. The openwork lace on the peplum adds lightness so the bottom does not feel heavy. And that little bow detail at the sweetheart neckline? Chef’s kiss.
Skill Level
Intermediate to Advanced
You should be comfortable with garment shaping, working in the round, increasing and decreasing, and seaming. If you have made a fitted top or sweater before, you have the skills for this project.
Materials Needed
Yarn:
Hook:
Notions:
Gauge
With 4.0mm hook in single crochet:
18 stitches and 20 rows = 4 inches
Please take time to check your gauge. This is a fitted garment so accurate sizing matters. If your gauge is off, your top will not fit properly.
Finished Measurements
This pattern is written for size Small with notes for adjusting. Finished bust measures approximately 32 to 34 inches with negative ease for a fitted look.
Abbreviations and Stitch Definitions
Let me walk you through every stitch you will need. I am defining each one so you feel confident before you start.
Ch = Chain. Wrap yarn over hook and pull through the loop on your hook. This creates one chain.
Sl st = Slip stitch. Insert hook, yarn over, pull through both the stitch and the loop on your hook in one motion. Used for joining and invisible movement.
Sc = Single crochet. Insert hook into stitch, yarn over and pull up a loop (2 loops on hook), yarn over and pull through both loops. The shortest and tightest basic stitch.
Hdc = Half double crochet. Yarn over, insert hook into stitch, yarn over and pull up a loop (3 loops on hook), yarn over and pull through all 3 loops at once.
Dc = Double crochet. Yarn over, insert hook into stitch, yarn over and pull up a loop (3 loops on hook), yarn over and pull through 2 loops, yarn over and pull through remaining 2 loops. Creates a taller stitch with nice drape.
Sc2tog = Single crochet two together (decrease). Insert hook into first stitch and pull up a loop, insert hook into next stitch and pull up a loop (3 loops on hook), yarn over and pull through all 3 loops. You just turned 2 stitches into 1.
Inc = Increase. Work 2 stitches into the same stitch.
BLO = Back loop only. Insert your hook under just the back loop of the stitch instead of both loops. Creates a ribbed texture.
Puff st = Puff stitch. (Yarn over, insert hook, pull up a loop) 3 times in the same stitch (7 loops on hook), yarn over and pull through all 7 loops, ch 1 to secure. Creates a puffy textured bump.
Special Techniques
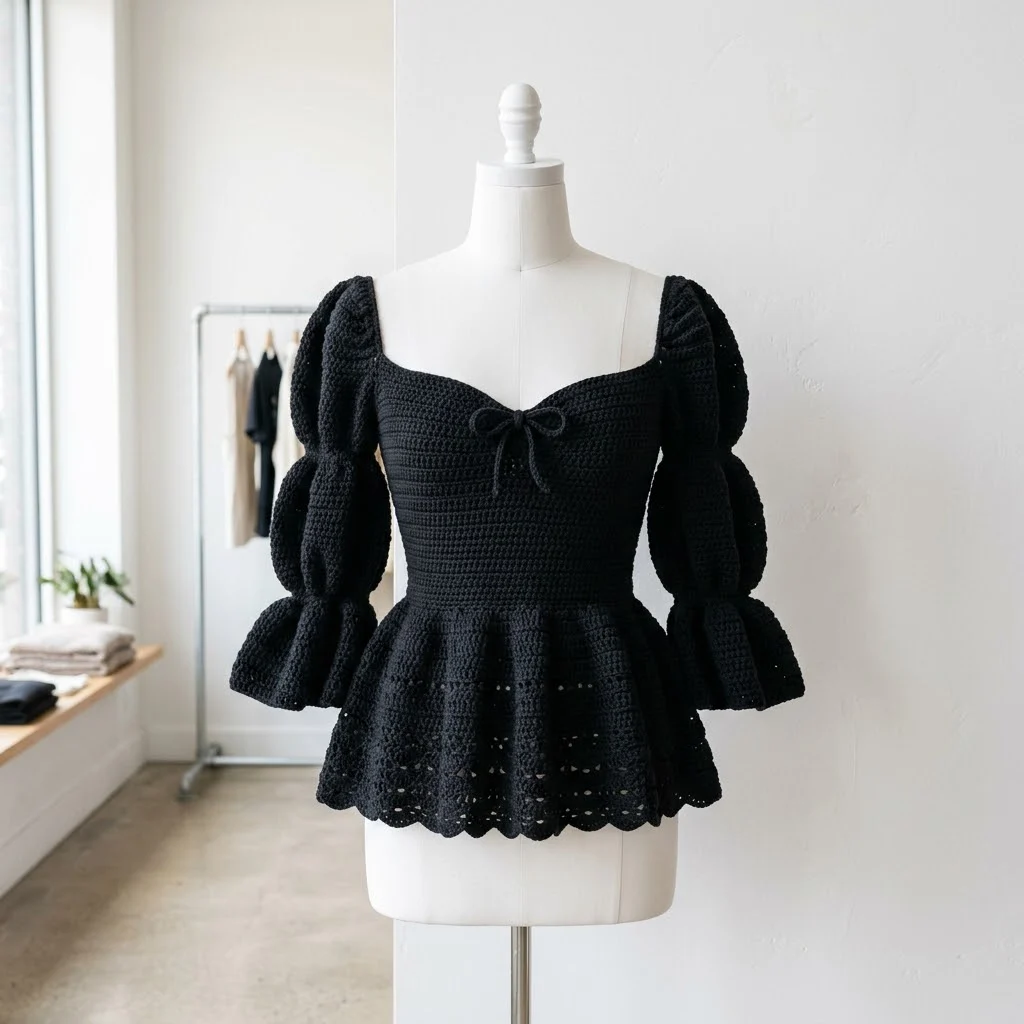
Horizontal Ribbing
The bodice uses BLO single crochet worked in rows. This creates the distinctive horizontal lines you see in the photo. Working in the back loop only makes the fabric stretchy and creates that beautiful ribbed texture.
Sweetheart Neckline Shaping
The neckline curves down in the center front and comes to gentle points at the sides. This is achieved through strategic decreasing at the center and careful shaping at the top of each cup.
Puff Sleeve Construction
Each sleeve is worked separately in the round. The puff effect comes from increasing dramatically, then decreasing to create gathered tiers. Think of it like making little balloons along the arm.
Step by Step Crochet Pattern
Bodice Front Panel
The bodice front is worked flat in rows, then shaped for the sweetheart neckline.
Foundation:
Ch 73.
Row 1: Sc in 2nd ch from hook and in each ch across. Turn. (72 sts)
Rows 2 to 40: Ch 1, sc in BLO of each st across. Turn. (72 sts)
This creates the ribbed texture. Keep your tension even so the ribbing looks consistent.
Begin Sweetheart Shaping:
You will now work each cup separately.
Right Cup:
Row 41: Ch 1, sc in BLO of first 34 sts. Turn. Leave remaining sts unworked. (34 sts)
Row 42: Ch 1, sc2tog, sc in BLO to end. Turn. (33 sts)
Rows 43 to 50: Repeat Row 42. (25 sts after Row 50)
Row 51: Ch 1, sc in BLO of first 20 sts. Turn. (20 sts)
Rows 52 to 55: Ch 1, sc2tog, sc in BLO to last 2 sts, sc2tog. Turn.
After Row 55 you should have 12 sts remaining for the shoulder strap.
Rows 56 to 65: Ch 1, sc in BLO of each st across. Turn. (12 sts)
Fasten off.
Left Cup:
Skip 4 center stitches on Row 40. Join yarn to next stitch.
Row 41: Ch 1, sc in BLO across remaining 34 sts. Turn. (34 sts)
Row 42: Ch 1, sc in BLO to last 2 sts, sc2tog. Turn. (33 sts)
Rows 43 to 50: Repeat Row 42. (25 sts after Row 50)
Row 51: Ch 1, skip first 5 sts, sc in BLO of remaining 20 sts. Turn. (20 sts)
Rows 52 to 55: Ch 1, sc2tog, sc in BLO to last 2 sts, sc2tog. Turn.
After Row 55 you should have 12 sts remaining.
Rows 56 to 65: Ch 1, sc in BLO of each st across. Turn. (12 sts)
Fasten off.
Bodice Back Panel
Foundation:
Ch 73.
Row 1: Sc in 2nd ch from hook and in each ch across. Turn. (72 sts)
Rows 2 to 50: Ch 1, sc in BLO of each st across. Turn. (72 sts)
Shoulder Shaping:
Row 51: Ch 1, sc in BLO of first 12 sts. Fasten off.
Skip center 48 sts. Join yarn to next st.
Ch 1, sc in BLO across remaining 12 sts. (12 sts)
Rows 52 to 65: Ch 1, sc in BLO of each st across. Turn. (12 sts)
Fasten off.
Assembling the Bodice
1. Place front and back panels with right sides facing
2. Seam shoulder straps together using mattress stitch or whip stitch
3. Seam side seams from bottom up to armhole opening (leave approximately 8 inches open for armhole)
Puff Sleeves (Make 2)
The sleeves are worked in the round from shoulder down. Switch to slightly looser tension for a softer drape.
Tier 1 (Upper Puff):
Join yarn at armhole edge.
Round 1: Ch 1, work 60 sc evenly around armhole opening. Sl st to first sc to join. (60 sts)
Round 2: Ch 3 (counts as dc), dc in same st, 2 dc in each st around. Sl st to top of ch 3. (120 sts)
Rounds 3 to 6: Ch 3, dc in each st around. Sl st to join. (120 sts)
Round 7: Ch 1, sc2tog around entire round. Sl st to join. (60 sts)
Round 8: Ch 1, sc2tog around. Sl st to join. (30 sts)
This creates the first puff. The dramatic increase then decrease gathers the fabric into a balloon shape.
Tier 2 (Lower Puff):
Round 9: Ch 3, dc in same st, 2 dc in each st around. Sl st to join. (60 sts)
Rounds 10 to 13: Ch 3, dc in each st around. Sl st to join. (60 sts)
Round 14: Ch 1, sc2tog around. Sl st to join. (30 sts)
Tier 3 (Flared Cuff):
Round 15: Ch 3, 2 dc in each st around. Sl st to join. (60 sts)
Rounds 16 to 20: Ch 3, dc in each st around. Sl st to join. (60 sts)
Round 21 (Scallop Edge): *Sl st in next st, skip 1 st, 5 dc in next st, skip 1 st.* Repeat from * around. Sl st to join.
Fasten off and weave in ends.
Peplum Skirt
The peplum is worked directly onto the bottom edge of the bodice. Switch to your larger hook here.
Join yarn at center back of bodice bottom edge.
Round 1: Ch 1, work 144 sc evenly around entire bottom edge. Sl st to join. (144 sts)
Round 2: Ch 3, dc in each st around. Sl st to join. (144 sts)
Round 3: Ch 3, dc in same st, *dc in next st, 2 dc in next st.* Repeat from * around. Sl st to join. (216 sts)
Rounds 4 to 8: Ch 3, dc in each st around. Sl st to join. (216 sts)
Round 9 (Openwork Row): Ch 4 (counts as dc plus ch 1), skip next st, *dc in next st, ch 1, skip 1 st.* Repeat from * around. Sl st to 3rd ch of beginning ch 4.
Round 10: Ch 3, dc in each ch 1 space and each dc around. (216 sts)
Rounds 11 to 14: Ch 3, dc in each st around. Sl st to join. (216 sts)
Round 15 (Second Openwork Row): Repeat Round 9.
Round 16: Repeat Round 10.
Rounds 17 to 19: Ch 3, dc in each st around. Sl st to join. (216 sts)
Round 20 (Scallop Edge): *Sl st in next st, skip 2 sts, 6 dc in next st, skip 2 sts.* Repeat from * around. Sl st to join.
Fasten off.
Bow Detail
Ch 50.
Row 1: Sc in 2nd ch from hook and in each ch across. (49 sts)
Rows 2 to 4: Ch 1, turn, sc in each st across. (49 sts)
Fasten off, leaving a long tail.
Tie into a bow and stitch to center front of sweetheart neckline using yarn needle.
Finishing Your Crochet Top
1. Weave in all ends securely
2. Block the entire garment by soaking in cool water, gently pressing out excess moisture, and pinning to measurements
3. Pay special attention to the peplum scallops and sleeve cuffs when blocking
4. Allow to dry completely before wearing
Tips for Success
Tension matters. This is a fitted garment. Keep your tension consistent throughout the bodice. It is okay to relax a bit on the peplum for better drape.
Try it on as you go. After completing the bodice, try it on (or hold it up to yourself) before adding the peplum. Make adjustments to length if needed.
Use stitch markers. Mark the beginning of each round on the sleeves and peplum. This helps you keep track and catch mistakes early.
Count your stitches. I know it is tedious but counting after each section saves you from frogging later.
Customization Ideas
Yarn Substitution Notes
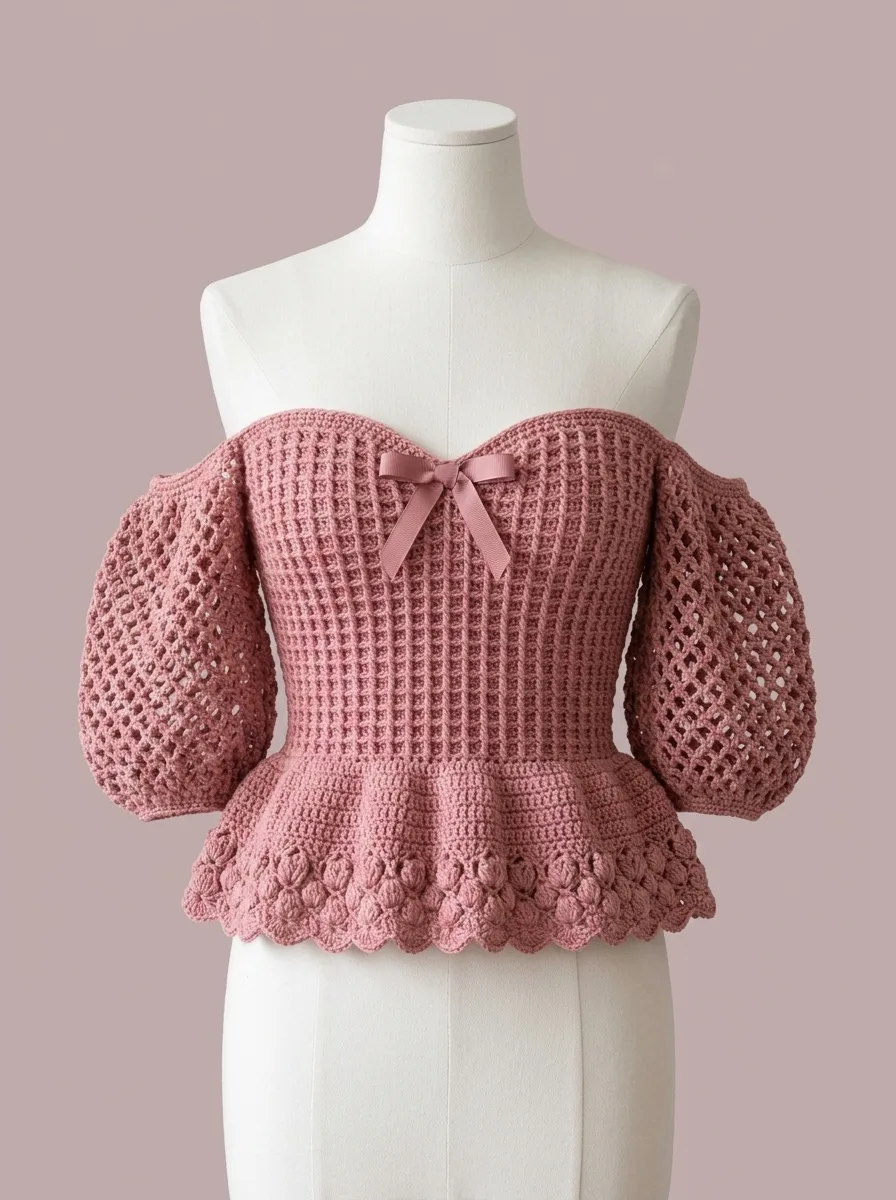
If you want more structure, try a cotton or cotton blend. For more drape, consider a bamboo blend. Avoid anything too fuzzy as it will obscure the beautiful stitch definition in the ribbing and openwork sections.
I really hope you love making this Classic Black Chic Peplum Crochet Top as much as I loved designing it. Save this pattern to your Pinterest boards so you can find it when you are ready to cast on. And please leave a comment below if you make one. I would absolutely love to see your finished tops and hear which yarn you chose!