
I call this one the "Eloise Bag" after my grandmother, who carried the most elegant little handbags everywhere she went. I sketched this design in my crochet notebook nearly two years ago, inspired by those classic quilted designer bags that seem to never go out of style. The woven basket stitch paired with luxe gold hardware felt like the perfect tribute to her timeless taste. I finally pulled out that old sketch last month and brought it to life, and honestly, I think Grandma would have loved it.
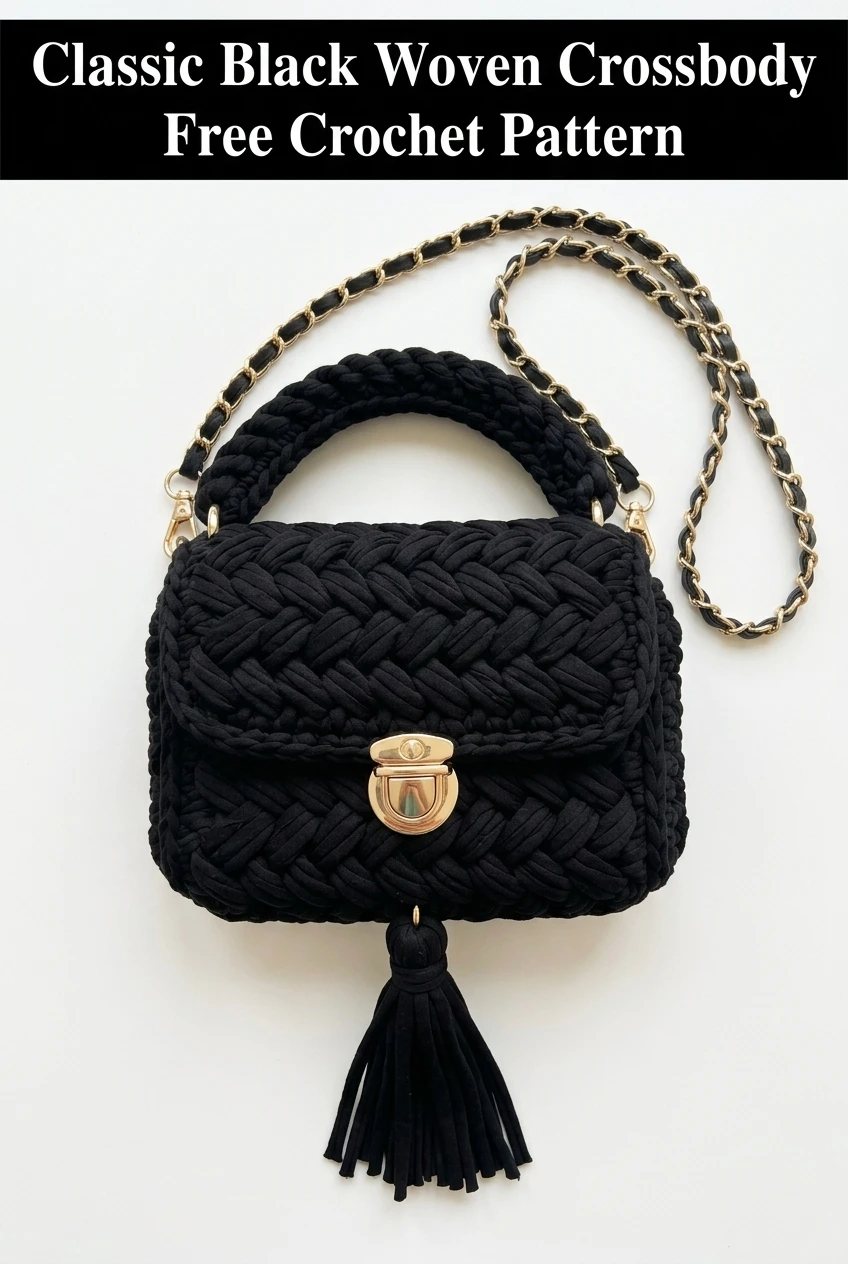
This crochet crossbody bag pattern creates a structured, sophisticated purse that looks far more expensive than it actually is to make. The woven texture mimics high-end leather goods while remaining soft and lightweight. Whether you make it in classic black or charcoal gray, you will end up with a statement piece that elevates any outfit.
Why You Will Love This Woven Crossbody Bag Pattern
This is not your average crochet bag. The basket weave stitch creates a stunning interlocked texture that catches the light beautifully. People will ask where you bought it. Trust me on this one.
The construction is more straightforward than it looks. You are essentially working flat panels and joining them together. No complicated shaping. No confusing increases. Just satisfying, repetitive stitch work that builds into something truly gorgeous.
Perfect for: date nights, brunches, travel days, or anytime you want to carry just the essentials in style.
Skill Level
Intermediate. If you can work basic stitches confidently and have made at least one or two projects in the round, you can absolutely handle this crochet tutorial. The basket weave technique might be new to you, but I will walk you through it step by step.
If you have never attached hardware before, do not worry. It is easier than it sounds, and I will explain everything.
Finished Dimensions
Your finished size may vary slightly depending on your tension and the specific t-shirt yarn brand you use.
Materials Needed
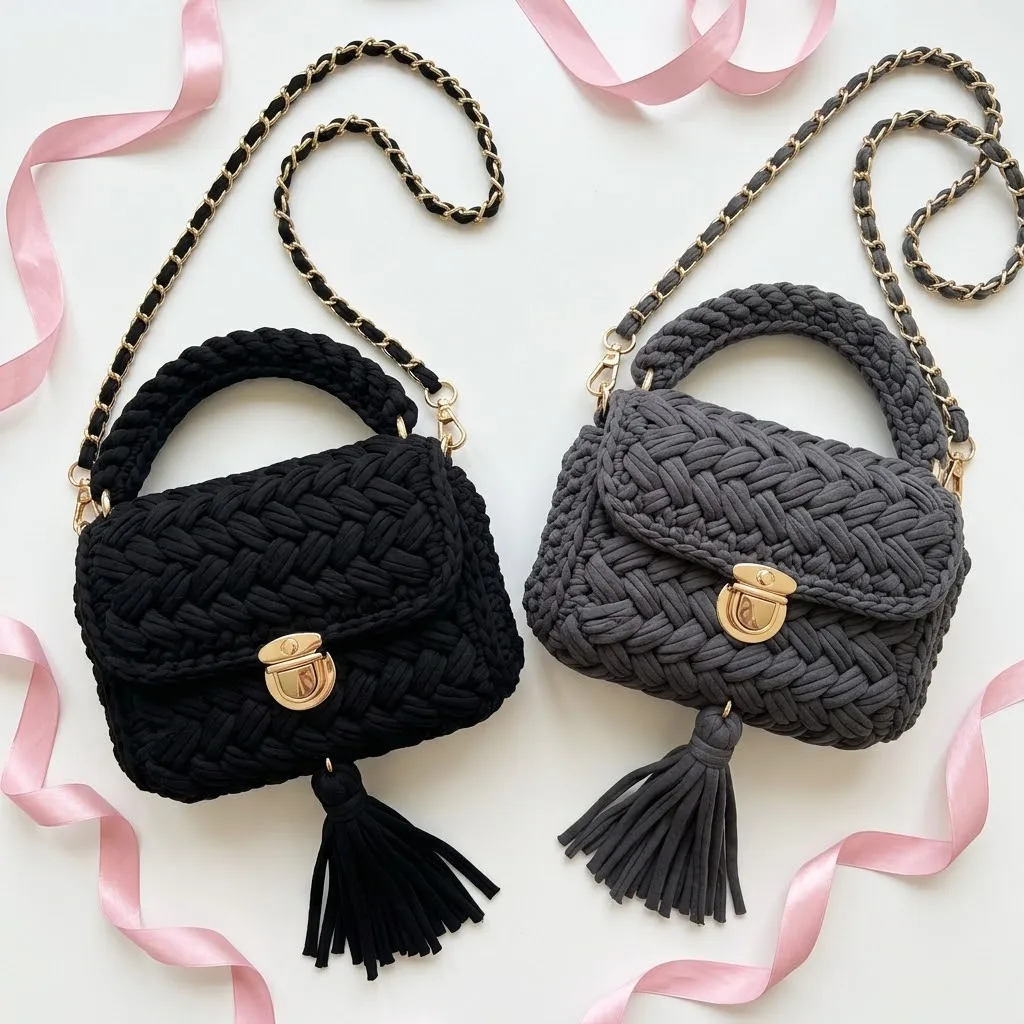
Yarn
Yarn note: T-shirt yarn has a soft, slightly stretchy quality that creates beautiful definition in textured stitches. Popular brands include Hoooked Zpagetti, Lily Sugar’n Cream T-Shirt Yarn, and Bobilon. You can also cut your own from old cotton t-shirts if you are feeling resourceful.
Hook
Notions and Hardware
Hardware tip: Search for "purse hardware kit" online. Many sellers offer matching sets that include everything you need. Amazon and Etsy have great options.
Gauge
10 stitches and 8 rows = 4 inches (10 cm) in basket weave stitch using 10mm hook and t-shirt yarn.
Gauge matters here because you want your bag to be structured and hold its shape. If your stitches are too loose, the bag will be floppy. Too tight, and it will be stiff and smaller than intended.
Abbreviations and Stitch Definitions
Let me break down every stitch you will use in this pattern.
Understanding the Basket Weave Stitch
The basket weave stitch uses front post and back post double crochets to create a woven, textured fabric. When you work around the post instead of into the top of the stitch, you push stitches forward or backward, creating that signature raised and recessed pattern.
Here is the basic concept: You alternate groups of FPdc and BPdc across each row. Then on the next row, you switch them. Where you worked FPdc before, you now work BPdc. This creates the interlocking "woven" look.
Do not overthink it. Once you get the rhythm, your hands will know what to do.
Pattern Instructions
Front and Back Panels (Make 2)
Foundation Row: Ch 21.
Row 1: Dc in 3rd ch from hook and in each ch across. Turn. (19 dc)
Row 2: Ch 2 (does not count as a stitch throughout), *FPdc around next 3 sts, BPdc around next 3 sts*, rep from * to * across, ending with FPdc around last st. Turn. (19 sts)
Row 3: Ch 2, *BPdc around next 3 sts, FPdc around next 3 sts*, rep from * to * across, ending with BPdc around last st. Turn. (19 sts)
Rows 4-5: Repeat Row 2. (19 sts each row)
Rows 6-7: Repeat Row 3. (19 sts each row)
Rows 8-13: Continue alternating the 2-row pattern (Rows 2-3) until piece measures approximately 6 inches tall.
Fasten off and weave in ends. Set aside.
Bottom Panel
Foundation Row: Ch 21.
Row 1: Sc in 2nd ch from hook and in each ch across. Turn. (20 sc)
Rows 2-6: Ch 1, sc in each st across. Turn. (20 sc)
Fasten off. This creates a firm, flat base approximately 8 inches by 3 inches.
Side Panels (Make 2)
Foundation Row: Ch 9.
Row 1: Sc in 2nd ch from hook and in each ch across. Turn. (8 sc)
Rows 2-13: Ch 1, sc in each st across. Turn. (8 sc)
Fasten off. Each side panel should measure approximately 3 inches by 6 inches.
Flap
Foundation Row: Ch 21.
Row 1: Dc in 3rd ch from hook and in each ch across. Turn. (19 dc)
Rows 2-7: Work in basket weave pattern as established for the front panel.
Row 8 (Shaping): Ch 2, sk first st, work in pattern across to last 2 sts, decrease by working 2 sts together, turn. (17 sts)
Row 9: Repeat Row 8. (15 sts)
Row 10: Repeat Row 8. (13 sts)
Border Round: Ch 1, sc evenly around entire flap, working 3 sc in each corner to keep it flat. Sl st to join. Fasten off.
Top Handle
Foundation Row: Ch 31.
Row 1: Sc in 2nd ch from hook and in each ch across. Turn. (30 sc)
Rows 2-3: Ch 1, sc in each st across. Turn. (30 sc)
Fasten off, leaving a long tail for sewing.
Tassel
Cut 20-25 strands of t-shirt yarn, each approximately 8 inches long. Fold in half and tie a separate piece of yarn tightly around the fold, about half an inch down from the top. This creates the tassel head. Trim ends evenly.
Assembly Instructions
Take your time with assembly. This is where your bag comes together, and neat seaming makes all the difference.
Step 1: Join the Bottom and Sides
Using your tapestry needle and a length of yarn, whip stitch or slip stitch one side panel to each short edge of the bottom panel. You should now have a U-shaped piece.
Step 2: Attach Front and Back Panels
Position one basket weave panel against the front edges of your U-shape. Whip stitch along the bottom and both sides. Repeat for the back panel.
Tip: Place stitch markers at each corner to keep everything aligned.
Step 3: Attach the Flap
Position the straight edge of your flap along the top back edge of the bag, on the inside. Whip stitch securely. The flap should fold forward over the front of the bag.
Step 4: Attach the Handle
Sew each end of your top handle to the inside of the bag, positioned at the side seams. Reinforce with extra stitches because this handle takes daily wear.
Step 5: Add D-Rings
Before closing your side seams completely, slip a D-ring onto a small loop of yarn or attach it by crocheting a small tab (ch 8, sl st to form loop, sc around loop, attach to bag). Position one D-ring on each side of the bag near the top edge.
Step 6: Install Push Lock Clasp
The push lock clasp typically has two parts: the decorative front piece and the back plate with prongs. Mark center front of your flap and center front of your bag body. Push prongs through the crochet fabric and bend flat on the inside. Test the closure before finalizing.
Nervous about hardware? Practice on a scrap piece first. T-shirt yarn is forgiving and the prongs slide through easily.
Step 7: Attach Chain Strap
Clip your lobster clasps onto the D-rings. Your strap is now removable and adjustable.
Step 8: Add Tassel
Thread a small loop of yarn through the base of your tassel and attach it to the D-ring or directly to the bottom corner of your flap.
Customization Ideas
Care Instructions
T-shirt yarn is typically machine washable on a gentle cycle, but I recommend spot cleaning your finished bag to protect the hardware. Remove the chain strap before cleaning. Reshape while damp and let air dry.
Final Thoughts on This Crochet Crossbody Bag Pattern
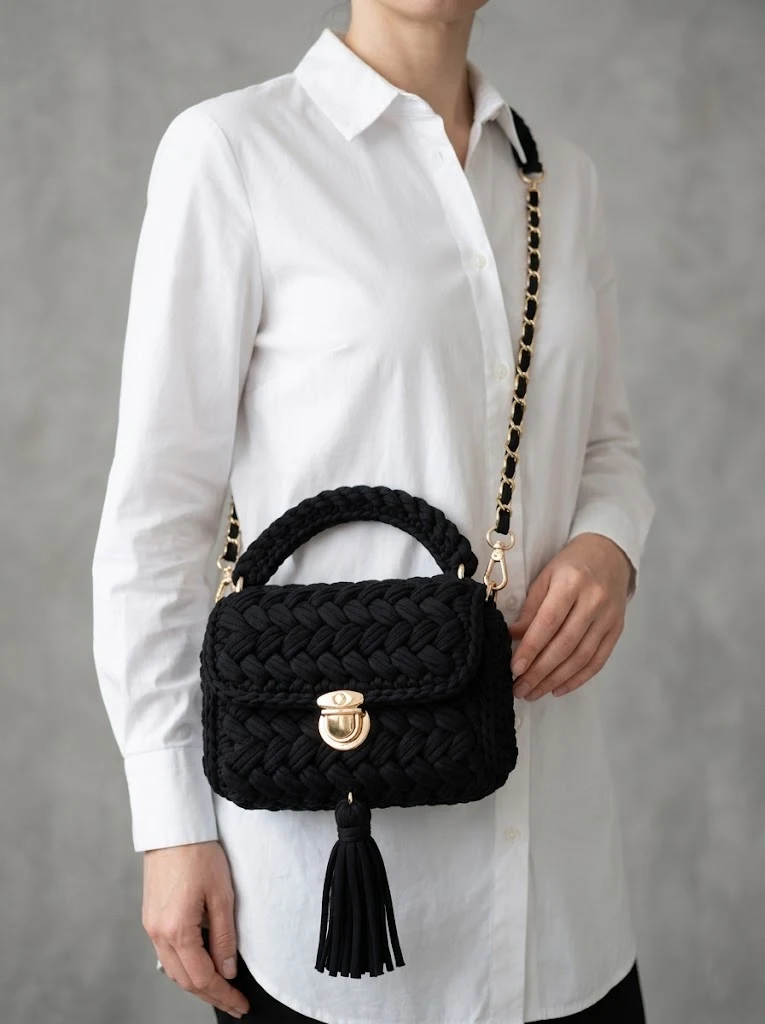
You did it. You now have a stunning, designer-inspired crossbody bag that you made with your own two hands. This step by step crochet pattern combines classic technique with modern style, and the result is a piece you will reach for again and again.
I hope you love making this Classic Black Woven Crossbody as much as I loved designing it. It is one of those projects that feels luxurious from start to finish.
Thank you so much for choosing this pattern and trusting me to guide you through it. I would absolutely love to see your finished bag. Tag me on Instagram or share a photo in my Facebook group. Nothing makes my day like seeing your creations out in the world.
If this pattern is calling your name, go ahead and pin it to your Pinterest boards so you can find it when you are ready to start. And if you do make it, drop a comment below. I read every single one, and I genuinely love hearing how your projects turn out. Happy crocheting, friend.