
Tapestry crochet seems intimidating until you actually try it. I hear it all the time: "Carrying two colors? Charts? That sounds way too advanced for me." But here is the truth. If you can single crochet, you can do tapestry crochet. You are literally just tucking one yarn inside your stitches while you work with the other.
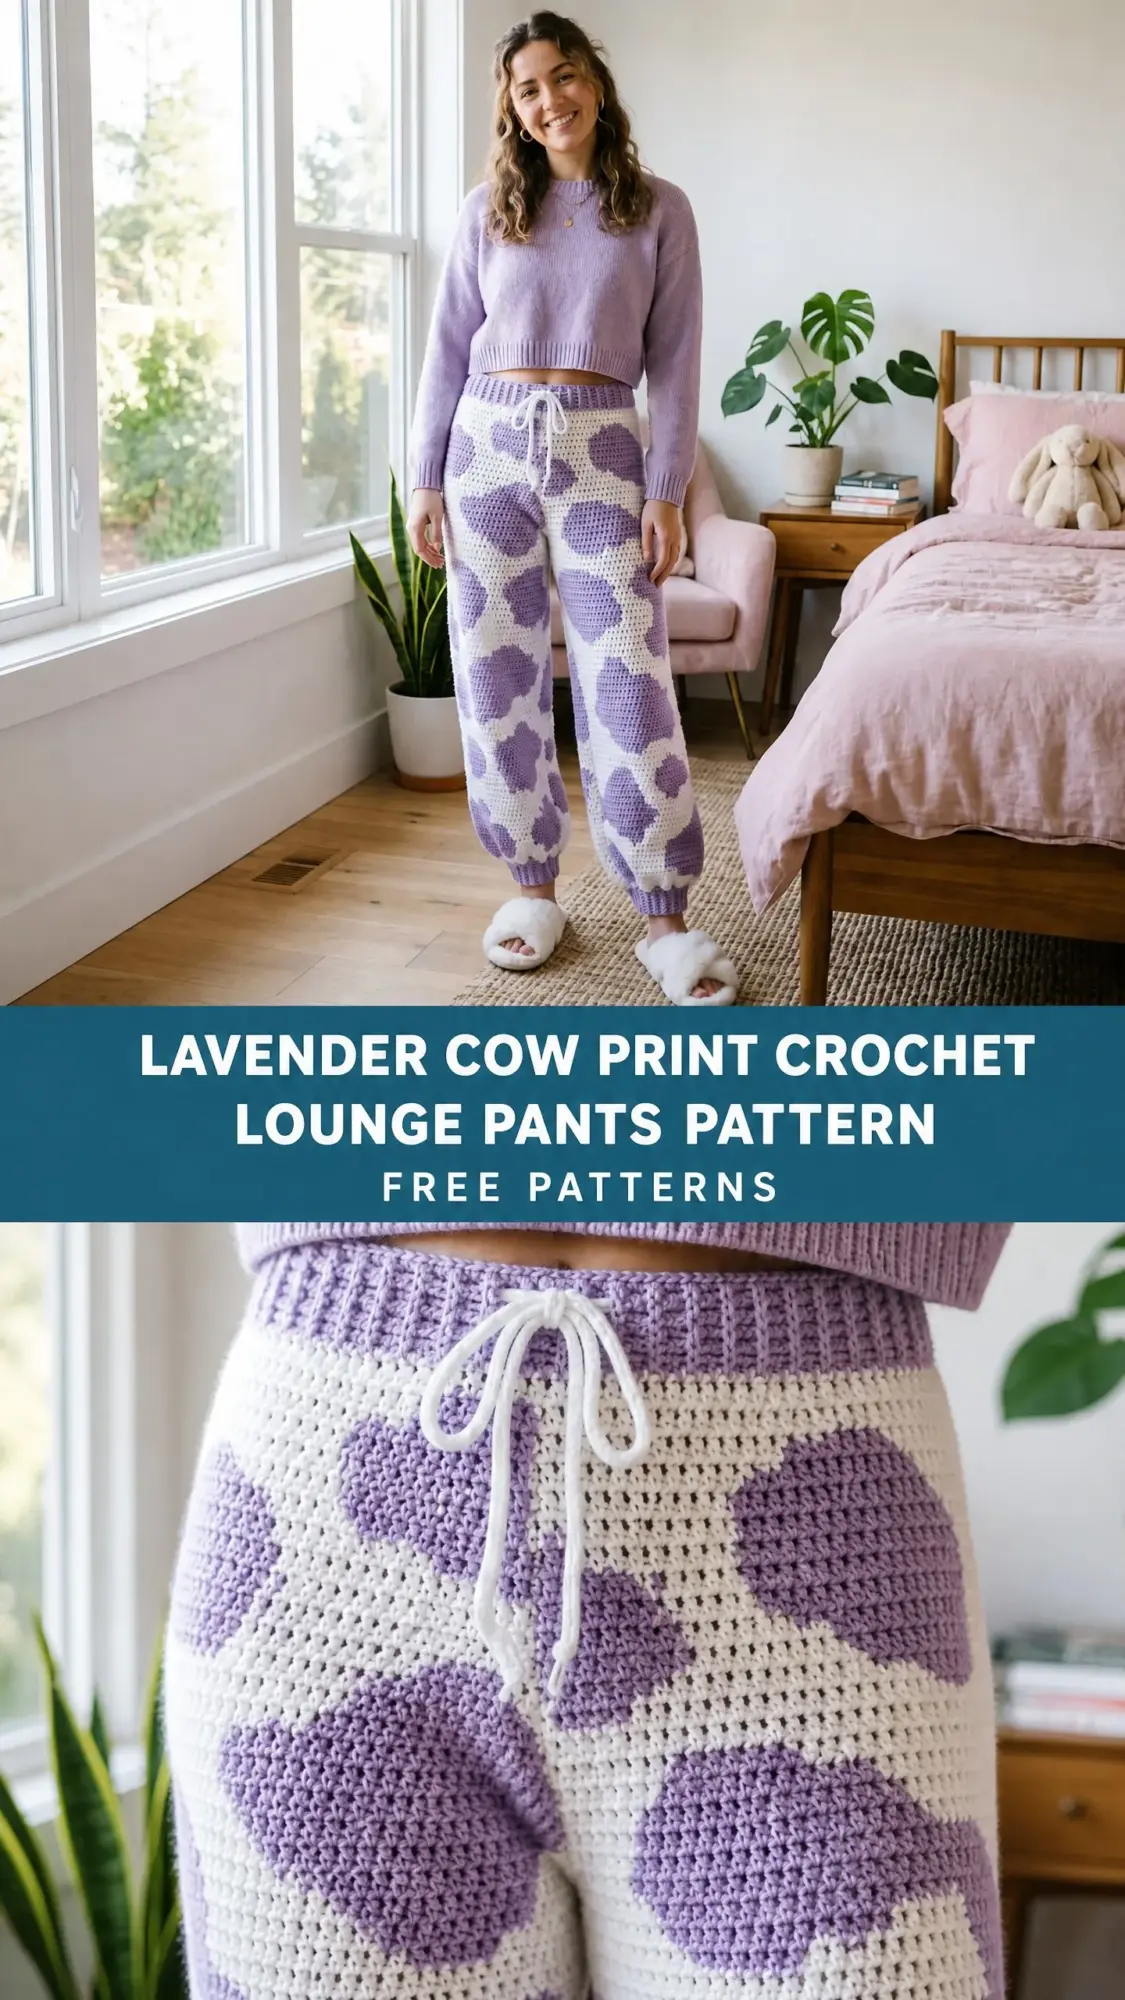
These lavender cow print lounge pants look like a showstopper project, and they absolutely are. But the technique itself? Totally learnable. The magic is in the repetition. Once you get your rhythm down in the first few rounds, your hands will know what to do.
Whether you have been crocheting for years or you are ready to level up from basic projects, this pattern walks you through every single step. I have broken down the colorwork, explained exactly how to carry your yarn, and given you round by round instructions so you always know where you are. Let’s make some cozy pants.
Why These Cow Print Crochet Pants Are Worth the Time
I will be honest with you. This is not a weekend project. We are looking at 60 to 90 hours of work depending on your speed and experience with colorwork. But the result? A completely unique pair of handmade lounge pants that nobody else will have.
The tapestry crochet technique creates a dense, structured fabric with excellent drape. Because you carry both colors throughout, there are no messy floats on the back. The fabric looks almost the same on both sides, which is perfect for pants that shift and move as you wear them.
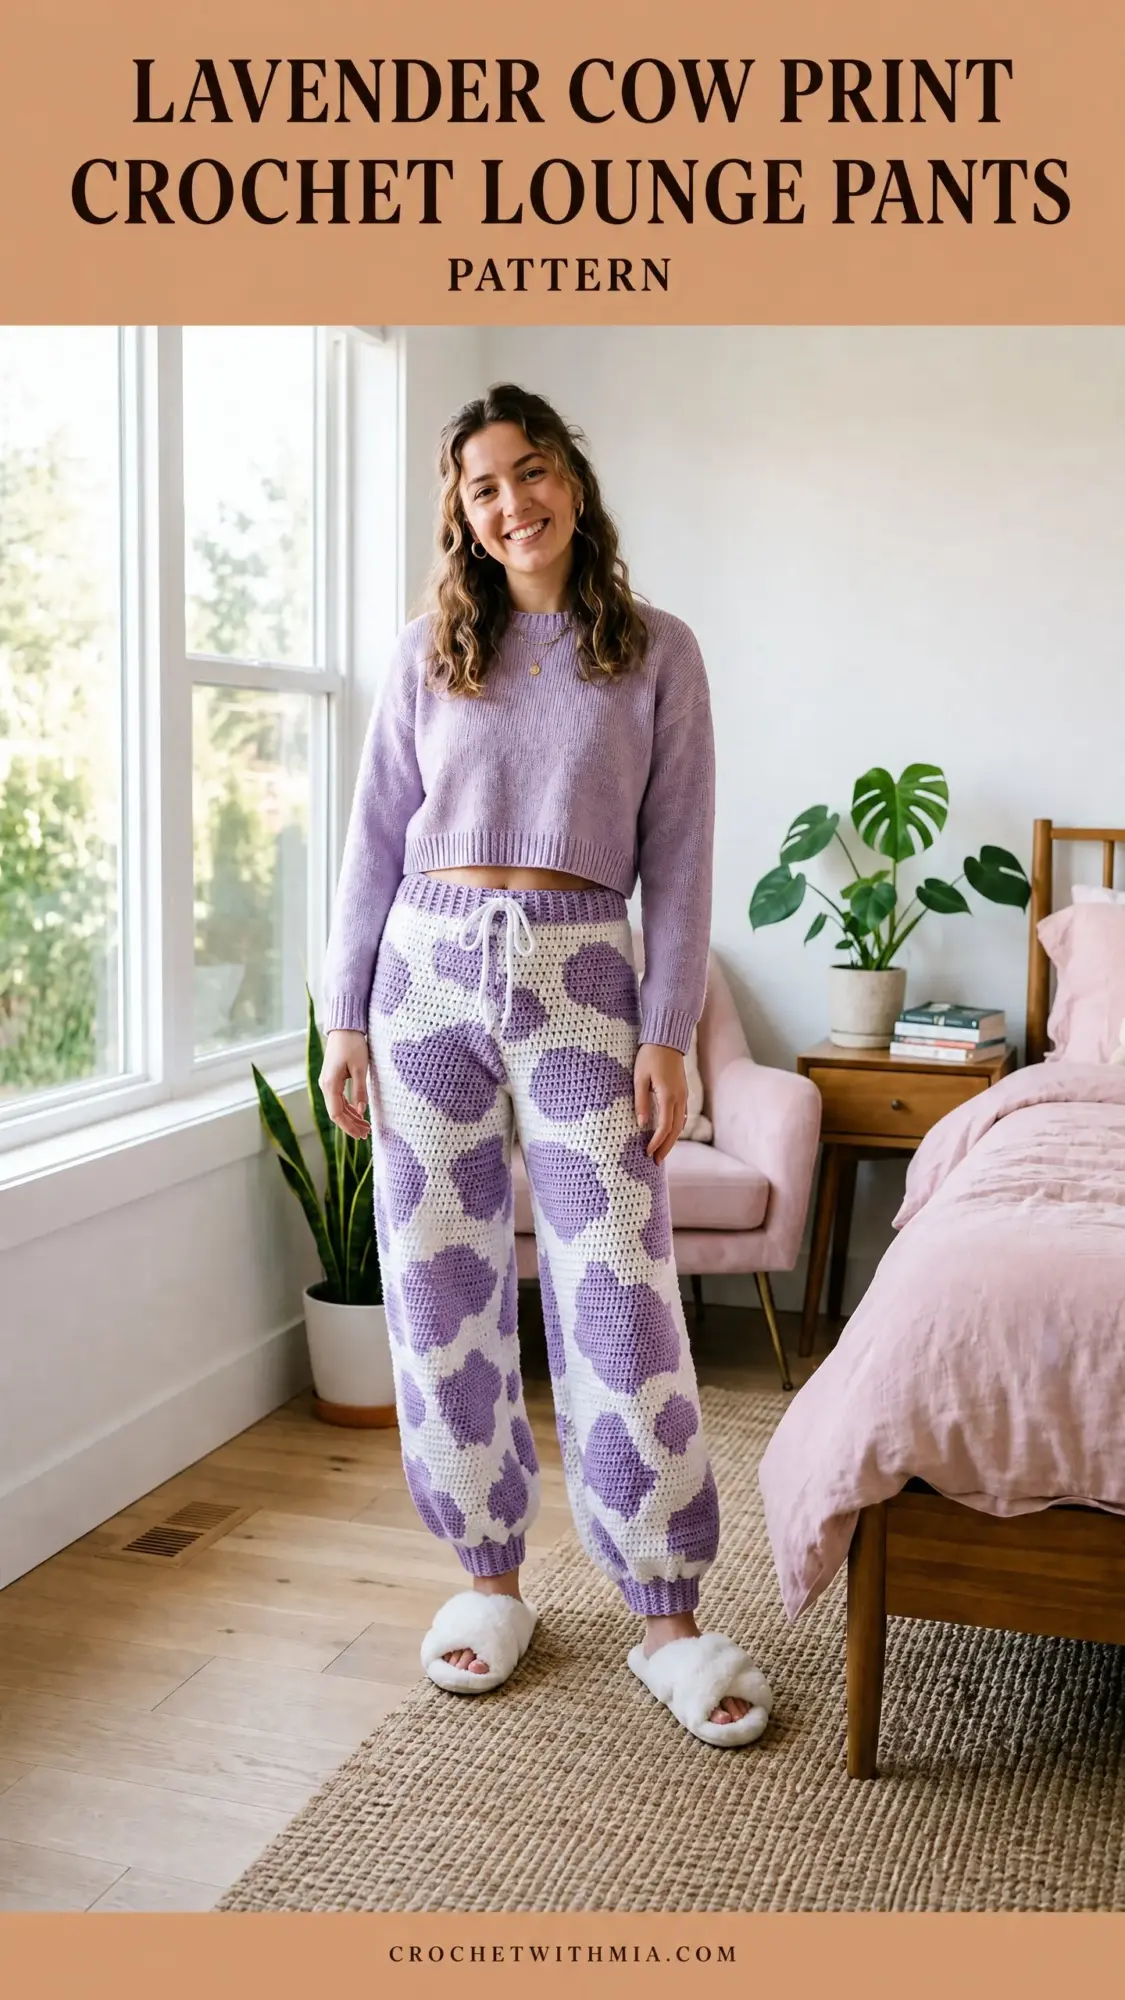
The cow print spots are deliberately irregular and organic looking. They are not perfect circles or geometric shapes. They look like actual cow spots, which gives the finished pants that fun, playful aesthetic you see in the photo.
Materials You Will Need
Gather everything before you start. Nothing is worse than running out of yarn halfway through a leg.
Yarn:
Hooks:
Notions:
Recommended Yarn Choices
Lion Brand Pound of Love works beautifully for this project. It is soft against skin, machine washable, and comes in both off-white (Fisherman) and a lovely lilac. For Small/Medium, you need 1 skein of each color. Larger sizes need 2 skeins of each.
Paintbox Yarns Simply DK held double gives you a lofty, cushioned fabric with excellent stitch definition. Use Soft White and Dusty Violet. You will need approximately 7 balls of each color for Small/Medium.
WeCrochet Comfy Worsted (75% pima cotton, 25% acrylic) creates breathable pants with beautiful drape. Colors to use: Bare (cream) and Wisteria (lavender). You need 5 skeins of each color for Small/Medium, 6 for larger sizes.
Avoid 100% cotton without any acrylic or nylon content. Pure cotton stretches out significantly at the waist and seat. Stick with acrylic or acrylic blends for shape retention and easy washing.
Finished Sizes
Small/Medium:
Large/XL:
2X/3X:
Gauge (Do Not Skip This)
Using the J / 6.0 mm hook with worsted weight yarn in tapestry single crochet:
16 stitches = 4 inches / 10 cm
18 rows/rounds = 4 inches / 10 cm
This gauge must be measured specifically in tapestry single crochet (sc), not regular sc. When you carry a second strand, your gauge changes. Your swatch needs to be at least 5 inches / 13 cm square. Wash and dry it before measuring. Even half a stitch difference per inch will throw off your fit dramatically when you are working with 120 stitches around.
Abbreviations and Definitions
Let me define every stitch and term you will encounter:
Special Stitch: Tapestry Single Crochet (Tsc)
This is the heart of the entire pattern. Do not worry. It sounds more complicated than it is.
Step 1: Hold your working color in your dominant hand as usual. Lay the unused (carried) color across the top of the previous round’s stitches so it will be encased as you work.
Step 2: Insert your hook into the next stitch.
Step 3: With your working color, yarn over and pull up a loop, catching both the working yarn and encasing the carried yarn inside the stitch. You now have 2 loops on your hook.
Step 4: Yarn over with the working color only, draw through both loops to complete the sc.
Step 5: To switch colors, work to the last step of the final stitch before the color change (2 loops on hook), then yarn over with the NEW color and draw through both loops. The new color becomes your working color. The old color becomes the carried yarn.
Step 6: Never let yarn float loosely across the back. It must be encased inside each stitch. This eliminates floats and makes the fabric sturdy and nearly reversible.
Tension tip: Hold the carried yarn at consistent tension to avoid puckering. Practice on a swatch until your fabric lies flat.
Ribbing Technique
The waistband and ankle cuffs use a back loop only slip stitch rib worked flat, then seamed into a ring.
Step 1: Chain a multiple of 2 plus 1 for the turning chain.
Step 2 (Row 1): Slip stitch in the 2nd chain from hook and in each chain across. Turn.
Step 3 (Row 2): Chain 1, slip stitch BLO in each stitch across. Turn.
Step 4: Repeat Row 2 for all subsequent rows.
The rib stretches horizontally. You will work enough rows to equal the circumference needed, then seam the short ends together to form a ring.
Pattern Notes Before You Begin
Read these carefully. They will save you confusion later.
1. The pants body is worked in joined rounds, not spiral. At the end of each round, slip stitch to the first stitch to join, chain 1, and turn.
2. Turning at each round join is optional but strongly recommended. It creates a neater join and makes colorwork easier to track.
3. The cow print spots are irregular and asymmetrical. Follow the stitch-by-stitch color sequences carefully.
4. Both colors are carried throughout the entire garment, even through solid sections.
5. The waistband is worked flat first, seamed into a ring, then you pick up stitches along one edge to begin the body.
6. The crotch is shaped with a simple chain bridge. After reaching crotch level, you chain a few stitches to create the opening between the legs.
7. All stitch counts are given as: S/M (L/XL, 2X/3X).
8. Weave in ends as you go. With tapestry crochet, most color changes encase ends automatically, but loose tails need attention.
Section 1: Waistband Ribbing
Using Yarn B (Lavender) and the I / 5.5 mm hook, chain 15.
Row 1: Slip stitch in 2nd chain from hook and in each chain across. Turn. (14 sl sts)
Row 2: Chain 1, slip stitch BLO in each stitch across. Turn. (14 sl sts)
Repeat Row 2 until the ribbing measures:
Work at relaxed tension so the ribbing can stretch over the hips.
Do not fasten off. Fold the ribbing so the two short ends meet. Slip stitch the first and last rows together through both layers, leaving the top 2 inches / 5 cm open for the drawstring channel. Fasten off. Weave in ends.
Position the seam at center back.
Checkpoint: Your waistband ring should measure approximately 30 (34, 38) inches / 76 (86, 97) cm in circumference when lightly stretched, and 3.5 inches / 9 cm tall.
Section 2: Body Pickup and Setup Round
Switch to the J / 6.0 mm hook. Join Yarn A (Cream) to any stitch along the lower long edge of the waistband ribbing with a slip stitch.
Setup Round: Working into the row-end edges along the lower long edge of the ribbing, single crochet evenly to place:
Divide the ribbing edge into 4 equal sections with stitch markers and pick up an equal number in each quarter. For S/M, that is 30 stitches per quarter.
Join Yarn B, drop Yarn A (do not cut). Begin carrying Yarn A from this point forward. Slip stitch to the first sc to join the round. Chain 1, turn. (120, 136, 152 sc)
Place a marker at the beginning of the round (center back). Move this marker up each round.
Checkpoint: You should have a flat ring of single crochet attached to your ribbing, with both yarn colors ready to work.
Section 3: Upper Body Tapestry Colorwork
Now comes the fun part. The cow print begins immediately.
The pattern uses a 40-stitch motif repeat. For S/M (120 stitches), you work the sequence 3 times per round. For larger sizes, add filler stitches in Yarn A as noted in the pattern.
"A" means work the stitch in Yarn A (Cream). "B" means work the stitch in Yarn B (Lavender).
Rnd 1: Tsc in each stitch around in Yarn A, carrying Yarn B throughout. Join. Turn. (120, 136, 152 sts)
Rnd 2 motif sequence (40 sts): 6A, 4B, 4A, 5B, 21A. Work this sequence 3 times. Join. Turn. (120, 136, 152 sts)
Rnd 3 motif sequence: 5A, 6B, 3A, 7B, 19A. Work 3 times. Join. Turn. (120, 136, 152 sts)
Rnd 4 motif sequence: 4A, 8B, 2A, 9B, 17A. Work 3 times. Join. Turn. (120, 136, 152 sts)
Rnd 5 motif sequence: 3A, 9B, 2A, 10B, 16A. Work 3 times. Join. Turn. (120, 136, 152 sts)
Rnd 6 motif sequence: 3A, 8B, 3A, 10B, 16A. Work 3 times. Join. Turn. (120, 136, 152 sts)
Rnd 7 motif sequence: 4A, 7B, 4A, 9B, 16A. Work 3 times. Join. Turn. (120, 136, 152 sts)
Rnd 8 motif sequence: 5A, 5B, 5A, 8B, 17A. Work 3 times. Join. Turn. (120, 136, 152 sts)
Rnd 9 motif sequence: 7A, 3B, 6A, 6B, 18A. Work 3 times. Join. Turn. (120, 136, 152 sts)
Rnd 10 motif sequence: 40A (all cream). Work 3 times. Join. Turn. (120, 136, 152 sts)
Rnd 11 motif sequence: 12A, 5B, 23A. Work 3 times. Join. Turn. (120, 136, 152 sts)
Rnd 12 motif sequence: 10A, 9B, 21A. Work 3 times. Join. Turn. (120, 136, 152 sts)
Rnd 13 motif sequence: 9A, 11B, 20A. Work 3 times. Join. Turn. (120, 136, 152 sts)
Rnd 14 motif sequence: 8A, 13B, 19A. Work 3 times. Join. Turn. (120, 136, 152 sts)
Rnd 15 motif sequence: 8A, 13B, 19A. Work 3 times. Join. Turn. (120, 136, 152 sts)
Rnd 16 motif sequence: 9A, 11B, 20A. Work 3 times. Join. Turn. (120, 136, 152 sts)
Rnd 17 motif sequence: 11A, 8B, 21A. Work 3 times. Join. Turn. (120, 136, 152 sts)
Rnd 18 motif sequence: 40A. Work 3 times. Join. Turn. (120, 136, 152 sts)
Rnd 19 motif sequence: 22A, 6B, 12A. Work 3 times. Join. Turn. (120, 136, 152 sts)
Rnd 20 motif sequence: 20A, 10B, 10A. Work 3 times. Join. Turn. (120, 136, 152 sts)
Rnd 21 motif sequence: 19A, 12B, 9A. Work 3 times. Join. Turn. (120, 136, 152 sts)
Rnd 22 motif sequence: 1B, 17A, 13B, 9A. Work 3 times. Join. Turn. (120, 136, 152 sts)
The "1B" at the start bridges the repeat boundary. This keeps spots from aligning perfectly and creates the organic, scattered look.
Rnd 23 motif sequence: 3B, 14A, 14B, 9A. Work 3 times. Join. Turn. (120, 136, 152 sts)
Rnd 24 motif sequence: 5B, 12A, 14B, 9A. Work 3 times. Join. Turn. (120, 136, 152 sts)
Rnd 25 motif sequence: 6B, 11A, 13B, 10A. Work 3 times. Join. Turn. (120, 136, 152 sts)
Rnd 26 motif sequence: 7B, 12A, 12B, 9A. Work 3 times. Join. Turn. (120, 136, 152 sts)
Rnd 27 motif sequence: 6B, 14A, 10B, 10A. Work 3 times. Join. Turn. (120, 136, 152 sts)
Rnd 28 motif sequence: 4B, 16A, 8B, 12A. Work 3 times. Join. Turn. (120, 136, 152 sts)
Rnd 29 motif sequence: 2B, 18A, 5B, 15A. Work 3 times. Join. Turn. (120, 136, 152 sts)
Rnd 30 motif sequence: 40A. Work 3 times. Join. Turn. (120, 136, 152 sts)
Rnd 31 motif sequence: 33A, 4B, 3A. Work 3 times. Join. Turn. (120, 136, 152 sts)
Rnd 32 motif sequence: 31A, 8B, 1A. Work 3 times. Join. Turn. (120, 136, 152 sts)
Rnd 33 motif sequence: 30A, 10B. Work 3 times. Join. Turn. (120, 136, 152 sts)
Rnd 34 motif sequence: 29A, 11B. Work 3 times. Join. Turn. (120, 136, 152 sts)
Rnd 35 motif sequence: 30A, 10B. Work 3 times. Join. Turn. (120, 136, 152 sts)
Rnd 36 motif sequence: 32A, 8B. Work 3 times. Join. Turn. (120, 136, 152 sts)
Rnd 37 motif sequence: 35A, 5B. Work 3 times. Join. Turn. (120, 136, 152 sts)
Rnd 38 motif sequence: 40A. Work 3 times. Join. Turn. (120, 136, 152 sts)
After Round 38, the body measures approximately 8.5 inches / 21.5 cm from the pickup edge. For larger sizes needing a longer rise, repeat Rounds 30 through 38 once more before the crotch shaping. Add 8 more rows for L/XL and 16 more rows for 2X/3X.
Checkpoint: The body tube should measure approximately 8.5 inches from the pickup edge. Circumference should be 30 (34, 38) inches. The cow print spots should be clearly visible on both front and back.
Section 4: Crotch Shaping
Now you divide the body into two leg tubes.
The front panel is the first 60 (68, 76) stitches. The back panel is the remaining 60 (68, 76) stitches.
Mark stitch 1 (center back) and stitch 61 (69, 77) (center front) with contrasting markers.
Right Leg Setup:
Rnd 39: Starting at the center back marker, Tsc in next 30 (34, 38) sts (right back half). Chain 6 (6, 8) for the crotch bridge. Skip the center front 60 (68, 76) sts. Tsc in the remaining 30 (34, 38) sts (right front half). Join to the first stitch. Turn.
You now have 60 (68, 76) sts plus 6 (6, 8) chain bridge = 66 (74, 84) working stitches for the right leg.
Rnd 40: Tsc in each of the 60 (68, 76) body stitches, then Tsc in each of the 6 (6, 8) chains of the crotch bridge. Join. Turn. (66, 74, 84 sts)
Left Leg Setup:
Join yarn at the center front marker with both colors ready. Working into the remaining 60 (68, 76) stitches, Tsc across. Then Tsc into the underside of the crotch bridge chains (6, 6, or 8 sts). Join. Turn. (66, 74, 84 sts)
Section 5: Leg Tubes
Each leg continues in tapestry sc with the cow print motif. The leg uses a 22-stitch repeat for S/M (66 stitches = 3 repeats).
Leg Rnd 1: 22A x 3. Join. Turn. (66 sts)
Leg Rnd 2: 22A x 3. Join. Turn. (66 sts)
Leg Rnd 3: [3A, 5B, 14A] x 3. Join. Turn. (66 sts)
Leg Rnd 4: [2A, 8B, 12A] x 3. Join. Turn. (66 sts)
Leg Rnd 5: [2A, 9B, 11A] x 3. Join. Turn. (66 sts)
Leg Rnd 6: [2A, 9B, 11A] x 3. Join. Turn. (66 sts)
Leg Rnd 7: [3A, 8B, 11A] x 3. Join. Turn. (66 sts)
Leg Rnd 8: [4A, 6B, 12A] x 3. Join. Turn. (66 sts)
Leg Rnd 9: [6A, 3B, 13A] x 3. Join. Turn. (66 sts)
Leg Rnd 10: 22A x 3. Join. Turn. (66 sts)
Leg Rnd 11: 22A x 3. Join. Turn. (66 sts)
Leg Rnd 12: [11A, 4B, 7A] x 3. Join. Turn. (66 sts)
Leg Rnd 13: [10A, 7B, 5A] x 3. Join. Turn. (66 sts)
Leg Rnd 14: [9A, 9B, 4A] x 3. Join. Turn. (66 sts)
Leg Rnd 15: [9A, 10B, 3A] x 3. Join. Turn. (66 sts)
Leg Rnd 16: [10A, 9B, 3A] x 3. Join. Turn. (66 sts)
Leg Rnd 17: [11A, 7B, 4A] x 3. Join. Turn. (66 sts)
Leg Rnd 18: [13A, 5B, 4A] x 3. Join. Turn. (66 sts)
Leg Rnd 19: [16A, 2B, 4A] x 3. Join. Turn. (66 sts)
Leg Rnd 20: 22A x 3. Join. Turn. (66 sts)
Leg Rnd 21: 22A x 3. Join. Turn. (66 sts)
Leg Rnd 22: [1B, 19A, 2B] x 3. Join. Turn. (66 sts)
The 1B and 2B stitches at the repeat edges combine to form spots that straddle the seam.
Leg Rnd 23: [3B, 16A, 3B] x 3. Join. Turn. (66 sts)
Continue following the leg colorwork pattern, maintaining the spot placement until you reach your desired inseam length (27 inches for all sizes). Finish each leg with ribbed cuffs using the same technique as the waistband.
Finishing Your Lavender Cow Print Pants
Thread your cotton cord or ribbon through the drawstring channel at the top of the waistband. Weave in all remaining ends securely. If desired, sew non-roll elastic inside the waistband for extra security.
Block your finished pants by laying them flat and steaming lightly. Avoid stretching the fabric while wet.
Care Instructions
Machine wash on gentle cycle in cold water. Tumble dry on low or lay flat to dry. The acrylic or acrylic blend yarns recommended will hold their shape beautifully through many washes.
Thank you so much for choosing this crochet lounge pants pattern. I cannot wait to see your lavender cow print creations come to life. These pants are such a statement piece, and you should be incredibly proud when you finish them.
If you love this pattern, save it to your Pinterest boards so you can find it easily when you are ready to start. And please, leave a comment below when you make your pair. I would love to hear how your tapestry crochet journey goes and see photos of your finished pants!