
This stunning crescent-shaped handbag combines textured bobble stitches with elegant gold hardware for a look that goes from brunch to evening effortlessly. I designed this Cream and Gold Elegant Half Moon Bag crochet pattern after falling in love with the structured yet soft silhouette. If you can work basic stitches and follow a simple increase pattern, you can absolutely make this.
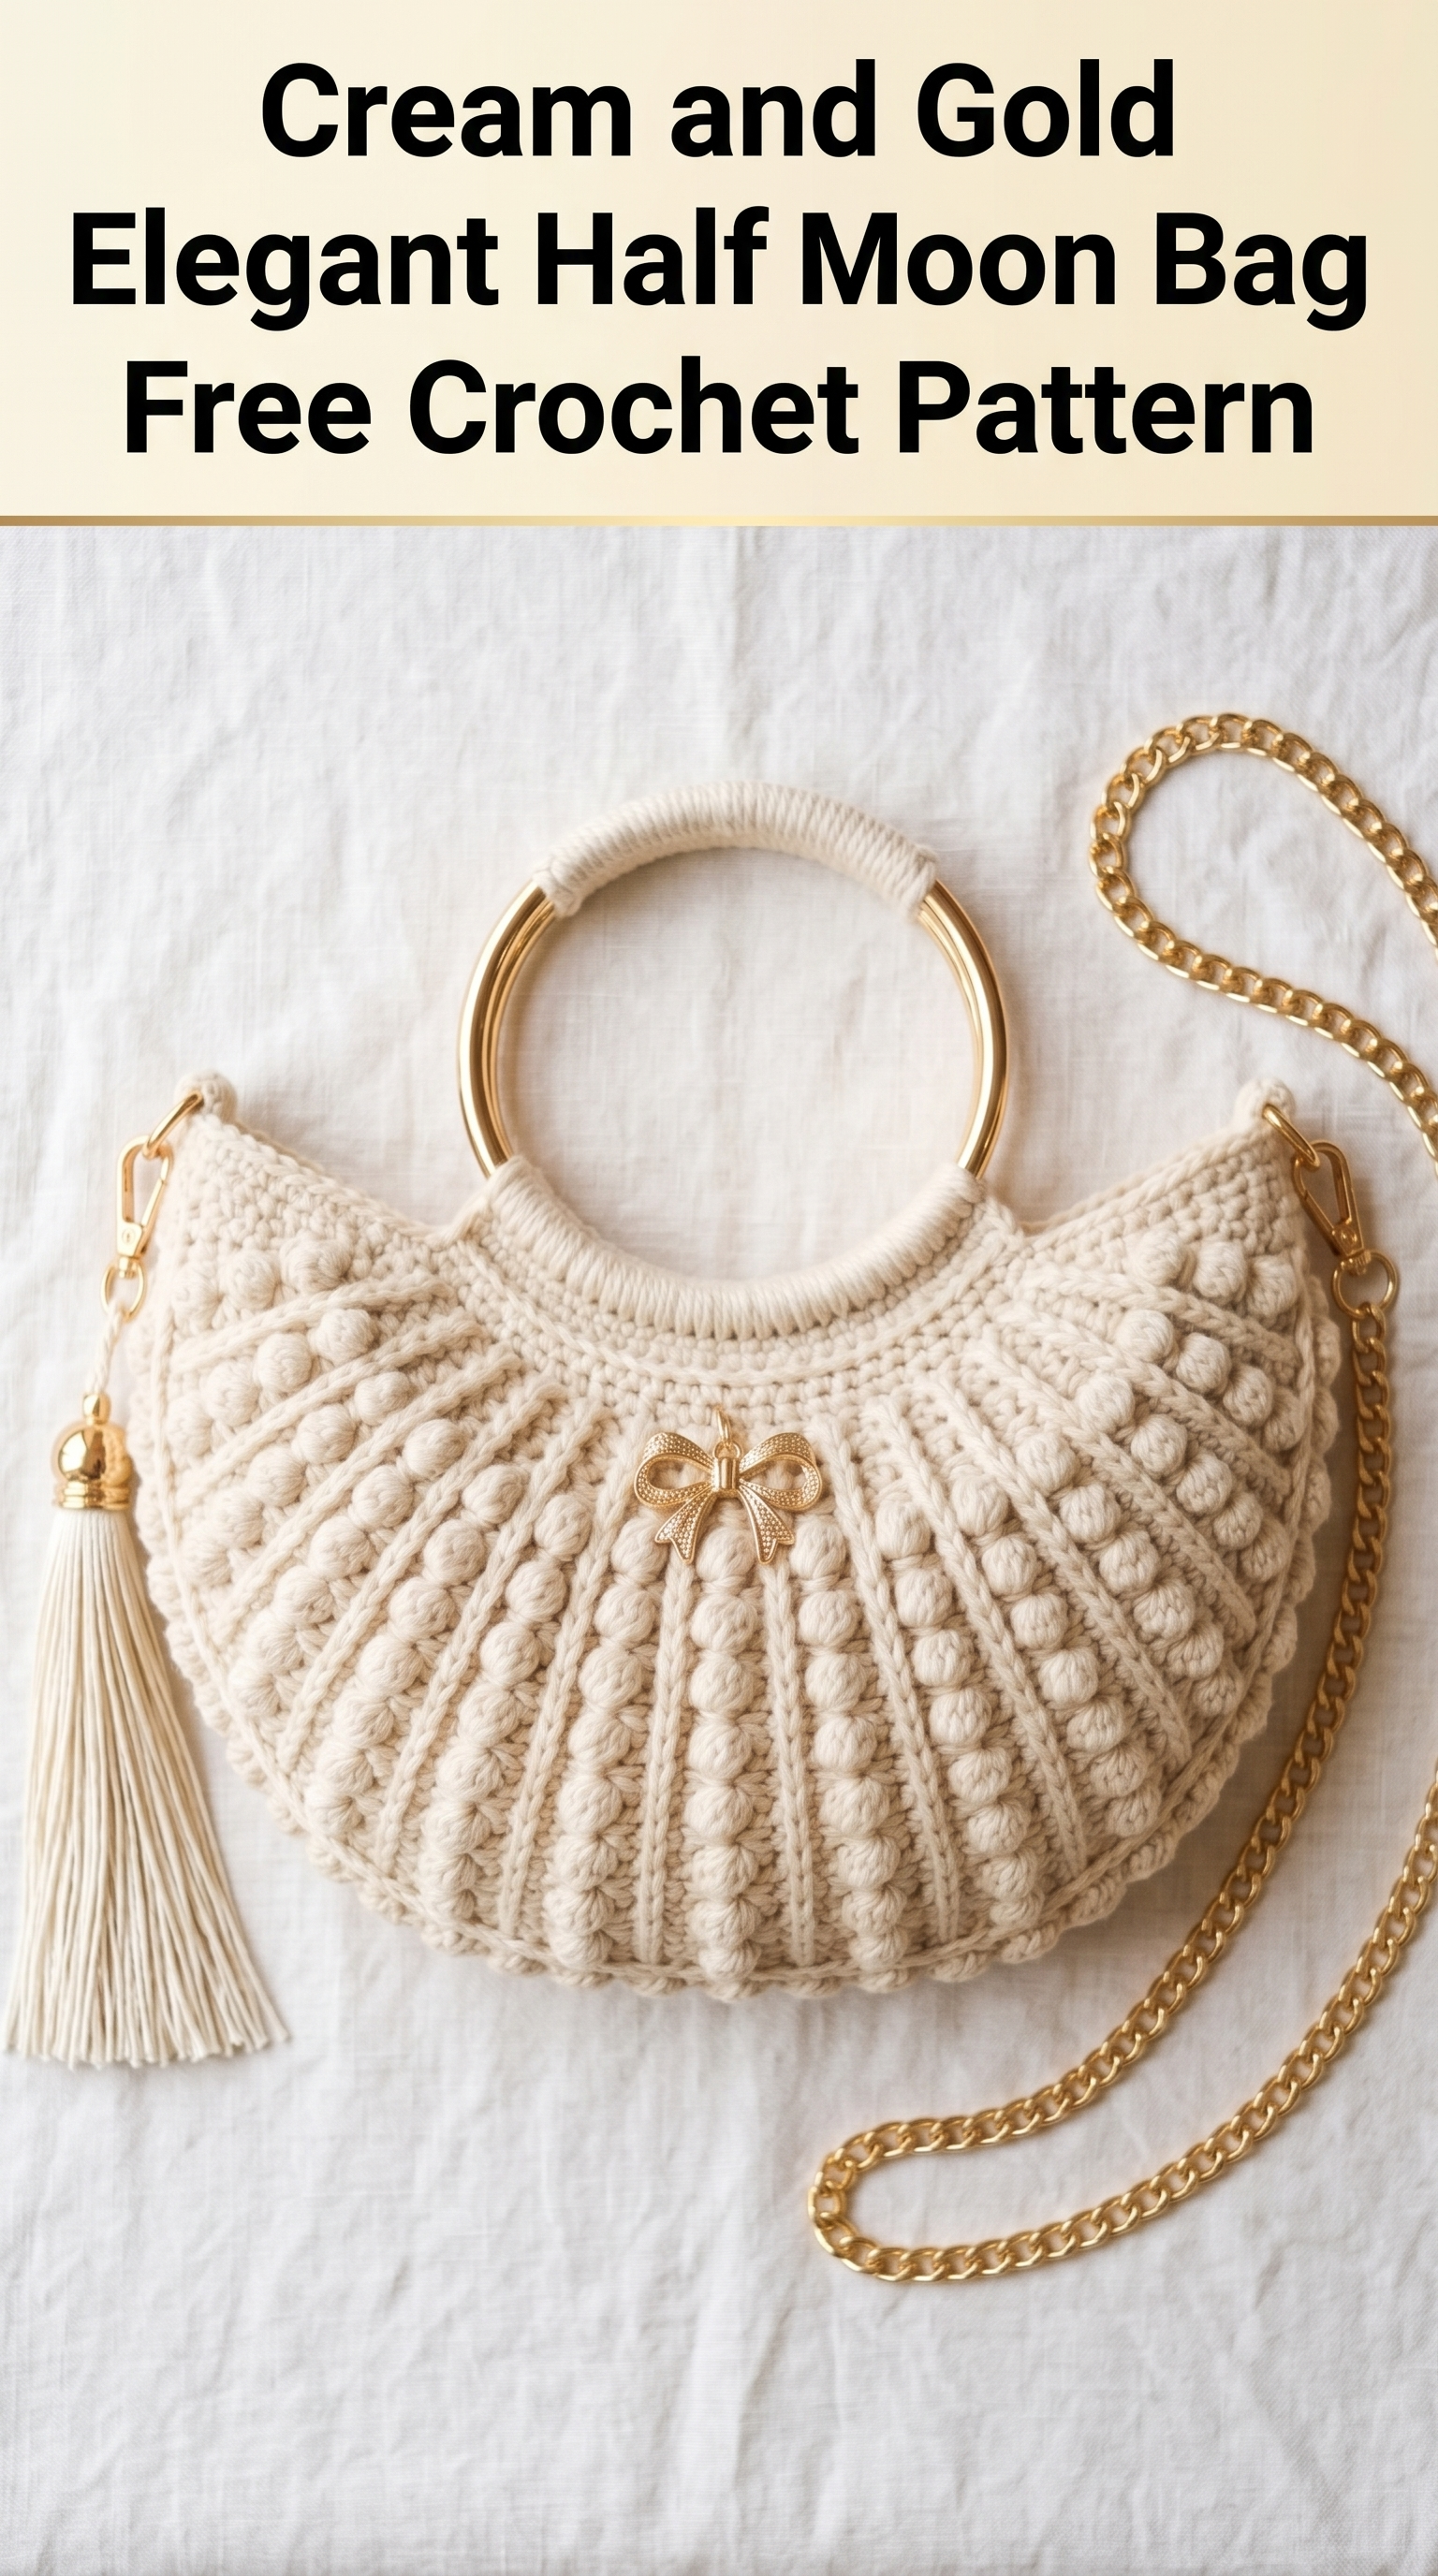
The bobble texture adds visual interest without being overwhelming. The gold ring handle and chain strap elevate the whole piece. Trust me, this bag gets compliments everywhere.
Why You Will Love This Crochet Tutorial
This half moon bag sits perfectly in the curve of your arm or hangs gracefully from the chain strap. The construction is simpler than it looks. You work flat panels, shape them with strategic increases, then join everything together. No complicated seaming or confusing assembly.
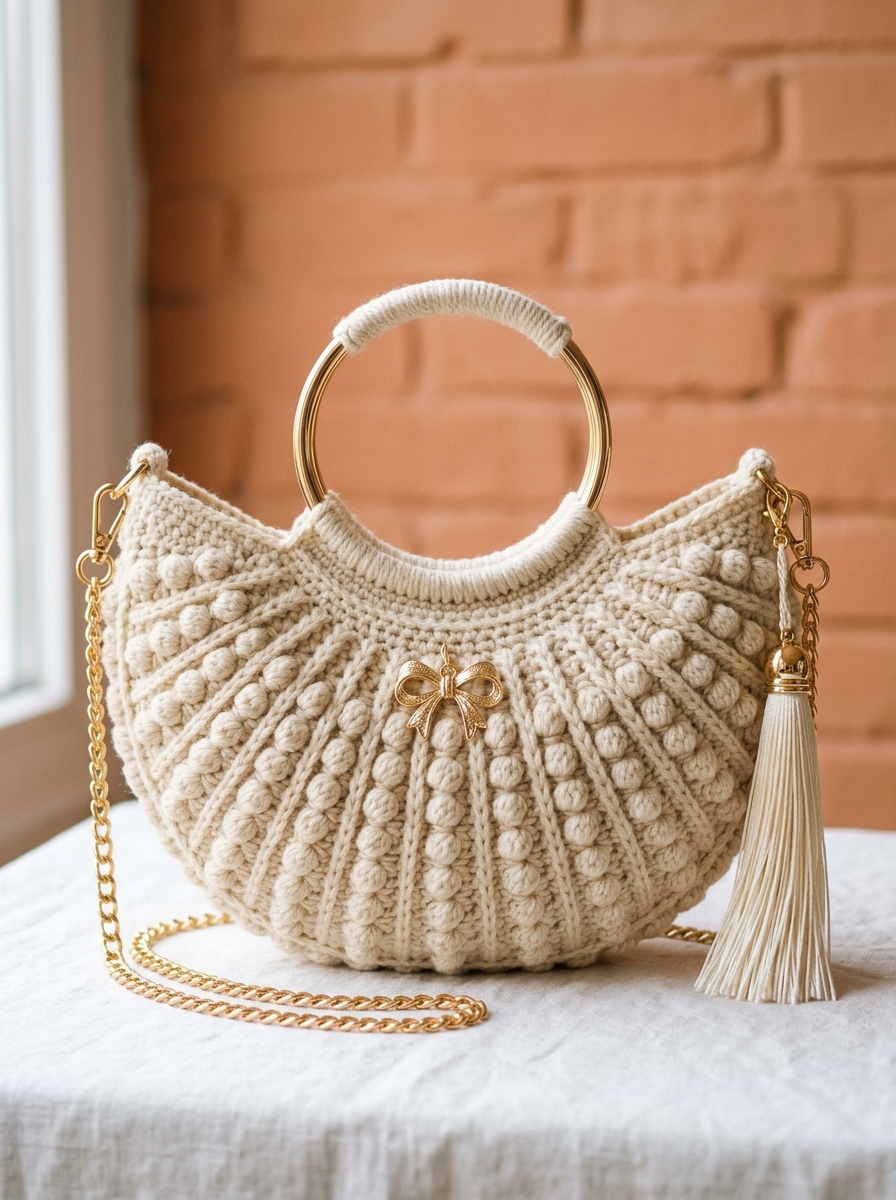
The bobble pattern creates those beautiful raised dots you see radiating from the center. Between the bobble rows, you work simple single crochet ridges that add structure and help the bag hold its shape. The whole thing feels substantial without being heavy.
Skill level: Confident beginner to intermediate. If you have made a few projects and feel comfortable with basic shaping, you are ready.
Materials Needed
Yarn:
Hook:
Notions:
Gauge
14 stitches and 16 rows = 4 inches in single crochet
Gauge matters here. Your bag should measure approximately 12 inches wide and 8 inches tall when finished.
Abbreviations and Stitch Definitions
Let me walk you through every stitch you need. No surprises.
ch = chain: Yarn over, pull through loop on hook. The foundation of most crochet.
sl st = slip stitch: Insert hook, yarn over, pull through stitch AND loop on hook in one motion. Used for joining and moving across stitches invisibly.
sc = single crochet: Insert hook into stitch, yarn over and pull up a loop (2 loops on hook), yarn over and pull through both loops. Your basic building block stitch.
sc2tog = single crochet two together: A decrease. Insert hook into first stitch, pull up loop. Insert hook into next stitch, pull up loop. Yarn over, pull through all 3 loops. You just turned 2 stitches into 1.
bob = bobble stitch: This creates those beautiful raised bumps. Yarn over, insert hook, pull up loop, yarn over, pull through 2 loops. Repeat this 4 more times in the SAME stitch (6 loops on hook). Yarn over, pull through all 6 loops. Push the bobble to the front of your work. Do not panic if it looks messy at first. It pops into shape.
inc = increase: Work 2 stitches into the same stitch.
BLO = back loop only: Instead of inserting your hook under both loops at the top of the stitch, go under only the back loop. This creates ridged texture.
Special Techniques
Working Bobbles on Right Side Rows
Here is the key to perfect bobbles. Always push them to the front (right side) of your work as you complete them. Give a gentle nudge with your finger. They naturally want to pop forward, so this is easier than it sounds.
Creating the Half Moon Shape
The crescent shape comes from working increases at specific points while keeping the center sections consistent. Think of it like shaping a smile. More stitches at the outer curves, fewer in the middle.
Step by Step Crochet Pattern for the Half Moon Bag
You will make two identical panels, then join them. Work the entire bag in one piece would be possible, but this method gives cleaner edges and easier construction.
Panel One (Make 2)
Foundation Row: Ch 45.
Row 1 (RS): Sc in 2nd ch from hook and in each ch across. Turn. (44 sts)
Row 2: Ch 1, sc in BLO across. Turn. (44 sts)
Row 3 (Bobble Row): Ch 1, sc in first 2 sts, *bob in next st, sc in next 3 sts* repeat from * to last 2 sts, sc in last 2 sts. Turn. (44 sts, 10 bobbles)
Row 4: Ch 1, sc in BLO across. Turn. (44 sts)
Row 5: Ch 1, sc across. Turn. (44 sts)
Row 6: Ch 1, sc in BLO across. Turn. (44 sts)
Row 7 (Bobble Row): Ch 1, sc in first 4 sts, *bob in next st, sc in next 3 sts* repeat from * to last 4 sts, bob in next st, sc in last 3 sts. Turn. (44 sts, 10 bobbles offset from Row 3)
Row 8: Ch 1, sc in BLO across. Turn. (44 sts)
Rows 9-10: Repeat Rows 5-6. (44 sts)
Rows 11-18: Repeat Rows 3-10. (44 sts)
Now we begin shaping the curve.
Shaping the Crescent
Row 19: Ch 1, sc2tog, sc to last 2 sts, sc2tog. Turn. (42 sts)
Row 20: Ch 1, sc in BLO across. Turn. (42 sts)
Row 21 (Bobble Row): Ch 1, sc2tog, sc in next st, *bob in next st, sc in next 3 sts* repeat to last 5 sts, bob in next st, sc in next 2 sts, sc2tog. Turn. (40 sts)
Row 22: Ch 1, sc in BLO across. Turn. (40 sts)
Row 23: Ch 1, sc2tog, sc to last 2 sts, sc2tog. Turn. (38 sts)
Row 24: Ch 1, sc in BLO across. Turn. (38 sts)
Row 25 (Bobble Row): Ch 1, sc2tog, *bob in next st, sc in next 3 sts* repeat to last 4 sts, bob in next st, sc in next st, sc2tog. Turn. (36 sts)
Row 26: Ch 1, sc in BLO across. Turn. (36 sts)
Row 27: Ch 1, sc2tog twice, sc to last 4 sts, sc2tog twice. Turn. (32 sts)
Row 28: Ch 1, sc in BLO across. Turn. (32 sts)
Row 29: Ch 1, sc2tog twice, sc to last 4 sts, sc2tog twice. Turn. (28 sts)
Row 30: Ch 1, sc in BLO across. Turn. (28 sts)
Row 31: Ch 1, sc2tog three times, sc to last 6 sts, sc2tog three times. Turn. (22 sts)
Row 32: Ch 1, sc in BLO across. Fasten off, leaving a long tail. (22 sts)
This creates that beautiful curved top edge.
Joining the Panels
Place both panels with wrong sides together. The bobbles should face outward on both sides.
Starting at one top corner, work sc evenly around the bottom curved edge only, going through both layers to join. Work approximately 3 sc per 2 rows along the sides and 1 sc per stitch along the bottom.
When you reach the other top corner, fasten off. The top opening should remain unjoined.
Finishing the Top Edge and Handle Attachment
Top Border
Join yarn at one top corner.
Round 1: Ch 1, sc evenly around the entire top opening, working through single layer. Place a stitch marker at the center back. Join with sl st. (approximately 88-92 sts)
Round 2: Ch 1, sc in each st to center back marker, ch 10 for handle loop, skip 8 sts, sc to end. Join.
Round 3: Ch 1, sc around, working 10 sc into the ch-10 space. Join. Fasten off.
Repeat this handle loop creation on the front panel if you want both attachment points.
Attaching the Gold Ring Handle
Thread the top edge through your gold ring handle. The yarn-wrapped section visible in the photo comes from wrapping the ring with yarn before attaching.
To wrap the handle: Cut approximately 3 yards of yarn. Starting at one end of the wrap section, hold the tail against the ring and begin wrapping yarn tightly around both the ring and the tail. Continue for about 2.5 inches. Thread the end through a tapestry needle and weave under several wraps to secure. Trim excess.
Fold the top border over the ring and whip stitch the edge to the inside of the bag.
Adding the Chain Strap
Attach D-rings to each upper corner of the bag. You can sew them directly to the corner stitches or create small crochet loops to hold them.
Small Loop (optional): Ch 8, sl st to form ring, sc 12 into ring, sl st to join. Thread through D-ring and sew to bag corner.
Clip your gold chain to the D-rings using the lobster clasps.
Creating the Tassel
The tassel adds movement and personality.
Step 1: Cut a piece of cardboard about 5 inches tall. Wrap yarn around it approximately 60 times.
Step 2: Thread a 12-inch piece of yarn under all wraps at the top. Tie tightly.
Step 3: Cut the bottom loops.
Step 4: About 1 inch from the top, wrap another piece of yarn around all strands several times. Tie securely and hide the ends inside the tassel.
Step 5: Trim the bottom evenly.
Attach to your bag at one corner using the top tie.
Optional Embellishments
The decorative bow charm adds a touch of glamour. Simply sew or clip it to the center front, just below the handle. This is completely optional. The bag looks beautiful without it too.
For added structure, consider adding a fabric lining. Cut your lining fabric slightly smaller than your bag dimensions, sew side and bottom seams, and hand stitch inside along the top edge.
Troubleshooting Tips
Bobbles not popping? Make sure you are pushing them to the front as you work. Also check that you are completing all 5 yarn overs before pulling through.
Bag too floppy? Go down a hook size. Tighter tension creates better structure for bags.
Panels different sizes? Block them before joining. Wet blocking cotton works beautifully.
Curved edges not matching? Count your decreases. Each panel should decrease the same number of stitches on each row.
Styling Your Elegant Half Moon Bag
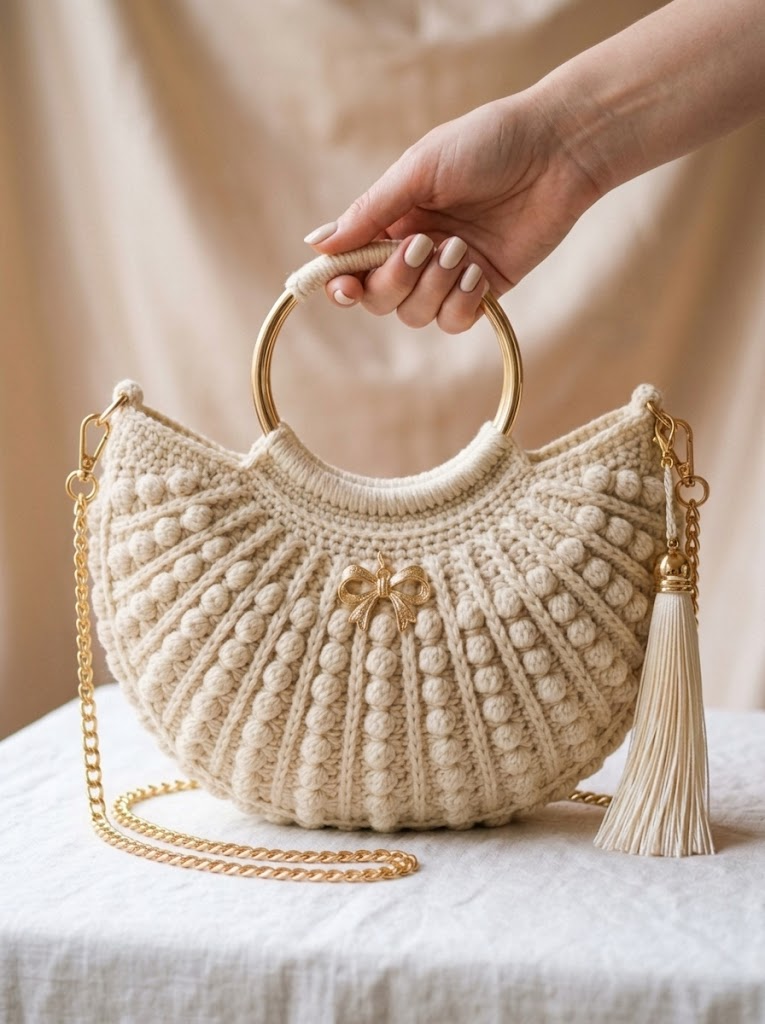
This bag works for so many occasions. The neutral cream pairs with everything. Dress it up for weddings and dinner parties. Dress it down with jeans and a blazer. The gold hardware catches light beautifully in the evening.
The size fits your phone, wallet, keys, lipstick, and a few essentials. Perfect for when you want to look polished without carrying your whole life.
You Did It
Thank you so much for choosing this Cream and Gold Elegant Half Moon Bag crochet pattern for your next project. I genuinely hope you love making it as much as I loved designing it. There is something so satisfying about creating an accessory this beautiful with your own hands.
I would absolutely love to see your finished bag. Tag me on Instagram or share in my Facebook group. Seeing your versions honestly makes my whole day. Every single one is unique and special.
Happy crocheting, friend. You have got this.