
If you have been dreaming of a statement bag that looks like it washed up from a mermaid’s treasure chest, this is your project. This crochet shell crossbody bag combines dramatic texture with a sculptural silhouette that turns heads everywhere you go. And here is the best part. If you can work basic stitches in the round, you can absolutely make this.
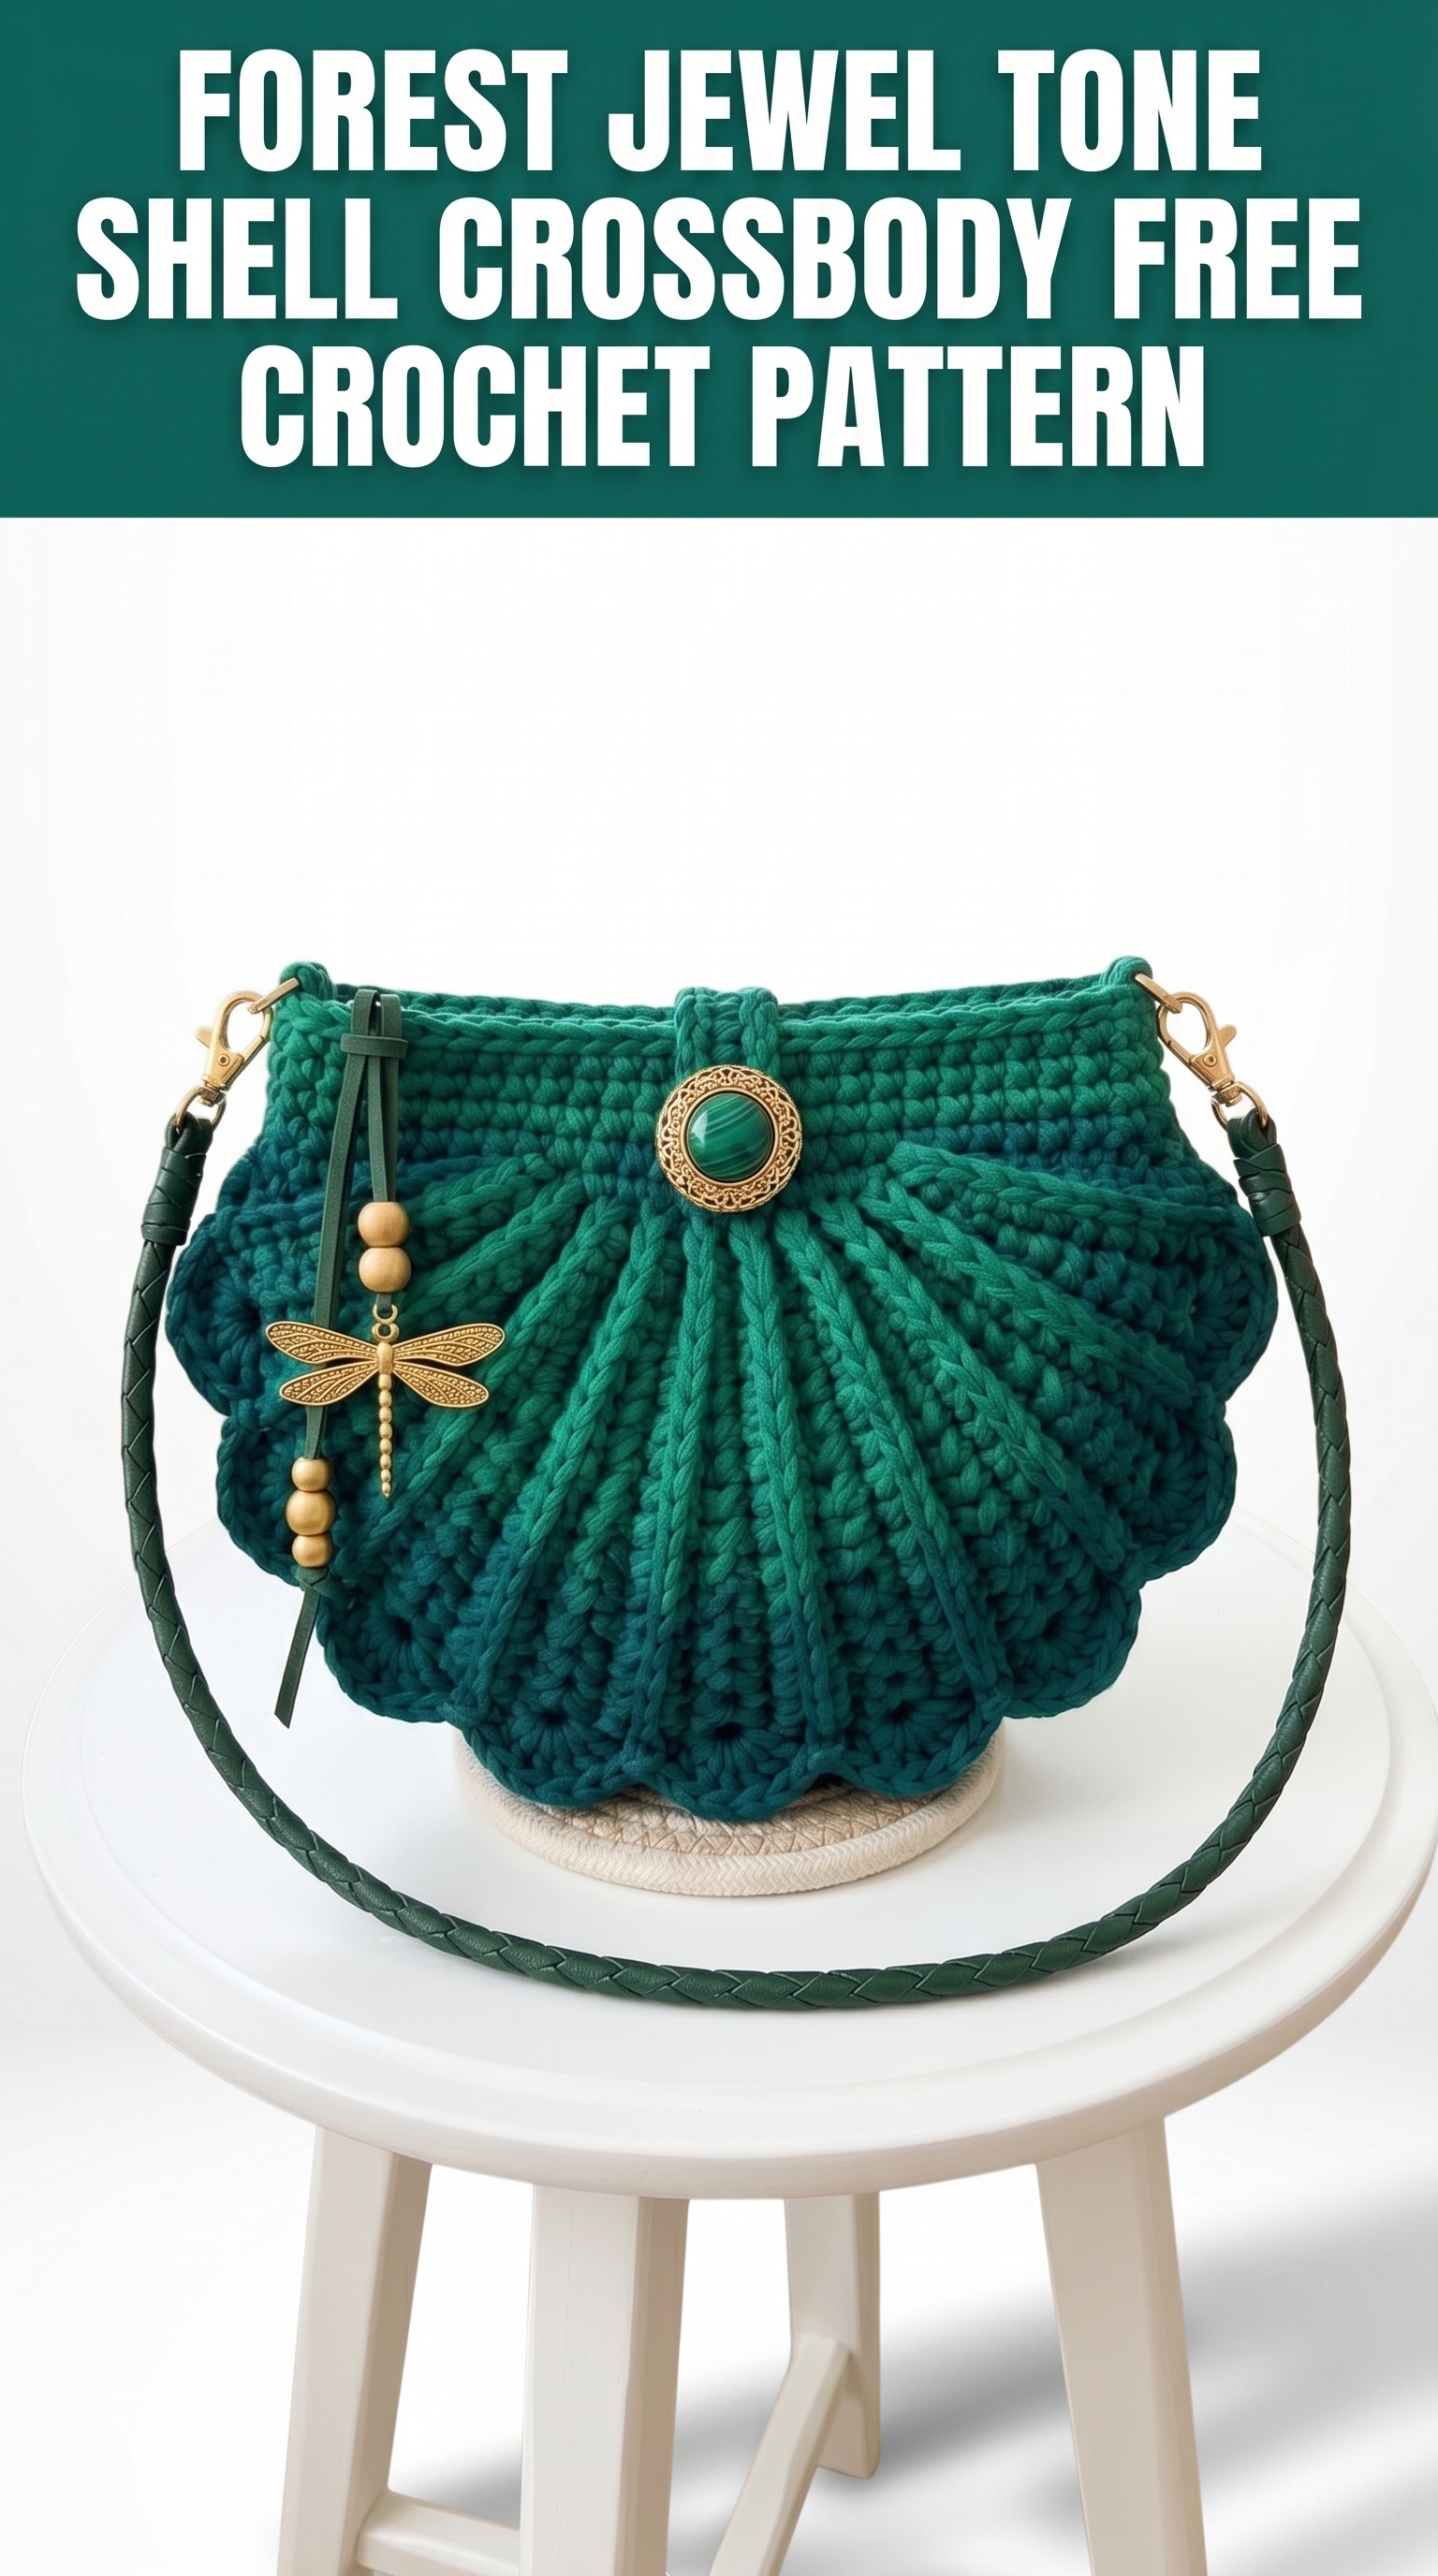
I designed this bag to feel luxurious without being fussy. The deep teal and emerald tones give it that forest jewel quality, and the radiating ridge pattern mimics the natural grooves of a scallop shell. Add some gold hardware and a decorative charm, and you have got yourself a wearable art piece.
Let me walk you through everything you need to bring this crochet crossbody bag pattern to life.
Why This Shell Bag Works So Well
The construction might look complicated, but I promise it is not. You are essentially working two identical shell panels flat, then joining them together. The ridges come from a simple technique of working into the back loop only, which creates those satisfying raised lines without any cable hooks or fancy maneuvers.
This step by step crochet tutorial breaks everything down so you never feel lost. I will tell you exactly where to put your hook, how many stitches to expect, and what to do when things look a little wonky. Because let us be honest, they sometimes do.
Skill Level
Confident Beginner to Intermediate
You should feel comfortable with:
If you have made a hat or a simple bag before, you are ready for this project.
Finished Dimensions
These measurements are based on the yarn weight and hook size specified below. Your gauge may vary slightly, which is totally fine for a bag.
Materials You Will Need
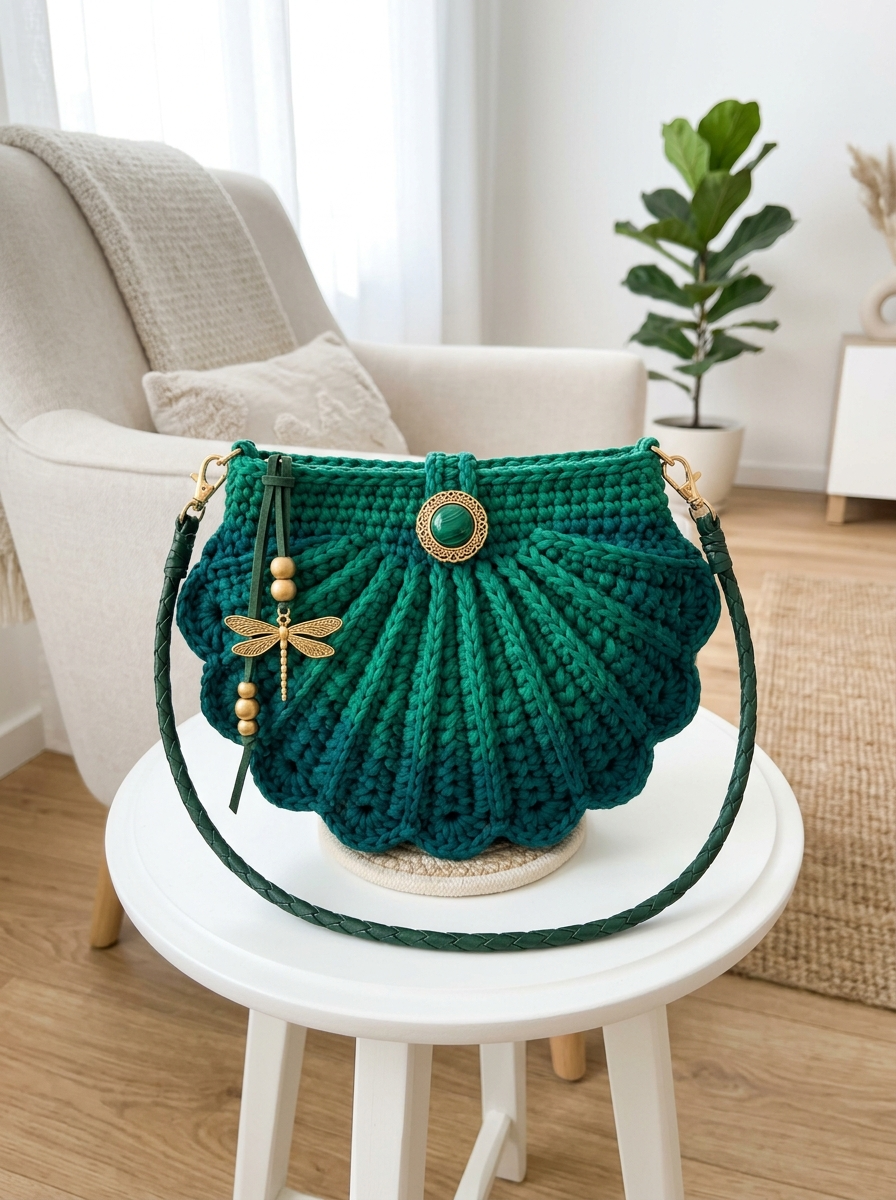
Yarn
Yarn Substitution Note: If you cannot find t-shirt yarn, try a bulky cotton or even hold two strands of worsted weight together. The key is getting that dense, sturdy fabric that holds its shape.
Hook
Notions
Lining (Optional but Recommended)
Abbreviations and Stitch Definitions
Let me define every stitch before we begin. Refer back here anytime you need a refresher.
Ch = Chain. Wrap yarn over hook, pull through loop on hook. This creates your foundation.
Sl st = Slip stitch. Insert hook, yarn over, pull through both loops at once. Used for joining and invisible movement.
Sc = Single crochet. Insert hook into stitch, yarn over, pull up a loop (2 loops on hook), yarn over, pull through both loops.
Hdc = Half double crochet. Yarn over, insert hook, yarn over, pull up a loop (3 loops on hook), yarn over, pull through all 3 loops.
Dc = Double crochet. Yarn over, insert hook, yarn over, pull up a loop (3 loops on hook), yarn over, pull through 2 loops, yarn over, pull through remaining 2 loops.
Inc = Increase. Work 2 stitches into the same stitch to add width.
Dec = Decrease. Work 2 stitches together as one to reduce width.
BLO = Back loop only. Instead of inserting your hook under both loops of the V on top of the stitch, insert under just the back loop. This creates the raised ridge effect.
FLO = Front loop only. The opposite of BLO. Insert under just the front loop.
St(s) = Stitch(es)
Sk = Skip
Gauge
10 sc x 10 rows = 4 inches (10 cm) in single crochet using 6.0 mm hook and bulky yarn
Gauge is not critical for this bag, but checking it helps ensure your finished size matches the dimensions listed. If your swatch is much larger, go down a hook size. If smaller, go up.
Pattern Notes Before You Begin
1. Each shell panel is worked flat, starting from the center bottom and increasing outward to create the fan shape
2. The ridges are created by working in BLO throughout most of the pattern. This is what gives that gorgeous scallop shell texture
3. You will make two identical panels, then seam them together along the curved edges
4. The top band is worked separately in rounds after joining the panels
5. Turn your work at the end of each row unless otherwise specified
6. The first stitch of each row does NOT count as a stitch unless noted
Shell Panel Pattern (Make 2)
Foundation
Row 1: Ch 4. Sc in 2nd ch from hook and in each ch across. Turn. (3 sts)
Building the Shell Shape
Row 2: Ch 1, 2 sc in first st, sc in next st, 2 sc in last st. Turn. (5 sts)
Row 3: Ch 1, working in BLO, 2 sc in first st, sc in each st across to last st, 2 sc in last st. Turn. (7 sts)
Row 4: Ch 1, working in BLO, 2 sc in first st, sc in each st across to last st, 2 sc in last st. Turn. (9 sts)
Rows 5 through 18: Repeat Row 4, continuing to work in BLO and increasing 2 stitches per row.
Your stitch counts should be:
Quick Check: At the end of Row 18, you should have 37 stitches and a nice triangular fan shape forming. The BLO rows create visible horizontal ridges on the right side of your work.
Creating the Scalloped Edge
Now we shape the iconic shell curves along the outer edge.
Row 19: Ch 1, working in BLO, sc in each st across. Turn. (37 sts) No increases this row.
Row 20: Ch 1, sk first st, working in BLO, sc in each st across to last 2 sts, sk 1 st, sc in last st. Turn. (35 sts)
Row 21: Ch 1, working in BLO, sc in each st across. Turn. (35 sts)
Row 22: Ch 1, sk first st, working in BLO, sc in each st across to last 2 sts, sk 1 st, sc in last st. Turn. (33 sts)
Scallop Shaping Section
This is where the shell gets its wavy edge. Do not worry if it looks ruffled. That is exactly right.
Row 23: Ch 1, 3 sc in first st, sc in next 4 sts, sl st in next st, sc in next 4 sts, 3 sc in next st, sc in next 4 sts, sl st in next st, sc in next 4 sts, 3 sc in next st, sc in next 4 sts, sl st in next st, sc in next 4 sts, 3 sc in last st. (41 sts including sl sts)
Note: The groups of 3 sc create the peaks of your scallops, while the slip stitches create the valleys. This mimics how a real shell fans out.
Row 24: Working along the curved edge, sl st in each st around, keeping your tension even. This creates a finished edge.
Fasten off, leaving a long tail (approximately 24 inches) for seaming later.
Make a second identical panel.
Joining the Panels
Lay both panels with right sides facing outward. The ridged texture should be visible on the outside of your bag.
Step 1: Line up the curved scalloped edges. Pin or clip if helpful.
Step 2: Using one of your long tails and a tapestry needle, whip stitch the panels together along the curved bottom and sides. Work through both loops of the edge stitches on each panel.
Step 3: Stop seaming approximately 2 inches from each top corner. This leaves openings for attaching your strap hardware.
Step 4: Weave in ends securely on the inside.
Top Band
The top band creates the structured opening of your bag and provides attachment points for the strap.
Setup: With the joined panels positioned so the opening faces up, join yarn at one side seam.
Round 1: Ch 1, sc evenly around the top opening, working approximately 33 sts across the front panel and 33 sts across the back panel. Sl st to first sc to join. (66 sts)
Round 2: Ch 1, sc in BLO in each st around. Sl st to join. (66 sts)
Round 3: Ch 1, sc in BLO in each st around. Sl st to join. (66 sts)
Round 4: Ch 1, sc in both loops in each st around. Sl st to join. (66 sts)
Round 5: Ch 1, sc in each st around. Sl st to join. Fasten off. (66 sts)
Weave in all ends.
Hardware Attachment Tabs (Make 2)
These small tabs hold your D-rings or swivel clasps.
Row 1: Ch 8. Sc in 2nd ch from hook and in each ch across. Turn. (7 sts)
Rows 2 through 4: Ch 1, sc in each st across. Turn. (7 sts)
Fasten off, leaving a 12 inch tail.
To attach: Fold each tab through a D-ring. Position at the top corners of your bag where the side seams meet the top band. Sew securely in place using the yarn tail.
Closure Tab
Row 1: Ch 6. Sc in 2nd ch from hook and in each ch across. Turn. (5 sts)
Rows 2 through 8: Ch 1, sc in each st across. Turn. (5 sts)
Fasten off, leaving a long tail.
Center this tab at the top front of your bag, positioning it so it folds over toward the front panel. Sew the base securely to the inside of the top band. Attach your decorative button or brooch to the front of the bag, aligning it with the tab for closure.
Finishing Touches
Strap Attachment
Clip your crossbody strap to the D-rings on each side. Adjust length for comfortable wear, typically sitting at hip level.
Optional Lining
For a polished interior, cut two pieces of coordinating fabric using your crochet panels as templates, adding 1/2 inch seam allowance. Sew the fabric pieces together along the curved edge, leaving the top open. Slip the lining inside the bag with wrong sides together. Hand stitch the lining to the inside of the top band using small invisible stitches.
Charm Embellishment
The dragonfly charm shown adds whimsy and movement. Attach any decorative charm to one of the D-rings using a small jump ring or directly through the clip.
Blocking
Lightly steam block your finished bag if the fabric feels uneven. Do not wet block t-shirt yarn as it may stretch permanently.
Troubleshooting Tips
My ridges are not showing up. Double check that you are working into the back loop only. The unused front loop creates the visible ridge.
My panels are different sizes. Recount your stitches at the end of each row. The increases should add exactly 2 stitches per row during the expansion section.
The scallops look weird. They will. Until you seam the panels together and the bag takes its three dimensional shape, the scalloped edge looks a bit chaotic. Trust the process.
My bag is too floppy. Go down a hook size for a firmer fabric, or consider adding interfacing inside a fabric lining.
Styling Your Shell Crossbody
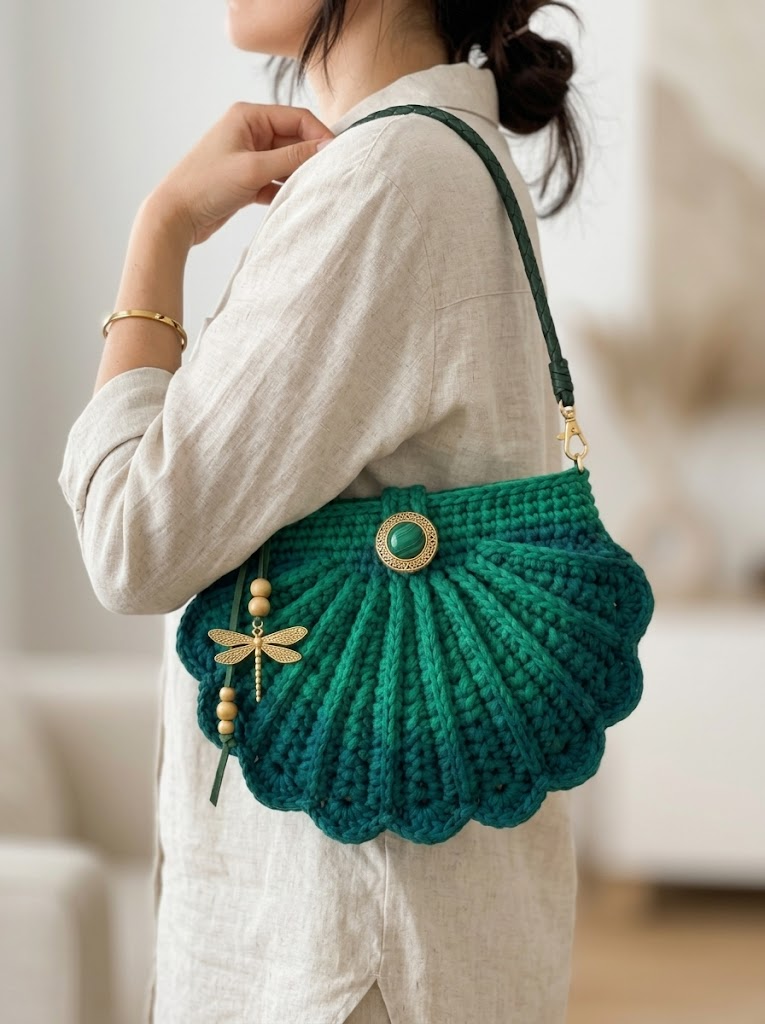
This crochet shell bag works beautifully as a statement piece. Pair it with:
The forest green and gold combination reads sophisticated and earthy, but you could easily make this in coral and silver for summer or deep purple and bronze for autumn.
You Did It
I hope this crochet crossbody bag pattern inspires you to create something truly special. This project proves that stunning results do not require intimidating techniques. Just patience, good yarn, and willingness to try something a little different.
Thank you so much for trusting me with your crafting time. It genuinely means the world.
When you finish your shell bag, I would absolutely love to see it. Tag me on Instagram or share in our Facebook community. Seeing your makes is my favorite part of this whole thing.
Happy hooking, friend. You have got this.