
I’ve been dreaming about designing a bag like this for months. I wanted something that felt elegant but not fussy, modern but timeless, and structured enough to actually hold my everyday essentials without flopping over. When I finally sat down with these gorgeous icy blue tones and started working up the ribbed texture, I knew I was onto something special. The way the colors gradient from deep teal through soft sky blue to crisp white reminds me of frost creeping across a winter windowpane. I am SO pleased with how this turned out, and I cannot wait to share every detail with you.
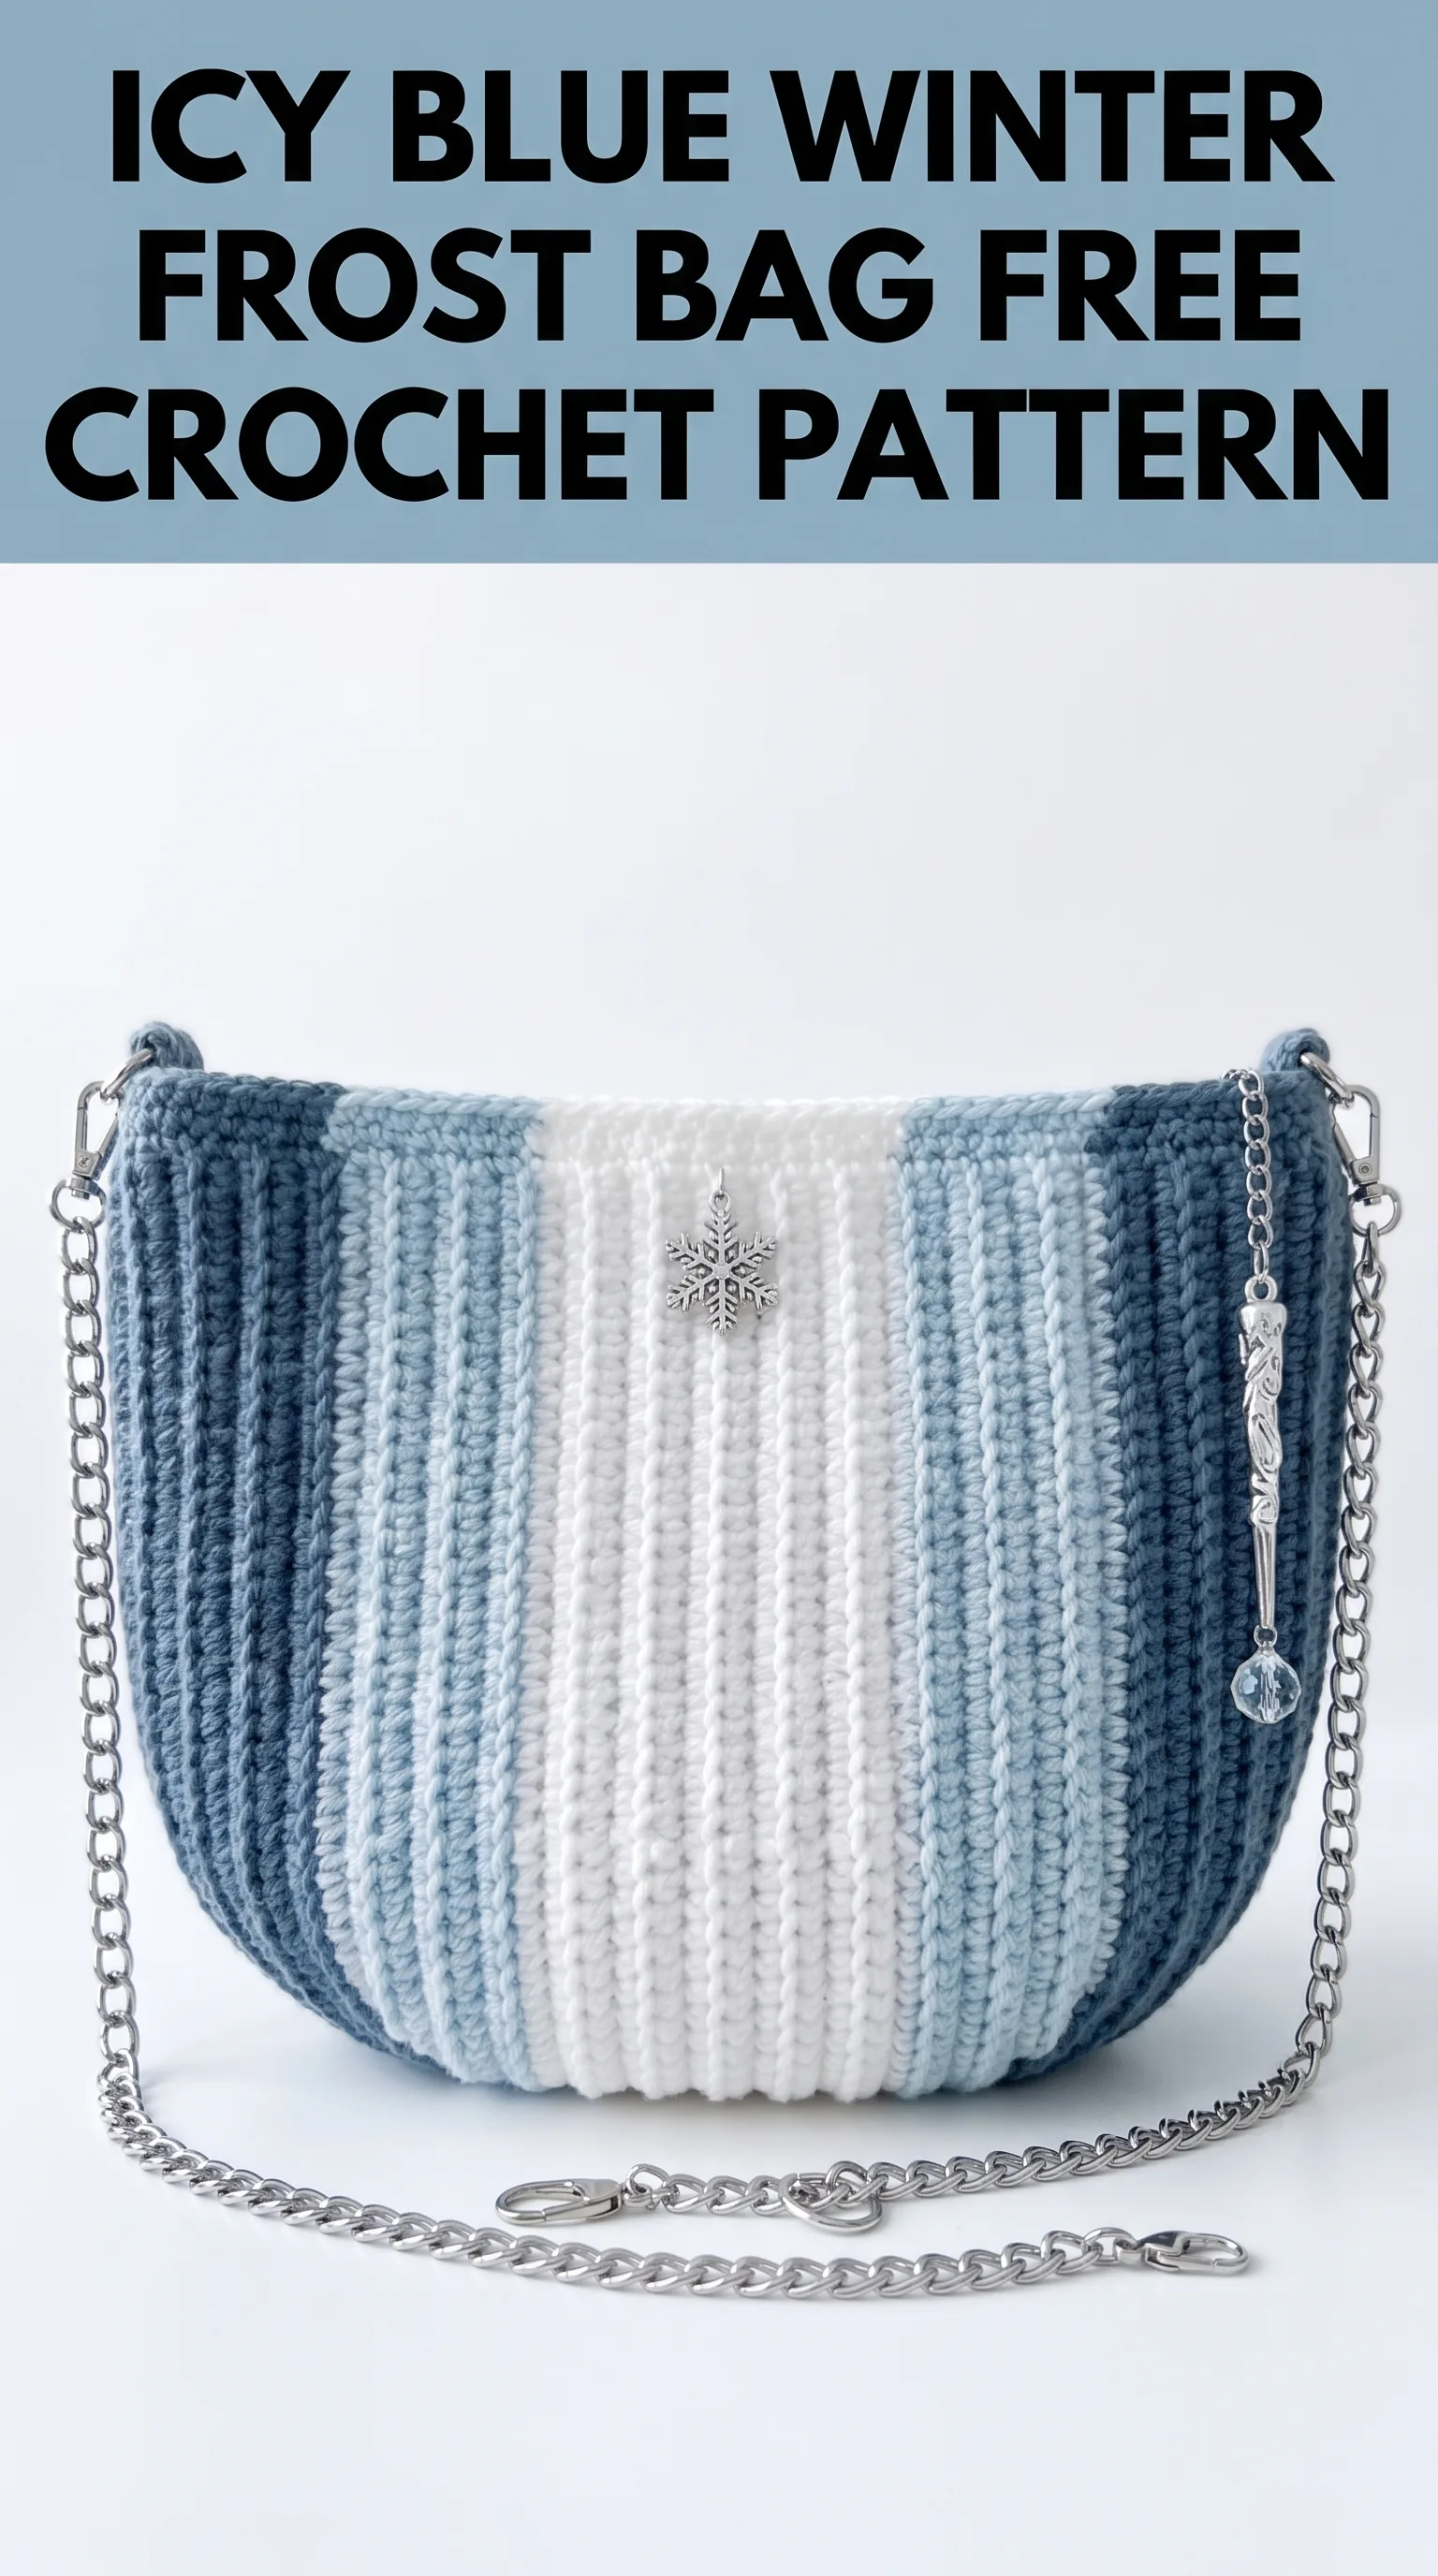
This Icy Blue Winter Frost Bag crochet pattern creates a stunning crossbody purse with beautiful vertical ribbing, a sophisticated color block design, and a chic silver chain strap. The construction is simpler than it looks, and the finished bag has that boutique quality that makes people ask, "Wait, you MADE that?"
Why You’ll Love This Crochet Bag Pattern
Let me tell you what makes this bag so satisfying to create. The entire body uses just one main stitch worked in a clever way to create that signature ribbed texture. You’re not learning complicated colorwork or struggling with shaping. Instead, you’re mastering a simple technique and watching magic happen as the stripes build.
The vertical ribbing gives this bag incredible structure. Unlike bags made with basic single crochet that can feel floppy, this ribbed construction holds its half-moon shape beautifully. The texture also adds visual interest without requiring any fancy stitch combinations.
And can we talk about those colors? The gradient effect from dark teal to light blue to white creates a sophisticated ombre look that’s completely on trend. Plus, you can easily customize the palette to match your wardrobe or make it in someone’s favorite colors for a thoughtful gift.
Skill Level
This pattern is intermediate level, but an adventurous beginner who understands basic stitches could absolutely tackle it. If you’ve made a few dishcloths or simple scarves and you’re ready for your first bag project, this is a wonderful choice.
The trickiest parts are:
None of these are difficult once you understand the technique. I’ll walk you through each one step by step.
Materials Needed
Yarn:
I highly recommend using 100% cotton yarn or a cotton blend for this project. Cotton gives the bag structure, holds its shape well, and creates crisp stitch definition that shows off that beautiful ribbing. Acrylic can work but tends to be stretchier and may not hold the bag’s shape as nicely over time.
Look for a yarn labeled as worsted weight or medium weight (category 4). The sample uses approximately 200 yards total.
Hook:
You may need to adjust your hook size to achieve gauge. More on that below.
Notions:
Gauge
18 stitches and 20 rows = 4 inches in single crochet worked in back loop only
Gauge matters for this project because it determines your finished bag size. If your stitches are too loose, your bag will be floppy and larger than intended. Too tight, and it will be stiff and small.
To check your gauge, chain 22 and work 24 rows of single crochet in the back loop only. Measure the center of your swatch, avoiding the edges. Adjust your hook size up if your swatch is too small, down if it’s too large.
Finished Dimensions
Abbreviations and Stitch Definitions
Let me define every stitch and term before we begin. Refer back to this section anytime you need a refresher.
Ch = Chain: Wrap yarn over hook, pull through loop on hook. This creates a foundation row or adds height at the beginning of rows.
Sc = Single crochet: Insert hook into stitch, yarn over and pull up a loop (2 loops on hook), yarn over and pull through both loops. This is the most basic crochet stitch and the foundation of this entire bag.
BLO = Back loop only: Instead of inserting your hook under both loops of the stitch below, you insert it under only the back loop. This creates the signature ribbed texture. When you look at a stitch from above, you’ll see two loops forming a "V" shape. The back loop is the one farthest from you.
Sl st = Slip stitch: Insert hook into stitch, yarn over and pull through both the stitch and the loop on your hook in one motion. Used for joining.
FO = Fasten off: Cut yarn and pull the tail through the final loop to secure your work.
Understanding the Construction
Before we dive into the pattern, let me explain how this bag comes together. Understanding the big picture makes following the steps much easier.
You’ll create two identical panels, each worked side to side rather than bottom to top. This sideways construction is what creates those gorgeous vertical stripes. The ribbing runs up and down because you’re working in back loop only across horizontal rows.
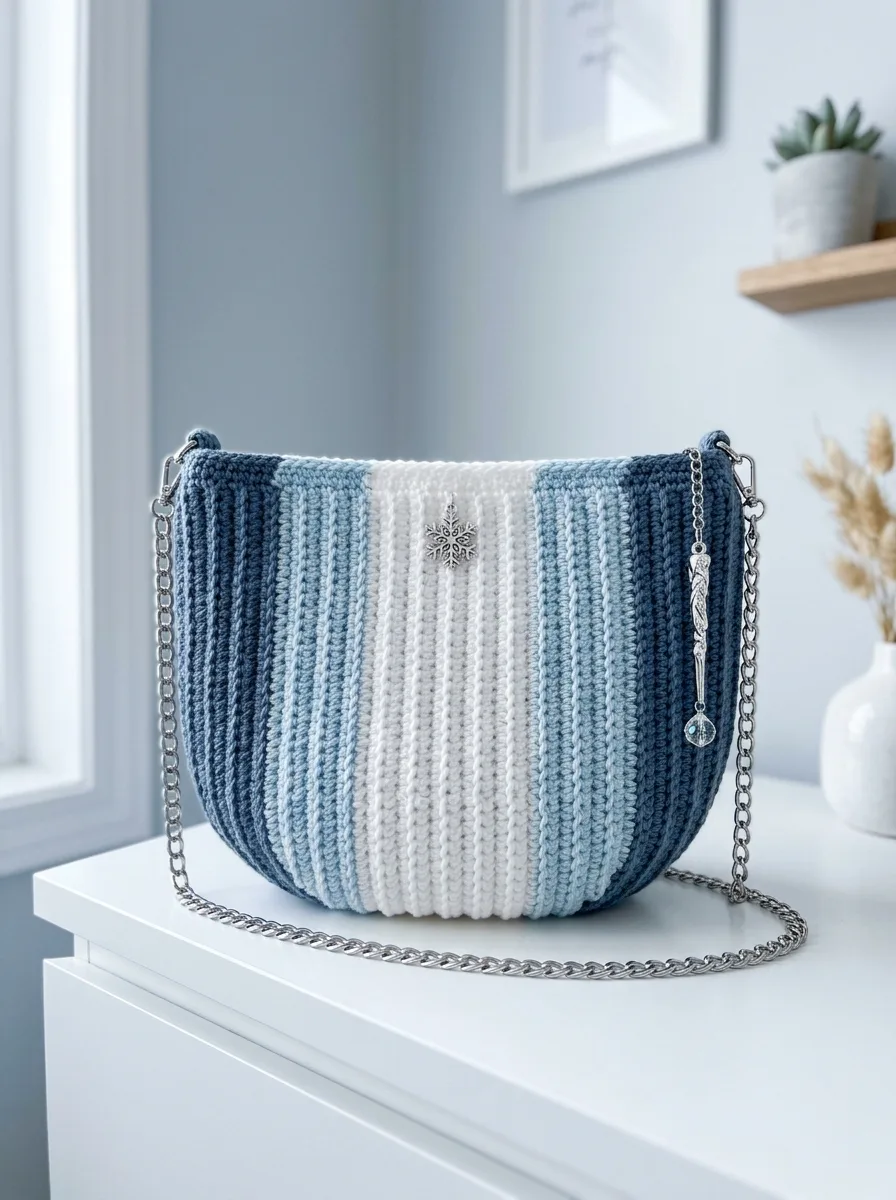
Each panel starts with the dark teal, transitions to light blue, then to white, then back through light blue to dark teal. When you look at the finished panel, you see symmetric color blocks.
Once both panels are complete, you seam them together along the sides and curved bottom, leaving the top open. Then you attach D-rings at each upper corner and clip on your chain strap.
Simple, right? Let’s get started.
Pattern Instructions
Panel One (Make 2)
Foundation and Color A Section:
With Color A (Dark Teal), ch 32.
Row 1: Sc in 2nd ch from hook and in each ch across. (31 sc)
Row 2: Ch 1, turn. Sc in BLO of each st across. (31 sc)
Rows 3 through 12: Repeat Row 2. (31 sc each row)
You should now have a small rectangle of dark teal ribbing. The vertical lines should be clearly visible. If your fabric looks flat without texture, double check that you’re working in the back loop only.
Transition to Color B:
At the end of Row 12, on your final yarn over to complete the last stitch, use Color B (Light Blue) instead. This creates a clean color change.
Rows 13 through 22: With Color B, ch 1, turn. Sc in BLO of each st across. (31 sc each row)
Don’t cut Color A yet if you prefer to carry it along the edge. However, for a neater finish, I recommend cutting it and weaving in the end later.
Transition to Color C:
At the end of Row 22, switch to Color C (White) on the final yarn over.
Rows 23 through 34: With Color C, ch 1, turn. Sc in BLO of each st across. (31 sc each row)
This white center section is slightly wider than the others, creating that beautiful focal point in the middle of your bag.
Transition back to Color B:
At the end of Row 34, switch to Color B (Light Blue).
Rows 35 through 44: With Color B, ch 1, turn. Sc in BLO of each st across. (31 sc each row)
Transition back to Color A:
At the end of Row 44, switch to Color A (Dark Teal).
Rows 45 through 56: With Color A, ch 1, turn. Sc in BLO of each st across. (31 sc each row)
Fasten off and weave in all ends.
Your completed panel should measure approximately 10 inches wide and 8 inches tall. The color pattern from left to right reads: dark teal, light blue, white, light blue, dark teal.
Panel Two
Repeat all instructions for Panel One exactly. You need two identical panels for your bag.
Shaping the Curved Bottom
Here’s where we transform flat rectangles into that lovely half-moon shape. You’ll decrease along the bottom edge of each panel to create the curve.
Hold one panel with the foundation chain edge (bottom) facing you. You’ll work a round of shaping along this edge only.
Shaping Round:
Join Color A to the bottom right corner with a sl st.
Ch 1, sc in first 5 sts, sc2tog over next 2 sts, sc in next 17 sts, sc2tog over next 2 sts, sc in last 5 sts. (29 sc)
Note: Sc2tog means single crochet two together. Insert hook in first stitch and pull up a loop, insert hook in next stitch and pull up a loop (3 loops on hook), yarn over and pull through all 3 loops. This decreases your stitch count by one.
Fasten off.
Repeat this shaping round on the second panel.
Joining the Panels
Place both panels together with wrong sides facing (so the right sides face outward). The color stripes should align perfectly.
Using Color A and your tapestry needle, whip stitch the panels together along both side edges and the curved bottom. Leave the top completely open.
Whip stitch technique: Thread your needle with a long tail of yarn. Insert the needle through both layers from back to front, then move forward about one stitch width and repeat. Keep your tension even for a neat seam.
Alternatively, you can join with slip stitch crochet if you prefer a decorative ridge along the seam.
Creating the Strap Attachment Points
You need small loops at each top corner to hold your D-rings.
At one top corner, join Color A with a sl st.
Ch 10, sl st in same corner to form a loop.
Cut yarn and pull tight.
Repeat at the other top corner.
These loops should be large enough to slide your D-ring through but small enough that the ring doesn’t slip out easily.
Attaching Hardware and Chain
Slide one D-ring onto each corner loop. Clip your chain strap to the D-rings using the lobster clasps.
If your chain came as one long piece, you can attach both ends to the D-rings as they are. If your chain has open ends, you may need small jump rings to complete the connection.
Adding Decorative Charms (Optional)
The sample bag features a delicate snowflake charm centered on the white section and an icicle charm on the right side. These add a wintery finishing touch that elevates the whole design.
To attach charms, use a small jump ring to connect the charm to a stitch on your bag. You can place them wherever looks best to you.
Customization Ideas
Different Color Schemes:
Lining Your Bag:
For extra durability and a polished interior, cut fabric to match your bag shape plus seam allowance. Sew the lining pieces together, slip inside the bag, and hand stitch to the top edge.
Adding a Closure:
Sew a magnetic snap to the inside top edge, centered on each panel, before joining. This keeps your belongings secure.
Strap Alternatives:
Not a chain person? Try a crocheted strap, leather strap, or macramé cord instead.
Tips for Success
Tension consistency is key. Try to maintain the same tension throughout your project. Changes in tension create visible differences in your stripe widths.
Count your stitches at the end of every row, at least for the first few rows. It’s much easier to fix a mistake immediately than to discover it ten rows later.
Weave in ends as you go. With multiple color changes, you’ll have quite a few ends. Weaving them in after each color section prevents a massive finishing session at the end.
Block your panels before joining if they seem uneven. Wet blocking cotton is simple. Soak your panels, squeeze out excess water, pin to shape, and let dry completely.
Why This Bag Makes a Perfect Gift
This crochet bag pattern creates a truly impressive handmade gift. The professional appearance, practical size, and elegant design make it suitable for birthdays, holidays, or "just because" giving.
The construction time is reasonable. Most crocheters can complete this project in a weekend of dedicated crafting or over the course of a relaxed week.
Customize the colors to match the recipient’s style, add their favorite charms, and you’ve created something truly personal that they’ll treasure and actually use.
Final Thoughts on the Icy Blue Winter Frost Bag Crochet Pattern
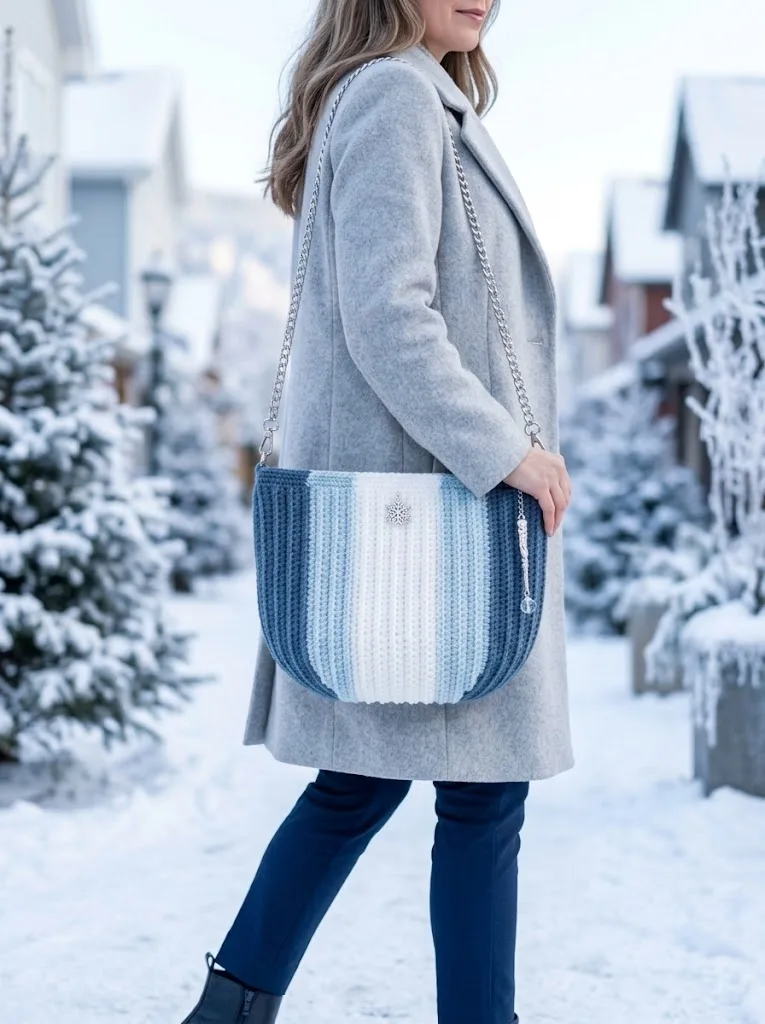
This project combines simple techniques with stunning results. The vertical ribbing, created by working in back loop only, gives your bag professional structure and visual texture. The gradient color blocking adds sophistication without complicated colorwork. And that silver chain strap? Pure elegance.
Whether you’re making this for yourself or as a gift, I hope you enjoy every stitch. There’s something deeply satisfying about watching those stripes build and knowing you’re creating something beautiful and functional.
Thank you so much for choosing this pattern for your next crochet project. It means the world to me that you’re here, and I genuinely hope you love making this bag as much as I loved designing it. I would absolutely love to see your finished project! Tag me on Instagram or share in my Facebook group so I can celebrate your work with you.
If this pattern inspired you, go ahead and save it to your Pinterest boards so you can find it easily when you’re ready to start. And please drop a comment below if you make this bag. I love hearing which colors you chose and seeing how you made it your own!