
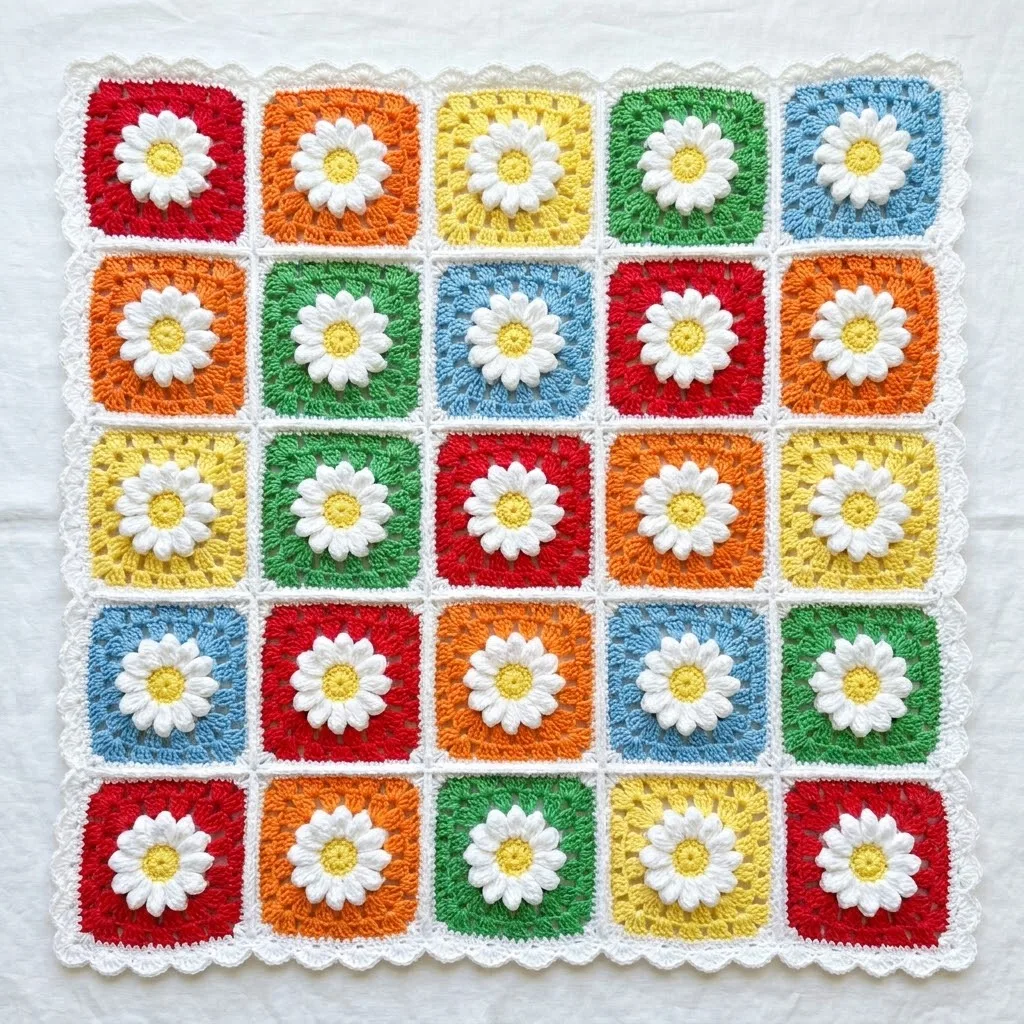
I have been dreaming about creating a blanket that would combine the cheerful simplicity of granny squares with the sweet nostalgia of daisy flowers. I wanted bold rainbow colors that pop, a construction method that stays interesting square after square, and a finished piece that looks far more impressive than the skill level required. When I finally blocked this blanket and stepped back to see all 25 squares together with that delicate scalloped border, I actually squealed out loud. I am SO pleased with how it turned out!
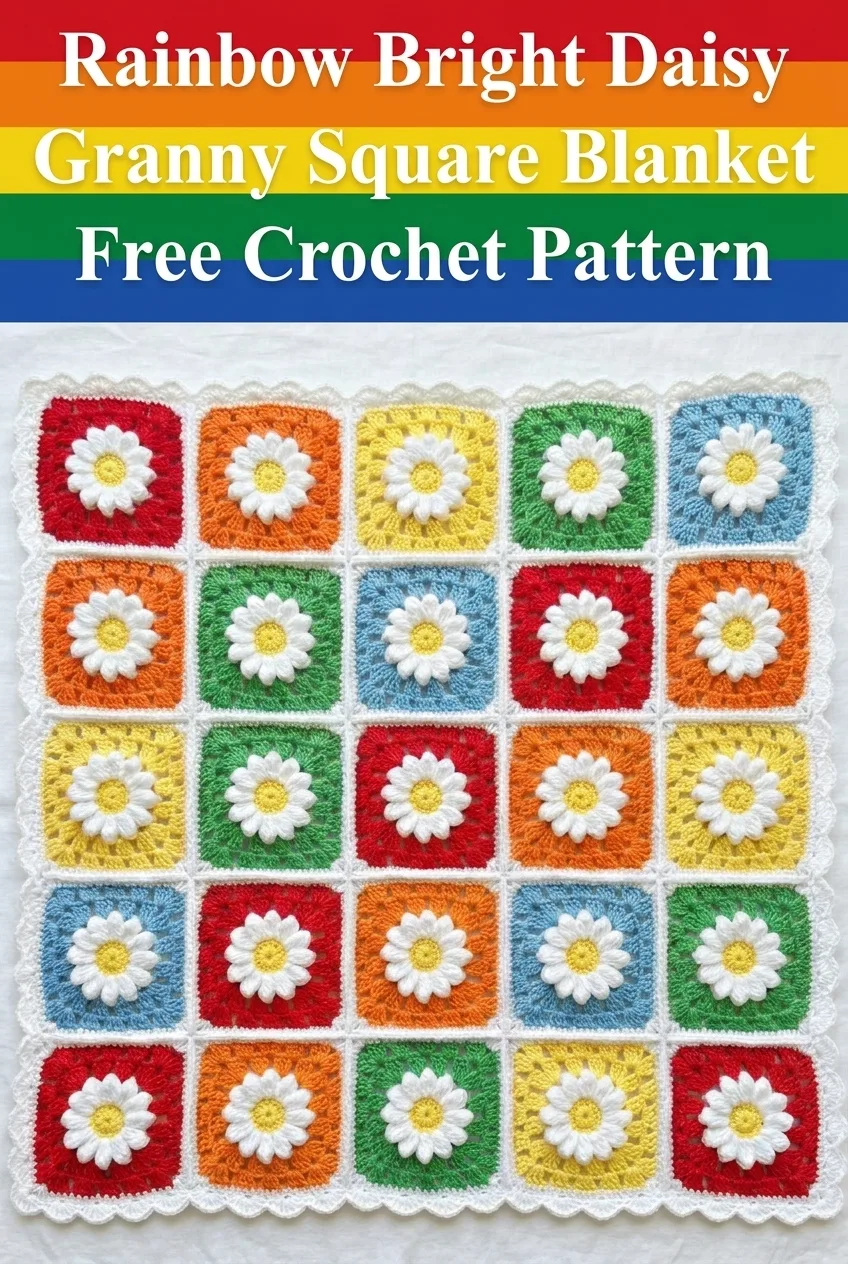
This Rainbow Bright Daisy Granny Square Blanket crochet pattern is everything I hoped it would be. The white daisies stay consistent across every square while the backgrounds rotate through red, orange, yellow, green, and blue. It creates this gorgeous garden party effect that works for baby gifts, lap blankets, or even as a stunning throw for your couch.
Why You Will Love This Daisy Granny Square Blanket Pattern
This crochet pattern hits that sweet spot between interesting enough to keep you engaged and repetitive enough to become relaxing. Once you master the daisy center and the granny square surround, you can crochet squares while watching TV or chatting with friends.
The modular construction means you can make this blanket as big or small as you want. The pictured version uses 25 squares arranged in a 5 by 5 grid, but you could easily make 16 squares for a baby blanket or 49 squares for a generous throw.
Each square features a raised three-dimensional daisy with white petals and a bright yellow center. The petals actually lift off the background, giving beautiful texture and depth. Do not let that scare you though. The raised effect comes from simple stitches worked in a specific sequence. If you can crochet a basic granny square, you can absolutely make these daisies.
Materials Needed for Your Daisy Blanket
Yarn:
The blanket shown appears to use a smooth acrylic or cotton blend yarn with good stitch definition. I recommend 100% cotton or a cotton acrylic blend for best results. The petals need to hold their shape, and cotton provides that lovely crispness.
Hook:
Notions:
Gauge and Finished Measurements
Gauge: Each finished square measures approximately 4 inches by 4 inches (10cm by 10cm) after blocking.
Finished Blanket Size: Approximately 22 inches by 22 inches (56cm by 56cm) including border.
Gauge matters for this project because you want all your squares to match. If your squares come out different sizes, your blanket will look wonky when joined. Make one square first and measure it. Adjust your hook size up or down as needed.
Skill Level
Intermediate beginner. You should be comfortable with basic crochet stitches and working in the round. The daisy petals use a technique that might be new to you, but I will walk you through it step by step.
Abbreviations and Stitch Definitions
Let me explain every stitch before we begin. Take a moment to read through these so you feel confident.
Ch = Chain. Wrap yarn over hook, pull through loop on hook. This creates the foundation for most crochet work.
Sl st = Slip stitch. Insert hook, yarn over, pull through both the stitch and the loop on your hook in one motion. Used for joining and moving across stitches without adding height.
Sc = Single crochet. Insert hook, yarn over, pull up a loop (2 loops on hook), yarn over, pull through both loops. The shortest standard stitch.
Dc = Double crochet. Yarn over, insert hook, yarn over, pull up a loop (3 loops on hook), yarn over, pull through 2 loops, yarn over, pull through remaining 2 loops. A taller stitch that creates the classic granny square look.
Tr = Treble crochet (also called triple crochet). Yarn over twice, insert hook, yarn over, pull up a loop (4 loops on hook), then yarn over and pull through 2 loops three times until one loop remains. Even taller than double crochet.
Dc2tog = Double crochet 2 together. A decrease stitch. Work a dc but stop before the final pull through (2 loops on hook), work another dc in the same or next stitch and stop (3 loops on hook), yarn over and pull through all 3 loops. Joins two stitches into one.
FPdc = Front post double crochet. Yarn over, insert hook from front to back to front around the post (vertical part) of the stitch below, complete as a regular dc. Creates raised texture.
Step by Step Crochet Pattern for the Daisy Granny Square
Round 1: The Daisy Center (Yellow)
With yellow yarn and your 4.0mm hook, create a magic ring (also called a magic circle or adjustable ring).
If you have never made a magic ring, here is a quick explanation. Wrap yarn around your fingers to form a loop, insert hook, pull up a loop, chain one to secure. Work your stitches into the ring, then pull the tail to close the center hole tight.
Round 1: Ch 3 (counts as first dc), work 11 dc into the magic ring. Sl st to top of ch-3 to join. Pull magic ring closed. (12 dc total)
Fasten off yellow. Weave in the short tail now while the center is easy to access.
Round 2: The Daisy Petals (White)
Join white yarn with a sl st to any dc from Round 1.
Round 2: Ch 1, sc in same st. *Ch 5, skip next st, sc in next st.* Repeat from * to * around. You will create 6 chain-5 loops total. End with ch 5, sl st to first sc to join. (6 ch-5 loops)
These loops form the base for your petals. Do not fasten off.
Round 3: Building the Petals (White)
Round 3: Sl st into the first ch-5 loop. Into the same loop, work: (sc, hdc, dc, tr, dc, hdc, sc). This creates one petal.
*Into the next ch-5 loop, work: (sc, hdc, dc, tr, dc, hdc, sc).*
Repeat from * to * in each remaining ch-5 loop. Sl st to first sc to join. (6 petals total)
Your daisy is now complete! The petals should fan out beautifully around the yellow center. If they look cramped, try using a slightly larger hook for the petal round only.
Fasten off white. Leave a tail for weaving.
Round 4: Background Color Joins the Daisy
Here is where the magic happens. We need to work behind the petals to connect the background color. Do not panic. This is easier than it sounds.
Join your background color (red, orange, yellow, green, or blue) with a sl st to any sc from Round 2. You will need to gently fold the petals forward to access those stitches underneath.
Round 4: Ch 3 (counts as first dc). Working behind the petals, dc in the same sc from Round 2. *Ch 2, work 2 dc in next sc from Round 2.* Repeat from * to * around. Ch 2, sl st to top of ch-3 to join. (12 dc in 6 groups of 2, with 6 ch-2 spaces)
The daisy petals will naturally pop forward while the background stitches sit behind them. This creates that lovely three-dimensional effect.
Round 5: First Granny Round
Round 5: Sl st across to the first ch-2 space. Ch 3 (counts as first dc), 2 dc in same space, ch 1, 3 dc in same space. This creates your first corner.
*Ch 1, (3 dc, ch 2, 3 dc) in next ch-2 space for the next corner.*
Repeat from * to * twice more. You now have 4 corners. Ch 1, sl st to top of ch-3 to join. (4 corner groups plus 4 ch-1 spaces)
Do you see how the square shape is forming? The ch-2 spaces at the corners allow the work to turn 90 degrees.
Round 6: Second Granny Round
Round 6: Sl st to corner ch-2 space. Ch 3, 2 dc in same space, ch 2, 3 dc in same space.
*Ch 1, 3 dc in next ch-1 space. Ch 1, (3 dc, ch 2, 3 dc) in corner ch-2 space.*
Repeat from * to * around, ending with ch 1, 3 dc in last ch-1 space, ch 1, sl st to top of ch-3 to join. (4 corners plus 8 side clusters)
Fasten off. Weave in ends.
Your daisy granny square is complete! Make 24 more in your chosen color rotation.
Color Distribution for the Blanket
Looking at the finished blanket, the colors appear randomly distributed to create visual interest. Here is a suggested breakdown for 25 squares:
Arrange them so no two squares of the same color touch. Lay out all your squares before joining to find an arrangement you love.
Joining the Squares
You have several options for joining your squares. The blanket shown uses a whip stitch join with white yarn, which creates clean visible seams between squares.
Whip Stitch Method:
1. Hold two squares with wrong sides together (right sides facing out).
2. Thread white yarn on your yarn needle.
3. Working through back loops only, whip stitch along one edge.
4. Continue joining squares into rows first, then join the rows together.
Take your time with this step. Neat joining makes a huge difference in the finished look.
The Scalloped Border
The white scalloped border frames the blanket beautifully and gives it a polished finish.
Border Round 1: Join white yarn at any corner. Ch 1, work sc evenly around entire blanket, placing 3 sc in each corner. Sl st to first sc to join.
Border Round 2: Ch 1, sc in first st. *Skip 2 sts, work 5 dc in next st (this creates the scallop), skip 2 sts, sc in next st.* Repeat from * to * around, adjusting slightly at corners to keep edges flat. Sl st to first sc to join.
Fasten off. Weave in all remaining ends.
Blocking Your Finished Blanket
Blocking transforms your blanket from homemade to handmade. Wet your blanket thoroughly, gently squeeze out excess water (do not wring!), and lay flat on blocking mats. Pin the edges to keep them straight and the corners square. Allow to dry completely.
Tips for Success with This Crochet Tutorial
Tip 1: Count your stitches after each round. It saves heartache later.
Tip 2: Weave in ends as you go. With 25 squares plus color changes, you will have many ends. Do not leave them all for the end or you will cry into your yarn stash.
Tip 3: Use stitch markers in your corner spaces. They help you find the corners quickly on each round.
Tip 4: If your petals curl or cup, your tension might be too tight. Relax your hands and try again.
Making This Pattern Your Own
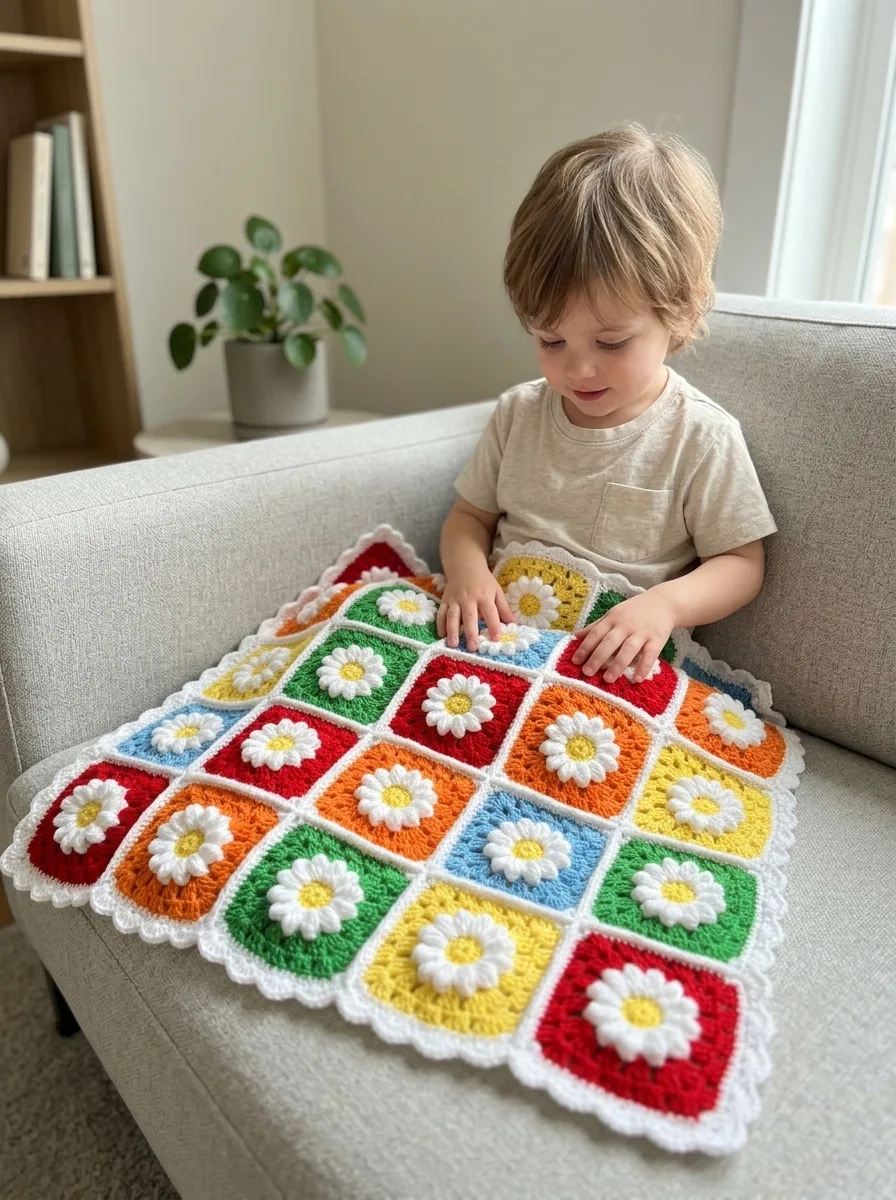
This beginner friendly crochet pattern adapts beautifully to different color schemes. Try pastels for a baby blanket, earth tones for a fall throw, or even all one background color for a more subtle look.
You could also use these daisy squares for cushion covers, bags, or even a stunning summer cardigan. The squares are versatile and the daisy motif works for any season.
I hope this step by step crochet tutorial gives you everything you need to create your own stunning Rainbow Bright Daisy Granny Square Blanket. These cheerful daisies make me smile every time I look at them, and I know they will bring joy to whoever receives your finished blanket.
If you make this blanket, I would absolutely love to see it! Share your photos on Instagram or Facebook and tag me so I can admire your beautiful work.
Do not forget to save this daisy granny square blanket pattern to your Pinterest boards so you can find it when you are ready to start stitching. And if you make one, please come back and leave a comment below. I love hearing which color combinations you chose and seeing how your blankets turn out!