
Granny squares look intimidating. I hear it all the time. The color changes, the joining, the keeping everything square and even. But here is the truth: if you can chain and double crochet, you can absolutely make this blanket. The classic granny square is one of the most forgiving crochet constructions out there. Missed a stitch? The open clusters hide small mistakes beautifully. Worried about tension? The corner spaces give you room to adjust as you go. This Rainbow Sherbet Baby Blanket breaks down into one simple square motif repeated and joined together. I designed it with soft pastel shades that remind me of sherbet ice cream on a summer afternoon. Whether you have never attempted a granny square or you have made dozens, this step by step tutorial will walk you through every single round.
Why This Baby Blanket Works for Every Skill Level
This crochet pattern uses only two basic stitches throughout the entire project. You will chain, and you will double crochet. That is genuinely it. The magic happens in how those stitches cluster together and where you place them. Once you complete your first square, the second one goes faster. By the third, your hands will know what to do before your brain catches up.
The construction method here is straightforward. You will make individual granny squares, join them together, then add a cheerful scalloped border around the entire blanket. Each square starts from a center ring and works outward in rounds. The pastel color palette creates visual interest without requiring complicated colorwork techniques.
Finished Dimensions: Approximately 30 inches by 36 inches, a generous size for strollers, car seats, and tummy time.
Skill Level: Beginner to Intermediate. Perfect if you are ready to move beyond basic scarves and dishcloths.
Materials You Will Need
Gathering your supplies before starting saves frustration later. Here is everything required to recreate this blanket exactly as shown.
Yarn:
I recommend a soft acrylic or acrylic blend for baby items. Look for yarn labeled machine washable and dryable. New parents will thank you. Brands like Caron Simply Soft, Lion Brand Basic Stitch, or Red Heart Soft work beautifully for this project.
Hook:
Notions:
Gauge: One completed granny square measures approximately 6 inches by 6 inches after blocking. Gauge matters for sizing. If your squares measure smaller, go up a hook size. Larger squares mean you should try a smaller hook.
Understanding the Granny Square Construction
Before diving into the pattern, let me explain what makes a granny square work. This knowledge helps you troubleshoot if something looks off.
A traditional granny square builds from the center outward. You create clusters of double crochet (dc) stitches separated by chain spaces. At each corner, you work two clusters into the same space with chains between them. This creates the characteristic square shape with its open, lacy texture.
Key Stitch Definitions:
Chain (ch): The foundation stitch. Yarn over, pull through the loop on your hook. One chain made.
Slip Stitch (sl st): A flat joining stitch. Insert hook, yarn over, pull through both the stitch and the loop on your hook in one motion.
Double Crochet (dc): A taller stitch that creates the body of your squares. Yarn over, insert hook into stitch, yarn over and pull up a loop (three loops on hook), yarn over and pull through two loops (two loops remain), yarn over and pull through remaining two loops. One double crochet complete.
Cluster: In this pattern, a cluster means 3 double crochet stitches worked into the same space. They sit together as a group.
The Granny Square Pattern
You will make 30 identical squares for this blanket, arranged 5 across and 6 down. Work each square following these rounds exactly.
Round 1 (Center Ring with Color A)
With Color A, make a magic ring. If magic rings feel tricky, you can chain 4 and slip stitch to the first chain to form a ring instead.
Ch 3 (this counts as your first dc throughout the pattern), 2 dc into the ring, ch 2, *3 dc into ring, ch 2*. Repeat from * two more times. You now have four clusters of 3 dc separated by four ch-2 corner spaces.
Sl st to the top of your beginning ch-3 to join the round.
Stitch count: 12 dc total, 4 corner spaces
Fasten off Color A. Weave in end or wait to weave all ends after completing the square.
Round 2 (Color B)
Join Color B with a sl st in any corner ch-2 space.
Ch 3, 2 dc, ch 2, 3 dc all in the same corner space. This creates your first corner.
Ch 1, then work (3 dc, ch 2, 3 dc) in the next corner space. Repeat the ch 1 and corner sequence around until you reach your starting point.
Sl st to the top of beginning ch-3 to join.
Stitch count: 24 dc total (6 dc in each corner), 4 corner spaces, 4 side ch-1 spaces
Fasten off Color B.
Round 3 (Color C)
Join Color C in any corner ch-2 space.
Ch 3, 2 dc, ch 2, 3 dc in the corner space.
Ch 1, 3 dc in the next ch-1 space along the side, ch 1, then work the corner sequence in the next corner space.
Continue around, working 3 dc clusters in each side space with ch 1 between them, and the corner sequence in each corner.
Sl st to join.
Stitch count: 36 dc total, 4 corner spaces, 8 side spaces
Fasten off Color C.
Round 4 (Color D)
Join Color D in any corner space.
Ch 3, 2 dc, ch 2, 3 dc in corner.
Ch 1, 3 dc in each ch-1 space along the side (you will have 2 clusters along each side now), ch 1, work corner in next corner space.
Continue around.
Sl st to join.
Stitch count: 48 dc total, 4 corner spaces, 12 side spaces
Fasten off Color D.
Round 5 (Color E – Cream Border)
Join Color E in any corner space.
Ch 3, 2 dc, ch 2, 3 dc in corner.
Ch 1, 3 dc in each ch-1 space along the side (3 clusters per side now), ch 1, work corner.
Continue around entire square.
Sl st to join.
Stitch count: 60 dc total, 4 corner spaces, 16 side spaces
Fasten off and weave in all ends for this square.
Your completed square should measure approximately 6 inches on each side. Make 29 more squares following the same color sequence.
Joining Your Granny Squares
Once all 30 squares are complete, it is time to connect them. I recommend the flat slip stitch join for beginners because it creates a neat seam that lies flat.
Arranging Your Squares
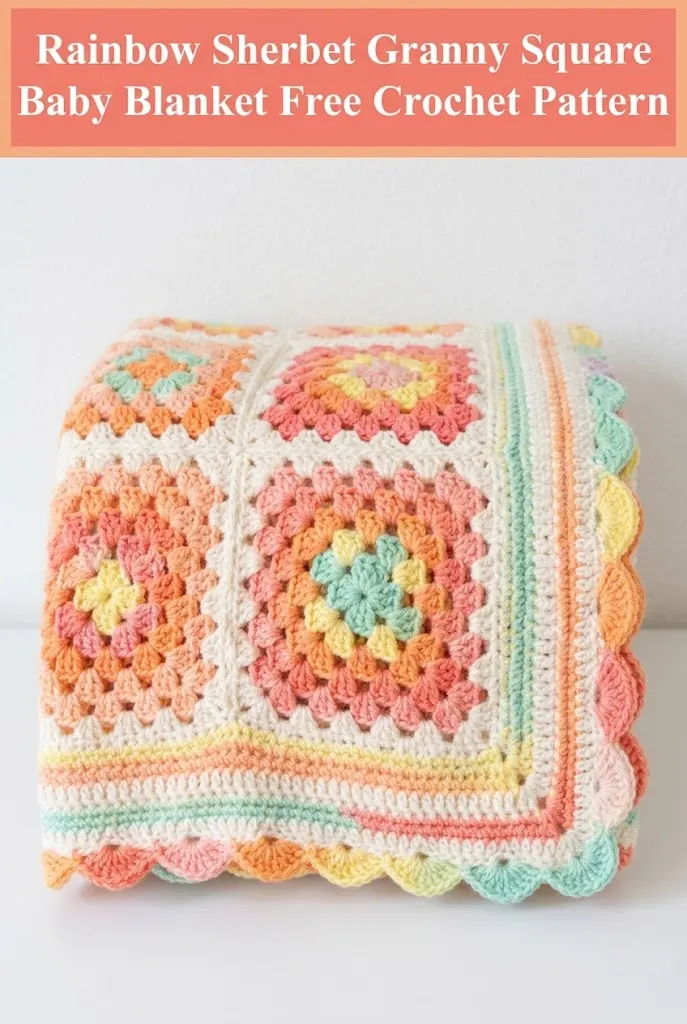
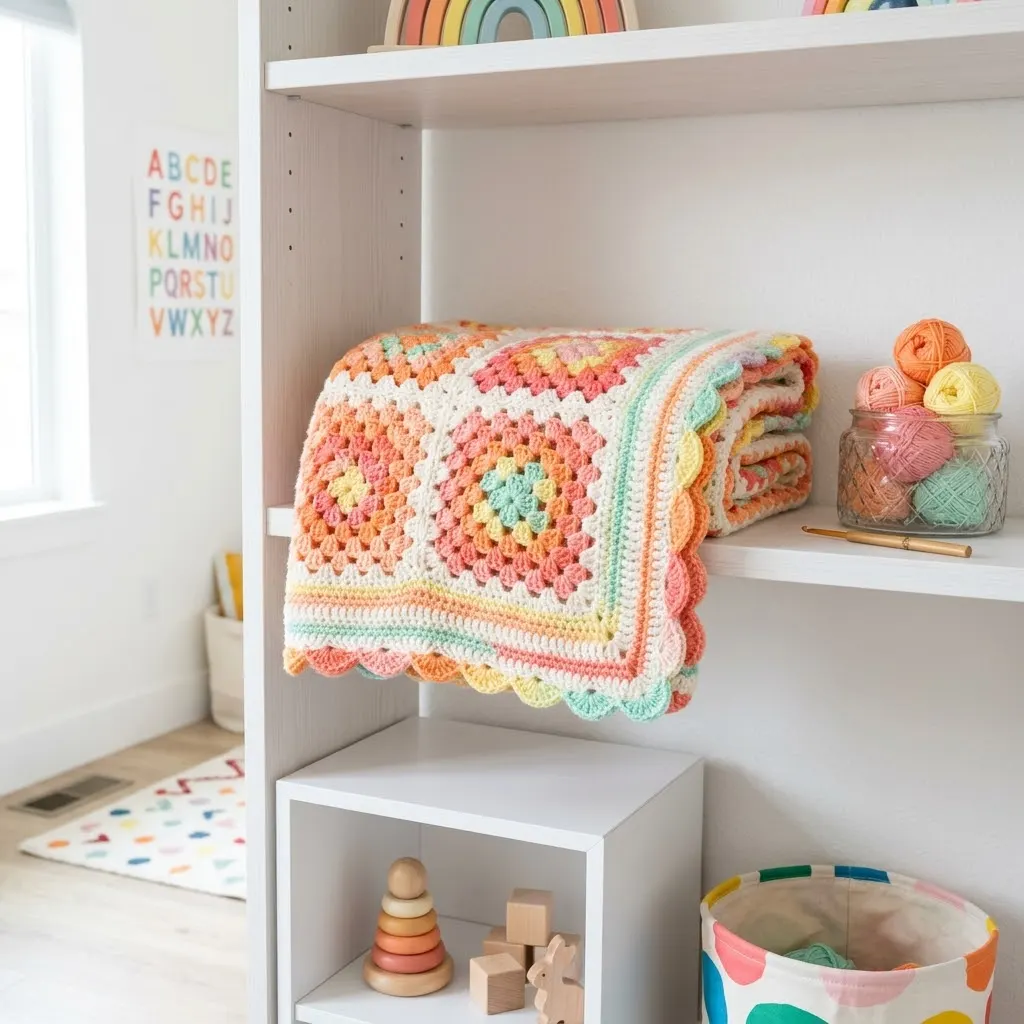
Lay out all squares in a 5 by 6 grid. The image shows squares arranged with alternating color centers for visual variety. Rotate some squares so different colors face different directions. Play with the arrangement until you love how it looks.
Flat Slip Stitch Join Method
Step 1: Hold two squares with right sides facing you, edges aligned.
Step 2: Join Color E in the corner spaces of both squares by inserting your hook through both corner ch-2 spaces at once.
Step 3: Ch 1, then sl st through both layers in each stitch and space across the edge.
Step 4: When you reach the next corner, fasten off.
Tip: Work loosely here. Tight joining creates puckering.
Join all squares in rows first, then join the rows together. This keeps your seams aligned.
Adding the Scalloped Border
The border frames your blanket beautifully and hides any joining inconsistencies along the edges. This creates that lovely wavy edge visible in the finished blanket.
Border Round 1 (Color E)
Join Color E in any corner space of the blanket.
Work one round of single crochet (sc) around the entire blanket, placing 3 sc in each corner space and 1 sc in each stitch and space along the sides.
Sl st to join. Do not fasten off.
Border Round 2 (Color C)
Change to Color C.
Ch 1, sc in first st.
*Skip 2 stitches, 5 dc in next stitch (this creates the scallop), skip 2 stitches, sc in next stitch.*
Repeat from * around the entire blanket, adjusting slightly at corners to keep the scallops lying flat.
Sl st to join. Fasten off.
Border Round 3 (Optional Second Scallop Row)
For an extra wide border like shown in the image, join Color D or Color F and repeat the scallop pattern, working into the top of each scallop from the previous round.
Finishing Your Baby Blanket
Almost done. These final steps make your blanket look polished and professional.
Weave in all remaining ends. Thread each tail onto your yarn needle and weave through several stitches on the back of your work. Weave in one direction, then reverse for extra security. Trim close to the fabric.
Block your blanket. For acrylic yarn, wet blocking works well. Soak the blanket in lukewarm water for 15 minutes. Roll in a towel to remove excess moisture. Lay flat on a blocking mat or folded towels, gently stretching to even out the squares. Allow to dry completely. Blocking transforms a good blanket into a gorgeous one.
Optional: Add a fabric backing for extra warmth and to hide the wrong side. Cut soft flannel or minky fabric slightly smaller than your blanket and hand stitch around the edges.
Customizing Your Rainbow Sherbet Blanket
This crochet pattern adapts easily to your preferences.
Different Size: Add or subtract squares. For a smaller lovey, make a 3 by 3 grid (9 squares). For a larger toddler blanket, try 7 by 8 (56 squares).
Different Colors: Swap the pastel palette for bold primaries, soothing neutrals, or team colors. The pattern works with any combination.
Solid Color Version: Use one yarn color throughout for a more modern, minimalist look. The texture still shines through.
Common Questions About This Baby Blanket Pattern
How long does this take?
Each square takes approximately 20 to 30 minutes once you find your rhythm. The full blanket requires roughly 15 to 20 hours, making it perfect for working on during shows or podcasts.
Can I use different yarn weights?
Absolutely. Bulky yarn creates a thicker, faster blanket. Baby weight yarn makes a delicate heirloom piece. Adjust your hook size accordingly and expect different finished dimensions.
My squares are turning into hexagons. Help!
This happens when corners are not distinct enough. Make sure you are working (3 dc, ch 2, 3 dc) in each corner space, not just 6 dc straight across.
The edges are wavy or ruffling.
Your tension might be too loose, or you may be adding extra stitches somewhere. Count your clusters after each round to verify the stitch count matches.
A Gift Worth Making
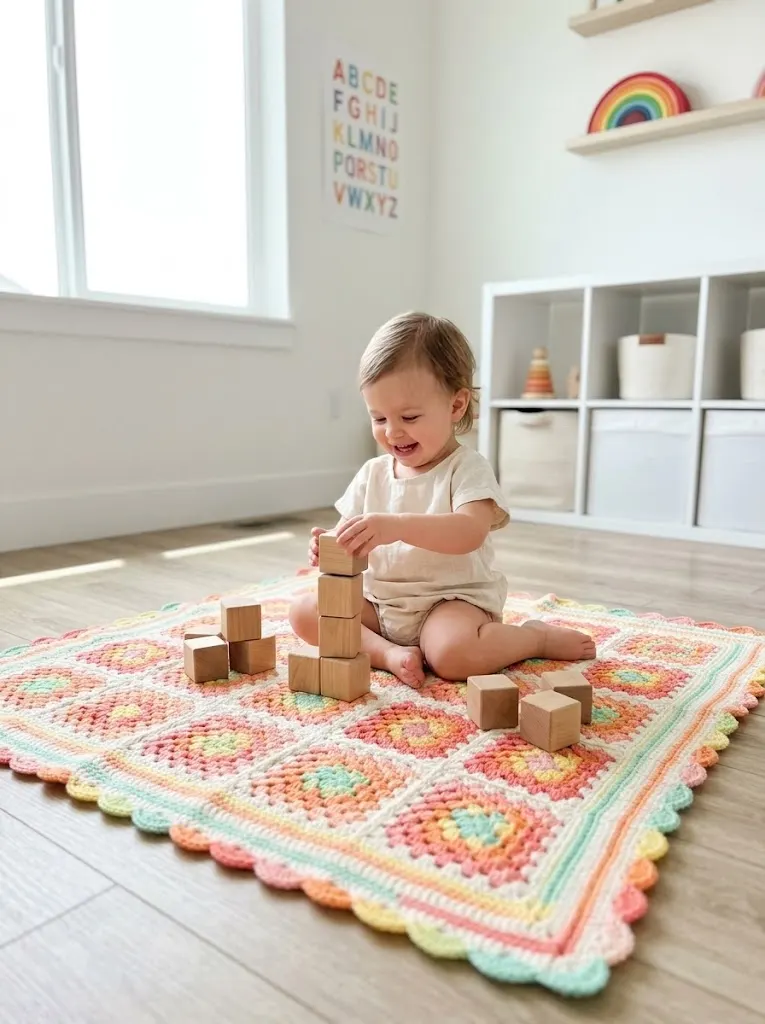
This Rainbow Sherbet Granny Square Baby Blanket makes a stunning handmade gift for baby showers, first birthdays, or new parents in your life. The cheerful colors brighten any nursery. The soft yarn feels cozy against little cheeks. And the classic granny square construction means this blanket will last through countless washes, car rides, and snuggles.
I hope this crochet tutorial gave you everything you need to start your own version. The pattern looks impressive but truly breaks down into simple repetition once you master that first square. Trust yourself. Count your stitches. And enjoy watching those colorful squares stack up beside your crafting chair.
Thank you so much for spending time here with me today. If you make this baby blanket, I would absolutely love to see your color choices and finished project. Tag me on Instagram or share a photo in our Facebook group. Seeing your creations genuinely makes my day.
If this pattern caught your eye, go ahead and save it to your Pinterest boards so you can find it when you are ready to cast on. And please drop a comment below if you give it a try. I love hearing how projects turn out and what colors you chose for your version.