
Cozy slipper boots. Chunky cable cuff. One large wooden button. This pattern works up faster than you think using basic stitches and a simple construction method. If you can single crochet and double crochet, you can make these.
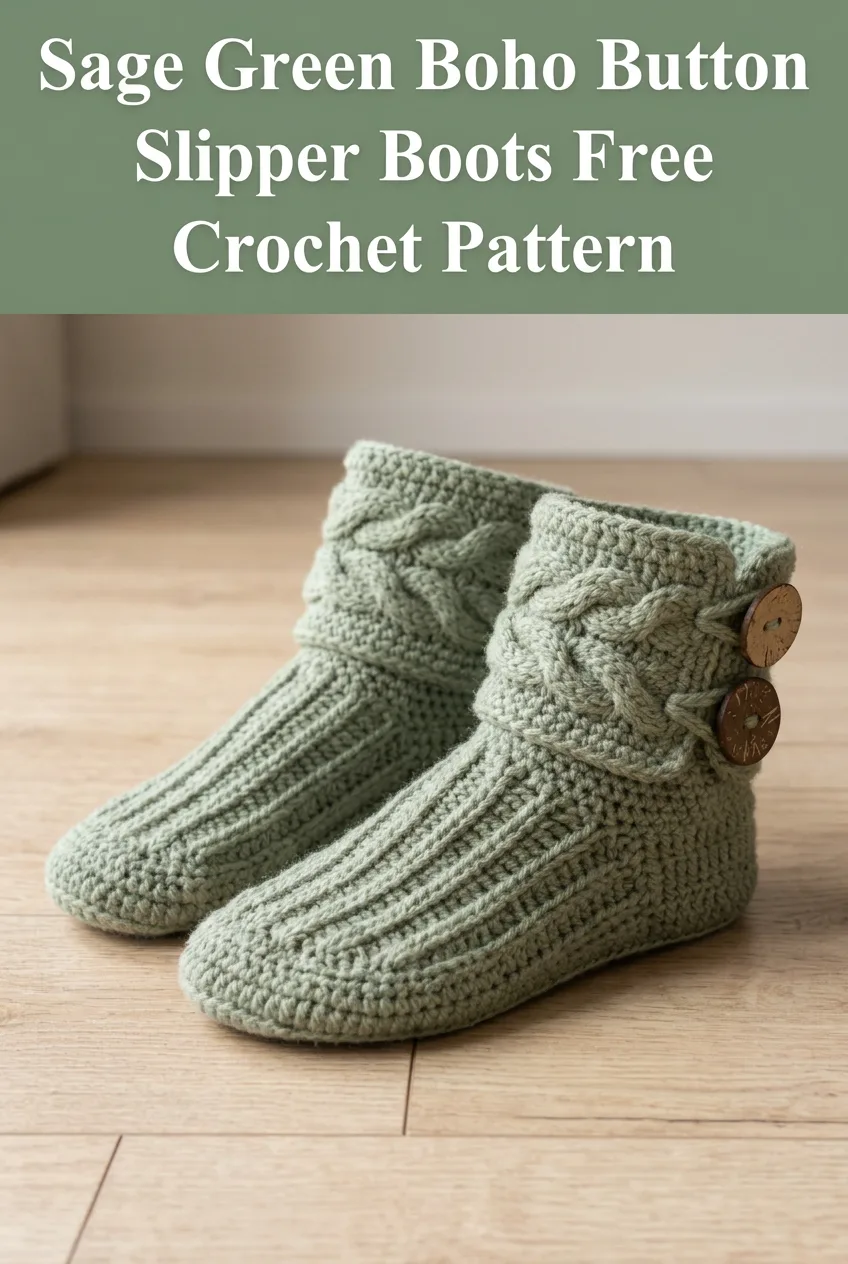
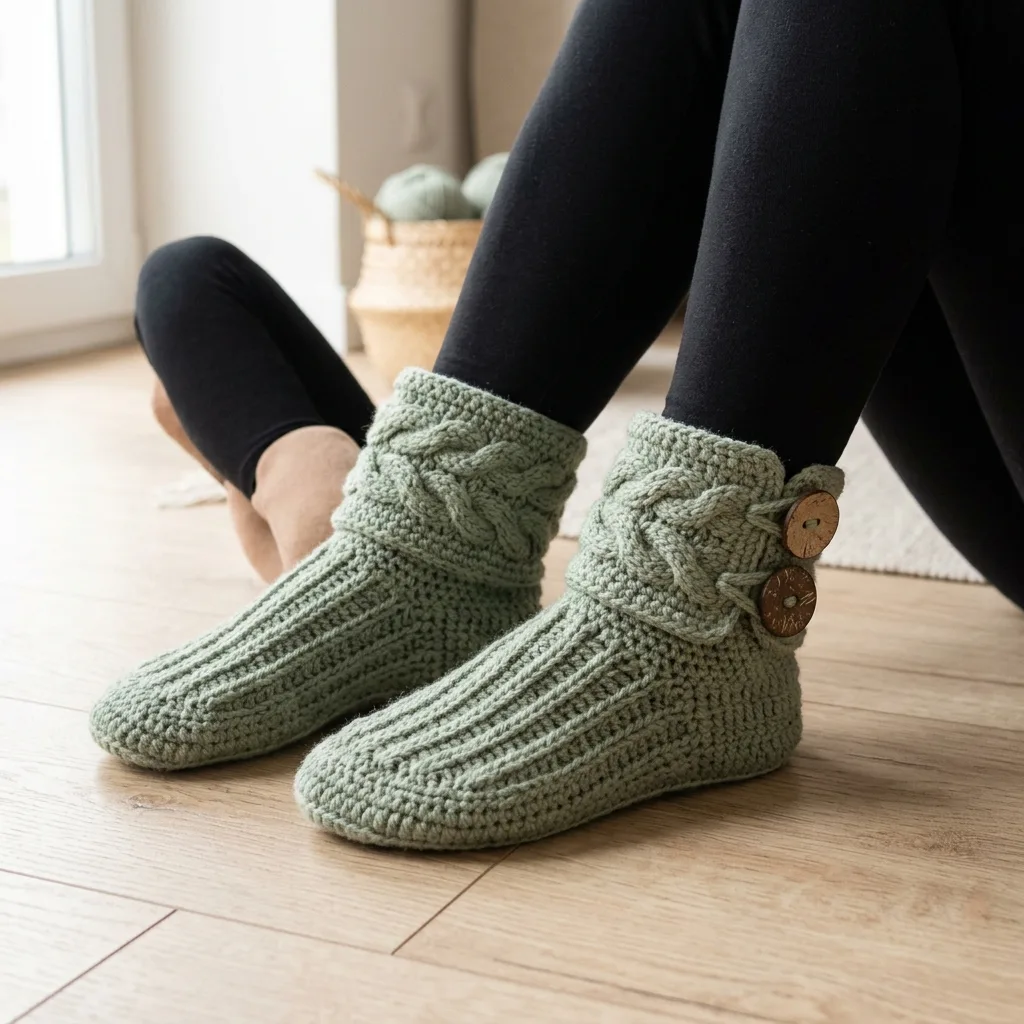
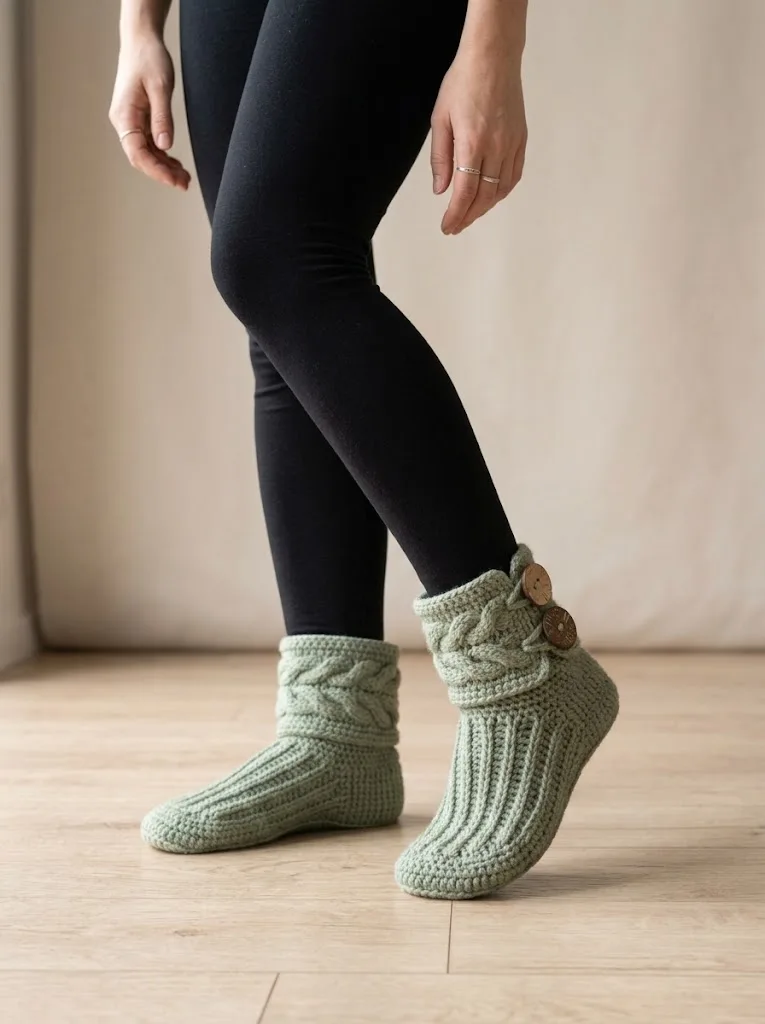
These boho button slipper boots combine a ribbed sole and foot section with a gorgeous braided cable cuff that wraps around the ankle. The wooden button adds that perfect rustic finishing touch. I designed these to be warm, stylish, and practical for padding around the house on chilly mornings.
Why You Will Love This Slipper Boot Pattern
The construction is surprisingly straightforward. You start with the sole, work up the sides, shape the toe, then add the cable cuff separately and attach it. Breaking the project into sections makes the whole thing less intimidating.
The ribbed texture on the foot creates stretch and flexibility. This means your slippers will actually stay on while you walk. No floppy heel situations here.
That cable cuff looks complicated, but I promise it is not. Crochet cables use front post double crochet (fpdc) stitches to create the raised braided effect. Once you get the rhythm, it becomes almost meditative.
Skill Level
Intermediate beginner to intermediate. You should be comfortable with basic stitches and willing to learn front post stitches. The cable technique requires attention but is totally achievable with the detailed instructions below.
Finished Measurements
These instructions create a women’s medium size fitting approximately US shoe sizes 7 to 8. The finished sole measures about 9.5 inches long and the boot height is approximately 5 inches from sole to top of cuff.
Sizing adjustments: Add or subtract rows in the sole section to adjust length. Each row adds roughly half an inch.
Materials Needed
Yarn:
Hook:
Notions:
Gauge
14 single crochet stitches and 16 rows = 4 inches in single crochet using 5.5mm hook. Check your gauge before starting. If your gauge is off, adjust your hook size up or down.
Abbreviations and Stitch Definitions
Let me walk you through every stitch you will use in this pattern.
ch = chain. Wrap yarn over hook, pull through loop on hook. This creates the foundation for your work.
sl st = slip stitch. Insert hook, yarn over, pull through both loops at once. Used for joining and creating invisible seams.
sc = single crochet. Insert hook, yarn over, pull up a loop (2 loops on hook), yarn over, pull through both loops. The most basic crochet stitch.
hdc = half double crochet. Yarn over, insert hook, yarn over, pull up a loop (3 loops on hook), yarn over, pull through all 3 loops. Slightly taller than single crochet.
dc = double crochet. Yarn over, insert hook, yarn over, pull up a loop (3 loops on hook), yarn over, pull through 2 loops, yarn over, pull through remaining 2 loops. Creates a taller, more open fabric.
BLO = back loop only. Work the stitch into only the back loop of the stitch below. This creates the ribbed texture on the foot.
fpdc = front post double crochet. Yarn over, insert hook from front to back around the post (vertical part) of the stitch below, yarn over, pull up a loop, complete as a regular double crochet. This creates raised stitches for cables.
bpdc = back post double crochet. Same as fpdc but insert hook from back to front around the post. Creates recessed stitches that contrast with fpdc.
dec = decrease. Work 2 stitches together as one to reduce stitch count.
sc2tog = single crochet 2 together. Insert hook in first stitch, pull up loop, insert hook in next stitch, pull up loop (3 loops on hook), yarn over, pull through all 3 loops. Decreases by one stitch.
Pattern Notes Before You Begin
Slipper Boot Pattern Instructions
Sole (Make 2)
The sole is worked flat in rows, creating an oval shape.
Row 1: Ch 21. Sc in 2nd ch from hook and in each ch across. (20 sc)
Row 2: Ch 1, turn. 2 sc in first st, sc in next 18 sts, 2 sc in last st. (22 sc)
Row 3: Ch 1, turn. Sc in each st across. (22 sc)
Row 4: Ch 1, turn. 2 sc in first st, sc in next 20 sts, 2 sc in last st. (24 sc)
Rows 5 through 8: Ch 1, turn. Sc in each st across. (24 sc)
Row 9: Ch 1, turn. Sc2tog, sc in next 20 sts, sc2tog. (22 sc)
Row 10: Ch 1, turn. Sc in each st across. (22 sc)
Row 11: Ch 1, turn. Sc2tog, sc in next 18 sts, sc2tog. (20 sc)
Do not fasten off. You will now work around the entire sole to begin the sides.
Sides and Foot Section
Round 1: Ch 1, do not turn. Work 1 sc in the end of each row down the side (11 sc), 3 sc in corner, 20 sc across the starting chain edge, 3 sc in corner, 11 sc up the other side, sl st to first sc to join. Place marker. (48 sc)
Rounds 2 through 4: Sc in BLO of each st around. Do not join. Work in continuous spiral. (48 sc)
This back loop only technique creates the ribbed texture you see on the finished slippers.
Round 5: Sc in BLO of each st around. (48 sc)
Rounds 6 through 10: Continue working sc in BLO around. (48 sc)
Toe Shaping
Now you will decrease across the toe area while keeping the heel unchanged.
Round 11: Sc in BLO of next 16 sts, [sc2tog] 8 times, sc in BLO of remaining 16 sts. (40 sc)
Round 12: Sc in BLO of next 14 sts, [sc2tog] 6 times, sc in BLO of remaining 14 sts. (34 sc)
Round 13: Sc in BLO of next 12 sts, [sc2tog] 5 times, sc in BLO of remaining 12 sts. (29 sc)
Round 14: Sc in BLO of each st around. (29 sc)
Sl st to next st. Fasten off, leaving a 6 inch tail for weaving.
Cable Cuff (Make 2)
The cuff is worked separately and then attached to the slipper boot opening. This is where the magic happens.
Switch to your 6mm hook if desired for a slightly looser cable.
Row 1 (Foundation): Ch 12. Dc in 4th ch from hook and in each ch across. (10 dc, counting turning ch as first dc)
Row 2: Ch 2 (does not count as stitch throughout), turn. Fpdc around first st, bpdc around next st, fpdc around next 2 sts, bpdc around next 2 sts, fpdc around next 2 sts, bpdc around next st, fpdc around last st. (10 sts)
Row 3 (Cable Cross Row): Ch 2, turn. Fpdc around first st, bpdc around next st. Cable cross: Skip next 2 fpdc, fpdc around next 2 bpdc, working in front of stitches just made, fpdc around 2 skipped fpdc. Bpdc around next st, fpdc around last st. (10 sts)
The cable cross is simply working stitches out of order. You skip two, work the next two, then go back and work the skipped ones in front. That crossing action creates the braided look.
Row 4: Repeat Row 2.
Row 5: Repeat Row 3.
Rows 6 through 25: Continue alternating Row 2 and Row 3 pattern (Row 2 on even rows, Row 3 on odd rows).
Your cuff should measure approximately 11 to 12 inches long. Adjust length by adding or removing row repeats as needed to fit around your ankle opening comfortably with slight overlap.
Buttonhole Row: Ch 2, turn. Fpdc around first 3 sts, ch 2, skip 2 sts, fpdc around next 2 sts, ch 2, skip 2 sts, fpdc around last st. (6 fpdc, 2 ch-2 spaces)
Fasten off, leaving a 12 inch tail for sewing.
Assembly
1. Attach cuff to boot: Position the cuff around the ankle opening of the slipper with the cable texture facing outward. The non-buttonhole end will be sewn directly to the boot.
2. Using your yarn needle and the long tail, whip stitch the starting edge of the cuff to the inside of the boot opening, aligning it with the center back heel.
3. Wrap the cuff around, overlapping so the buttonholes align with where you want your buttons.
4. Sew buttons: Position buttons on the outside of the boot where they will show through the buttonholes. Sew securely with yarn or matching thread.
5. Weave in all remaining ends securely.
6. Repeat for second boot.
Customization Ideas
Add non-slip soles: Apply fabric paint dots or puffy paint to the bottom for grip on hard floors.
Change the button: Use toggle buttons, vintage buttons, or even leather ties for different looks.
Adjust cuff height: Make a shorter cuff by reducing row repeats for more of a slipper look versus a boot look.
Color blocking: Work the sole and foot in one color and the cuff in a contrasting shade.
Care Instructions
Hand wash in cool water with mild detergent. Lay flat to dry. Avoid machine drying as heat may cause shrinkage and distort the cable pattern. Reshape while damp if needed.
I hope you absolutely love making these cozy slipper boots as much as I loved designing them. They make wonderful gifts and are perfect for treating yourself to some handmade comfort. Thank you so much for choosing this pattern.
If you make these slippers, I would love to see them. Tag me on Instagram or share a photo in my Facebook group. Seeing your finished projects genuinely makes my day.
If you enjoyed this crochet pattern and want to make it later, save this post to your favorite Pinterest board so you can find it easily. And please drop a comment below if you give these slipper boots a try. I read every single one and love hearing how your projects turn out.