
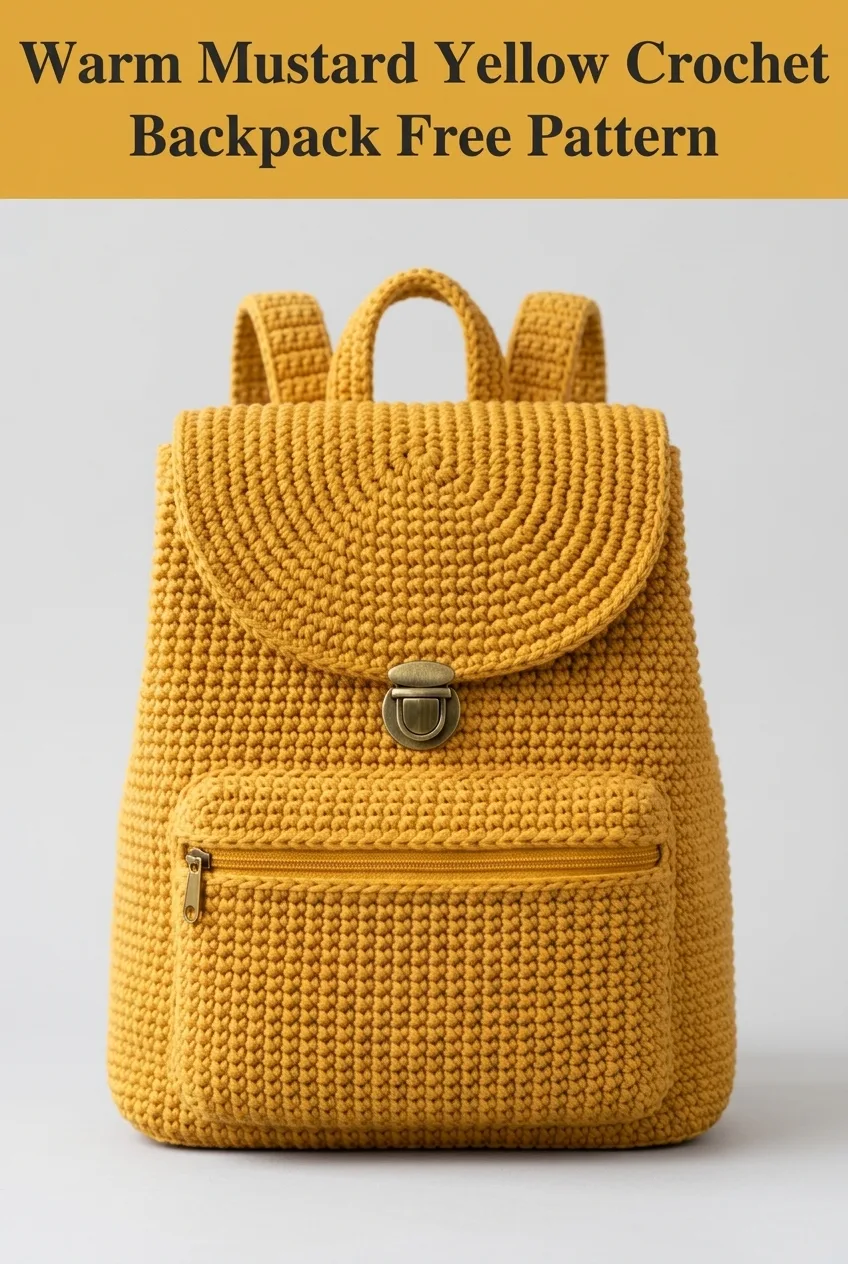
SUPER EASY and absolutely STUNNING! This warm mustard yellow crochet backpack is one of those projects that looks like it took weeks but actually works up faster than you would think. I am SO excited to share this pattern with you because it is genuinely one of the most satisfying bag projects I have ever designed. The construction is straightforward, the stitches are simple, and the finished product? Total showstopper. This makes an incredible gift for teens, college students, or anyone who loves a handmade accessory with serious style.
Why You Will Love This Crochet Backpack Pattern
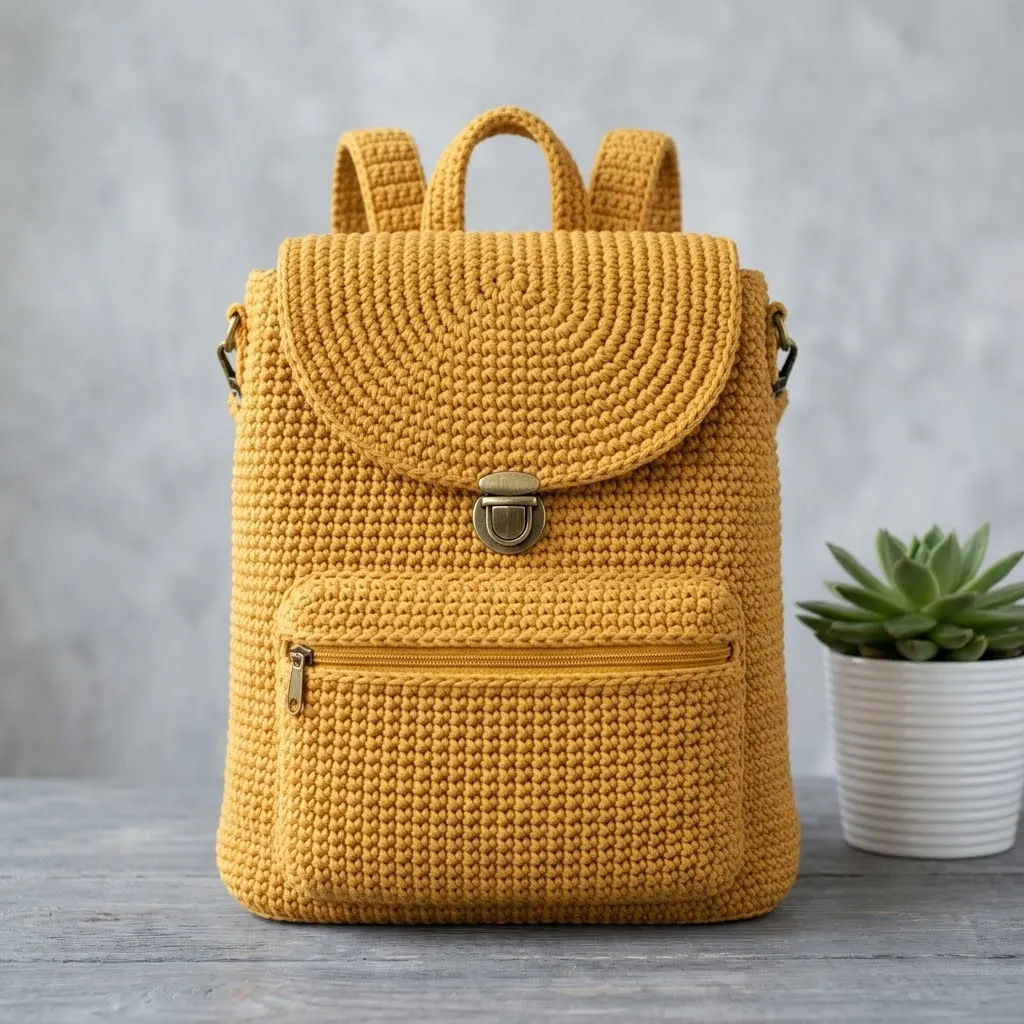
This crochet backpack tutorial combines practicality with modern style. The dense stitch pattern creates a sturdy fabric that holds its shape beautifully, while the hardware accents give it a polished, professional finish. Whether you are heading to a farmers market, running errands, or just need a stylish hands-free bag, this backpack has you covered.
The warm mustard gold color I chose is perfect for fall and winter, but honestly? This pattern works beautifully in any solid color. Navy, cream, dusty rose, olive green. Pick your favorite and run with it.
What makes this beginner friendly: The entire body of this bag uses just one stitch repeated in rounds. No complicated stitch combinations, no confusing increases. If you can work a single crochet, you can make this backpack.
Finished Dimensions
Materials Needed
Yarn:
Hook:
Notions and Hardware:
Gauge
18 stitches and 20 rows = 4 inches (10 cm) in single crochet worked in continuous rounds
Why gauge matters here: For a bag, getting close to gauge ensures your backpack ends up the right size and has the proper stiffness. Too loose and your bag will be floppy. Too tight and it will be stiff and small. Swatch first, I promise it is worth it.
Abbreviations and Stitch Definitions
Pattern Notes
Step by Step Crochet Backpack Pattern
Base of the Backpack
The base is worked in an oval shape using continuous rounds.
Ch 21.
Rnd 1: Starting in 2nd ch from hook, work 1 sc in each of the next 19 ch. Work 3 sc in the last ch (this turns the corner). Now working along the opposite side of the foundation chain, work 1 sc in each of the next 18 ch. Work 2 sc in the last ch. Place marker. (42 sts)
Rnd 2: Work 1 sc in each of the next 19 sts. Work inc in each of the next 3 sts. Work 1 sc in each of the next 18 sts. Work inc in each of the next 2 sts. (47 sts)
Rnd 3: Work 1 sc in each of the next 19 sts. (1 sc, inc) 3 times. Work 1 sc in each of the next 18 sts. (1 sc, inc) 2 times. (52 sts)
Rnd 4: Work 1 sc in each of the next 20 sts. (2 sc, inc) 3 times. Work 1 sc in each of the next 19 sts. (2 sc, inc) 2 times. (57 sts)
Rnd 5: Work 1 sc in each of the next 21 sts. (3 sc, inc) 3 times. Work 1 sc in each of the next 20 sts. (3 sc, inc) 2 times. (62 sts)
Rnd 6: Work 1 sc in each of the next 22 sts. (4 sc, inc) 3 times. Work 1 sc in each of the next 21 sts. (4 sc, inc) 2 times. (67 sts)
Rnd 7: Work 1 sc in each of the next 23 sts. (5 sc, inc) 3 times. Work 1 sc in each of the next 22 sts. (5 sc, inc) 2 times. (72 sts)
Continue increasing in this manner for 2 more rounds until you have approximately 82 stitches and your base measures roughly 10 inches long by 4 inches wide.
Body of the Backpack
Now you will work straight up without increasing to form the sides.
Rnd 1: Working in back loops only for this round (this creates a clean edge where the base meets the sides), work 1 sc in each st around. (82 sts)
Rnds 2 through 60: Work 1 sc in each st around, working through both loops. (82 sts)
Continue until the body measures approximately 11 to 12 inches from the base. Your exact round count may vary slightly depending on your gauge.
Tip for keeping track: Place a contrasting yarn marker every 10 rounds. This helps you count without losing your mind.
Sl st to next st. Fasten off and weave in ends.
Flap
The flap is that beautiful rounded piece on top. It is worked in rows, increasing to create the semicircle shape.
Ch 2.
Row 1: Work 6 sc in 2nd ch from hook. Ch 1, turn. (6 sts)
Row 2: Work inc in each st across. Ch 1, turn. (12 sts)
Row 3: (1 sc, inc) across. Ch 1, turn. (18 sts)
Row 4: (2 sc, inc) across. Ch 1, turn. (24 sts)
Row 5: (3 sc, inc) across. Ch 1, turn. (30 sts)
Row 6: (4 sc, inc) across. Ch 1, turn. (36 sts)
Row 7: (5 sc, inc) across. Ch 1, turn. (42 sts)
Row 8: (6 sc, inc) across. Ch 1, turn. (48 sts)
Continue in this pattern until the flap measures approximately 7 inches across, matching the width of the bag opening.
Border Round: Ch 1. Work sc evenly around the entire curved edge of the flap, working approximately 3 sc in each corner to keep it flat. Sl st to first sc. Fasten off.
Make 2 flap pieces. Hold them wrong sides together and sc around the curved edge to join, creating a double-thickness flap. Leave the straight edge open for attaching to the bag.
Front Pocket
Ch 32.
Row 1: Sc in 2nd ch from hook and in each ch across. Ch 1, turn. (31 sts)
Rows 2 through 25: Sc in each st across. Ch 1, turn. (31 sts)
Fasten off.
Border: Join yarn at any corner. Work sc evenly around all four sides, working 3 sc in each corner. Sl st to join. Fasten off.
Straps (Make 2)
Ch 8.
Row 1: Sc in 2nd ch from hook and in each ch across. Ch 1, turn. (7 sts)
Rows 2 through 100 (or desired length): Sc in each st across. Ch 1, turn. (7 sts)
Fasten off when straps measure approximately 26 to 30 inches.
Top Handle
Ch 6.
Row 1: Sc in 2nd ch from hook and in each ch across. Ch 1, turn. (5 sts)
Rows 2 through 30: Sc in each st across. Ch 1, turn. (5 sts)
Fasten off.
Strap Loops (Make 2)
These small loops attach to the top of the bag and hold the D-rings.
Ch 5.
Row 1: Sc in 2nd ch from hook and in each ch across. Ch 1, turn. (4 sts)
Rows 2 through 12: Sc in each st across. Ch 1, turn. (4 sts)
Fasten off.
Assembly Instructions
This is where your backpack comes together. Take your time with this part.
Attaching the Flap
Position the flap at the back of the bag opening, centered. The straight edge should overlap the bag by about 1 inch. Using your tapestry needle and yarn, whipstitch the flap securely to the inside top edge of the bag back.
Attaching the Front Pocket
Position the pocket on the front of the bag, approximately 1 inch up from the base. Pin in place. Using sewing needle and thread, carefully sew the zipper to the top edge of the pocket first. Then sew the pocket to the bag body along the sides and bottom, leaving the zippered top open.
Adding the Hardware
D-rings: Fold each strap loop in half, threading the D-ring onto it. Sew the folded loop to the top corners of the bag back.
Push lock clasp: Mark the center of the flap and the corresponding spot on the bag front. Follow your hardware package instructions to attach both pieces of the clasp.
Swivel hooks: Attach swivel hooks to the bottom ends of each strap.
Attaching the Straps
Clip the swivel hooks to the D-rings at the top of the bag. Sew the opposite ends of the straps to the bottom corners of the bag back, approximately 2 inches up from the base.
Top Handle
Fold the top handle piece into a loop. Sew both ends to the center top of the bag back, just behind where the flap attaches.
Tips for Success
Choosing your yarn: Cotton or cotton-blend yarns work best for bags because they have minimal stretch and hold their shape. Avoid soft, drapey acrylics for this project.
Working tightly: A tight gauge is your friend here. It creates fabric sturdy enough that you may not even need a lining.
Optional lining: For extra durability and a polished interior, cut fabric to match your bag pieces and hand-sew it inside after assembly.
Blocking: Lightly steam block your finished pieces before assembly to even out your stitches and help the bag hold its shape.
You Did It!
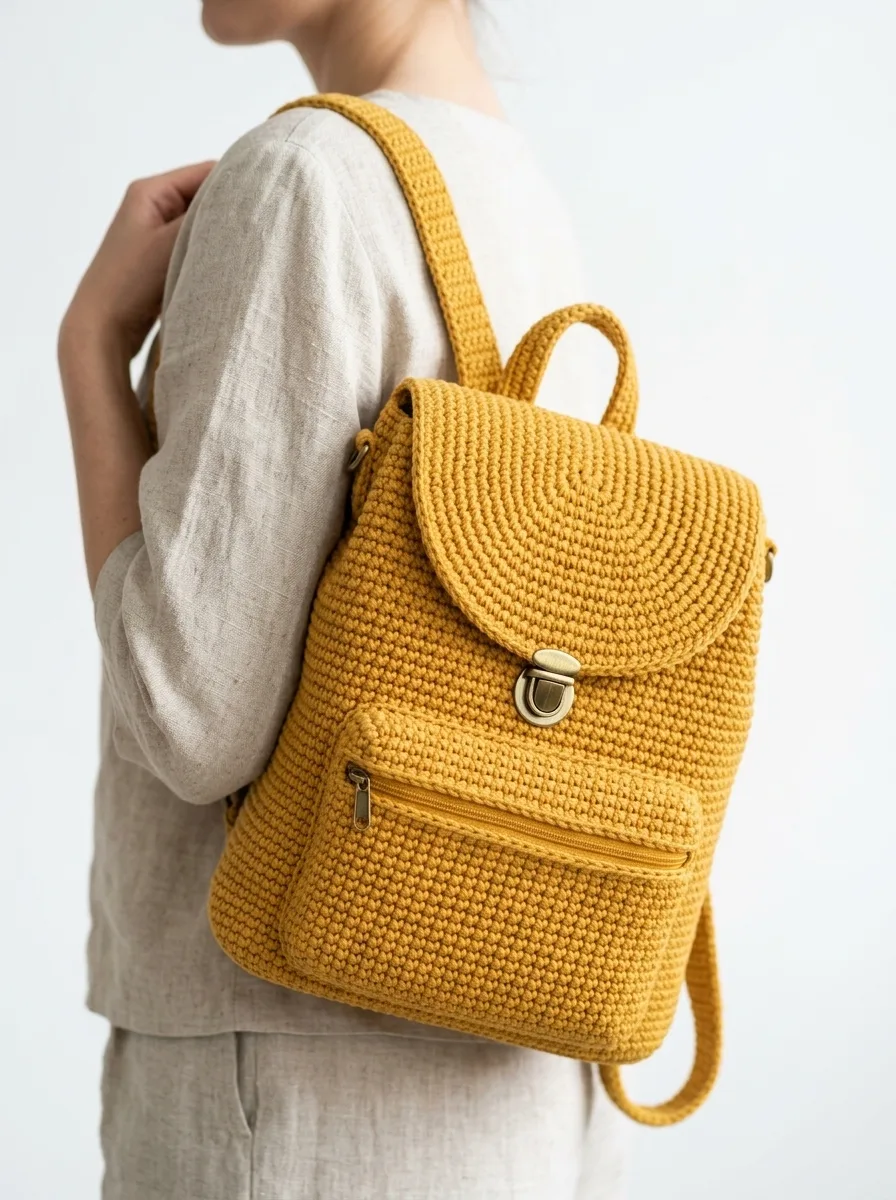
Look at you with your gorgeous new handmade crochet backpack! This project takes some time and patience, but the results are absolutely worth it. You have created something functional, stylish, and completely unique.
I would absolutely LOVE to see your finished backpacks. The color combinations people come up with always blow me away. Tag me on Instagram or share in our Facebook group so I can cheer you on!
I really hope you enjoyed making this warm mustard yellow crochet backpack pattern as much as I enjoyed designing it. If you found this tutorial helpful, save it to your Pinterest boards so you can find it easily later or share it with a crafty friend. And please drop a comment below if you make one. I genuinely love seeing your creations and hearing how the pattern worked up for you!