
When I sat down to design this bag, I had one goal in mind. I wanted to create something that was equal parts functional and absolutely adorable. I pictured a roomy tote that could carry everyday essentials, but with a playful cat face that would make people smile. I chose single crochet for durability, added those signature pointy ears, and finished it off with a sweet bow accent. I am SO pleased with how it turned out! This cozy tan kitty face tote bag pattern is now one of my favorite makes, and I cannot wait for you to try it.
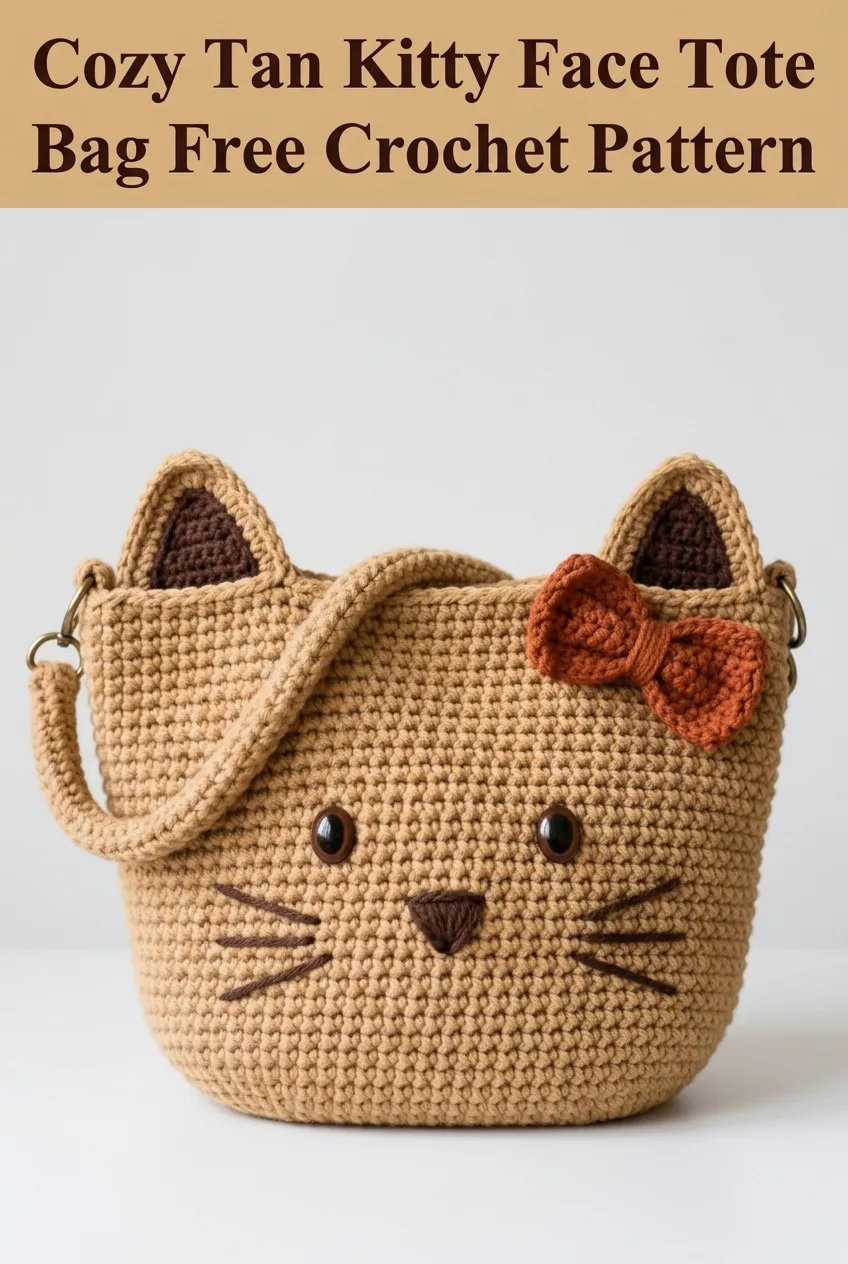
Why You Will Love This Crochet Cat Tote Bag
This is not your average tote bag project. The kitty face design transforms a simple rectangular bag into something special. Every time you carry it, you will get compliments. Trust me on this one.
The construction is straightforward even if you are newer to crochet. We are working primarily in single crochet (sc), which creates a dense, sturdy fabric perfect for a bag that needs to hold its shape. The ears, nose, bow, and facial features are made separately and attached at the end, so you can customize the placement until it looks just right.
Finished dimensions: Approximately 14 inches wide by 12 inches tall (not including ears)
Skill level: Confident beginner to intermediate
This crochet pattern works up faster than you might think. The main body is repetitive in the best way, making it a perfect project for binge-watching your favorite show.
Materials You Will Need
Gathering your supplies before you start makes the whole process smoother. Here is everything you need to complete this crochet cat tote bag:
Yarn:
Hook:
Notions:
Gauge: 14 sc and 16 rows = 4 inches in single crochet. Gauge matters for this project since it affects the final bag size.
Abbreviations and Stitch Definitions
Let me break down every stitch abbreviation you will encounter. Even if you know these already, a quick refresher never hurts.
Ch = Chain. Wrap yarn over hook, pull through loop on hook. This creates the foundation.
Sc = Single crochet. Insert hook into stitch, yarn over and pull up a loop (2 loops on hook), yarn over and pull through both loops.
Inc = Increase. Work 2 single crochet stitches into the same stitch. This adds one stitch to your total.
Dec = Decrease. Insert hook into next stitch and pull up a loop, insert hook into following stitch and pull up a loop (3 loops on hook), yarn over and pull through all 3 loops. This removes one stitch.
Sl st = Slip stitch. Insert hook, yarn over, pull through stitch and loop on hook in one motion. Used for joining.
Hdc = Half double crochet. Yarn over, insert hook, pull up loop (3 loops on hook), yarn over and pull through all 3 loops.
FO = Fasten off. Cut yarn and pull tail through final loop.
Crochet Pattern Instructions
This step by step crochet tutorial is broken into manageable sections. Take your time with each piece, and do not rush the assembly at the end.
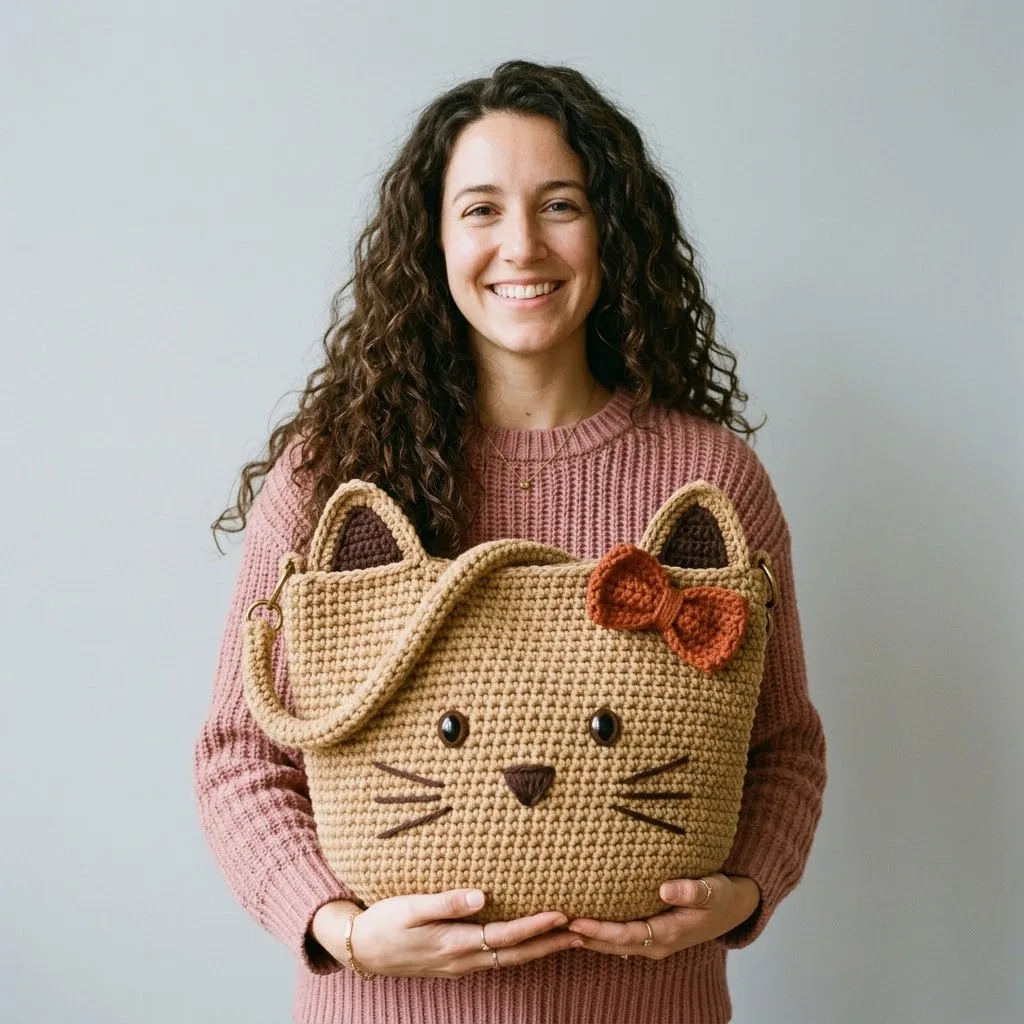
Main Body Panels (Make 2)
We are making two identical flat panels that will be joined together. Working in rows creates a nice structured fabric.
With tan yarn and H hook:
Row 1: Ch 50. Sc in 2nd ch from hook and in each ch across. (49 sts)
Row 2: Ch 1, turn. Sc in each st across. (49 sts)
Rows 3 through 48: Repeat Row 2. (49 sts each row)
At the end of Row 48, FO and weave in ends.
Your panel should measure approximately 14 inches wide by 12 inches tall. If it is significantly smaller, try going up a hook size.
Helpful tip: Place a stitch marker at the beginning of your rows to keep track of where you started. It is easy to accidentally skip or add stitches at the edges.
Outer Ears (Make 2)
These are the tan portions of the ears that face outward.
With tan yarn:
Row 1: Ch 16. Sc in 2nd ch from hook and in each ch across. (15 sts)
Row 2: Ch 1, turn. Sc in each st across. (15 sts)
Row 3: Ch 1, turn. Dec, sc across to last 2 sts, dec. (13 sts)
Row 4: Ch 1, turn. Sc in each st across. (13 sts)
Row 5: Ch 1, turn. Dec, sc across to last 2 sts, dec. (11 sts)
Row 6: Ch 1, turn. Sc in each st across. (11 sts)
Row 7: Ch 1, turn. Dec, sc across to last 2 sts, dec. (9 sts)
Row 8: Ch 1, turn. Sc in each st across. (9 sts)
Row 9: Ch 1, turn. Dec, sc across to last 2 sts, dec. (7 sts)
Row 10: Ch 1, turn. Dec, sc across to last 2 sts, dec. (5 sts)
Row 11: Ch 1, turn. Dec, sc, dec. (3 sts)
Row 12: Ch 1, turn. Sc3tog. (1 st)
FO, leaving a long tail for sewing.
Inner Ears (Make 2)
These dark brown triangles sit inside the outer ears and add that realistic cat ear detail.
With dark brown yarn:
Row 1: Ch 12. Sc in 2nd ch from hook and in each ch across. (11 sts)
Row 2: Ch 1, turn. Dec, sc across to last 2 sts, dec. (9 sts)
Row 3: Ch 1, turn. Sc in each st across. (9 sts)
Row 4: Ch 1, turn. Dec, sc across to last 2 sts, dec. (7 sts)
Row 5: Ch 1, turn. Sc in each st across. (7 sts)
Row 6: Ch 1, turn. Dec, sc across to last 2 sts, dec. (5 sts)
Row 7: Ch 1, turn. Dec, sc, dec. (3 sts)
Row 8: Ch 1, turn. Sc3tog. (1 st)
FO, leaving a tail for sewing.
Triangle Nose
The nose is a simple triangle worked from the bottom up.
With dark brown yarn:
Row 1: Ch 8. Sc in 2nd ch from hook and in each ch across. (7 sts)
Row 2: Ch 1, turn. Dec, sc 3, dec. (5 sts)
Row 3: Ch 1, turn. Dec, sc 1, dec. (3 sts)
Row 4: Ch 1, turn. Sc3tog. (1 st)
FO, leaving a long tail for sewing.
Decorative Bow
This sweet bow adds personality and makes the bag extra charming.
Bow Center:
With rust yarn:
Row 1: Ch 5. Sc in 2nd ch from hook and in each ch across. (4 sts)
Rows 2 through 6: Ch 1, turn. Sc in each st across. (4 sts)
FO, leaving a long tail.
Bow Loops (Make 2):
Row 1: Ch 12. Sc in 2nd ch from hook and in each ch across. (11 sts)
Rows 2 through 4: Ch 1, turn. Sc in each st across. (11 sts)
FO, leaving a tail.
To assemble the bow: Take one bow loop piece and bring the short ends together to form a loop. Whip stitch the ends together. Repeat with the second loop piece. Stack both loops on top of each other, slightly offset. Wrap the bow center piece around the middle tightly, stitching in place on the back. This creates that classic pinched bow shape.
D-Ring Tabs (Make 2)
These tabs hold the hardware for attaching a strap later.
With tan yarn:
Row 1: Ch 8. Sc in 2nd ch from hook and in each ch across. (7 sts)
Rows 2 through 8: Ch 1, turn. Sc in each st across. (7 sts)
FO, leaving a long tail.
Assembly Instructions
Now comes the satisfying part where everything comes together. Take your time here because placement really matters for the final look.
Step 1: Prepare the Ears
Lay one inner ear piece on top of one outer ear piece, centering it with a small border of tan showing around the edges. Whip stitch the inner ear to the outer ear around all edges. Repeat for the second ear.
Optional: Before closing completely, add a small amount of fiberfill to give the ears slight dimension. This is purely decorative and not required.
Step 2: Attach Facial Features to Front Panel
Lay one body panel flat with the right side facing up. This will be your front panel.
Safety eyes: Position the eyes approximately 4 inches down from the top edge and 4 inches apart from each other. Push the posts through the fabric and secure the backs. Once attached, safety eyes cannot be repositioned, so take a moment to make sure the placement looks good.
Nose: Center the triangle nose approximately 2 inches below the eyes, with the point facing down. Whip stitch in place using the dark brown tail.
Whiskers: Using dark brown yarn and a yarn needle, embroider three straight stitches on each side of the nose, angling outward. Each whisker should be about 1.5 to 2 inches long.
Bow: Position the assembled bow near the right ear area, about 2 inches from the top edge and 2 inches from the right side. Stitch securely in place.
Step 3: Attach D-Ring Tabs
Thread one D-ring onto a tab piece. Fold the tab in half lengthwise with the D-ring at the fold. Position at the top corner of the front panel, about 1 inch from the side edge. Stitch the raw ends of the tab to the inside of the panel securely. Repeat on the opposite corner.
Step 4: Join Front and Back Panels
Hold both panels together with wrong sides facing out (so right sides are touching). Starting at one top corner, single crochet through both layers down the side, across the bottom, and up the other side. Leave the top open. Turn the bag right side out.
For a cleaner edge: You can also whip stitch the panels together if you prefer an invisible seam.
Step 5: Attach Ears
Position the ears on the top edge of the front panel only, placing them about 3 inches from each side edge. The base of each ear should overlap the top of the bag by about 1 inch. Whip stitch securely along the base, stitching through the front panel only.
Step 6: Finishing Touches
Weave in all remaining ends. Give your bag a gentle steam block if desired to help everything lay flat.
Tips for Customizing Your Kitty Tote
This crochet cat tote bag is wonderfully customizable. Here are some ideas:
Change the colors: Try gray for a silver tabby look, orange for a ginger cat, or black for a spooky Halloween version.
Add a strap: Purchase a chain strap or crochet a long strap to clip onto the D-rings for crossbody wear.
Skip the bow: For a more minimalist look or a boy cat vibe, simply leave off the bow.
Use buttons instead of safety eyes: If this bag is for a small child, buttons sewn on securely are a safer alternative.
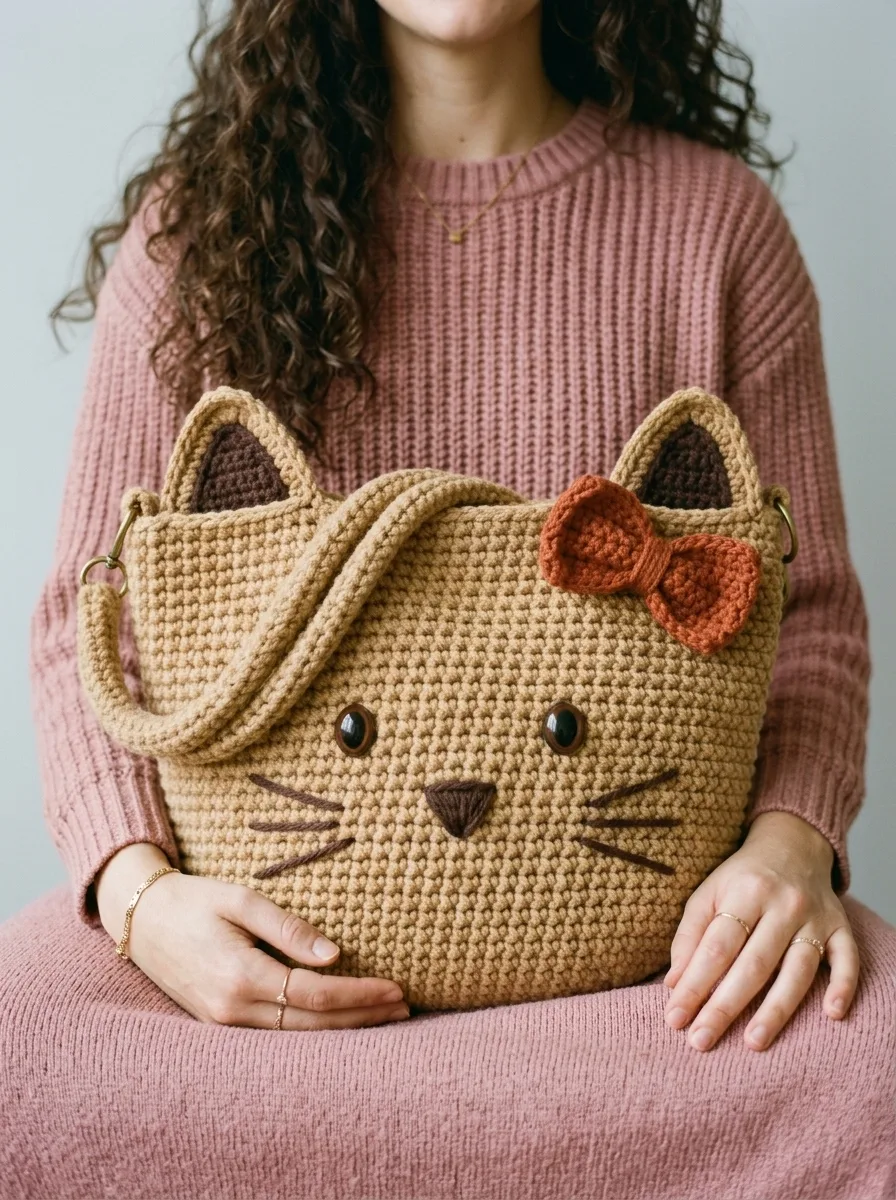
Care Instructions
To keep your crochet tote looking its best, spot clean as needed with mild soap and water. If a full wash is necessary, hand wash in cool water and lay flat to dry. Avoid the dryer, as it can distort the shape.
I really hope you enjoy making this cozy tan kitty face tote bag crochet pattern as much as I enjoyed designing it. It makes the sweetest gift for cat lovers, or honestly, just treat yourself. You deserve a cute bag.
If this pattern brought a smile to your face, I would love it if you saved it to your Pinterest boards so you can find it easily later. And please, if you make one, drop a comment below or tag me on social media. Seeing your finished projects absolutely makes my day!